Page 308 of 723
CAUTION!
Prolonged driving with the Malfunction Indicator
Light (MIL) on could cause damage to the engine
control system. It also could affect fuel economy and
driveability. If the MIL is flashing, severe catalytic
converter damage and power loss will soon occur.
Immediate service is required.
WARNING!
A malfunctioning catalytic converter, as referenced
above, can reach higher temperatures than in normal
operating conditions. This can cause a fire if you
drive slowly or park over flammable substances such
as dry plants, wood, cardboard, etc. This could result
in death or serious injury to the driver, occupants or
others.
306 UNDERSTANDING YOUR INSTRUMENT PANEL
Page 309 of 723

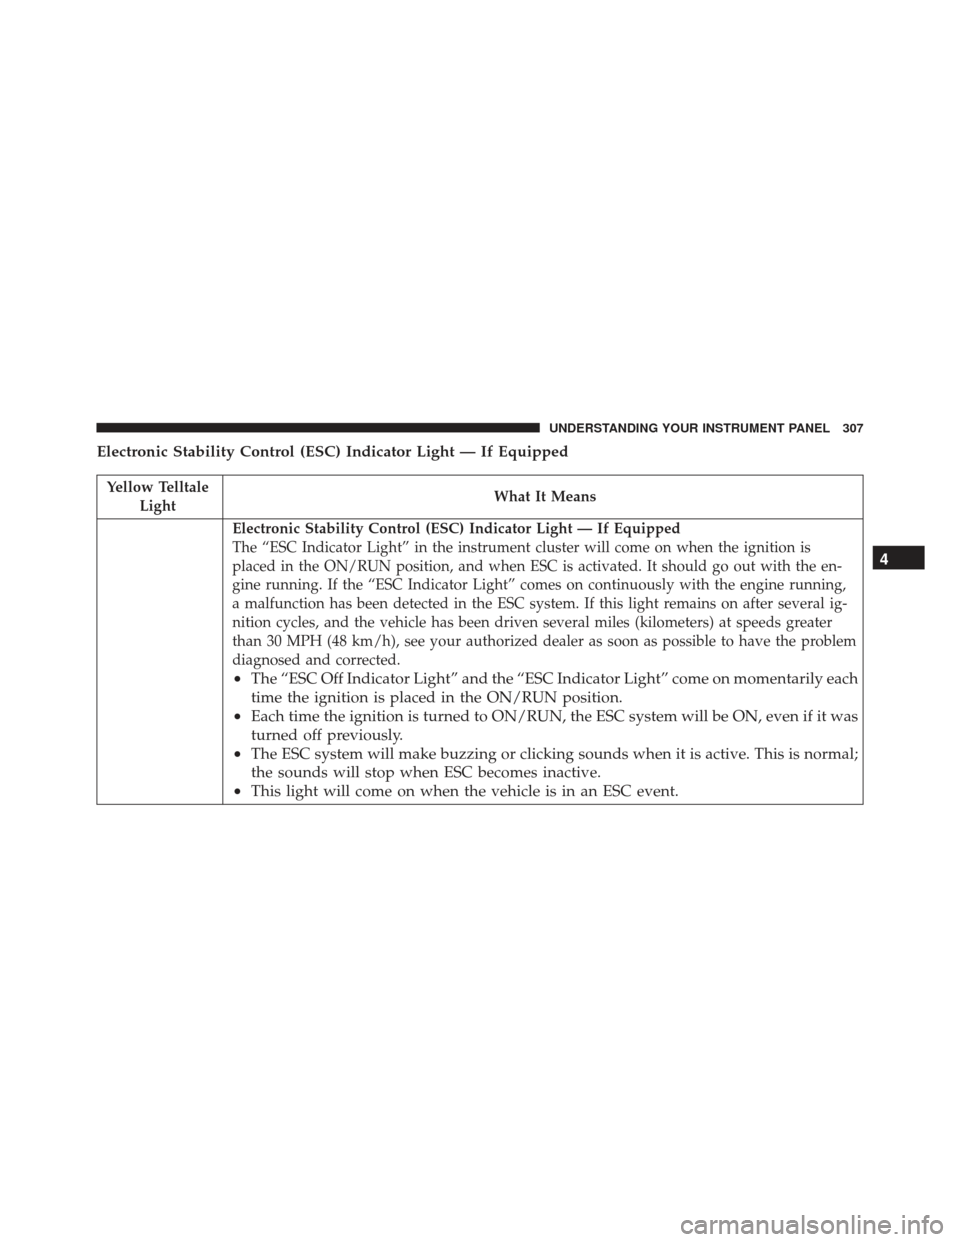
Electronic Stability Control (ESC) Indicator Light — If Equipped
Yellow TelltaleLight What It Means
Electronic Stability Control (ESC) Indicator Light — If Equipped
The “ESC Indicator Light” in the instrument cluster will come on when the ignition is
placed in the ON/RUN position, and when ESC is activated. It should go out with the en-
gine running. If the “ESC Indicator Light” comes on continuously with the engine running,
a malfunction has been detected in the ESC system. If this light remains on after several ig-
nition cycles, and the vehicle has been driven several miles (kilometers) at speeds greater
than 30 MPH (48 km/h), see your authorized dealer as soon as possible to have the problem
diagnosed and corrected.
•
The “ESC Off Indicator Light” and the “ESC Indicator Light” come on momentarily each
time the ignition is placed in the ON/RUN position.
• Each time the ignition is turned to ON/RUN, the ESC system will be ON, even if it was
turned off previously.
• The ESC system will make buzzing or clicking sounds when it is active. This is normal;
the sounds will stop when ESC becomes inactive.
• This light will come on when the vehicle is in an ESC event. 4
UNDERSTANDING YOUR INSTRUMENT PANEL 307
Page 328 of 723

reviewed from the “Messages” main menu item. Ex-
amples of this message type are “Right Front Turn Signal
Lamp Out” and “Low Tire Pressure.”
•Unstored Messages
This message type is displayed indefinitely or until the
condition that activated the message is cleared. Examples
of this message type are “Turn Signal On” (if a turn signal
is left on) and “Lights On” (if driver leaves the vehicle).
• Unstored Messages Until RUN
These messages deal primarily with the Remote Start
feature. This message type is displayed until the ignition
is in the RUN state. Examples of this message type are
“Remote Start Aborted - Door Ajar” and “Press Brake
Pedal and Push Button to Start.”
• Five Second Unstored Messages
When the appropriate conditions occur, this type of
message takes control of the main display area for five seconds and then returns to the previous screen. An
example of this message type is “Automatic High Beams
On.”
Engine Oil Life Reset
Oil Change Required
Your vehicle is equipped with an engine oil change
indicator system. The “Oil Change Required” message
will display in the DID for five seconds after a single
chime has sounded, to indicate the next scheduled oil
change interval. The engine oil change indicator system
is duty cycle based, which means the engine oil change
interval may fluctuate, dependent upon your personal
driving style.
Unless reset, this message will continue to display each
time you cycle the ignition to the ON/RUN position. To
turn off the message temporarily, push and release the
326 UNDERSTANDING YOUR INSTRUMENT PANEL
Page 329 of 723

OKbutton. To reset the oil change indicator system (after
performing the scheduled maintenance), refer to the
following procedure.
Oil Change Reset Procedure
1. Without pushing the brake pedal, push and release the ENGINE START/STOP button and place the ignition
to the ON/RUN position (do not start the engine).
2. Fully push the accelerator pedal, slowly, three times within 10 seconds.
3. Without pushing the brake pedal, push and release the ENGINE START/STOP button once to return the
ignition to the OFF/LOCK position.
NOTE: If the indicator message illuminates when you
start the vehicle, the oil change indicator system did not
reset. If necessary, repeat this procedure. Secondary Method For Oil Change Reset
1. Without depressing the brake pedal, push and release
the ENGINE START/STOP button and place the igni-
tion to the ON/RUN position (do not start the engine).
2. Navigate to �Oil Life�submenu in �Vehicle Info� on
DID.
3. Push and Hold the OKbutton until the gauge resets to
100%.
Performance Shift Indicator (PSI) – If Equipped
The Performance Shift Indicator (PSI) is enabled on
vehicles with manual transmission, or when a vehicle
with automatic transmission is in Auto-Stick mode. The
PSI provides the driver with a visual indication within
the cluster information display when the driver config-
ured gear shift point has been reached and the driver is
still accelerating. This indication notifies the driver to
change gear corresponding to the configured RPMs in the
4
UNDERSTANDING YOUR INSTRUMENT PANEL 327
Page 331 of 723
•Cruise Set To XXX MPH
•
Tire Pressure Screen With Low Tire(s) “Inflate Tire to XX”
• Service Tire Pressure System
• Speed Warning Set to XXX MPH
• Speed Warning Exceeded
• Parking Brake Engaged
• Brake Fluid Low
• Service Electronic Braking System
• Engine Temperature Hot
• Lights On
• Right Front Turn Signal Light Out
• Right Rear Turn Signal Light Out
• Left Front Turn Signal Light Out •
Left Rear Turn Signal Light Out
• Ignition or Accessory On
• Vehicle Not In Park
• Remote Start Active Push Start Button
• Remote Start Canceled Fuel Low
• Remote Start Canceled Too Cold
• Remote Start Canceled Door Open
• Remote Start Canceled Hood Open
• Remote Start Canceled Liftgate Open
• Remote Start Canceled Time Expired
• Remote Start Disabled Start To Reset
• Service Air Bag System
• Service Air Bag Warning Light
4
UNDERSTANDING YOUR INSTRUMENT PANEL 329
Page 333 of 723
NOTE:
•When warnings notifications and other DID pop-ups
are present, the large centered speedometer digital
image will switch to the small digital image located to
the right side on the tachometer.
• When all pop-ups clear, the DID display will return to
the large centered speedometer digital image.
Vehicle Info (Customer Information Features)
Push and release the UPorDOWNar-
row button until the Vehicle Info icon/title is
highlighted in the DID. Push and release the
LEFT
or RIGHTarrow button to scroll
through the information submenus and push and
release the OKbutton to select or reset the resettable
submenus:
Tire Pressure
Coolant Temperature
Transmission Temperature
Oil Temperature
Oil Pressure
Oil Life
Battery Voltage
Intake Air Temperature
Engine Torque
Engine Power
4
UNDERSTANDING YOUR INSTRUMENT PANEL 331
Page 344 of 723

When the end of the list is reached,�No or End of
Diagnostic Code� will appear in the DID.
Speed Warning — If Equipped
Push and release the UPorDOWNar-
row button until the Speed Warning Menu
icon/title is highlighted in the DID. Push
and release the OKbutton to enter speed
warning. Use the UP
orDOWNarrow button to
select a desired speed, then push and release the OK
button to set the speed. The Speed Warning telltale
will display in the DID, and a chime will sound with
a pop up warning message when the set speed is
exceeded. Battery Saver On/Battery Saver Mode Message —
Electrical Load Reduction Actions — If Equipped
This vehicle is equipped with an Intelligent Battery
Sensor (IBS) to perform additional monitoring of the
electrical system and status of the vehicle battery.
In cases when the IBS detects charging system failure, or
the vehicle battery conditions are deteriorating, electrical
load reduction actions will take place to extend the
driving time and distance of the vehicle. This is done by
reducing power to or turning off non-essential electrical
loads.
Load reduction is only active when the engine is running.
It will display a message if there is a risk of battery
depletion to the point where the vehicle may stall due to
lack of electrical supply, or will not restart after the
current drive cycle.
342 UNDERSTANDING YOUR INSTRUMENT PANEL
Page 346 of 723

•Turning on all possible vehicle electrical loads (e.g.
HVAC to max settings, exterior and interior lights,
overloaded power outlets +12V, 115V AC, USB ports)
during certain driving conditions (city driving, tow-
ing, frequent stopping).
• Installing options like additional lights, upfitter elec-
trical accessories, audio systems, alarms and similar
devices.
• Unusual driving cycles (short trips separated by long
parking periods).
• The vehicle was parked for an extended period of time
(weeks, months).
• The battery was recently replaced and was not charged
completely.
• The battery was discharged by an electrical load left on
when the vehicle was parked. •
The battery was used for an extended period with the
engine not running to supply radio, lights, chargers,
+12V portable appliances like vacuum cleaner ’s, game
consoles and similar devices.
What to do when an electrical load reduction action
message is present (“Battery Saver On” or “Battery
Saver Mode”)
During a trip:
• Reduce power to unnecessary loads if possible:
– Turn off redundant lights (interior or exterior)
– Check what may be plugged in to power outlets +12V, 115V AC, USB ports
– Check HVAC settings (blower, temperature)
– Check the audio settings (volume)
344 UNDERSTANDING YOUR INSTRUMENT PANEL