Page 257 of 745
NOTE:HomeLink is disabled when the Vehicle Security
Alarm is active.
Before You Begin Programming HomeLink
Be sure that your vehicle is parked outside of the garage
before you begin programming.
For more efficient programming and accurate transmis-
sion of the radio-frequency signal, it is recommended
that a new battery be placed in the hand-held transmitter
of the device that is being programmed to the HomeLink
system.
To erase the channels, place the ignition in the ON/RUN
position and push and hold the two outside HomeLink
buttons (I and III) for up 20 seconds or until the red
indicator flashes.
HomeLink Buttons/Overhead Console
3
UNDERSTANDING THE FEATURES OF YOUR VEHICLE 255
Page 263 of 745
2. Push and hold the desired HomeLink button until theindicator light begins to flash after 20 seconds. Do not
release the button.
3. Without releasing the button, proceed with
“Canadian/Gate Operator Programming” step 2 and
follow all remaining steps.
Using HomeLink
To operate, push and release the programmed HomeLink
button. Activation will now occur for the programmed
device (i.e. garage door opener, gate operator, security
system, entry door lock, home/office lighting, etc.) The
hand-held transmitter of the device may also be used at
any time.
Security
It is advised to erase all channels before you sell or turn
in your vehicle. To do this, push and hold the two outside buttons for
20 seconds until the red indicator flashes.
NOTE:
All channels will be erased. Individual channels
cannot be erased.
The HomeLink Universal Transceiver is disabled when
the Vehicle Security Alarm is active.
Troubleshooting Tips
If you are having trouble programming HomeLink, here
are some of the most common solutions:
• Replace the battery in the Garage Door Opener hand-
held transmitter.
• Push the LEARN button on the Garage Door Opener
to complete the training for a Rolling Code.
• Did you unplug the device for programming and
remember to plug it back in?
3
UNDERSTANDING THE FEATURES OF YOUR VEHICLE 261
Page 273 of 745
Wind Buffeting
Wind buffeting can be described as the perception of
pressure on the ears or a helicopter-type sound in the
ears. Your vehicle may exhibit wind buffeting with the
windows down, or the sunroof (if equipped) in certain
open or partially open positions. This is a normal occur-
rence and can be minimized. If the buffeting occurs with
the rear windows open, open the front and rear windows
together to minimize the buffeting. If the buffeting occurs
with the sunroof open, adjust the sunroof opening to
minimize the buffeting or open any window.
Sunroof Maintenance
Use only a non-abrasive cleaner and a soft cloth to clean
the glass panel.
Ignition Off Operation
NOTE:
•The power sunroof switch can remain active in Acces-
sory Delay for up to approximately ten minutes after
the vehicles ignition is placed to the Off position.
Opening either front door will cancel this feature.
• This feature is programmable using the Uconnect
System. Refer to “Uconnect Settings” in “Understand-
ing Your Instrument Panel” for further information.
ELECTRICAL POWER OUTLETS
Your vehicle is equipped with 12 Volt (13 Amp) power
outlets that can be used to power cellular phones, small
electronics and other low powered electrical accessories.
The power outlets are labeled with either a “key” or a
“battery” symbol to indicate how the outlet is powered.
3
UNDERSTANDING THE FEATURES OF YOUR VEHICLE 271
Page 274 of 745
Power outlets labeled with a “key” are powered when
the ignition is in the ON or ACC position, while the
outlets labeled with a “battery” are connected directly to
the battery and powered at all times.
NOTE:
•
All accessories connected to the “battery” powered out-
lets should be removed or turned off when the vehicle is
not in use to protect the battery against discharge.
• To ensure proper cigar lighter operation, a MOPAR
knob and element must be used.
CAUTION!
Power outlets are designed for accessory plugs only.
Do not insert any other object in the power outlets as
this will damage the outlet and blow the fuse.
Improper use of the power outlet can cause damage
not covered by your New Vehicle Limited Warranty. The front power outlet is located inside the storage area
on the center stack of the instrument panel. Push inward
on the storage lid to open the compartment and gain
access to this power outlet.
Front Power Outlet
272 UNDERSTANDING THE FEATURES OF YOUR VEHICLE
Page 275 of 745
In addition to the front power outlet, there is also a power
outlet located in the storage area of the center console.
The rear power outlet is located in the right rear cargo
area.NOTE:
The rear power outlet can be switched from
switched “ignition” only to constant “battery” powered
all the time. See your local authorized dealer for details.
Center Console Outlet
Rear Power Outlet
3
UNDERSTANDING THE FEATURES OF YOUR VEHICLE 273
Page 277 of 745
WARNING!
To avoid serious injury or death:
•Only devices designed for use in this type of outlet
should be inserted into any 12 Volt outlet.
• Do not touch with wet hands.
• Close the lid when not in use and while driving the
vehicle.
• If this outlet is mishandled, it may cause an electric
shock and failure.
CAUTION!
• Many accessories that can be plugged in draw
power from the vehicle’s battery, even when not in
use (i.e., cellular phones, etc.). Eventually, if
plugged in long enough, the vehicle’s battery will
discharge sufficiently to degrade battery life and/or
prevent the engine from starting.
• Accessories that draw higher power (i.e., coolers,
vacuum cleaners, lights, etc.) will degrade the bat-
tery even more quickly. Only use these intermit-
tently and with greater caution.
• After the use of high power draw accessories, or
long periods of the vehicle not being started (with
accessories still plugged in), the vehicle must be
driven a sufficient length of time to allow the
generator to recharge the vehicle’s battery.
3
UNDERSTANDING THE FEATURES OF YOUR VEHICLE 275
Page 291 of 745
If the rear wiper is operating when the ignition is turned
OFF, the wiper will automatically return to the “park”
position.
Rear Window Defroster
The rear window defroster button is located on
the climate control panel. Push this button to turn
on the rear window defroster and the heated outside
mirrors (if equipped). An indicator in the button will
illuminate when the rear window defroster is on. The
rear window defroster automatically turns off after ap-
proximately 10 minutes. For an additional five minutes of
operation, push the button a second time.
NOTE: To prevent excessive battery drain, use the rear
window defroster only when the engine is operating.
CAUTION!
Failure to follow these cautions can cause damage to
the heating elements:
• Use care when washing the inside of the rear
window. Do not use abrasive window cleaners on
the interior surface of the window. Use a soft cloth
and a mild washing solution, wiping parallel to the
heating elements. Labels can be peeled off after
soaking with warm water.
• Do not use scrapers, sharp instruments, or abrasive
window cleaners on the interior surface of the
window.
• Keep all objects a safe distance from the window.
3
UNDERSTANDING THE FEATURES OF YOUR VEHICLE 289
Page 295 of 745
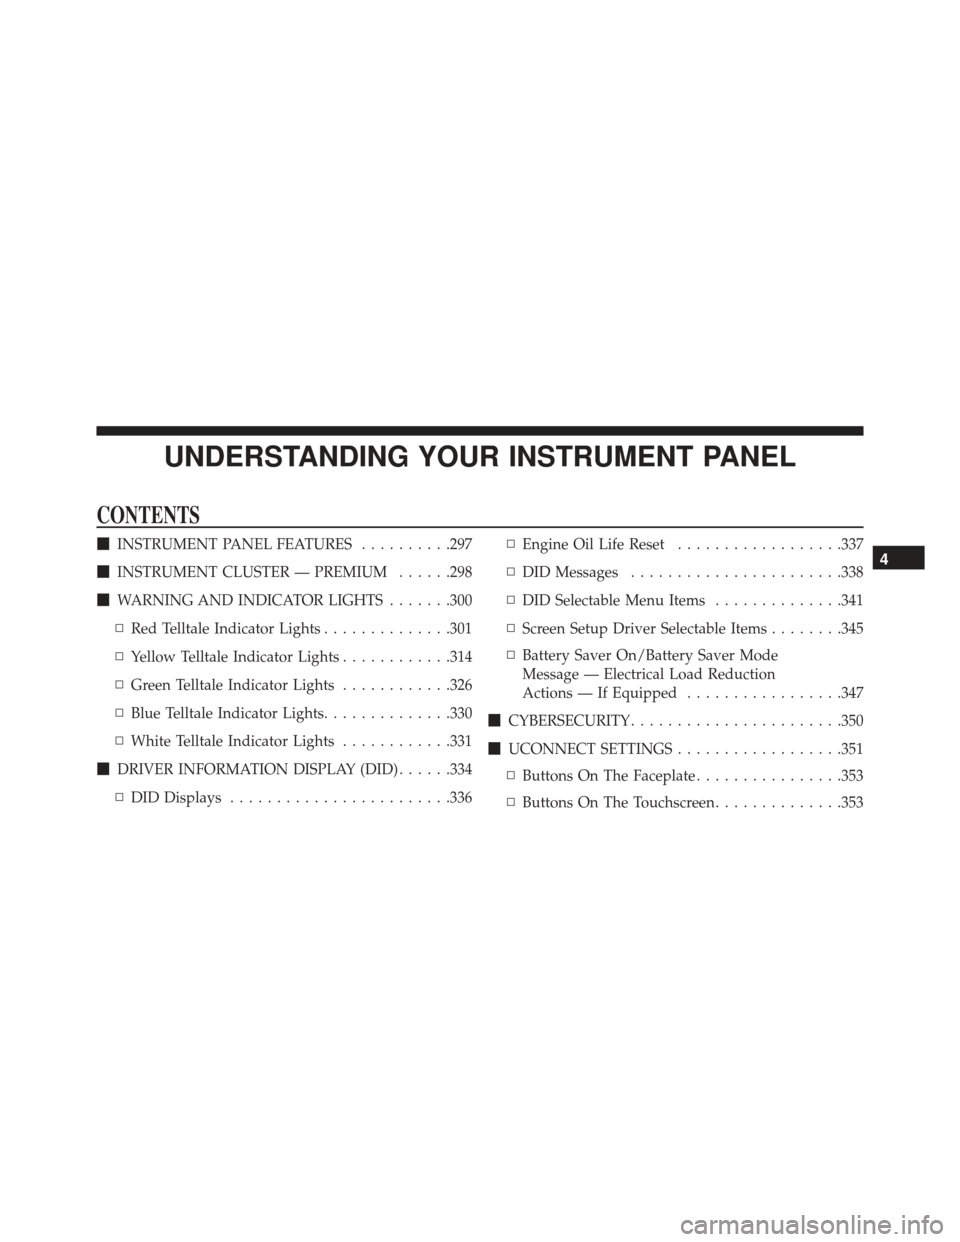
UNDERSTANDING YOUR INSTRUMENT PANEL
CONTENTS
�INSTRUMENT PANEL FEATURES ..........297
� INSTRUMENT CLUSTER — PREMIUM ......298
� WARNING AND INDICATOR LIGHTS .......300
▫ Red Telltale Indicator Lights ..............301
▫ Yellow Telltale Indicator Lights ............314
▫ Green Telltale Indicator Lights ............326
▫ Blue Telltale Indicator Lights ..............330
▫ White Telltale Indicator Lights ............331
� DRIVER INFORMATION DISPLAY (DID) ......334
▫ DID Displays ....................... .336▫
Engine Oil Life Reset ..................337
▫ DID Messages ...................... .338
▫ DID Selectable Menu Items ..............341
▫ Screen Setup Driver Selectable Items ........345
▫ Battery Saver On/Battery Saver Mode
Message — Electrical Load Reduction
Actions — If Equipped .................347
� CYBERSECURITY ...................... .350
� UCONNECT SETTINGS ..................351
▫ Buttons On The Faceplate ................353
▫ Buttons On The Touchscreen ..............3534