2016 JEEP COMPASS ECU
[x] Cancel search: ECUPage 42 of 148

POWER SUNROOF
The power sunroof switch is located on the overhead console.
WARNING!
• Never leave children alone in a vehicle, or with access to an unlocked vehicle.Never leave the Key Fob in or near the vehicle, or in a location accessible to
children. Occupants, particularly unattended children, can become entrapped
by the power sunroof while operating the power sunroof switch. Such entrap-
ment may result in serious injury or death.
• In a collision, there is a greater risk of being thrown from a vehicle with an open
sunroof. You could also be seriously injured or killed. Always fasten your seat
belt properly and make sure all passengers are properly secured.
• Do not allow small children to operate the sunroof. Never allow your fingers,
other body parts, or any object to project through the sunroof opening. Injury
may result.
Opening Sunroof — Express
Push the switch rearward and release it within one-half second. The sunroof and
sunshade will open automatically from any position. The sunroof and sunshade will
open fully and stop automatically. This is called “Express Open.” During Express
Open operation, any other actuation of the sunroof switch will stop the sunroof.
Opening Sunroof — Manual Mode
To open the sunroof, push and hold the switch rearward to full open. Any release of
the switch will stop the movement. The sunroof and sunshade will remain in a
partially opened condition until the sunroof switch is pushed again.
Closing Sunroof — Express
Push the switch forward and release it within one-half second and the sunroof will
close automatically from any position. The sunroof will close fully and stop automati-
cally. This is called “Express Close.” During Express Close operation, any other
actuation of the switch will stop the sunroof.
Closing Sunroof — Manual Mode
To close the sunroof, push and hold the switch in the forward position. Any release of
the switch will stop the movement and the sunroof will remain in a partially closed
condition until the sunroof switch is pushed again.
OPERATING YOUR VEHICLE
40
Page 61 of 148

Copying Pictures To The HDD
• Insert either a CD or a USB device containing your pictures in JPEG format.
• Push the MY FILES button on the faceplate.
• Press the “My Pictures” button on the touchscreen to get an overview of thecurrently stored images, then press the “Add” button on the touchscreen.
• Press the “Disc” or “USB” button on the touchscreen, then select the folders or pictures you wish to copy to the HDD. Use the “PAGE” buttons on the touchscreen
to page through the list of pictures.
• Press the desired pictures or press the “All” button on the touchscreen for all pictures. Confirm your selections by pressing the “SAVE” button on the
touchscreen.
NOTE:
The copy progress is shown in the lower
left corner of the screen.
Display A Picture On The Radio Screen
• Once the import is complete, the pictures will then be available in the “MY PICTURES” screen.
• Push the MY FILES button on the faceplate, then press the “My Pictures” button on the touchscreen. Press the desired picture, then press the “Set as Picture View”
button on the touchscreen and then press the “Exit” button on the touchscreen.
Lastly push the MENU button on the faceplate and then press the “Picture View”
button on the touchscreen to display the chosen picture on the radio screen.
NOTE:
• A check mark in the My Pictures screen indicates the currently used picture.
• You can also delete pictures by pressing the “Delete” button on the touchscreen.
Copying Pictures To The HDD
ELECTRONICS
59
Page 66 of 148

Taking A Detour
To take a detour you must be navigating a route.
• Press the “back arrow” icon button on the touchscreen multiple times to return tothe Main Navigation menu.
• Press the “Detour” button on the touchscreen.
NOTE:
If the route you are currently taking is the only reasonable option, the device might
not calculate a detour.
Acquiring Satellites
The GPS Satellite strength bars indicate the strength of your satellite reception.
• Acquiring satellite signals can take a few minutes. When at least one of the bars is green, your device has acquired satellite signals.
• You may experience delays receiving satellite signals when in areas with an obstructed view to the sky, such as garages, tunnels, or large cities with tall
buildings.
SiriusXM SATELLITE RADIO/TRAVEL LINK
SiriusXM Travel Link requires a subscription, sold separately after the five year trial
subscription included with your vehicle purchase and is ONLY available in the United
States.
To access SiriusXM Satellite Radio, push the RADIO/MEDIA or RADIO button on the
faceplate, then press the “SAT” button on the touchscreen.
The following describes features that are available when in SiriusXM Satellite Radio
mode.
Info
• Press the “i” button on the touchscreen to view detailed information about thecurrent SiriusXM Satellite channel.
SiriusXM Parental Controls
• SiriusXM offers the option to permanently block selected channels. Call 1-888-539-7474 and request the Family Package.
• Uconnect 430/430N: Push the MENU button on the faceplate while in SiriusXM
Satellite Radio Mode, then press the “Channel Lock” to enable and/or disable
desired channels. The SEEK and SCAN function will then only display channels
without Channel lock.
ELECTRONICS
64
Page 78 of 148

Compass Calibration
This compass is self-calibrating, which eliminates the need to set the compass
manually. When the vehicle is new, the compass may appear erratic, and the EVIC
will display “CAL” until the compass is calibrated.
You may also calibrate the compass by completing one or more 360 degree turns (in
an area free from large metal or metallic objects) until the “CAL” message displayed
in the EVIC turns off. The compass will now function normally.
PROGRAMMABLE FEATURES
Electronic Vehicle Information Center (EVIC)
The EVIC can be used to program the following Personal Settings. Push theMENU
button until Personal Settings displays, then push the DOWNArrow button
to
scroll through the settings. Push the RIGHTArrow button
to change the setting.
• Language • Illuminated Approach
• Auto Unlock On Exit • Hill Start Assist (HSA)
• RKE Unlock Driver's Door 1st Press • Display Units In
• Flash Lamps With Lock • Confirmation of Voice Commands
• Sound Horn With Lock • Automatic Compass Calibration
• Headlamp Off Delay • Compass Variance
• Key Off Power Delay
Key Fob Programmable Features
The following features may also be programmed by using the Key Fob transmitter or
the ignition and driver's door lock switch. Refer to “Uconnect Settings” in “Under-
standing Your Instrument Panel” in the Owner’s Manual on the DVD for further
information.
NOTE:
Pushing the LOCK button while you are inside the vehicle will activate the Vehicle
Security Alarm. Opening a door with the Vehicle Security Alarm activated will cause
the alarm to sound. Push the UNLOCK button to deactivate the Vehicle Security
Alarm.
Unlock On First Press
To unlock either the driver's side, or all doors, on the first press of the UNLOCK
button:
• Push and hold the LOCK button for at least four seconds, but no longer than 10 seconds. Then, push and hold the UNLOCK button while still holding the LOCK
button.
• Release both buttons at the same time.
ELECTRONICS
76
Page 80 of 148

UNIVERSAL GARAGE DOOR OPENER (HomeLink)
• HomeLink replaces up to three hand-held transmitters that operate devices suchas garage door openers, motorized gates, lighting or home security systems. The
HomeLink unit is powered by your vehicles 12 Volt battery.
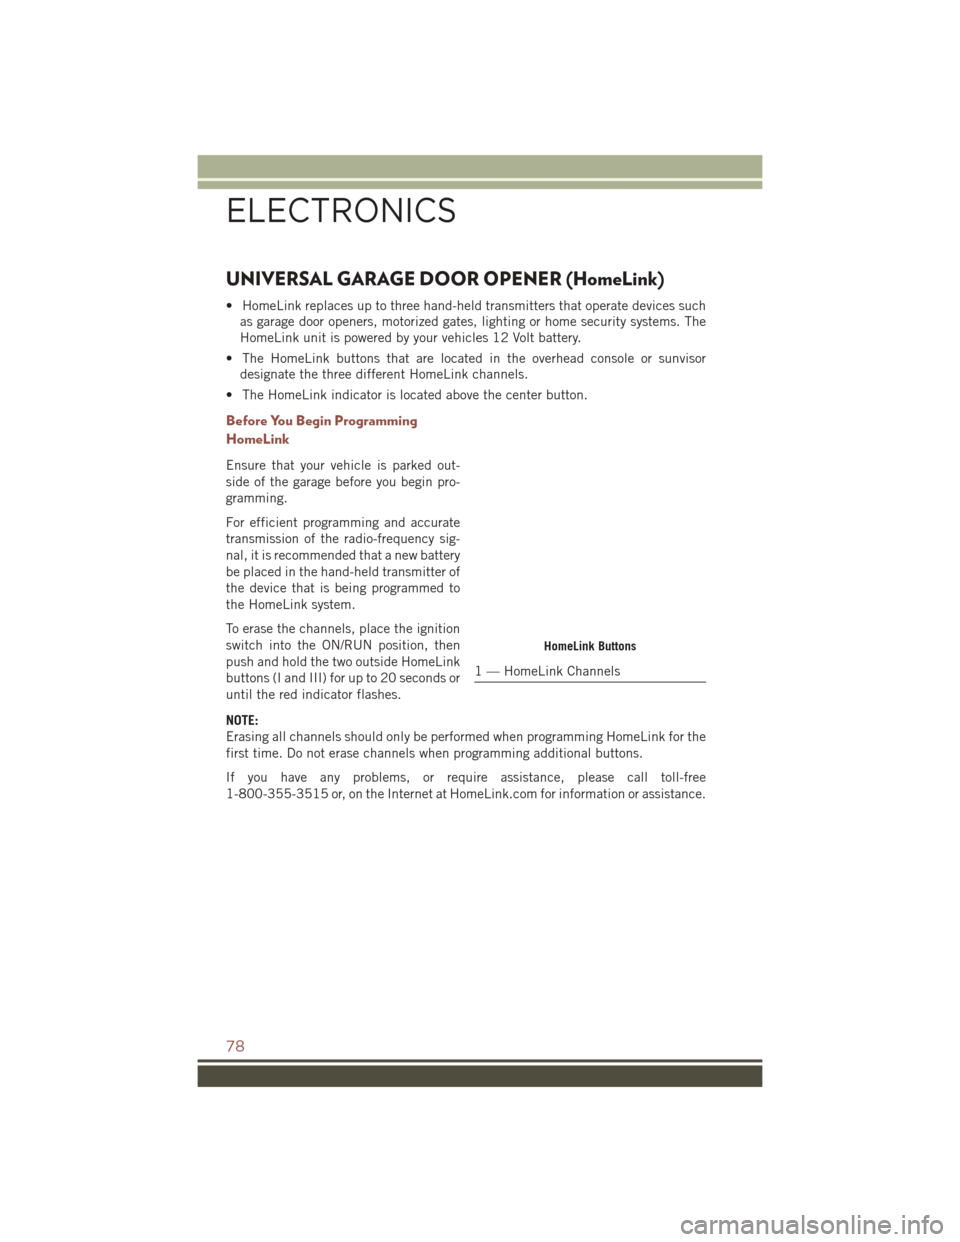
• The HomeLink buttons that are located in the overhead console or sunvisor designate the three different HomeLink channels.
• The HomeLink indicator is located above the center button.
Before You Begin Programming
HomeLink
Ensure that your vehicle is parked out-
side of the garage before you begin pro-
gramming.
For efficient programming and accurate
transmission of the radio-frequency sig-
nal, it is recommended that a new battery
be placed in the hand-held transmitter of
the device that is being programmed to
the HomeLink system.
To erase the channels, place the ignition
switch into the ON/RUN position, then
push and hold the two outside HomeLink
buttons (I and III) for up to 20 seconds or
until the red indicator flashes.
NOTE:
Erasing all channels should only be performed when programming HomeLink for the
first time. Do not erase channels when programming additional buttons.
If you have any problems, or require assistance, please call toll-free
1-800-355-3515 or, on the Internet at HomeLink.com for information or assistance.
HomeLink Buttons
1 — HomeLink Channels
ELECTRONICS
78
Page 82 of 148

Programming A Non-Rolling Code
NOTE:
For programming Garage Door Openers manufactured before 1995.
1. Turn the ignition switch to the ON/RUN position.
2. Place the hand-held transmitter 1 to 3 inches (3 to 8 cm) away from theHomeLink button you wish to program while keeping the HomeLink indicator light
in view.
3. Push and hold the HomeLink button you want to program while you push and hold the hand-held transmitter button.
4. Continue to hold both buttons and observe the indicator light. The HomeLink indicator will flash slowly and then rapidly after HomeLink has received the
frequency signal from the hand-held transmitter. Release both buttons after the
indicator light changes from slow to rapid.
5. Push and hold the programmed HomeLink button and observe the indicator light. If the indicator light stays on constantly, programming is complete and the garage
door (or device) should activate when the HomeLink button is pushed.
6. To program the two remaining HomeLink buttons, repeat each step for each remaining button. DO NOT erase the channels.
Using HomeLink
To operate, push and release the programmed HomeLink button. Activation will now
occur for the programmed device (e.g., garage door opener, gate operator, security
system, entry door lock, home/office lighting, etc.). The hand-held transmitter of the
device may also be used at any time.
WARNING!
• Your motorized door or gate will open and close while you are programming theuniversal transceiver. Do not program the transceiver if people or pets are in the
path of the door or gate.
• Do not run your vehicle in a closed garage or confined area while programming
the transceiver. Exhaust gas from your vehicle contains Carbon Monoxide (CO)
which is odorless and colorless. Carbon Monoxide is poisonous when inhaled
and can cause you and others to be severely injured or killed.
ELECTRONICS
80
Page 85 of 148

FOUR-WHEEL DRIVE OPERATION
This vehicle has two full time, on-demand, four-wheel-drive (4WD) systems avail-
able, Freedom Drive I and Freedom-Drive II. They provide for all-weather, all-terrain
capability for added driving security in less-than-ideal road conditions.
Freedom-Drive I Four Wheel Drive System
• The vehicle will constantly monitor wheel slippage and transfer power to the axlethat can use it the most.
• For additional traction in sand, deep snow or loose traction surfaces, the “4WD Lock” sends equal amounts of the torque to the front and rear axles at low speeds.
• To activate, pull the T-handle, located in between the front driver and passenger seats, up once and release. The “4WD Indicator Light” will come on in the cluster.
Freedom-Drive I Components
1 — Rear Differential
2 — Electronically Controlled Coupling
3 — Driveshaft
4 — Power Transfer Unit
OFF-ROAD CAPABILITIES
83
Page 94 of 148

– Front Fog Light Indicator
This indicator will illuminate when the front fog lights are on.
– Vehicle Security Light
This light will flash rapidly for approximately 15 seconds when the vehicle security
alarm is arming. The light will flash at a slower speed continuously after the alarm is
set. The security light will also come on for about three seconds when the ignition is
first turned on.
– 4WD Indicator
This light indicates the vehicle is in 4-wheel drive (4WD) mode.
– Electronic Stability Control (ESC) OFF Indicator Light
This light indicates the Electronic Stability Control (ESC) is off.
– Cruise Indicator
This indicator shows that the Electronic Speed Control System is ON.
– Hill Descent Control Indicator — If Equipped
This indicator will illuminate when Hill Descent Control (HDC) has been selected
using the Hill Descent Control Switch.
Oil Change Indicator
Message
If an “oil change” message (shown as CHANgE OIL) appears and a single chime
sounds, it is time for your next required oil change.
Resetting The Light After Servicing
1. Turn the ignition switch to the ON/RUN position (do not start engine).
2. Fully depress the accelerator pedal three times within 10 seconds.
3. Turn the ignition switch to the OFF/LOCK position.
WHAT TO DO IN EMERGENCIES
92