2016 JEEP COMPASS ECU
[x] Cancel search: ECUPage 98 of 148

Jacking Instructions
WARNING!
Carefully follow these tire changing warnings to help prevent personal injury or
damage to your vehicle:
• Always park on a firm, level surface as far from the edge of the roadway aspossible before raising the vehicle.
• Turn on the Hazard Warning flasher.
• Block the wheel diagonally opposite the wheel to be raised.
• Set the parking brake firmly and set an automatic transmission in PARK; a
manual transmission in REVERSE.
• Never start or run the engine with the vehicle on a jack.
• Do not let anyone sit in the vehicle when it is on a jack.
• Do not get under the vehicle when it is on a jack. If you need to get under a
raised vehicle, take it to a service center where it can be raised on a lift.
• Only use the jack in the positions indicated and for lifting this vehicle during
a tire change.
• If working on or near a roadway, be extremely careful of motor traffic.
• To assure that spare tires, flat or inflated, are securely stowed, spares must be
stowed with the valve stem facing the ground.
Warning Label
WHAT TO DO IN EMERGENCIES
96
Page 100 of 148

CAUTION!
Do not attempt to raise the vehicle by jacking on locations other than those
indicated.Do not raise the vehicle until you are
sure the jack is securely engaged.
3. Turn the jack screw to the left until the jack can be placed under the jacking
location. Once the jack is positioned,
turn the jack screw to the right until
the jack head is properly engaged with
the lift area closest to the wheel to be
changed.
WARNING!
Raising the vehicle higher than necessary can make the vehicle less stable. It
could slip off the jack and hurt someone near it. Raise the vehicle only enough to
remove the tire.
4. Using the swivel wrench raise the vehicle by turning the jack screw to the right. Raise the vehicle only until the tire just clears the surface and enough clearance
is obtained to install the spare tire. Minimum tire lift provides maximum stability.
Front Jack Engaged
Rear Jack Engaged
WHAT TO DO IN EMERGENCIES
98
Page 102 of 148

7. Finish tightening the nuts. Push down on the wrench while at the end of thehandle for increased leverage. Tighten the lug nuts in a star pattern until each nut
has been tightened twice. The correct wheel nut torque is 100 ft/lbs (135 N·m).
If you doubt that you have tightened the nuts correctly, have them checked with
a torque wrench by your authorized dealer or service station
8. Remove the wheel blocks and lower the jack until it is free. Release the parking brake. Reassemble the lug wrench to the jack assembly and stow it in the spare
tire area. Secure the assembly using the means provided.
WARNING!
A loose tire or jack thrown forward in a collision or hard stop could endanger the
occupants of the vehicle. Always stow the jack parts and the spare tire in the
places provided.
9. Place the deflated (flat) tire in the cargo area, have the tire repaired or replaced as
soon as possible.
WARNING!
A loose tire thrown forward in a collision or hard stop could injure the occupants
in the vehicle. Have the deflated (flat) tire repaired or replaced immediately.
10. Check the spare tire pressure as soon as possible. Correct the tire pressure as required.
11. After 25 miles (40 km) check the lug nut torque with a torque wrench to ensure that all lug nuts are properly seated against the wheel.
WHAT TO DO IN EMERGENCIES
100
Page 111 of 148

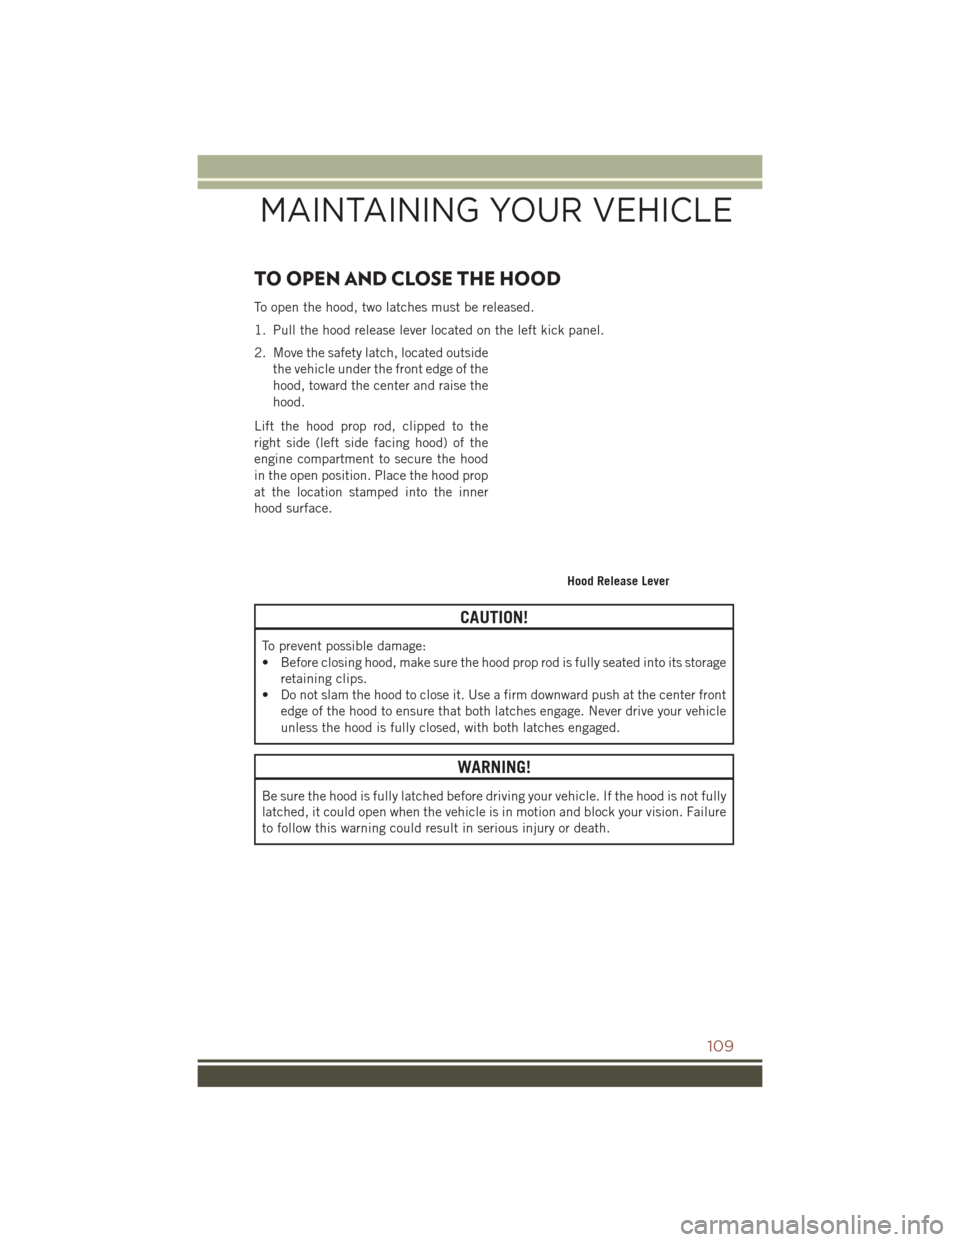
TO OPEN AND CLOSE THE HOOD
To open the hood, two latches must be released.
1. Pull the hood release lever located on the left kick panel.
2. Move the safety latch, located outsidethe vehicle under the front edge of the
hood, toward the center and raise the
hood.
Lift the hood prop rod, clipped to the
right side (left side facing hood) of the
engine compartment to secure the hood
in the open position. Place the hood prop
at the location stamped into the inner
hood surface.
CAUTION!
To prevent possible damage:
• Before closing hood, make sure the hood prop rod is fully seated into its storage retaining clips.
• Do not slam the hood to close it. Use a firm downward push at the center front
edge of the hood to ensure that both latches engage. Never drive your vehicle
unless the hood is fully closed, with both latches engaged.
WARNING!
Be sure the hood is fully latched before driving your vehicle. If the hood is not fully
latched, it could open when the vehicle is in motion and block your vision. Failure
to follow this warning could result in serious injury or death.
Hood Release Lever
MAINTAINING YOUR VEHICLE
109
Page 130 of 148

• Replacement User Guide kits or DVDs or, if you prefer, additional printed copiesof the Owner's Manual, Warranty Booklet or Radio Manuals may be purchased by
visiting www.techauthority.com or by calling 1-877-890-4038 (U.S.) or
1-800-387-1143 (Canada). Visa, Master Card, American Express and Discover
orders are accepted. If you prefer mailing your order, please call the above
numbers for an order form.
NOTE:
• A street address is required when ordering manuals (no P.O. Boxes).
• The Owner's Manual and User Guide electronic files are also available on the Chrysler, Jeep, Ram Truck, Dodge and SRT websites.
• Click on the “For Owners” tab, select “Owner/Service Manuals”, then select your desired model year and vehicle from the drop down lists.
REPORTING SAFETY DEFECTS IN THE UNITED
STATES
If you believe that your vehicle has a defect that could cause a collision or cause
injury or death, you should immediately inform the National Highway Traffic Safety
Administration (NHTSA) in addition to notifying the manufacturer.
If NHTSA receives similar complaints, it may open an investigation, and if it finds
that a safety defect exists in a group of vehicles, it may order a recall and remedy
campaign. However, NHTSA cannot become involved in individual problems between
you, your authorized dealer and the manufacturer.
To contact NHTSA, you may either call the Auto Safety Hotline toll free at
1-888-327-4236 (TTY: 1-800-424-9153), or go to http://www.safercar.gov; or write
to: Administrator, NHTSA, 1200 New Jersey Avenue, SE., West Building,
Washington, D.C. 20590. You can also obtain other information about motor vehicle
safety from http://www.safercar.gov.
In Canada
If you believe that your vehicle has a safety defect, you should contact the Customer
Service Department immediately. Canadian customers who wish to report a safety
defect to the Canadian government should contact Transport Canada, Motor Vehicle
Defect Investigations and Recalls at 1-800-333-0510 or go to
http://www.tc.gc.ca/roadsafety/.
French Canadian customers who wish to report a safety defect to the Canadian
government should contact Transport Canada, Motor Vehicle Defect Investigations
and Recalls at 1-800-333-0510 or go to http://www.tc.gc.ca/securiteroutiere/.
CUSTOMER ASSISTANCE
128
Page 134 of 148

Adding Engine Coolant(Antifreeze) .............116
Adding Washer Fluid .........116
Adjust Down .................24
Forward ...............24
Rearward ..............24
Up ..................24
Air Bag AdvancedFrontAirBag ......14
AdvanceFrontAirBag ......14
AirBagComponents ........14
AirBags ...............14
AirBagWarningLight.....14,17
Enhanced Accident
Response ...........16,108
Event Data Recorder (EDR). .17, 108
FrontAirBag ............14
Rollover ...............14
SideAirBags ............15
SideImpacts ............14
AirBagLight............17,87
Air Cleaner, Engine (Engine Air Cleaner Filter) ...........116
Air Conditioner Maintenance ....116
Air Conditioning ............39
Air Conditioning Refrigerant .....116
Air Conditioning System .......116
Air Recirculation ..........38,39
Alarm Arm The System ..........12
Disarm The System ........12
Vehicle Security Alarm ......12
Alarm, Panic ..............10
Alarm (Security Alarm) ......12,92
Antifreeze (Engine Coolant) . .114, 116 Capacities ............114
Disposal ..............116
Anti-Lock Warning Light ........87
Appearance Care ...........116
Assistance Towing ...........87
Audio Jack ........45,48,51,57
Audio Settings ........45,47,50
Audio Systems (Radio) .........44
Automatic Temperature Control (ATC).................39
Automatic Transmission ........38
FluidType ............115 Overheating
............93
AxleFluid...............115
Back-Up Camera ............37
Battery .................116
Bluetooth Connecting To A Particular Mobile
Phone Or Audio Device After
Pairing ................70
Body Mechanism Lubrication ....116
BrakeFluid ..............115
Brakes.................116
Brake System .............116
Master Cylinder .........116
Warning Light ...........89
Break-In Recommendations, New Vehicle ................29
Bulb Replacement ..........126
Bulbs,Light..............126
Calibration, Compass .........76
Canada.................128
Capacities, Antifreeze (Engine Coolant) ..............114
Capacities, Fluid ...........114
Caps, Filler Oil (Engine) ............116
CarWashes ..............116
CD (Compact Disc) Player .........45,48,51,56
Change Oil Indicator ..........92
ChangingAFlatTire..........94
Charging System Light .........87
Child Restraint .............18
Child Restraints ............18
Lower Anchors And Tethers For
Children ..............18
Child Seat Installation .........18
Cleaning Wheels ..............116
Windshield Wiper Blades ....116
Climate
Control .............38
Clock Setting .......44,47,50,53
Cluster Warning/Indicator Lights Anti-Lock Brake (ABS) Light . . .87
Brake Warning Light ........89
Charging System Light ......87
INDEX
132
Page 135 of 148

Electronic Stability Control (ESC)
Activation/Malfunction Indicator
Light ................91
Electronic Throttle Control (ETC)
Indicator Light...........87
FrontFogLightIndicator .....92
HighBeamIndicator .......91
Instrument Cluster Warning
Lights ................87
Malfunction Indicator Light
(MIL).................91
Oil Pressure Warning Light ....87
Tire Pressure Monitoring System
(TPMS) Light ............88
Turn Signal Indicator .......91
Vehicle Security Light .......92
Clutch .................116
ClutchFluid..............116
Compact Spare Tire ..........124
Compass Calibration ..........76
Coolant (Antifreeze) .........114
Cooling System ............116
Adding Coolant (Antifreeze) . .116
Coolant Level ...........116
Disposal Of Used Coolant ....116
Drain, Flush, And Refill .....116
Inspection ............116
Points To Remember ......116
Pressure Cap ...........116
Selection Of Coolant
(Antifreeze) ........114, 116
Corrosion Protection .........116
Customer Assistance ......127, 128
Defects, Reporting ..........128
Delay (Intermittent) Wipers ......32
Dimmer Switch, Headlight ......31
Disabled Vehicle Towing ........87
Disarming, Security System ......12
Disposal Antifreeze (Engine Coolant) . . .116
Driver's Seat Back Tilt .........26
Electronics Your Vehicle's Sound System . . .42
Electronic Speed Control (Cruise Control) ................34
Electronic Stability Control (ESC) . .91 Electronic Throttle Control Warning
Light.................87
Electronic Vehicle Information Center (EVIC) ................76
Average Fuel Consumption ....75
Distance Traveled .........75
Electronic Vehicle Information
Center (EVIC) ............75
ExitMenu ..............75
Language (Selecting The
Language) ..............76
Travel Time .............75
Trip Functions ...........75
Units (Set Units) ..........76
Emergency, In Case Of Jacking ...............94
Jump Starting ..........102
Overheating ............93
Towing ............87,106
Engine Air Cleaner ............116
Break-In Recommendations . . .29
Checking Oil Level ........116
Compartment ........110, 112
Coolant (Antifreeze) .......114
Cooling ...............116
Jump Starting ..........102
Oil .............. 114, 116
Oil
Filler Cap ...........116
Oil Selection ...........116
Overheating ............93
Enhanced Accident Response Feature ...............108
Exhaust System ............116
Filters Air Cleaner ............116
EngineOil ......... 114, 116
Engine Oil Disposal .......116
Flashers TurnSignal .............91
Fluid, Brake ..............115
Fluid Capacities ............114
Fluids, Lubricants And Genuine Parts ................114
FogLights .............31,92
FoldingRearSeat ...........26
FoldingRearSeat(Sedan) ......26
INDEX
133
Page 137 of 148

Hill Descent Control Indicator . .92
InstrumentCluster ........30
LowFuel ..............87
SeatBeltReminder ........91
Security Alarm...........92
Tire Pressure Monitoring
(TPMS) ...............88
Transmission Warning .......90
TurnSignal ..........30,31
Locks Liftgate, Tailgate ..........10
Lubrication, Body ...........116
Lumbar Support ............26
Maintenance Free Battery ......116
Maintenance,General ........116
MaintenanceProcedures.......116
Maintenance Record .........120
MaintenanceSchedule........116
Malfunction Indicator Light (Check Engine)................91
Manual Transmission Lubricant Selection .......115
Master Cylinder (Brakes) .......116
MediaCenterRadio........49,52
MOPAR Accessories .........129
Multi-Function Control Lever .....30
Navigation ................61
Navigation System (Uconnect GPS) .................61
Navigation Voice Prompt Volume . . .61
New Vehicle Break-In Period .....29
OilChangeIndicator..........92
Oil,Engine ........... 114, 116
Capacity ..............114
Change Interval .........116
Checking .............116
Disposal ..............116
Filter ............ 114, 116
Filter Disposal ..........116
Materials Added To .......116
Recommendation .....114, 116
Viscosity .............116
Oil Filter, Selection ..........116
Oil Pressure Light ...........87 Outlet
Power ................82
Overheating, Engine ..........93
PaintCare...............116
Panic Alarm ...............10
Passing Light ..............31
Phone (Pairing) .............70
Phone (Uconnect) ...........70
Placard, Tire And Loading Information .............123
Power Inverter ...............81
Outlet (Auxiliary Electrical
Outlet) ...............82
Sunroof ...............40
Power Seats Down.................24
Forward ...............24
Rearward ..............24
Tilt ..................24
Up ..................24
Power Steering Fluid .........115
Power Transfer Unit ..........115
Preparation For Jacking ........95
Programmable Electronic Features . .76
Radio Presets ........45,47,50,55
RadioOperation.....45,47,50,55
R
earCamera ..............37
Rear ParkSense System ........37
Rear Seat, Folding ...........26
Rear Wiper/Washer ...........34
Refrigerant ...............116
Remote Keyless Entry (RKE) Arm The Alarm ...........12
Disarm The Alarm .........12
Lock The Doors ...........10
Panic Alarm ............10
Remote Keyless Entry (RKE) . . .10
Unlock The Doors .........10
Remote Starting How To Use Remote Start .....11
KeyFob ...............11
Remote Starting System .....11
Remote Starting System ........11
INDEX
135