2016 JEEP COMPASS AUX
[x] Cancel search: AUXPage 58 of 148

• Once the desired station is found, press and hold one of the “PRESET” buttons onthe touchscreen in the list to the right, until you hear a confirmation beep.
NOTE:
If the Presets are not visible on the right side of the screen, press the “PRESETS”
button on the touchscreen.
CD/DVD Disc Operation
Push the MEDIA button on the faceplate to display the media source tabs at the top
of the screen. Select the source by pressing the “HDD,” “DISC,” or “AUX” media
source button on the touchscreen tab.
NOTE:
Your Touchscreen Radio will automatically switch to the appropriate mode when
something is first connected or inserted into the system.
CD/DVD Disc Operation
1 — Media Source Tabs
2 — Folder/Track
3 — Open Folder
4 — Track Information
5 — Sort Tracks6 — Track Scan
7 — Seek Down
8 — Play/Pause
9 — Seek Up
ELECTRONICS
56
Page 59 of 148

Insert a CD/DVD Disc
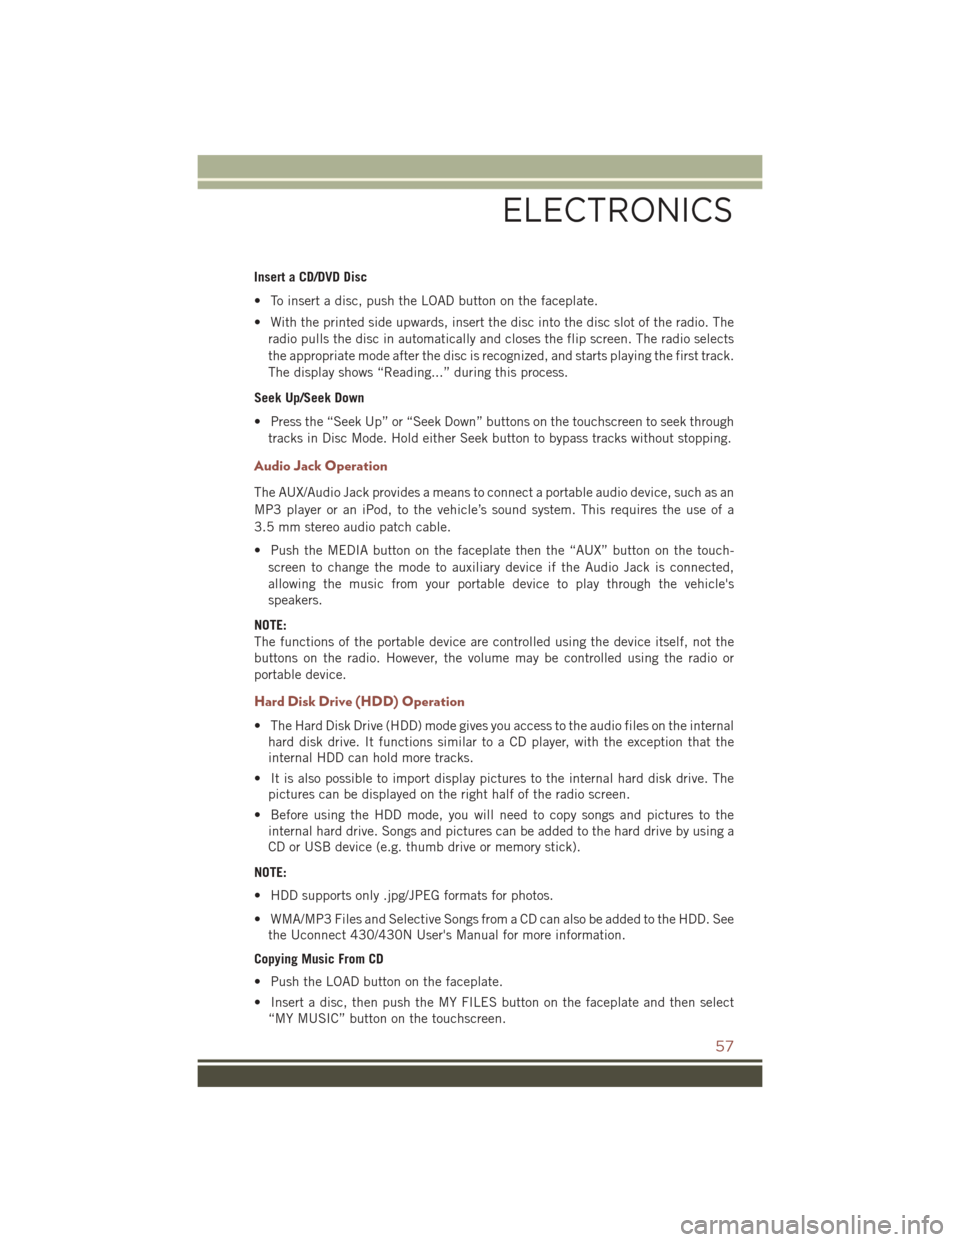
• To insert a disc, push the LOAD button on the faceplate.
• With the printed side upwards, insert the disc into the disc slot of the radio. Theradio pulls the disc in automatically and closes the flip screen. The radio selects
the appropriate mode after the disc is recognized, and starts playing the first track.
The display shows “Reading...” during this process.
Seek Up/Seek Down
• Press the “Seek Up” or “Seek Down” buttons on the touchscreen to seek through tracks in Disc Mode. Hold either Seek button to bypass tracks without stopping.
Audio Jack Operation
The AUX/Audio Jack provides a means to connect a portable audio device, such as an
MP3 player or an iPod, to the vehicle’s sound system. This requires the use of a
3.5 mm stereo audio patch cable.
• Push the MEDIA button on the faceplate then the “AUX” button on the touch-screen to change the mode to auxiliary device if the Audio Jack is connected,
allowing the music from your portable device to play through the vehicle's
speakers.
NOTE:
The functions of the portable device are controlled using the device itself, not the
buttons on the radio. However, the volume may be controlled using the radio or
portable device.
Hard Disk Drive (HDD) Operation
• The Hard Disk Drive (HDD) mode gives you access to the audio files on the internal hard disk drive. It functions similar to a CD player, with the exception that the
internal HDD can hold more tracks.
• It is also possible to import display pictures to the internal hard disk drive. The pictures can be displayed on the right half of the radio screen.
• Before using the HDD mode, you will need to copy songs and pictures to the internal hard drive. Songs and pictures can be added to the hard drive by using a
CD or USB device (e.g. thumb drive or memory stick).
NOTE:
• HDD supports only .jpg/JPEG formats for photos.
• WMA/MP3 Files and Selective Songs from a CD can also be added to the HDD. See the Uconnect 430/430N User's Manual for more information.
Copying Music From CD
• Push the LOAD button on the faceplate.
• Insert a disc, then push the MY FILES button on the faceplate and then select “MY MUSIC” button on the touchscreen.
ELECTRONICS
57
Page 71 of 148

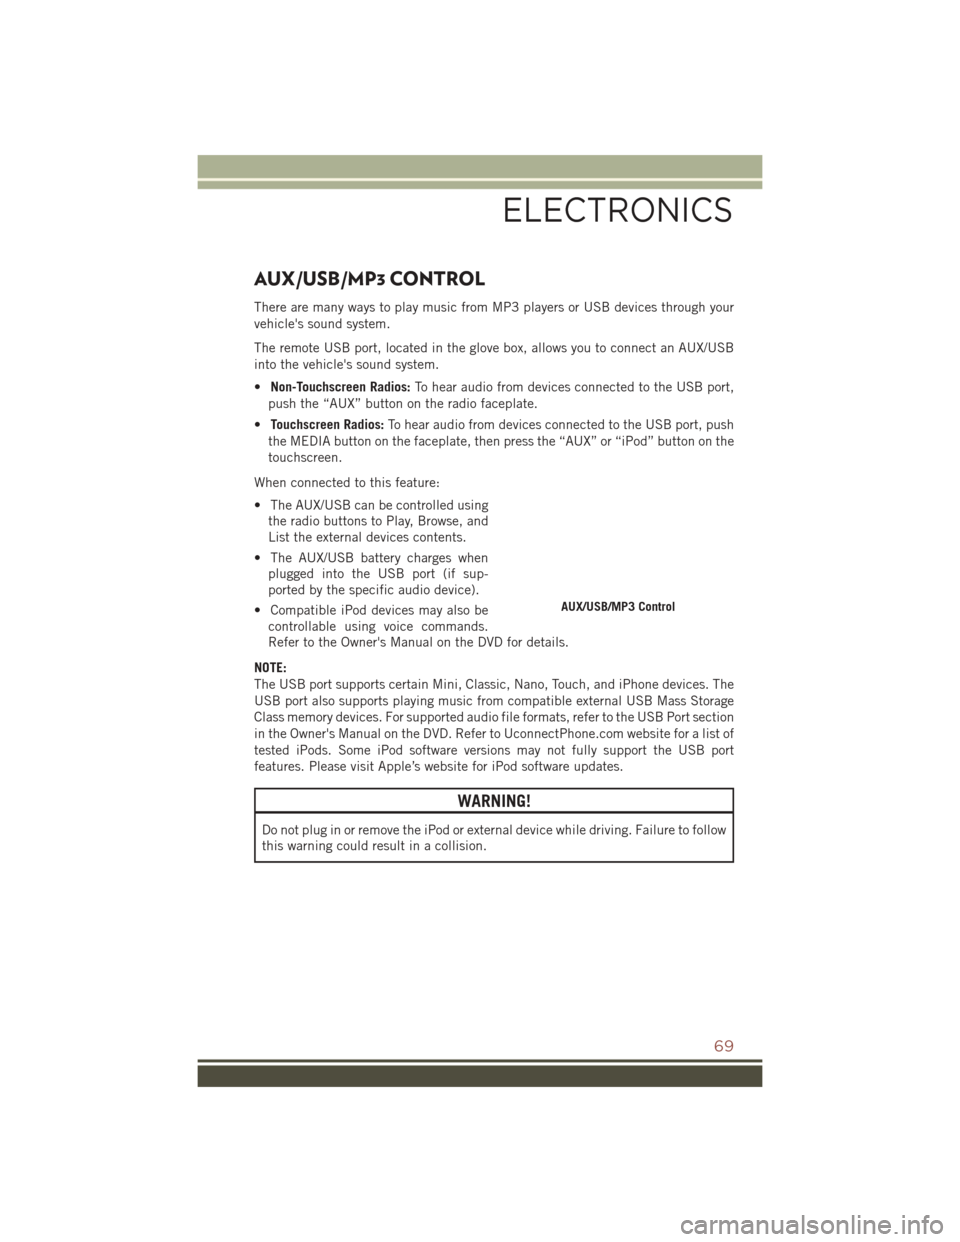
AUX/USB/MP3 CONTROL
There are many ways to play music from MP3 players or USB devices through your
vehicle's sound system.
The remote USB port, located in the glove box, allows you to connect an AUX/USB
into the vehicle's sound system.
•Non-Touchscreen Radios: To hear audio from devices connected to the USB port,
push the “AUX” button on the radio faceplate.
• Touchscreen Radios: To hear audio from devices connected to the USB port, push
the MEDIA button on the faceplate, then press the “AUX” or “iPod” button on the
touchscreen.
When connected to this feature:
• The AUX/USB can be controlled using the radio buttons to Play, Browse, and
List the external devices contents.
• The AUX/USB battery charges when plugged into the USB port (if sup-
ported by the specific audio device).
• Compatible iPod devices may also be controllable using voice commands.
Refer to the Owner's Manual on the DVD for details.
NOTE:
The USB port supports certain Mini, Classic, Nano, Touch, and iPhone devices. The
USB port also supports playing music from compatible external USB Mass Storage
Class memory devices. For supported audio file formats, refer to the USB Port section
in the Owner's Manual on the DVD. Refer to UconnectPhone.com website for a list of
tested iPods. Some iPod software versions may not fully support the USB port
features. Please visit Apple’s website for iPod software updates.
WARNING!
Do not plug in or remove the iPod or external device while driving. Failure to follow
this warning could result in a collision.
AUX/USB/MP3 Control
ELECTRONICS
69
Page 77 of 148

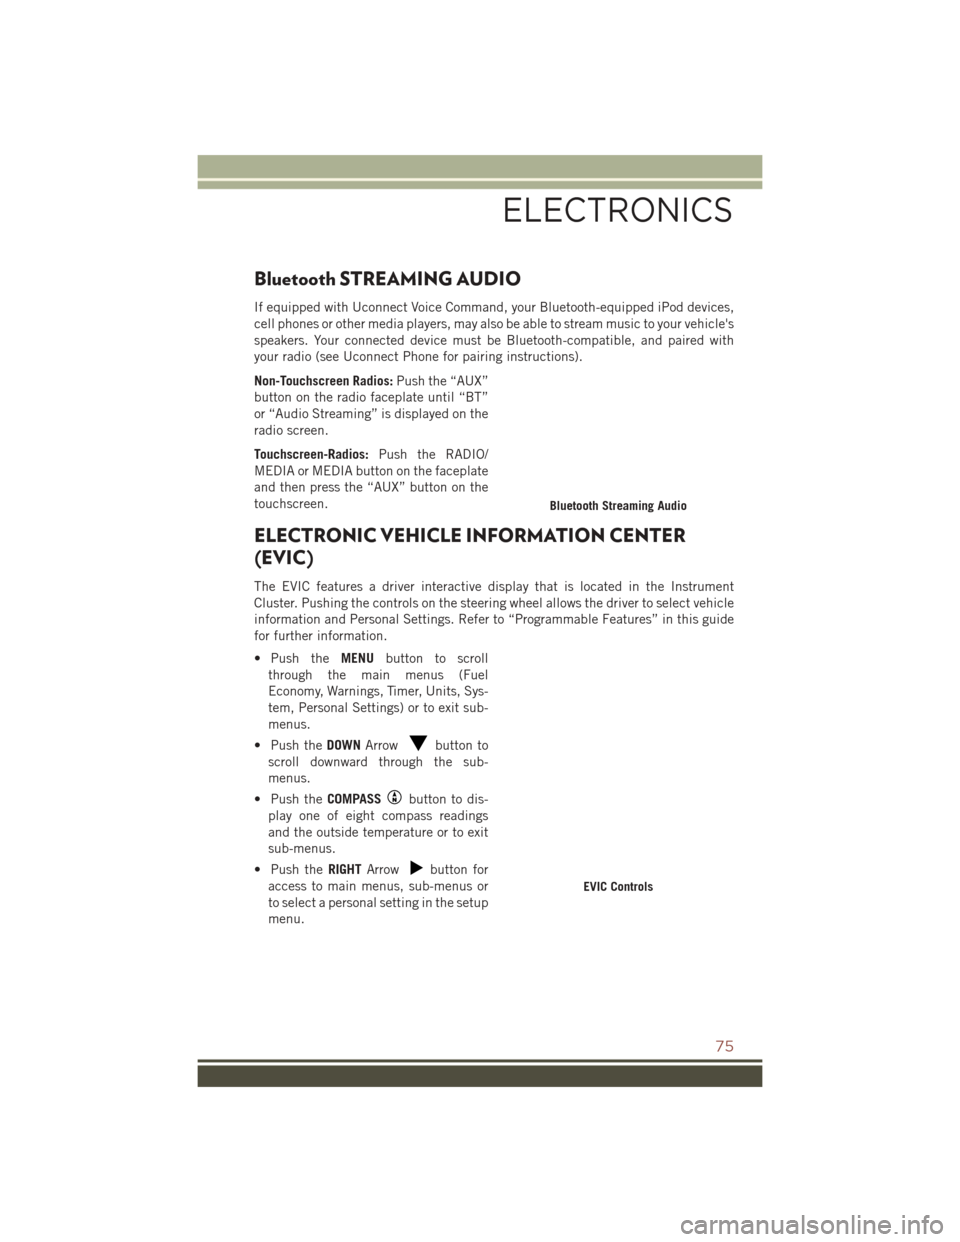
Bluetooth STREAMING AUDIO
If equipped with Uconnect Voice Command, your Bluetooth-equipped iPod devices,
cell phones or other media players, may also be able to stream music to your vehicle's
speakers. Your connected device must be Bluetooth-compatible, and paired with
your radio (see Uconnect Phone for pairing instructions).
Non-Touchscreen Radios:Push the “AUX”
button on the radio faceplate until “BT”
or “Audio Streaming” is displayed on the
radio screen.
Touchscreen-Radios: Push the RADIO/
MEDIA or MEDIA button on the faceplate
and then press the “AUX” button on the
touchscreen.
ELECTRONIC VEHICLE INFORMATION CENTER
(EVIC)
The EVIC features a driver interactive display that is located in the Instrument
Cluster. Pushing the controls on the steering wheel allows the driver to select vehicle
information and Personal Settings. Refer to “Programmable Features” in this guide
for further information.
• Push the MENUbutton to scroll
through the main menus (Fuel
Economy, Warnings, Timer, Units, Sys-
tem, Personal Settings) or to exit sub-
menus.
• Push the DOWNArrow
button to
scroll downward through the sub-
menus.
• Push the COMPASS
button to dis-
play one of eight compass readings
and the outside temperature or to exit
sub-menus.
• Push the RIGHTArrow
button for
access to main menus, sub-menus or
to select a personal setting in the setup
menu.
Bluetooth Streaming Audio
EVIC Controls
ELECTRONICS
75
Page 137 of 148

Hill Descent Control Indicator . .92
InstrumentCluster ........30
LowFuel ..............87
SeatBeltReminder ........91
Security Alarm...........92
Tire Pressure Monitoring
(TPMS) ...............88
Transmission Warning .......90
TurnSignal ..........30,31
Locks Liftgate, Tailgate ..........10
Lubrication, Body ...........116
Lumbar Support ............26
Maintenance Free Battery ......116
Maintenance,General ........116
MaintenanceProcedures.......116
Maintenance Record .........120
MaintenanceSchedule........116
Malfunction Indicator Light (Check Engine)................91
Manual Transmission Lubricant Selection .......115
Master Cylinder (Brakes) .......116
MediaCenterRadio........49,52
MOPAR Accessories .........129
Multi-Function Control Lever .....30
Navigation ................61
Navigation System (Uconnect GPS) .................61
Navigation Voice Prompt Volume . . .61
New Vehicle Break-In Period .....29
OilChangeIndicator..........92
Oil,Engine ........... 114, 116
Capacity ..............114
Change Interval .........116
Checking .............116
Disposal ..............116
Filter ............ 114, 116
Filter Disposal ..........116
Materials Added To .......116
Recommendation .....114, 116
Viscosity .............116
Oil Filter, Selection ..........116
Oil Pressure Light ...........87 Outlet
Power ................82
Overheating, Engine ..........93
PaintCare...............116
Panic Alarm ...............10
Passing Light ..............31
Phone (Pairing) .............70
Phone (Uconnect) ...........70
Placard, Tire And Loading Information .............123
Power Inverter ...............81
Outlet (Auxiliary Electrical
Outlet) ...............82
Sunroof ...............40
Power Seats Down.................24
Forward ...............24
Rearward ..............24
Tilt ..................24
Up ..................24
Power Steering Fluid .........115
Power Transfer Unit ..........115
Preparation For Jacking ........95
Programmable Electronic Features . .76
Radio Presets ........45,47,50,55
RadioOperation.....45,47,50,55
R
earCamera ..............37
Rear ParkSense System ........37
Rear Seat, Folding ...........26
Rear Wiper/Washer ...........34
Refrigerant ...............116
Remote Keyless Entry (RKE) Arm The Alarm ...........12
Disarm The Alarm .........12
Lock The Doors ...........10
Panic Alarm ............10
Remote Keyless Entry (RKE) . . .10
Unlock The Doors .........10
Remote Starting How To Use Remote Start .....11
KeyFob ...............11
Remote Starting System .....11
Remote Starting System ........11
INDEX
135