2016 Hyundai Santa Fe Sport ignition
[x] Cancel search: ignitionPage 19 of 763
Your vehicle at a glance
62
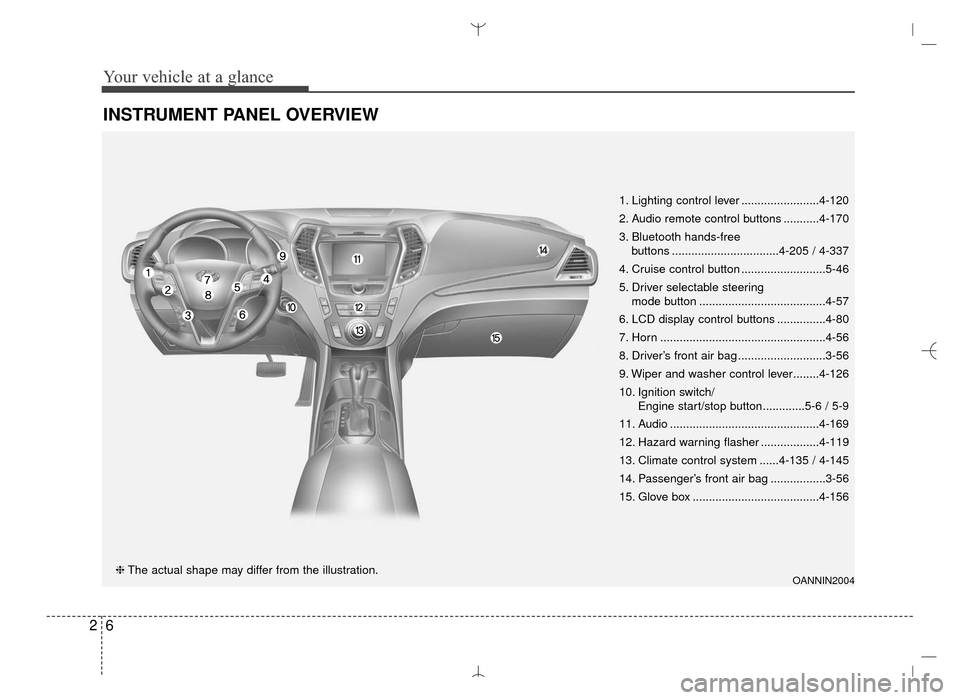
INSTRUMENT PANEL OVERVIEW
OANNIN2004❈The actual shape may differ from the illustration. 1. Lighting control lever ........................4-120
2. Audio remote control buttons ...........4-170
3. Bluetooth hands-free
buttons .................................4-205 / 4-337
4. Cruise control button ..........................5-46
5. Driver selectable steering mode button .......................................4-57
6. LCD display control buttons ...............4-80
7. Horn ...................................................4-56
8. Driver’s front air bag ...........................3-56
9. Wiper and washer control lever........4-126
10. Ignition switch/ Engine start/stop button.............5-6 / 5-9
11. Audio ..............................................4-169
12. Hazard warning flasher ..................4-119
13. Climate control system ......4-135 / 4-145
14. Passenger’s front air bag .................3-56
15. Glove box .......................................4-156
AN HMA 2.QXP 6/10/2015 11:21 AM Page 6
Page 27 of 763
Safety features of your vehicle
63
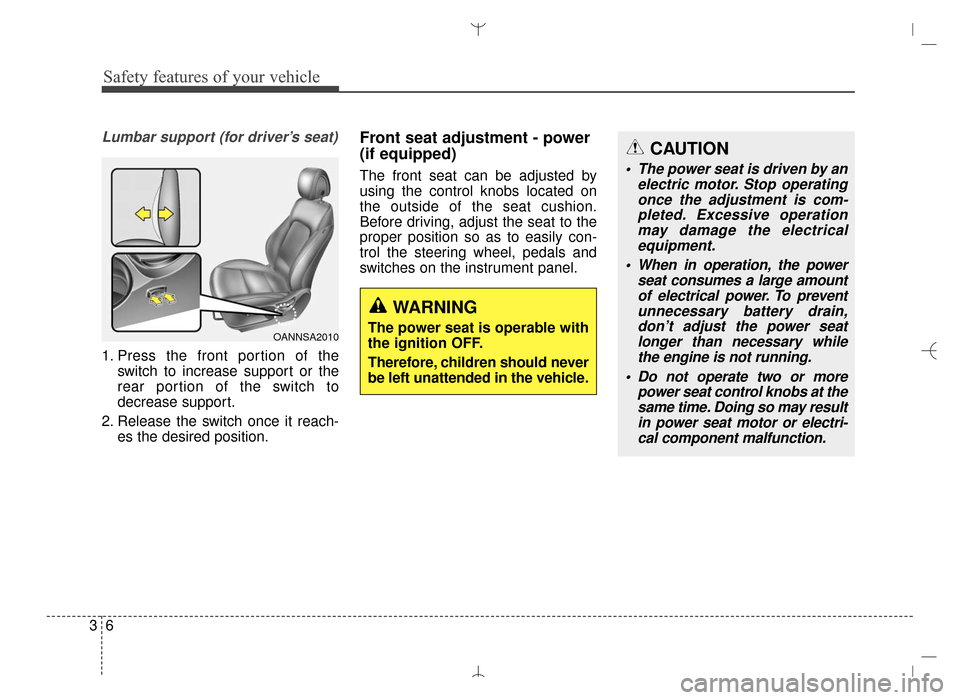
Lumbar support (for driver’s seat)
1. Press the front portion of theswitch to increase support or the
rear portion of the switch to
decrease support.
2. Release the switch once it reach- es the desired position.
Front seat adjustment - power
(if equipped)
The front seat can be adjusted by
using the control knobs located on
the outside of the seat cushion.
Before driving, adjust the seat to the
proper position so as to easily con-
trol the steering wheel, pedals and
switches on the instrument panel.
OANNSA2010
WARNING
The power seat is operable with
the ignition OFF.
Therefore, children should never
be left unattended in the vehicle.
CAUTION
The power seat is driven by anelectric motor. Stop operatingonce the adjustment is com-pleted. Excessive operationmay damage the electricalequipment.
When in operation, the power seat consumes a large amountof electrical power. To preventunnecessary battery drain,don’t adjust the power seatlonger than necessary whilethe engine is not running.
Do not operate two or more power seat control knobs at thesame time. Doing so may resultin power seat motor or electri-cal component malfunction.
AN HMA 3.QXP 3/5/2015 3:09 PM Page 6
Page 29 of 763
Safety features of your vehicle
83
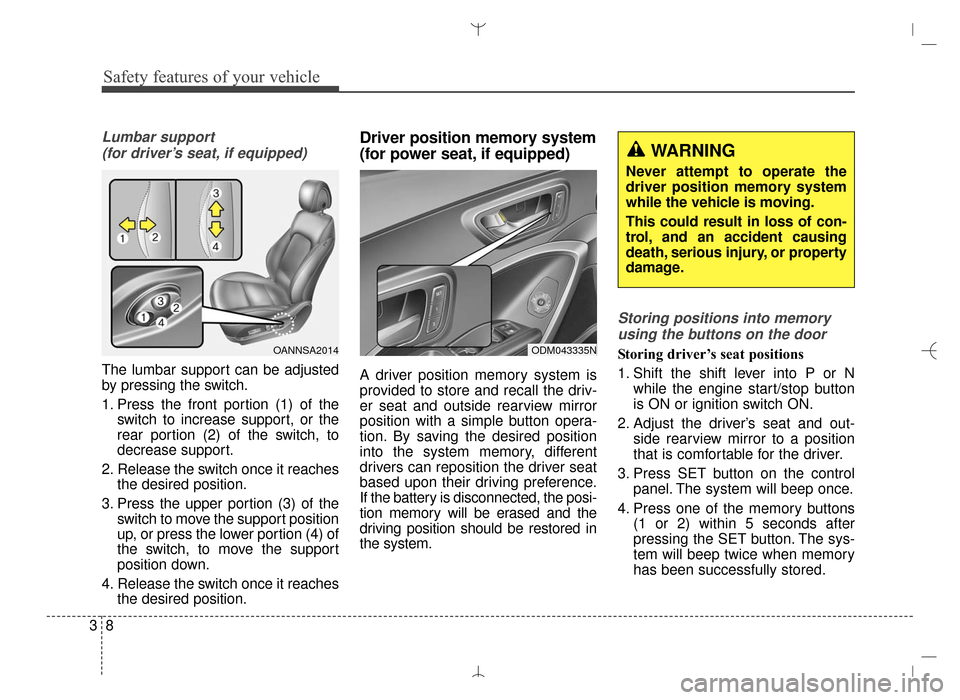
Lumbar support (for driver’s seat, if equipped)
The lumbar support can be adjusted
by pressing the switch.
1. Press the front portion (1) of the switch to increase support, or the
rear portion (2) of the switch, to
decrease support.
2. Release the switch once it reaches the desired position.
3. Press the upper portion (3) of the switch to move the support position
up, or press the lower portion (4) of
the switch, to move the support
position down.
4. Release the switch once it reaches the desired position.
Driver position memory system
(for power seat, if equipped)
A driver position memory system is
provided to store and recall the driv-
er seat and outside rearview mirror
position with a simple button opera-
tion. By saving the desired position
into the system memory, different
drivers can reposition the driver seat
based upon their driving preference.
If the battery is disconnected, the posi-
tion memory will be erased and the
driving position should be restored in
the system.
Storing positions into memory
using the buttons on the door
Storing driver’s seat positions
1. Shift the shift lever into P or N while the engine start/stop button
is ON or ignition switch ON.
2. Adjust the driver’s seat and out- side rearview mirror to a position
that is comfortable for the driver.
3. Press SET button on the control panel. The system will beep once.
4. Press one of the memory buttons (1 or 2) within 5 seconds after
pressing the SET button. The sys-
tem will beep twice when memory
has been successfully stored.OANNSA2014ODM043335N
WARNING
Never attempt to operate the
driver position memory system
while the vehicle is moving.
This could result in loss of con-
trol, and an accident causing
death, serious injury, or property
damage.
AN HMA 3.QXP 3/5/2015 3:09 PM Page 8
Page 30 of 763
39
Safety features of your vehicle
Recalling positions from memory
1. Shift the shift lever into P or Nwhile the engine start/stop button
is ON or ignition switch ON.
2. To recall the position in the memo- ry, press the desired memory but-
ton (1 or 2). The system will beep
once, then the driver’s seat will
automatically adjust to the stored
position.
Adjusting the control switch for the
driver’s seat while the system is
recalling the stored position will
cause the movement to stop and
move in the direction that the control
switch is moved.Easy access function (if equipped)
The system will move the driver's
seat automatically as follows:
Without smart key system
- It will move the driver’s seat rear-ward when the ignition key is
removed and front driver’s door is
opened.
- It will move the driver’s seat for- ward when the ignition key is
inserted.
With smart key system - It will move the driver’s seat rear-ward when the engine start/stop
button is changed to the OFF
position and front driver’s door is
opened.
- It will move the driver’s seat for- ward when the engine start/stop
button is changed to the ACC or
START position.
You can activate or deactivate this
feature. Refer to "User settings" in
section 4.
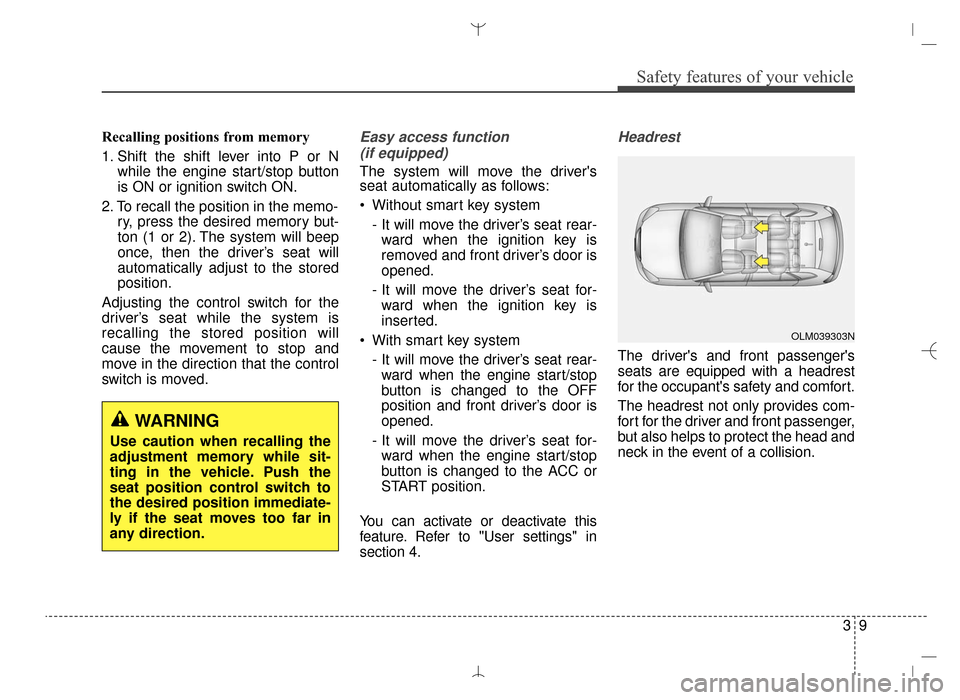
Headrest
The driver's and front passenger's
seats are equipped with a headrest
for the occupant's safety and comfort.
The headrest not only provides com-
fort for the driver and front passenger,
but also helps to protect the head and
neck in the event of a collision.
WARNING
Use caution when recalling the
adjustment memory while sit-
ting in the vehicle. Push the
seat position control switch to
the desired position immediate-
ly if the seat moves too far in
any direction.
OLM039303N
AN HMA 3.QXP 3/5/2015 3:09 PM Page 9
Page 33 of 763
Safety features of your vehicle
12
3
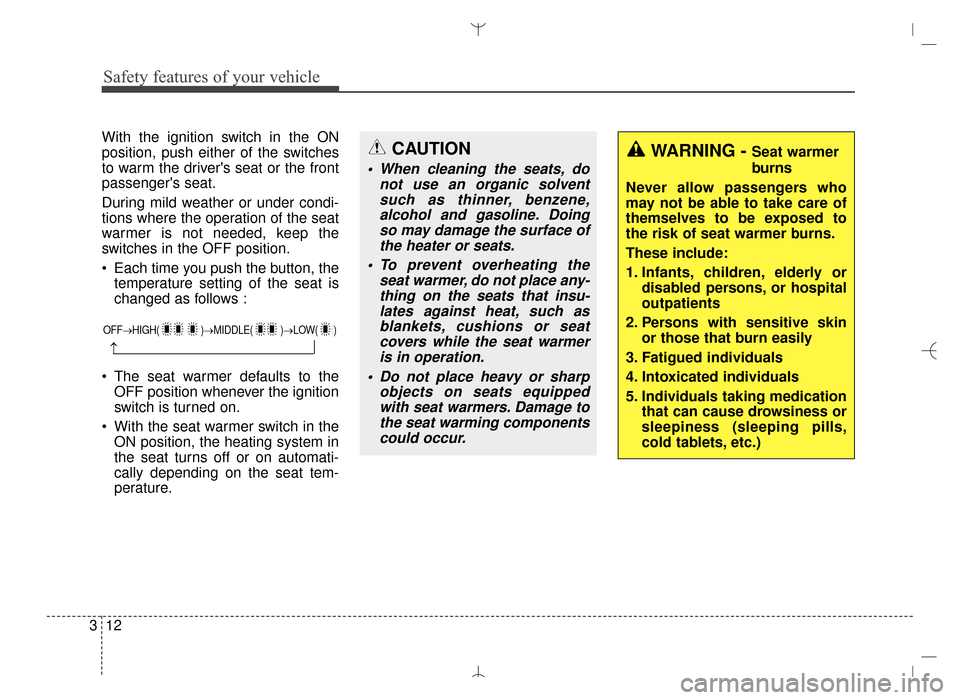
With the ignition switch in the ON
position, push either of the switches
to warm the driver's seat or the front
passenger's seat.
During mild weather or under condi-
tions where the operation of the seat
warmer is not needed, keep the
switches in the OFF position.
Each time you push the button, the
temperature setting of the seat is
changed as follows :
The seat warmer defaults to the OFF position whenever the ignition
switch is turned on.
With the seat warmer switch in the ON position, the heating system in
the seat turns off or on automati-
cally depending on the seat tem-
perature.
WARNING - Seat warmer
burns
Never allow passengers who
may not be able to take care of
themselves to be exposed to
the risk of seat warmer burns.
These include:
1. Infants, children, elderly or disabled persons, or hospital
outpatients
2. Persons with sensitive skin or those that burn easily
3. Fatigued individuals
4. Intoxicated individuals
5. Individuals taking medication that can cause drowsiness or
sleepiness (sleeping pills,
cold tablets, etc.)CAUTION
When cleaning the seats, donot use an organic solventsuch as thinner, benzene,alcohol and gasoline. Doingso may damage the surface ofthe heater or seats.
To prevent overheating the seat warmer, do not place any-thing on the seats that insu-lates against heat, such asblankets, cushions or seatcovers while the seat warmeris in operation.
Do not place heavy or sharp objects on seats equippedwith seat warmers. Damage tothe seat warming componentscould occur.
OFF→ HIGH( )→ MIDDLE( )→LOW( )
→
AN HMA 3.QXP 3/5/2015 3:09 PM Page 12
Page 38 of 763
317
Safety features of your vehicle
Armrest
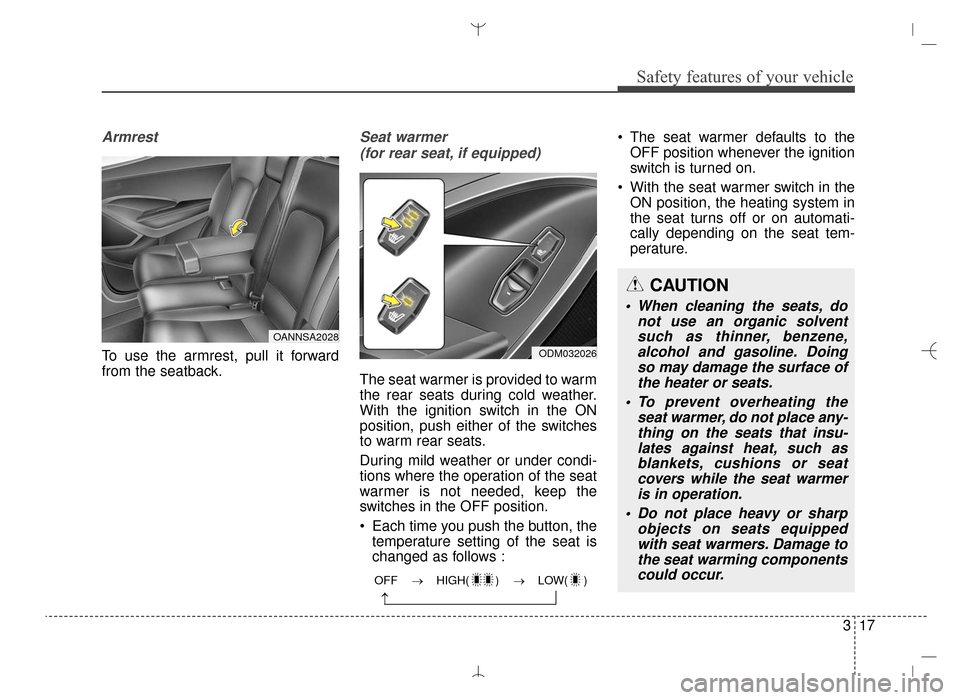
To use the armrest, pull it forward
from the seatback.
Seat warmer (for rear seat, if equipped)
The seat warmer is provided to warm
the rear seats during cold weather.
With the ignition switch in the ON
position, push either of the switches
to warm rear seats.
During mild weather or under condi-
tions where the operation of the seat
warmer is not needed, keep the
switches in the OFF position.
Each time you push the button, the temperature setting of the seat is
changed as follows : The seat warmer defaults to the
OFF position whenever the ignition
switch is turned on.
With the seat warmer switch in the ON position, the heating system in
the seat turns off or on automati-
cally depending on the seat tem-
perature.
OANNSA2028
ODM032026
OFF → HIGH( ) → LOW( )
→
CAUTION
When cleaning the seats, do not use an organic solventsuch as thinner, benzene,alcohol and gasoline. Doingso may damage the surface ofthe heater or seats.
To prevent overheating the seat warmer, do not place any-thing on the seats that insu-lates against heat, such asblankets, cushions or seatcovers while the seat warmeris in operation.
Do not place heavy or sharp objects on seats equippedwith seat warmers. Damage tothe seat warming componentscould occur.
AN HMA 3.QXP 3/5/2015 3:09 PM Page 17
Page 44 of 763
323
Safety features of your vehicle
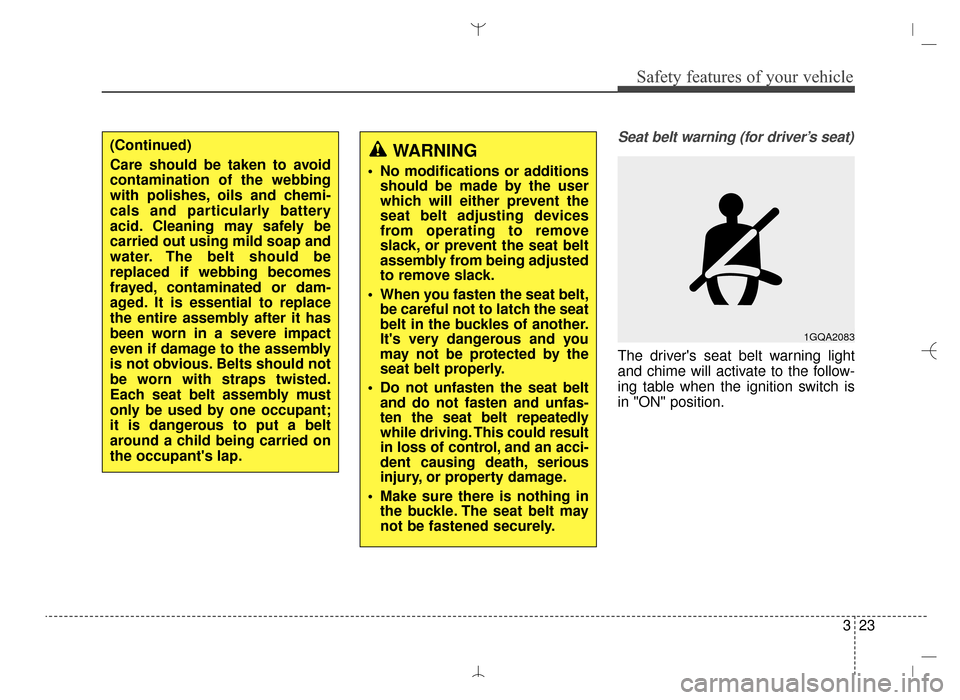
Seat belt warning (for driver’s seat)
The driver's seat belt warning light
and chime will activate to the follow-
ing table when the ignition switch is
in "ON" position.
WARNING
No modifications or additionsshould be made by the user
which will either prevent the
seat belt adjusting devices
from operating to remove
slack, or prevent the seat belt
assembly from being adjusted
to remove slack.
When you fasten the seat belt, be careful not to latch the seat
belt in the buckles of another.
It's very dangerous and you
may not be protected by the
seat belt properly.
Do not unfasten the seat belt and do not fasten and unfas-
ten the seat belt repeatedly
while driving. This could result
in loss of control, and an acci-
dent causing death, serious
injury, or property damage.
Make sure there is nothing in the buckle. The seat belt may
not be fastened securely.
1GQA2083
(Continued)
Care should be taken to avoid
contamination of the webbing
with polishes, oils and chemi-
cals and particularly battery
acid. Cleaning may safely be
carried out using mild soap and
water. The belt should be
replaced if webbing becomes
frayed, contaminated or dam-
aged. It is essential to replace
the entire assembly after it has
been worn in a severe impact
even if damage to the assembly
is not obvious. Belts should not
be worn with straps twisted.
Each seat belt assembly must
only be used by one occupant;
it is dangerous to put a belt
around a child being carried on
the occupant's lap.
AN HMA 3.QXP 3/5/2015 3:09 PM Page 23
Page 50 of 763
329
Safety features of your vehicle
✽
✽NOTICE
• Both the driver's and front pas-
senger's seat belt pre-tensioner
system may be activated not only
in certain frontal collision but also
in certain side collision or rollover,
if the vehicle is equipped with a
side or curtain air bag.
• When the pre-tensioner seat belts are activated, a loud noise may be
heard and fine dust, which may
appear to be smoke, may be visible
in the passenger compartment.
These are normal operating condi-
tions and are not hazardous.
• Although it is harmless, the fine dust may cause skin irritation and
should not be breathed for pro-
longed periods. Wash all exposed
skin areas thoroughly after an
accident in which the pre-tension-
er seat belts were activated.
• Because the sensor that activates the SRS air bag is connected with
the pre-tensioner seat belt, the
SRS air bag warning light on
the instrument panel will illumi-
nate for approximately 6 seconds
after the ignition switch has been
turned to the ON position, and
then it should turn off.WARNING
Pre-tensioners are designed
to operate only one time. After
activation, pre-tensioner seat
belts must be replaced. All
seat belts, of any type, should
always be replaced after they
have been worn during a colli-
sion.
The pre-tensioner seat belt assembly mechanisms
become hot during activation.
Do not touch the pre-tension-
er seat belt assemblies for
several minutes after they
have been activated.
Do not attempt to inspect or replace the pre-tensioner seat
belts yourself. This must be
done by an authorized
HYUNDAI dealer.
Do not strike the pre-tension- er seat belt assemblies.
Do not attempt to service or repair the pre-tensioner seat
belt system in any manner.
(Continued)
CAUTION
If the pre-tensioner seat beltsystem are not working proper-ly, this warning light will illumi-nate even if there is no malfunc-tion of the SRS air bag. If theSRS air bag warning light doesnot illuminate when the ignitionswitch is turned ON, or if itremains illuminated after illumi-nating for approximately 6 sec-onds, or if it illuminates whilethe vehicle is being driven, havean authorized HYUNDAI dealerinspect the pre-tensioner seatbelt and SRS air bag system assoon as possible.
AN HMA 3.QXP 3/5/2015 3:09 PM Page 29