Page 633 of 759
What to do in an emergency
24
6
6. Loosen the wheel lug nuts coun-
terclockwise one turn each, but do
not remove any nut until the tire
has been raised off the ground. 7. Place the jack at the front or rear
jacking position closest to the tire
you are changing. Place the jack
at the designated locations under
the frame. 8. Insert the jack handle into the jack
and turn it clockwise, raising the
vehicle until the tire just clears the
ground. This measurement is
approximately 1.2 in (30 mm).
Before removing the wheel lug
nuts, make sure the vehicle is sta-
ble and that there is no chance for
movement or slippage.
WARNING - Jack location
To reduce the possibility of
injury, be sure to use only the
jack provided with the vehicle
and in the correct jack position;
never use any other part of the
vehicle for jack support.
ODM062008ONCNEM2004ODM062010
Page 634 of 759

625
What to do in an emergency
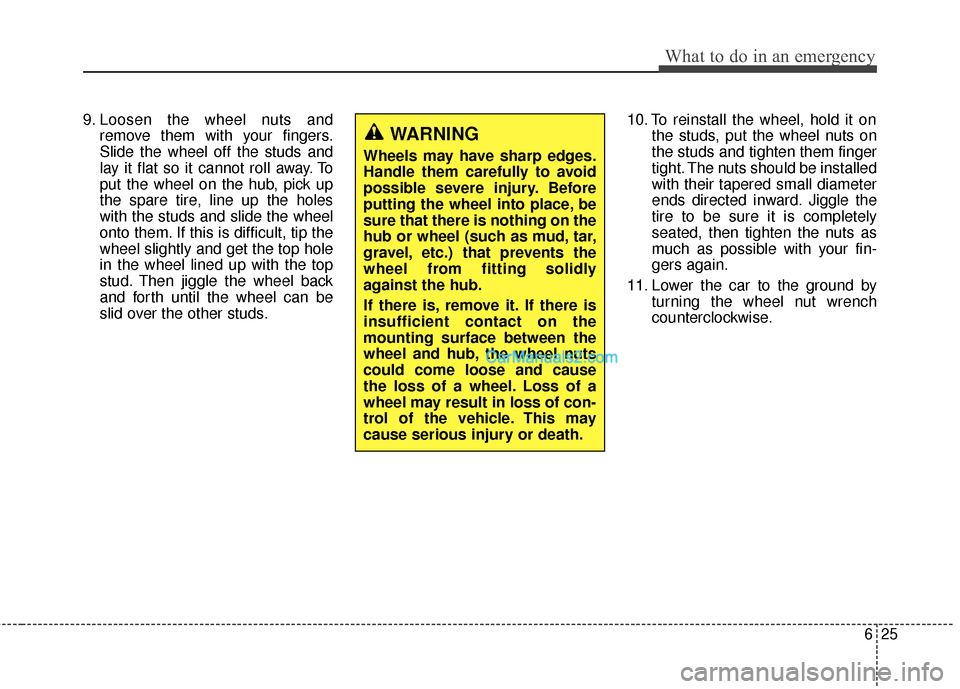
9. Loosen the wheel nuts andremove them with your fingers.
Slide the wheel off the studs and
lay it flat so it cannot roll away. To
put the wheel on the hub, pick up
the spare tire, line up the holes
with the studs and slide the wheel
onto them. If this is difficult, tip the
wheel slightly and get the top hole
in the wheel lined up with the top
stud. Then jiggle the wheel back
and forth until the wheel can be
slid over the other studs. 10. To reinstall the wheel, hold it on
the studs, put the wheel nuts on
the studs and tighten them finger
tight. The nuts should be installed
with their tapered small diameter
ends directed inward. Jiggle the
tire to be sure it is completely
seated, then tighten the nuts as
much as possible with your fin-
gers again.
11. Lower the car to the ground by turning the wheel nut wrench
counterclockwise.
WARNING
Wheels may have sharp edges.
Handle them carefully to avoid
possible severe injury. Before
putting the wheel into place, be
sure that there is nothing on the
hub or wheel (such as mud, tar,
gravel, etc.) that prevents the
wheel from fitting solidly
against the hub.
If there is, remove it. If there is
insufficient contact on the
mounting surface between the
wheel and hub, the wheel nuts
could come loose and cause
the loss of a wheel. Loss of a
wheel may result in loss of con-
trol of the vehicle. This may
cause serious injury or death.
Page 640 of 759
631
What to do in an emergency
When towing your vehicle in an
emergency without wheel dollies :
1. Set the ignition switch in the ACCposition.
2. Place the shift lever in N (Neutral).
3. Release the parking brake.Removable towing hook
(if equipped)
1. Open the liftgate (tailgate), and remove the towing hook from the
tool case.
2. Remove the hole cover pressing the lower part of the cover on the
bumper. 3. Install the towing hook by turning it
clockwise into the hole until it is
fully secured.
4. Remove the towing hook and install the cover after use.
CAUTION
Failure to place the transaxleshift lever in N (Neutral) maycause internal damage to thetransaxle.
ONCNEM2005
ONCNEM2006
■Front
■Rear
Page 642 of 759

633
What to do in an emergency
Emergency towing precautions
Turn the ignition switch to ACC sothe steering wheel isn’t locked.
Place the transaxle shift lever in N (Neutral).
Release the parking bake.
Press the brake pedal with more force than normal since you will
have reduced brake performance.
More steering effort will be required because the power steer-
ing system will be disabled.
If you are driving down a long hill, the brakes may overheat and brake
performance will be reduced. Stop
often and let the brakes cool off.CAUTION - Automatic
transaxle
If the car is being towed with all four wheels on the ground, itcan be towed only from thefront. Be sure that the transaxleis in neutral. Be sure the steer-ing is unlocked by placing theignition switch in the ACC posi-tion. A driver must be in thetowed vehicle to operate thesteering and brakes.
To avoid serious damage to the automatic transaxle, limitthe vehicle speed to 10 mph(15 km/h) and drive less than 1mile (1.5 km) when towing.
Before towing, check under your vehicle for leaking auto-matic transaxle fluid. If theautomatic transaxle fluid isleaking, a flatbed equipmentor towing dolly must be used.
WARNING
Use extreme caution when tow-
ing the vehicle.
Avoid sudden starts or erratic driving maneuvers which
would place excessive stress
on the emergency towing hook
and towing cable or chain. The
hook and towing cable or
chain may break and cause
serious injury or damage.
If the disabled vehicle cannot be moved, do not forcibly con-
tinue the towing. Contact an
authorized HYUNDAI dealer or
a commercial tow truck serv-
ice for assistance.
Tow the vehicle as straight ahead as possible.
Keep away from the vehicle during towing.
Page 649 of 759

77
Maintenance
Check for fluid leaks under yourvehicle (water dripping from the air
conditioning system during or after
use is normal).
At least monthly:
Check coolant level in the enginecoolant reservoir.
Check the operation of all exterior lights, including the stoplights, turn
signals and hazard warning flash-
ers.
Check the inflation pressures of all tires including the spare.
At least twice a year
(i.e., every Spring and Fall) :
Check radiator, heater and air con- ditioning hoses for leaks or dam-
age.
Check windshield washer spray and wiper operation. Clean wiper
blades with clean cloth dampened
with washer fluid.
Check headlight alignment.
Check muffler, exhaust pipes, shields and clamps.
Check the lap/shoulder belts for wear and function.
Check for worn tires and loose wheel lug nuts.
At least once a year :
Clean body and door drain holes.
Lubricate door hinges and checks,and hood hinges.
Lubricate door and hood locks and latches.
Lubricate door rubber weather- strips.
Check the air conditioning system.
Inspect and lubricate automatic transaxle linkage and controls.
Clean battery and terminals.
Check the brake fluid level.
Page 674 of 759

Maintenance
32
7
ENGINE COOLANT
The high-pressure cooling system
has a reservoir filled with year-round
antifreeze coolant. The reservoir is
filled at the factory.
Check the antifreeze protection and
coolant concentration level at least
once a year, at the beginning of the
winter season, and before traveling
to a colder climate.
Checking the coolant level
(Continued)
Turn the engine off and wait
until it cools down. Use
extreme care when removing
the radiator cap. Wrap a thick
towel around it, and turn it
counterclockwise slowly to
the first stop. Step back while
the pressure is released from
the cooling system.
When you are sure all the
pressure has been released,
press down on the cap, using
a thick towel, and continue
turning counterclockwise to
remove it.
Even if the engine is not oper- ating, do not remove the radi-
ator cap or the drain plug
while the engine and radiator
are hot. Hot coolant and
steam may still blow out
under pressure, causing seri-
ous injury.WARNING
The electric motor
(cooling fan) is con-
trolled by engine
coolant temperature,
refrigerant pressure
and vehicle speed. It may some-
times operate even when the
engine is not running. Use
extreme caution when working
near the blades of the cooling
fan so that you are not injured
by a rotating fan blades. As the
engine coolant temperature
decreases, the electric motor
will automatically shut off. This
is a normal condition.
If your vehicle is equipped with
GDI, the electric motor (cooling
fan) may operate until you dis-
connect the negative battery
cable.
WARNING
Removing radiator
cap
Never attempt to remove the radiator cap while the engine
is operating or hot. Doing so
might lead to cooling system
and engine damage and could
result in serious personal
injury from escaping hot
coolant or steam.
(Continued)
Page 680 of 759
Maintenance
38
7
AIR CLEANER
Filter replacement
It must be replaced when necessary,
and should not be washed.
You can clean the filter when inspect-
ing the air cleaner element.
Clean the filter by using compressed
air. 1. Loosen the air cleaner cover
attaching clips and open the cover. 2. Wipe the inside of the air cleaner.
3. Lift the air cleaner cover and pull
the air cleaner filter cover.
4. Pull the air cleaner to replace.
5. Lock the cover (1) with the cover attaching clips.
6. Verify that the air cleaner cover is properly attached at all four corners
and sealing against air cleaner.
ONCNMC2012
ONCNMC2013ONCNMC2014
Page 685 of 759
743
Maintenance
Front windshield wiper blade
1. Raise the wiper arm and turn thewiper blade assembly to expose
the plastic locking clip. 2. Compress the clip and slide the
blade assembly downward. 3. Lift it off the arm.
4. Install the blade assembly in the
reverse order of removal.
1LDA5023
CAUTION
Do not allow the wiper arm tofall against the windshield,since it may chip or crack thewindshield.
1JBA70371JBA7038