Page 161 of 498
481
Features of your vehicle
One-touch lane change function
(if equipped)
To activate a one-touch lane change
function, move the turn signal lever
slightly and then release it. The lane
change signals will blink 3 times.
✽NOTICE
If the turn signal indicator stays on
and does not flash, or if it flashes
abnormally, a bulb may be burned
out or have a poor electrical connec-
tion in the circuit. The bulb may
require replacement.
Front fog light (if equipped)
Fog lights are used to provide
improved visibility when visibility is
poor due to fog, rain or snow, etc.
Use the switch next to the headlight
switch to turn the fog lights ON and
OFF. The fog lights will turn on when
fog light switch (1) is turned to ON
after the parking lights are turned on.
To turn off the fog lights, turn the
switch to the OFF position.
CAUTION
When in operation, the fog
lights consume large amounts
of vehicle electrical power. Only
use the fog lights when visibility
is poor.
OMD041216R
Page 372 of 498

Driving your vehicle
68 5
Reversing
Hold the bottom of the steering
wheel with one hand. Then, to move
the trailer to the left, move your hand
to the left. To move the trailer to the
right, move your hand to the right.
Always reverse slowly and, if possi-
ble, have someone guide you.
Making turns
When you’re turning with a trailer,
make wider turns than normal. Do
this so your trailer won’t strike soft
shoulders, curbs, road signs, trees,
or other objects. Avoid jerky or sud-
den manoeuvres. Signal well in
advance.
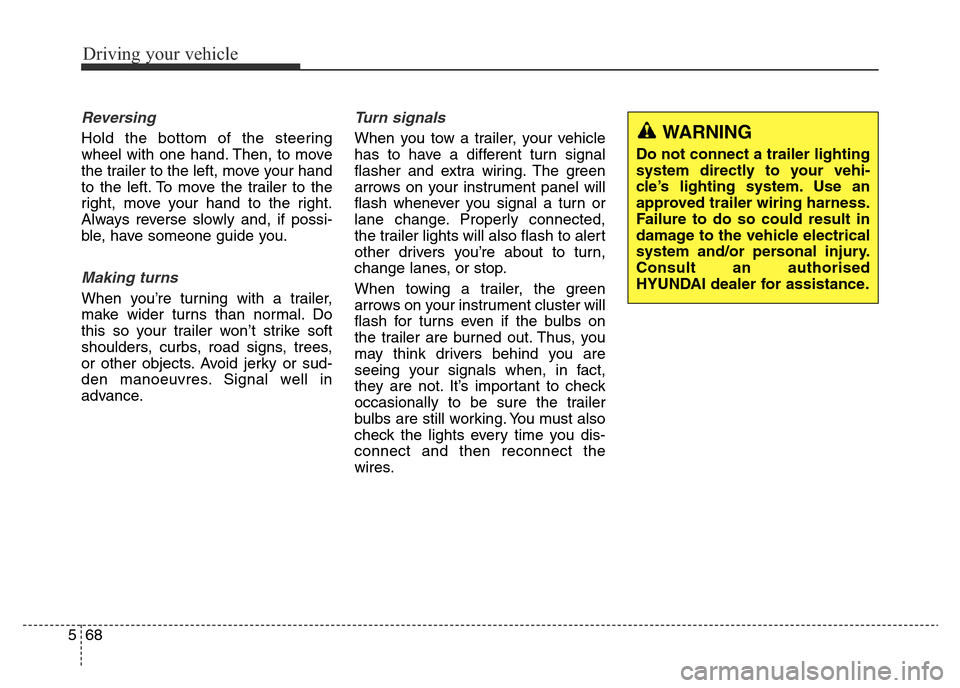
Turn signals
When you tow a trailer, your vehicle
has to have a different turn signal
flasher and extra wiring. The green
arrows on your instrument panel will
flash whenever you signal a turn or
lane change. Properly connected,
the trailer lights will also flash to alert
other drivers you’re about to turn,
change lanes, or stop.
When towing a trailer, the green
arrows on your instrument cluster will
flash for turns even if the bulbs on
the trailer are burned out. Thus, you
may think drivers behind you are
seeing your signals when, in fact,
they are not. It’s important to check
occasionally to be sure the trailer
bulbs are still working. You must also
check the lights every time you dis-
connect and then reconnect the
wires.WARNING
Do not connect a trailer lighting
system directly to your vehi-
cle’s lighting system. Use an
approved trailer wiring harness.
Failure to do so could result in
damage to the vehicle electrical
system and/or personal injury.
Consult an authorised
HYUNDAI dealer for assistance.
Page 397 of 498

Light bulbs . . . . . . . . . . . . . . . . . . . . . . . . . . . . . . . 7-66
• Headlight, position light, turn signal light,
front fog light bulb replacement . . . . . . . . . . . . . . . 7-67
• Headlight and front fog light aiming . . . . . . . . . . . . . 7-72
• Side repeater light bulb replacement . . . . . . . . . . . . 7-77
• Rear combination light bulb replacement . . . . . . . . 7-77
• High mounted stop light replacement . . . . . . . . . . . 7-81
• Licence plate light bulb replacement . . . . . . . . . . . . 7-82
• Interior light bulb replacement . . . . . . . . . . . . . . . . . 7-83
Appearance care . . . . . . . . . . . . . . . . . . . . . . . . . . . 7-84
• Exterior care . . . . . . . . . . . . . . . . . . . . . . . . . . . . . . . . 7-84
• Interior care . . . . . . . . . . . . . . . . . . . . . . . . . . . . . . . . . 7-89
Emission control system . . . . . . . . . . . . . . . . . . . . 7-91
• Crankcase emission control system . . . . . . . . . . . . . . 7-91
• Evaporative emission control system. . . . . . . . . . . . . 7-92
• Exhaust emission control system . . . . . . . . . . . . . . . . 7-92
7
Page 462 of 498
767
Maintenance
✽NOTICE
After heavy, driving rain or washing,
headlight and taillight lenses could
appear frosty. This condition is
caused by the temperature difference
between the lamp inside and outside.
This is similar to the condensation on
your windows inside your vehicle
when it is raining and doesn’t indi-
cate a problem with your vehicle. If
the water leaks into the lamp bulb
circuitry, we recommend that the
system be checked by an authorised
HYUNDAI dealer.
Headlight, position light, turn
signal light, front fog light bulb
replacement
(1) Headlight (High) / Position light
(2) Headlight (Low)
(3) Front turn signal light
(4) Daytime running light (DRL)
(if equipped)
(5) Front fog light (if equipped)
OMD074101 ■Type A
OMD074102 ■Type B
OMD074026E ■Type C
Page 466 of 498
771
Maintenance
Front turn signal bulb
Follow steps 1 to 4 from the previous
page.
5. Remove the socket from the
assembly by turning the socket
anticlockwise until the tabs on the
socket align with the slots on the
assembly.
6. Remove the bulb from the socket
by pressing it in and rotating it
anticlockwise until the tabs on the
bulb align with the slots in the
socket. Pull the bulb out of the
socket.7. Insert a new bulb by inserting it
into the socket and rotating it until
it locks into place.
8. Install the socket in the assembly
by aligning the tabs on the socket
with the slots in the assembly.
Push the socket into the assembly
and turn the socket clockwise.
9. Reinstall the light assembly to the
body of the vehicle.
Front fog light and Dedicated
light (if equipped)
1. Disconnect the negative battery
cable.
2. Remove the screws under the
front bumper.
3. Disconnect the power connector
from the socket.
OMD074104
OMD074029 Turn signal
Page 472 of 498
777
Maintenance
Side repeater light bulb
replacement (if equipped)
If the light bulb does not operate, we
recommend that the system be
checked by an authorised HYUNDAI
dealer.
Rear combination light bulb
replacement
(1) Reverse light
(2) Tail light/Rear fog light
(If euqipped)
(3) Rear turn signal light
(4) Stop/Tail light
Outboard light
1. Open the boot lid.
2. Remove the service cover by
pulling it out.OMD070030/HOMD074071
OMD070032
Page 473 of 498
Maintenance
78 7
3. Loosen the assembly retaining
nuts.4. Remove the rear combination light
assembly from the body of the
vehicle.
Stop/Tail light and turn signal light
5. Remove the socket from the
assembly by turning the socket
anticlockwise until the tabs on the
socket align with the slots on the
assembly.
6. Remove the bulb from the socket
by pressing it in and rotating it
anticlockwise until the tabs on the
bulb align with the slots in the
socket. Pull the bulb out of the
socket.
7. Insert a new bulb by inserting it
into the socket and rotating it until
it locks into place.
OMD070033
OMD070034
OMD074080
Page 492 of 498
83
Specifications & Consumer information
BULB WATTAGE
* : If equipped
Light BulbWattageBulb type
Headlights (Low)55/25H7LL/HID
Headlights (High)55H7LL
Front turn signal light21PY21W
Daytime running light*21PY21W
Position lights5/LEDW5W/LED
Side repeater lights* (Outside Mirror)LED-
Side repeater lights* (Fender mounted)5WY5W
Front fog lights*35H8LL
Stop / tail lights21/5PY21/5W
Tail light 5W5W
Rear turn signal lights 21PY21W
Rear fog lights*21H21W
Reverse lights16W16W
High mounted stop light21P21W
Licence plate lights5W5W
Map lamps8FESTOON 8W
Passenger compartment lamps8FESTOON 8W
Luggage lamp5FESTOON 5W