Page 115 of 521

435
Features of your vehicle
If your vehicle is equipped with a
sunroof, you can slide or tilt your
sunroof with the sunroof control lever
located on the overhead console.
The sunroof can only be opened,
closed, or tilted when the ignition
switch is in the ON position. In cold and wet climates, the sun-
roof may not work properly due to
freezing conditions.
After the vehicle is washed or in a rainstorm, be sure to wipe off any
water that is on the sunroof before
operating it.Sunroof open warning
(if equipped)
If the driver turns off the engine, the
warning chime will sound for approx-
imately 7 seconds and a message
“Sunroof Open” will appear on the
LCD display.
Close the sunroof securely when
leaving your vehicle.
PANORAMIC SUNROOF (IF EQUIPPED)
OHG045029
CAUTION - Sunroof control lever
Do not continue to move thesunroof control lever after thesunroof is fully opened, closed,or tilted. Damage to the motor orsystem components couldoccur.
WARNING
Never adjust the sunroof or
sunshade while driving. This
could result in loss of control
and an accident that may cause
death, serious injury, or proper-
ty damage.
OHG045249L
Page 129 of 521

449
Features of your vehicle
To adjust the Zone setting:
1. Determine the desired ZoneNumber based upon your current
location on the Zone Map.
2. Press and hold the button for 6 seconds, the current Zone
Number will appear on the display.
3. Pressing and holding the button again will cause the numbers to
increment (Note: they will repeat
…13, 14, 15, 1, 2, …). Releasing
the button when the desired Zone
Number appears on the display
will set the new Zone.
4. Within about 5 seconds the com- pass will start displaying a com-
pass heading again. There are some conditions that can
cause changes to the vehicle mag-
nets, such as installing a ski rack or
a CB antenna. Body repair work on
the vehicle can also cause changes
to the vehicle's magnetic field. In
these situations, the compass will
need to be re-calibrated to quickly
correct these changes. To re-cali-
brate the compass:
1. Press and hold the button for
more than 9 seconds. When the
compass memory is cleared a "C"
will appear in the display.
2. To calibrate the compass, drive the vehicle in 2 complete circles at
less than 5 mph (8 km/h). Integrated HomeLink®Wireless
Control System
The HomeLink
®Wireless Control
System provides a convenient way to
replace up to three hand-held radio-
frequency (RF) transmitters with a
single built-in device. This innovative
feature will learn the radio frequency
codes of most current transmitters to
operate devices such as gate opera-
tors, garage door openers, entry
door locks, security systems, even
home lighting. Both standard and
rolling code-equipped transmitters
can be programmed by following the
outlined procedures. Additional
HomeLink
®information can be found
at: www.homelink.com or by calling
1-800-355-3515.
Page 130 of 521

Features of your vehicle
50
4
Retain the original transmitter of the
RF device you are programming for
use in other vehicles as well as for
future HomeLink
®programming. It is
also suggested that upon the sale of
the vehicle, the programmed
HomeLink
®buttons be erased for
security purposes.
✽ ✽ NOTICE- Programming
HomeLink®
• When programming a garage door opener, it is advised to park
the vehicle outside of the garage.
• It is recommended that a new bat- tery be placed in the hand-held
transmitter of the device being pro-
grammed to HomeLink
®for quick-
er training and accurate transmis-
sion of the radio-frequency signal.
• Some vehicles may require the ignition switch to be turned to the
second (or "accessories") position
for programming and/or opera-
tion of HomeLink
®.
• In the event that there are still pro- gramming difficulties or questions
after following the programming
steps listed below, contact
HomeLink
®at: www.homelink.com
or 1-800-355-3515.
WARNING
Before programming HomeLink®
to a garage door opener or gate
operator, make sure that people
and objects are out of the way of
the device to prevent potential
harm or damage. Do not use
HomeLink
®with any garage
door opener that lacks the safe-
ty stop and reverse features
required by U.S. federal safety
standards (this includes any
garage door opener model man-
ufactured before April 1, 1982). A
garage door that cannot detect
an object - signaling the door to
stop and reverse - does not meet
current U.S. federal safety stan-
dards. Using a garage door
opener without these features
increases the risk of serious
injury or death.
Page 132 of 521

Features of your vehicle
52
4
4. Firmly press, hold for 5 seconds
and release the programmed
HomeLink
®button up to two sepa-
rate times to activate the door. If
the door does not activate, press
and hold the just-trained
HomeLink
®button and observe
the indicator light.
stantly, programming is complete
and your device should activate
when the HomeLink
®button is
pressed and released.
for 2 seconds and then turns to
a constant light, continue with
"Programming" steps 5-7 to
complete the programming of a
rolling code equipped device
(most commonly a garage door
opener).
5. At the garage door opener receiv- er (motor-head unit) in the garage,
locate the "learn" or "smart" but-
ton. This can usually be found
where the hanging antenna wire is
attached to the motor-head unit. 6. Firmly press and release the
"learn" or "smart" button. (The
name and color of the button vary
by manufacturer). There are 30
seconds to initiate step 7.
7. Return to the vehicle and firmly press, hold for 2 seconds
and release the programmed
HomeLink
®button. Repeat the
"press/hold/release" sequence a
second time, and, depending on
the brand of the garage door
opener (or other rolling code
equipped device), repeat this
sequence a third time to complete
the programming process.
HomeLink
®should now activate your
rolling code equipped device. Gate operator & Canadian
programming
During programming, your handheld
transmitter may automatically stop
transmitting. Continue to press
the Integrated HomeLink
®Wireless
Control System button (note steps
2 through 4 in the Standard
Programming portion of this docu-
ment) while you press and re-press
("cycle") your handheld transmitter
every two seconds until the frequen-
cy signal has been learned. The indi-
cator light will flash slowly and then
rapidly after several seconds upon
successful training.
Operating HomeLink
®
To operate, simply press and release
the programmed HomeLink®button.
Activation will now occur for the
trained device (i.e. garage door
opener, gate operator, security sys-
tem, entry door lock, home/office
lighting, etc.). For convenience, the
hand-held transmitter of the device
may also be used at any time.
Page 162 of 521

Features of your vehicle
82
4
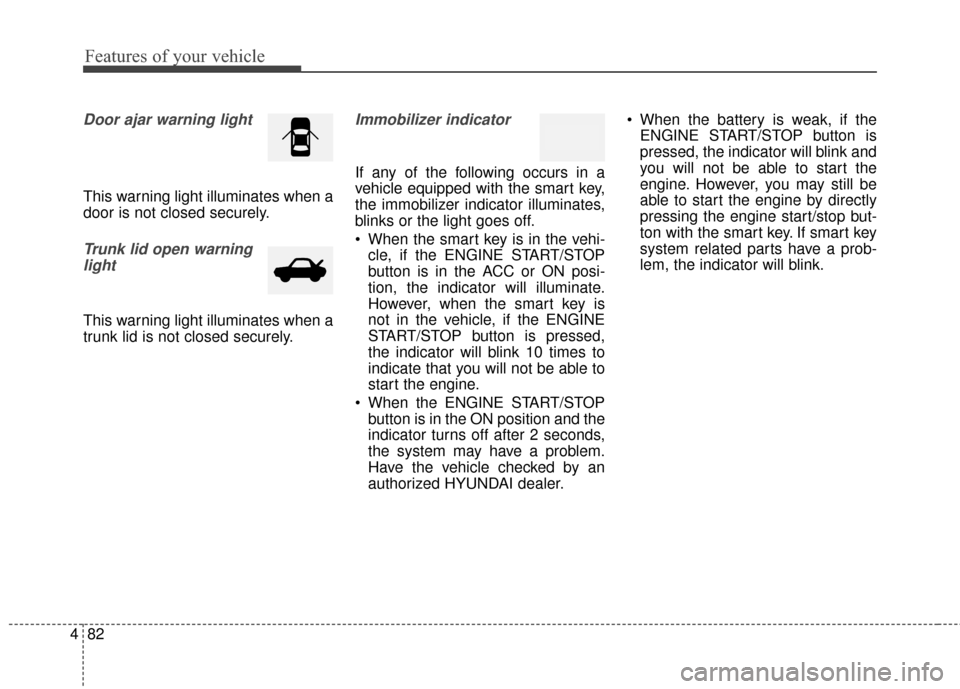
Door ajar warning light
This warning light illuminates when a
door is not closed securely.
Trunk lid open warning
light
This warning light illuminates when a
trunk lid is not closed securely.
Immobilizer indicator
If any of the following occurs in a
vehicle equipped with the smart key,
the immobilizer indicator illuminates,
blinks or the light goes off.
When the smart key is in the vehi- cle, if the ENGINE START/STOP
button is in the ACC or ON posi-
tion, the indicator will illuminate.
However, when the smart key is
not in the vehicle, if the ENGINE
START/STOP button is pressed,
the indicator will blink 10 times to
indicate that you will not be able to
start the engine.
When the ENGINE START/STOP button is in the ON position and the
indicator turns off after 2 seconds,
the system may have a problem.
Have the vehicle checked by an
authorized HYUNDAI dealer. When the battery is weak, if the
ENGINE START/STOP button is
pressed, the indicator will blink and
you will not be able to start the
engine. However, you may still be
able to start the engine by directly
pressing the engine start/stop but-
ton with the smart key. If smart key
system related parts have a prob-
lem, the indicator will blink.
Page 191 of 521
4111
Features of your vehicle
Door courtesy lamp
The door courtesy lamp comes ON
when the door is opened to assist
entering or exiting the vehicle. It also
serves as a warning to passing vehi-
cles that the vehicle door is opened.
Glove box lamp
The glove box lamp comes on when
the glove box is opened.
The parking lights or headlights must
be ON for the glove box lamp to func-
tion.
Vanity mirror lamp
Opening the lid of the vanity mirror
will automatically turn on the mirror
light.
OHG040127OHG040128OHG040126
CAUTION
To prevent unnecessary charg-ing system drain, close theglove box securely after usingthe glove box.
CAUTION
To prevent unnecessary charg-ing system drain, close the van-ity mirror cover after using themirror.
Page 218 of 521

Features of your vehicle
138
4
1. Turn the ignition switch to the ON
position.
2. Press the defrost button ( ).
3. While holding the air conditioning button (A/C) pressed, press the air
intake control button at least 5
times within 3 seconds.
The indicator on the air intake control
button blinks 3 times with 0.5 second
of interval. It indicates that the defog-
ging logic is canceled or returned to
the programmed status.
If the battery has been discharged or
disconnected, it resets to the defog
logic status. These compartments can be used to
store small items required by the
driver or passengers.Center console storage
To open the center console storage,
pull up the lever (1).
OHG041159A
WARNING - Flammable
materials
Do not store cigarette lighters,
propane cylinders or other flam-
mable/explosive materials in the
vehicle. These items may catch
fire and/or explode if the vehicle
is exposed to hot temperature
for extended periods.
CAUTION
To avoid possible theft, do not leave valuables in the storagecompartments.
Always keep the storage com- partment covers closed whiledriving. Do not attempt toplace so many items in thestorage compartment that thestorage compartment covercannot close securely.
OHG045159N
STORAGE COMPARTMENTS
Page 221 of 521
4141
Features of your vehicle
Sunvisor
Use the sunvisor to shield direct light
through the front or side windows.
To use a sunvisor, pull it downward.
To use a sunvisor for a side window,
pull it downward, unsnap it from the
bracket (1) and swing it to the side (2).
Adjust the sunvisor extension for-
ward or backward (3).
To use the vanity mirror, pull down the
visor and slide the mirror cover (4).
The ticket holder (5) is provided for
holding a tollgate ticket.
For your safety, do not block your
view when using the sunvisor.
Power outlet
OHG040168
CAUTION - Vanity mirror
lamp
Close the vanity mirror coversecurely and return the sunvisorto its original position after use.If the vanity mirror is not closedsecurely, the lamp will stay onand could result in battery dis-charge and possible sunvisordamage.
■Front
•
•
•
•
T
T
T
T
y
y
y
y
p
p
p
p
e
e
e
e
B
B
B
B
•
•
•
•
T
T
T
T
y
y
y
y
p
p
p
p
e
e
e
e
A
A
A
A
■Rear
OHG041169A
OHG041190A
OHG040170