Page 25 of 250

24
uu Voice Control System u Siri Eyes Free
System Setup
Siri Eyes Free
When your iPhone is paired and linked to the system via Bluetooth ®, you can say Siri-
related commands. Make sure Siri on your iPhone is turned on.
2Pairing a Phone P. 170
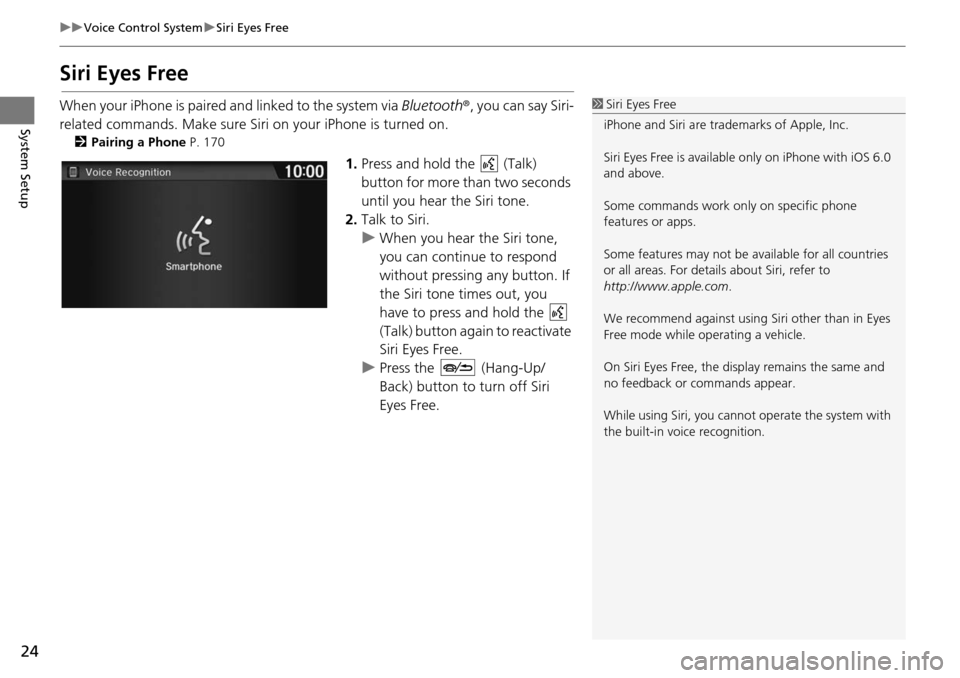
1. Press and hold the (Talk)
button for more than two seconds
until you hear the Siri tone.
2. Talk to Siri.
u When you hea
r the Siri tone,
you can continue to respond
without pressing any button. If
the Siri tone times out, you
have to press and hold the
(Talk) button again to reactivate
Siri Eye s
Free.
u Press the (Hang-Up/
Back) button to turn off Siri
Eye s
Free.
1Siri Eyes Free
iPhone and Siri are trademarks of Apple, Inc.
Siri Eyes Free is availabl e only on iPhone with iOS 6.0
and above.
Some commands work only on specific phone
features or apps.
Some features may not be available for all countries
or all areas. For detail s about Siri, refer to
http://www.apple.com .
We recommend against using Si ri other than in Eyes
Free mode while operating a vehicle.
On Siri Eyes Free, the display remains the same and
no feedback or commands appear.
While using Siri, you cannot operate the system with
the built-in voice recognition.
Page 30 of 250
Continued29
uu Personal Information u Address Book
System SetupH HOME u Settings u Navigation u Personal Info tab u Address Book
This section explains how to enter th
e name and address.
1.Select the drive r
to add the new
address.
2. Select Add New Addres s.
3. Select an item.
The following ite
ms are available:
• Na me: Edits the name of the entry.
• Addr ess: Edits the a
ddress of the entry.
• Phone No.: Edits the phone number of the entry.
• Category : Specifies the
category of the entry.
■Adding an Address Book Entry1
Adding an Address Book Entry
If you do not give the address a name, one is
automatically assigned (e.g., Address 001). You can
re-enter, edit, or make changes to any entry.
“Address ” is the only required field.
Page 31 of 250

uu Personal Information u Address Book
30
System Setup
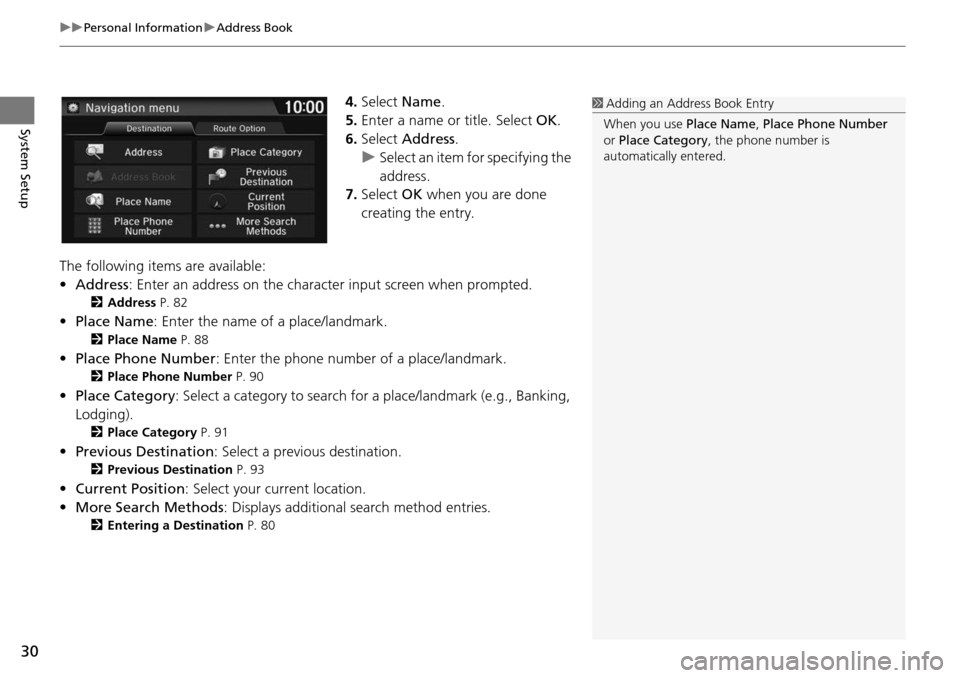
4. Select Name.
5.Enter a name or title. Select OK.
6. Select Address.
u Select an item for specifying the
addres
s.
7. Select OK when you ar
e done
creating the entry.
The following items are available:
• Address : Enter an
address on the characte r input screen when prompted.
2Address P. 82
•Place Name : Enter the name of a place/landmark.
2Place Name P. 88
• Place Phone Number : Enter the phone number of a place/landmark.
2Place Phone Number P. 90
• Place Category : Select a category to search for a place/landmark (e.g., Banking,
Lodging).
2 Place Category P. 91
• Previous Destination : Select a previous destination.
2Previous Destination P. 93
• Current Position : Select your current location.
• More Search Methods : Displays
additional search method entries.
2Entering a Destination P. 80
1 Adding an Address Book Entry
When you use Place Name, Place Phone Number
or Place Category , the phone number is
automatically entered.
Page 32 of 250

Continued31
uu Personal Information u Address Book
System SetupH HOME u Settings u Navigation u Personal Info tab u Address Book
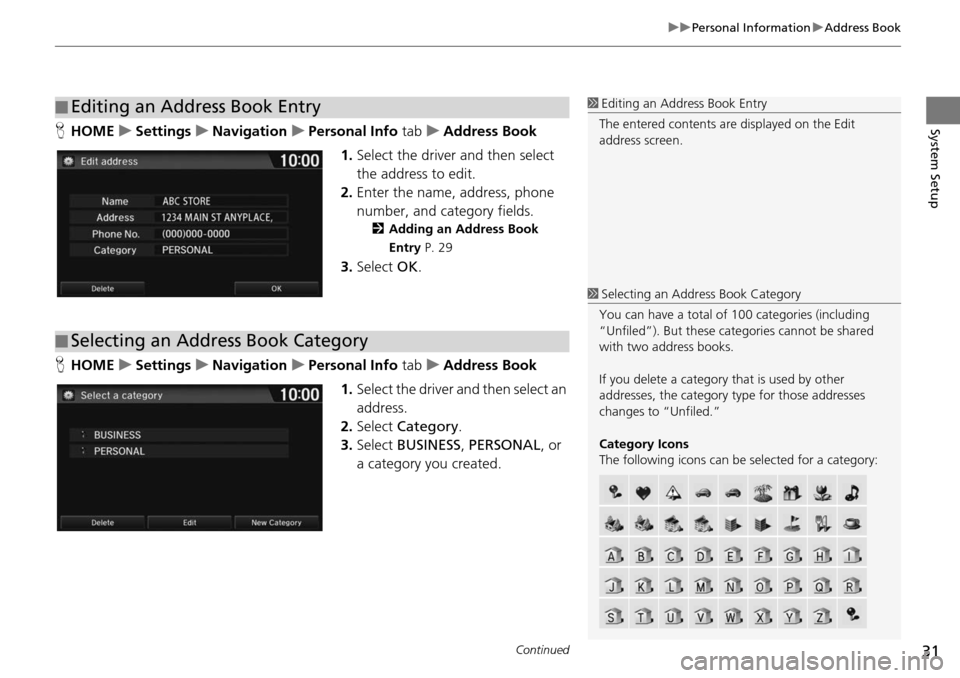
1. Select the drive r
and then select
the address to edit.
2. Enter the name, address, phone
nu
mber, and category fields.
2Adding an Address Book
Entry P. 29
3. Select OK.
H HOME u Settings u Navigation u Personal Info tab u Address Book
1. Select the driver and
then select an
address.
2. Select Categ
ory.
3. Select BUSI
NESS, PERSONAL , or
a category you created.
■ Editing an Address Book Entry1
Editing an Address Book Entry
The entered contents are displayed on the Edit
address screen.
■ Selecting an Address Book Category
1
Selecting an Addr ess Book Category
You can have a total of 100 categories (including
“Unfiled”). But these cate gories cannot be shared
with two address books.
If you delete a category that is used by other
addresses, the category type for those addresses
changes to “Unfiled.”
Category Icons
The following icons can be selected for a category:
Page 34 of 250
33
uu Personal Information u Home Addresses
System Setup
Home Addresses
H HOME u Settings u Navigation u Personal Info tab u Edit Go Home 1 or
Edit Go
Home 2
Set two home addresses that you frequently use. 1.Edit the n a
me, address, and phone
number the same way as an
address in the address book.
2 Adding an Address Book
Entry P. 29
2. Select OK.
1Home Addresses
If you have PIN-pr otected your home addresses, enter
your PIN when prompted. Select OK. PINs are
optional.
2 PIN Numbers P. 34
If your home street is not in the system database,
park on the nearest verified street to your home.
When entering the “ Address” field, select Current
Position to use your current location as the home
address.
You can delete a home addr ess if necessary. Select
Clear Home Entry . Select Yes.
When you transfer the vehicle to a third party, delete
all home addresses.
The home icon is shown on the map screen in the 5
mile (8 km) or less scales.
Page 57 of 250
56
uu Map u Current Location
System Setup
Current Location
H HOME u Settings u Navigation u Map tab u Current Location
Disp
lay and save your current location fo
r future use as a destination. The address,
latitude, longitude, and elevation of your current location are displayed.
1.Select Address Book .
2. Select the user to save the
lo
cation.
3. Edit the name, phone number,
an
d category.
2Address Book P. 28
4. Select OK.
1Current Location
“Display Current Location ” (on Voice Portal
screen)
You can also save the current location by saying
“Register the Current Location ”, or selecting the
vehicle icon on the map.
If you have PIN-protecte d your address book, enter
your PIN when prompted. Select OK. PINs are
optional. 2 PIN Numbers P. 34
Saving your current loca tion does not change or
cancel your current route.
Page 64 of 250
63
System Setup
System Settings
HHOME u Settings u System
Select an item.
The following items are available:
• Home tab: Chan
ges the setting for the HOME screen.
Home Screen Edit Order : Changes the
position of icons on the HOME screen.
2Home Screen Edit Order P. 64
• Display tab: Adjusts the screen’s preferences and change the background color
of the menu screen.
2 Display Settings P. 65
• Sound/Beep tab: Changes the system sound and beep settings.
2 Sound and Beep Settings P. 67
• Voice Recog tab: Changes the setting for the vo ice control system and modifies
Song By Voice and phonebook voice commands.
2 Voice Recognition Settings P. 69
• Clock tab: Sets the automatic adjustment of the system clock for daylight saving
and international time zones.
2 Clock Adjustment P. 70
• Others tab: Sets other basic settings for the system.
2 Other Settings P. 76
1 System Settings
Select All tab to see the all items in a list.
Page 70 of 250
69
System Setup
Voice Recognition Settings
HHOME u Settings u System u Voice Recog tab
Se lect an item.
The following items are available:
• Vo ice Prompt : Turns
the voice prompt on or off.
On (factory default): Provides
voice prompts when using the voice command
system.
Off : Disables the feature.
• Volume
: Ad
justs the voice prompt volume level.2Volume Setting P. 68
• Song by Voice : Turns the Song By VoiceTM on or off.
2Song By VoiceTM (SBV) P. 151
On (factory default): Song by Voice commands are available.
Off : Disables the feature.
• So ng by Voice Phon etic Modification: Modifies voice
commands for music
stored in the iPod or USB flash drive.
2 Phonetic Modification P. 152
• Phonebook Phonet ic Modification: Modifies voice commands for names in the
phonebook.
2 Phonebook Phonetic Modification P. 180
• Automatic Phone Sync : Imports the phonebook and call history of the paired
phone automatically.
2 Automatic Phone Sync P. 176