2016 FORD SUPER DUTY load capacity
[x] Cancel search: load capacityPage 138 of 510
12 Volt DC Power Point
WARNING
Do not plug optional electrical
accessories into the cigar lighter
socket. Incorrect use of the cigar
lighter can cause damage not covered by
the vehicle warranty, and can result in fire
or serious injury. Note:
If used when the vehicle is not
running, the battery will run out of charge.
There may be insufficient power to restart
your vehicle.
Note: Do not insert objects other than an
accessory plug into the power point. This
will damage the outlet and blow the fuse.
Note: Do not hang any accessory from the
accessory plug.
Note: Do not use the power point over the
vehicle capacity of 12 volt DC 180 watts or
a fuse may blow.
Note: Do not use a power point for
operating a cigar lighter.
Note: Incorrect use of the power points can
cause damage not covered by the vehicle
warranty, and can result in fire or serious
injury.
Note: Always keep the power point caps
closed when not in use.
Run the vehicle for full capacity use of the
power point. To prevent the battery from
running out of charge:
• Do not use the power point longer than
necessary when the vehicle is not
running.
• Do not leave devices plugged in
overnight or when you park your vehicle
for extended periods.
Locations
Power points may be in the following
locations: •
On the instrument panel.
• Inside the center console.
• On the rear of the center console.
• Inside the front under-seat storage
compartment (if equipped).
• Inside the rear under-seat storage
compartment (if equipped).
110 Volt AC Power Point (If Equipped) WARNING
Do not keep electrical devices
plugged in the power point whenever
the device is not in use. Do not use
any extension cord with the 110 volt AC
power point, since it will defeat the safety
protection design. Doing so my cause the
power point to overload due to powering
multiple devices that can reach beyond
the 150 watt load limit and could result in
fire or serious injury. Note:
Run the vehicle for full capacity use
of the power point.
Note: Depending on your vehicle, the power
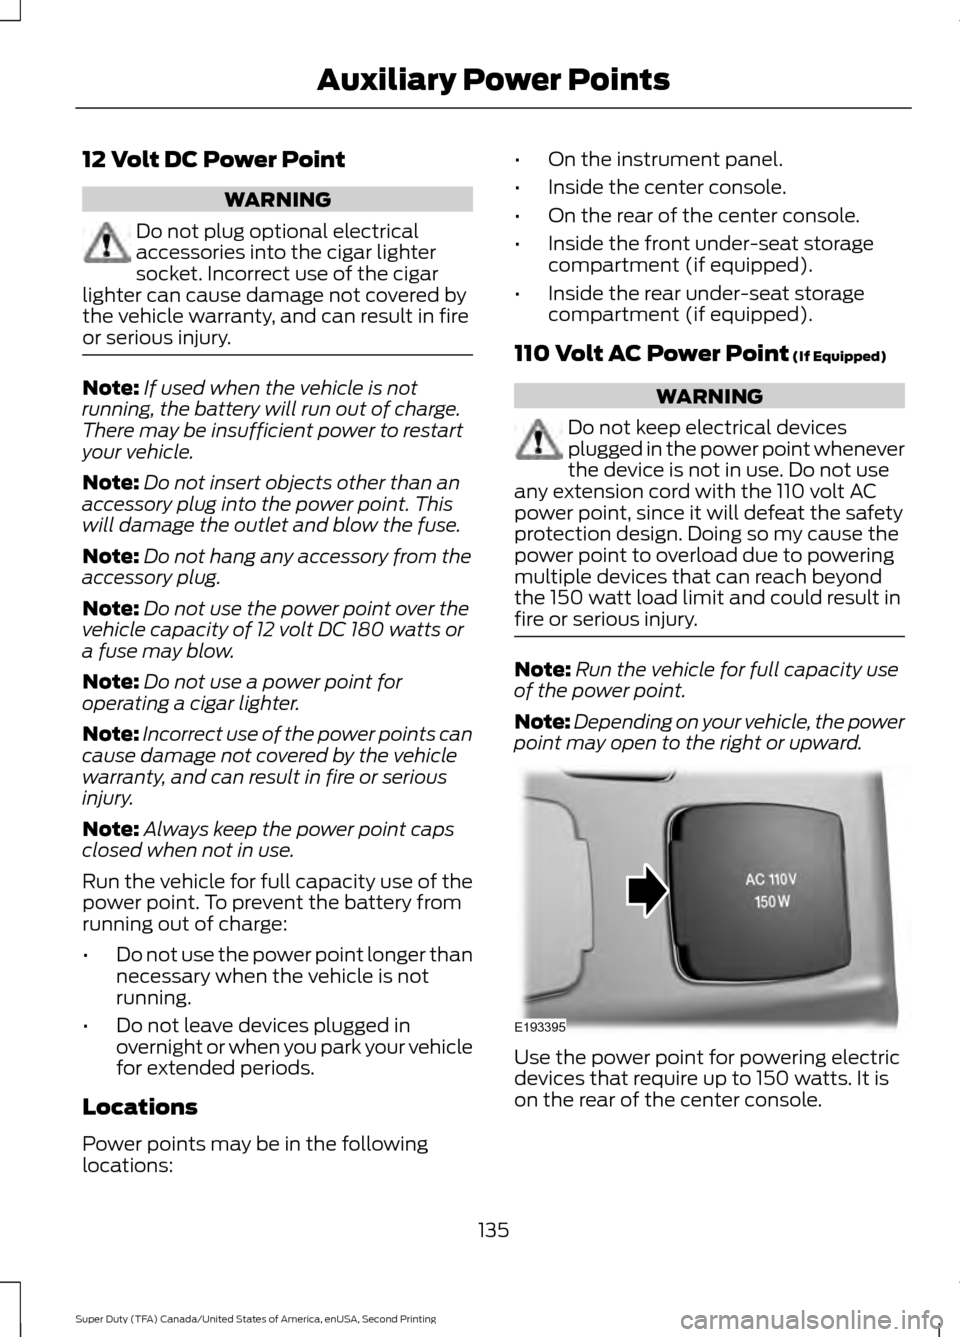
point may open to the right or upward. Use the power point for powering electric
devices that require up to 150 watts. It is
on the rear of the center console.
135
Super Duty (TFA) Canada/United States of America, enUSA, Second Printing Auxiliary Power PointsE193395
Page 187 of 510
WARNING
The appropriate loading
capacity of your vehicle can
be limited either by volume
capacity (how much space is
available) or by payload capacity
(how much weight the vehicle
should carry). Once you have
reached the maximum payload of
your vehicle, do not add more
cargo, even if there is space
available. Overloading or
improperly loading your vehicle
can contribute to loss of vehicle
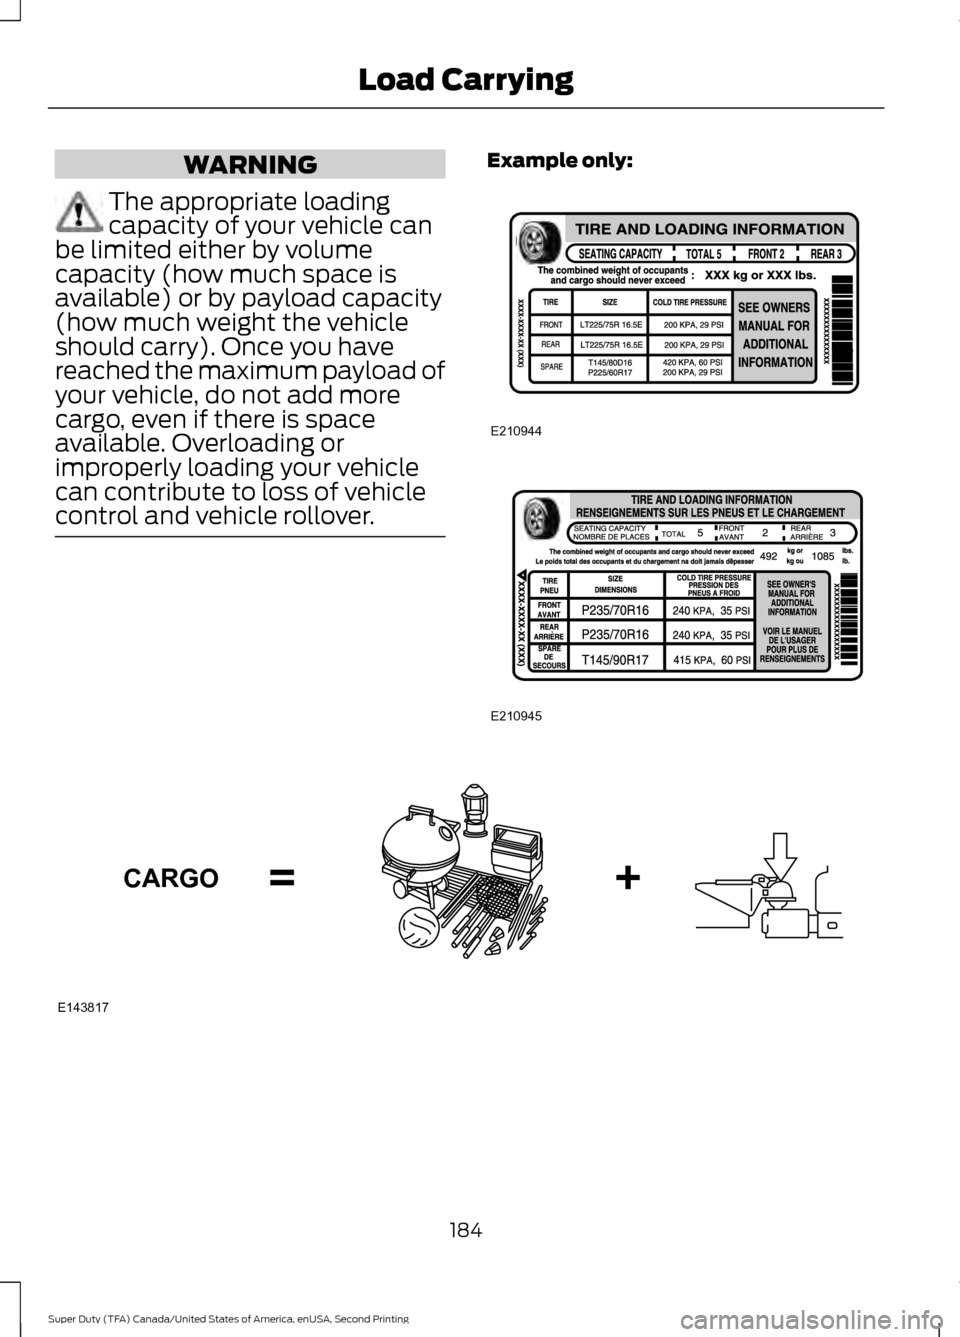
control and vehicle rollover. Example only:
184
Super Duty (TFA) Canada/United States of America, enUSA, Second Printing Load CarryingE210944 E210945 E143817CARGO
Page 191 of 510
1. Locate the statement "The
combined weight of occupants
and cargo should never exceed
XXX kg or XXX lb." on your
vehicle ’s placard.
2. Determine the combined
weight of the driver and
passengers that will be riding
in your vehicle.
3. Subtract the combined weight
of the driver and passengers
from XXX kg or XXX lb.
4. The resulting figure equals the
available amount of cargo and
luggage load capacity. For
example, if the “XXX” amount
equals 1,400 lb. and there will
be five 150 lb. passengers in
your vehicle, the amount of
available cargo and luggage
load capacity is 650 lb.
(1400-750 (5 x 150) = 650 lb.).
5. Determine the combined
weight of luggage and cargo
being loaded on the vehicle.
That weight may not safely
exceed the available cargo and
luggage load capacity
calculated in Step 4.
6. If your vehicle will be towing a
trailer, load from your trailer
will be transferred to your
vehicle. Consult this manual to
determine how this reduces the
available cargo and luggage
load capacity of your vehicle.
The following gives you a few
examples on how to calculate the
available amount of cargo and
luggage load capacity: *Suppose your vehicle has a
1400-pound (635-kilogram) cargo
and luggage capacity. You decide
to go golfing. Is there enough load
capacity to carry you, four of your
friends and all the golf bags? You
and four friends average 220
pounds (99 kilograms) each and
the golf bags weigh approximately
30 pounds (13.5 kilograms) each.
The calculation would be: 1400 -
(5 x 220) - (5 x 30) = 1400 - 1100
- 150 = 150 pounds. Yes, you have
enough load capacity in your
vehicle to transport four friends
and your golf bags. In metric units,
the calculation would be: 635
kilograms - (5 x 99 kilograms) -
(5 x 13.5 kilograms) = 635 - 495 -
67.5 = 72.5 kilograms.
*Suppose your vehicle has a
1400-pound (635-kilogram) cargo
and luggage capacity. You and
one of your friends decide to pick
up cement from the local home
improvement store to finish that
patio you have been planning for
the past two years. Measuring the
inside of the vehicle with the rear
seat folded down, you have room
for twelve 100-pound
(45-kilogram) bags of cement. Do
you have enough load capacity to
transport the cement to your
home? If you and your friend each
weigh 220 pounds (99 kilograms),
the calculation would be: 1400 -
(2 x 220) - (12 x 100) = 1400 - 440
- 1200 = - 240 pounds. No, you do
not have enough cargo capacity
to carry that much weight. In
metric units, the calculation would
188
Super Duty (TFA) Canada/United States of America, enUSA, Second Printing Load Carrying
Page 192 of 510
be: 635 kilograms - (2 x 99
kilograms) - (12 x 45 kilograms) =
635 - 198 - 540 = -103 kilograms.
You will need to reduce the load
weight by at least 240 pounds
(104 kilograms). If you remove
three 100-pound (45-kilogram)
cement bags, then the load
calculation would be: 1400 - (2 x
220) - (9 x 100) = 1400 - 440 -
900 = 60 pounds. Now you have
the load capacity to transport the
cement and your friend home. In
metric units, the calculation would
be: 635 kilograms - (2 x 99
kilograms) - (9 x 45 kilograms) =
635 - 198 - 405 = 32 kilograms.
The above calculations also
assume that the loads are
positioned in your vehicle in a
manner that does not overload
the Front or the Rear Gross Axle
Weight Rating specified for your
vehicle on the Safety Compliance
Certification Label. The label shall
be affixed to either the door hinge
pillar, door-latch post, or the door
edge that meets the door-latch
post, next to the driver seating
position.
Special Loading Instructions
for Owners of Pick-up Trucks
and Utility-type Vehicles WARNING
Loaded vehicles may handle
differently than unloaded
vehicles. Extra precautions, such
as slower speeds and increased
stopping distance, should be
taken when driving a heavily
loaded vehicle. Your vehicle can haul more cargo
and people than most passenger
cars. Depending upon the type
and placement of the load,
hauling cargo and people may
raise the center of gravity of the
vehicle.
189
Super Duty (TFA) Canada/United States of America, enUSA, Second Printing Load Carrying
Page 193 of 510
TOWING A TRAILER
WARNINGS
Do not exceed the GVWR or
the GAWR specified on the
certification label. Towing trailers beyond the
maximum recommended
gross trailer weight exceeds the
limit of the vehicle and could
result in engine damage,
transmission damage, structural
damage, loss of vehicle control,
vehicle rollover and personal
injury. Your vehicle may have electrical
items, such as fuses or relays,
related to towing. See Fuses
(page 223).
Your vehicle's load capacity
designation is by weight, not by
volume, so you cannot necessarily
use all available space when
loading a vehicle or trailer.
Towing a trailer places an extra
load on your vehicle's engine,
transmission, axle, brakes, tires
and suspension. Inspect these
components periodically during,
and after, any towing operation. Load Placement
To help minimize how trailer
movement affects your vehicle
when driving:
•
Load the heaviest items closest
to the trailer floor.
• Load the heaviest items
centered between the left and
right side trailer tires.
• Load the heaviest items above
the trailer axles or just slightly
forward toward the trailer
tongue. Do not allow the final
trailer tongue weight to go
above or below 10-15% of the
loaded trailer weight.
• Select a ball mount with the
correct rise or drop. When both
the loaded vehicle and trailer
are connected, the trailer frame
should be level, or slightly
angled down toward your
vehicle, when viewed from the
side.
When driving with a trailer or
payload, a slight takeoff vibration
or shudder may be present due to
the increased payload weight.
Additional information regarding
proper trailer loading and setting
your vehicle up for towing is
located in another chapter of this
manual. See
Load Limit (page
183).
You can also find information in
the
RV & Trailer Towing Guide
available at your authorized
dealer, or online.
190
Super Duty (TFA) Canada/United States of America, enUSA, Second Printing Towing
Page 269 of 510
•
Higher - to allow higher load carrying
capacity and to allow it to travel over
rough terrain without getting hung up
or damaging underbody components.
• Shorter - to give it the capability to
approach inclines and drive over the
crest of a hill without getting hung up
or damaging underbody components.
All other things held equal, a shorter
wheelbase may make your vehicle
quicker to respond to steering inputs
than a vehicle with a longer wheelbase.
• Narrower - to provide greater
maneuverability in tight spaces,
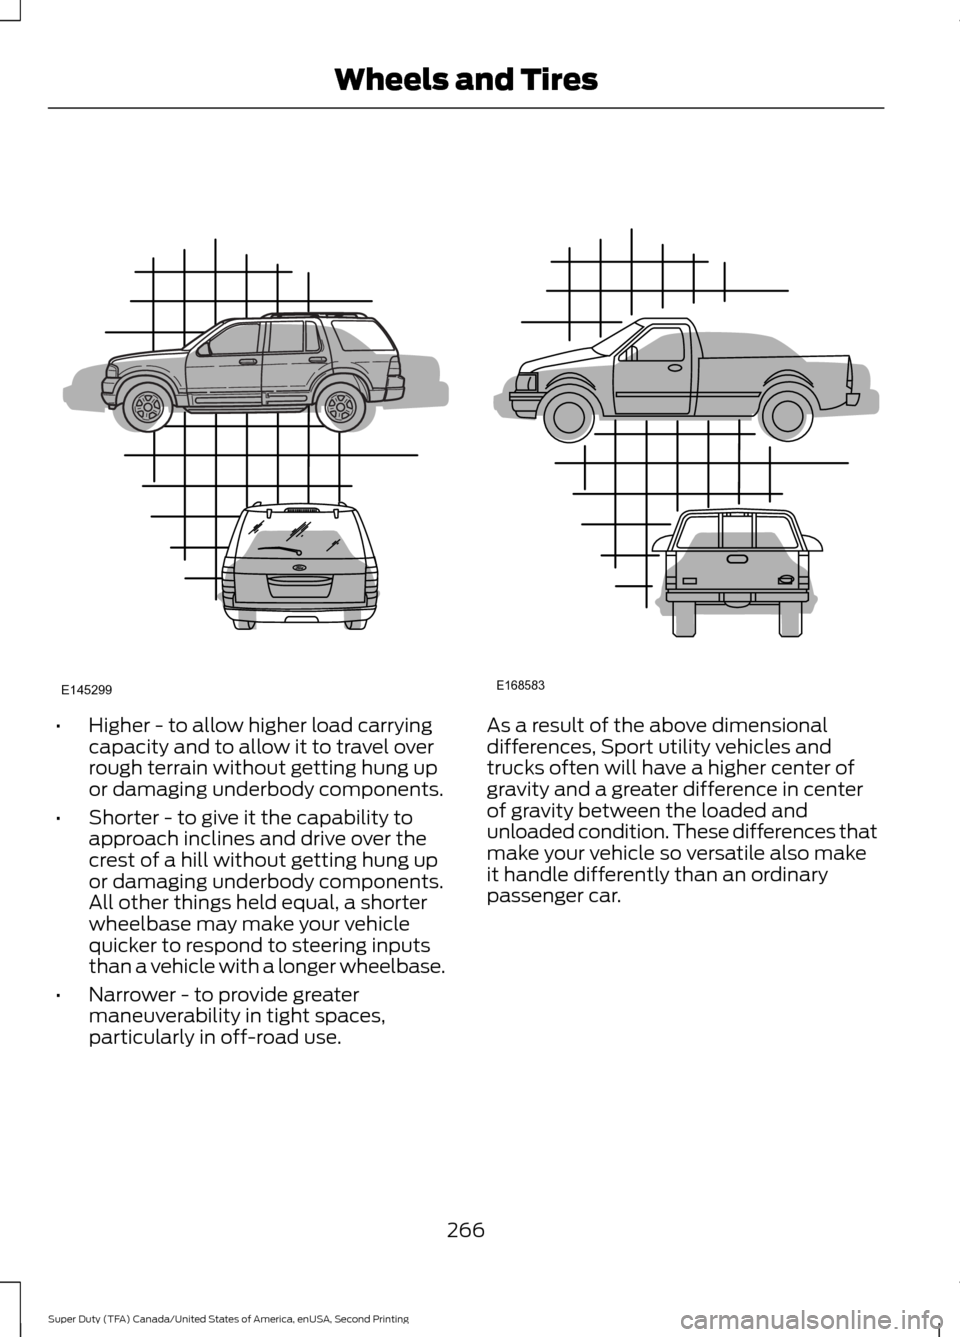
particularly in off-road use. As a result of the above dimensional
differences, Sport utility vehicles and
trucks often will have a higher center of
gravity and a greater difference in center
of gravity between the loaded and
unloaded condition. These differences that
make your vehicle so versatile also make
it handle differently than an ordinary
passenger car.
266
Super Duty (TFA) Canada/United States of America, enUSA, Second Printing Wheels and TiresE145299 E168583
Page 301 of 510
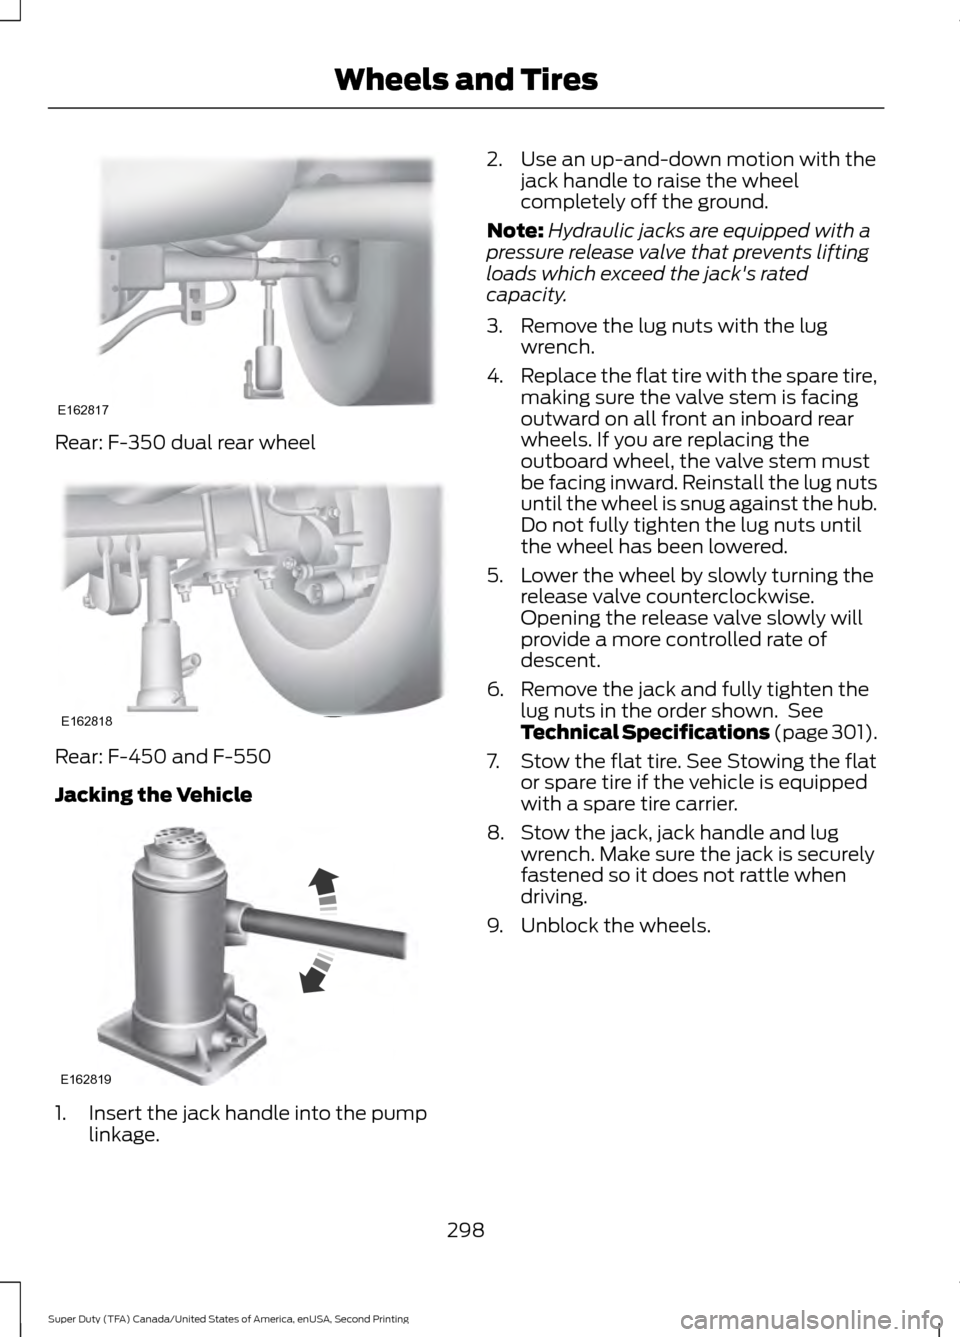
Rear: F-350 dual rear wheel
Rear: F-450 and F-550
Jacking the Vehicle
1. Insert the jack handle into the pump
linkage. 2. Use an up-and-down motion with the
jack handle to raise the wheel
completely off the ground.
Note: Hydraulic jacks are equipped with a
pressure release valve that prevents lifting
loads which exceed the jack's rated
capacity.
3. Remove the lug nuts with the lug wrench.
4. Replace the flat tire with the spare tire,
making sure the valve stem is facing
outward on all front an inboard rear
wheels. If you are replacing the
outboard wheel, the valve stem must
be facing inward. Reinstall the lug nuts
until the wheel is snug against the hub.
Do not fully tighten the lug nuts until
the wheel has been lowered.
5. Lower the wheel by slowly turning the release valve counterclockwise.
Opening the release valve slowly will
provide a more controlled rate of
descent.
6. Remove the jack and fully tighten the lug nuts in the order shown. See
Technical Specifications (page 301).
7. Stow the flat tire. See Stowing the flat or spare tire if the vehicle is equipped
with a spare tire carrier.
8. Stow the jack, jack handle and lug wrench. Make sure the jack is securely
fastened so it does not rattle when
driving.
9. Unblock the wheels.
298
Super Duty (TFA) Canada/United States of America, enUSA, Second Printing Wheels and TiresE162817 E162818 E162819