2016 FORD F450 SUPER DUTY lights
[x] Cancel search: lightsPage 60 of 507
The autolock feature will unlock all thedoors when:
•autolock has locked the doors
•you stop the vehicle and switch theignition off or to accessory mode, and
•you open the driver door within 10minutes.
Note:The doors will not autounlock if youhave electronically locked them beforeopening the driver door.
Enabling or Disabling
You can enable or disable these featuresin the information display or yourauthorized dealer can do it for you. See(page 89).
Note:You can enable or disable theautolock and autounlock featuresindependently of each other.
Illuminated Entry
The interior lamps and select exteriorlamps will illuminate when you unlock thedoors with the remote entry system.
The illuminated entry system will turn offthe lights if:
•the ignition is on
•you press the remote control lockbutton, or
•after 25 seconds of illumination.
The dome lamp will not turn on if thecontrol is set to the off position.
The lights will not turn off if:
•you turn them on with the dimmercontrol, or
•any door is open.
Battery Saver
The battery saver turns off the interiorlamps 30 minutes after you switch theignition off if a door is open and the domelamp switch is on. It turns off the interiorlamps after 10 minutes if the dome lampswitch is off.
KEYLESS ENTRY (If Equipped)
SECURICODE™ KEYLESS ENTRYKEYPAD
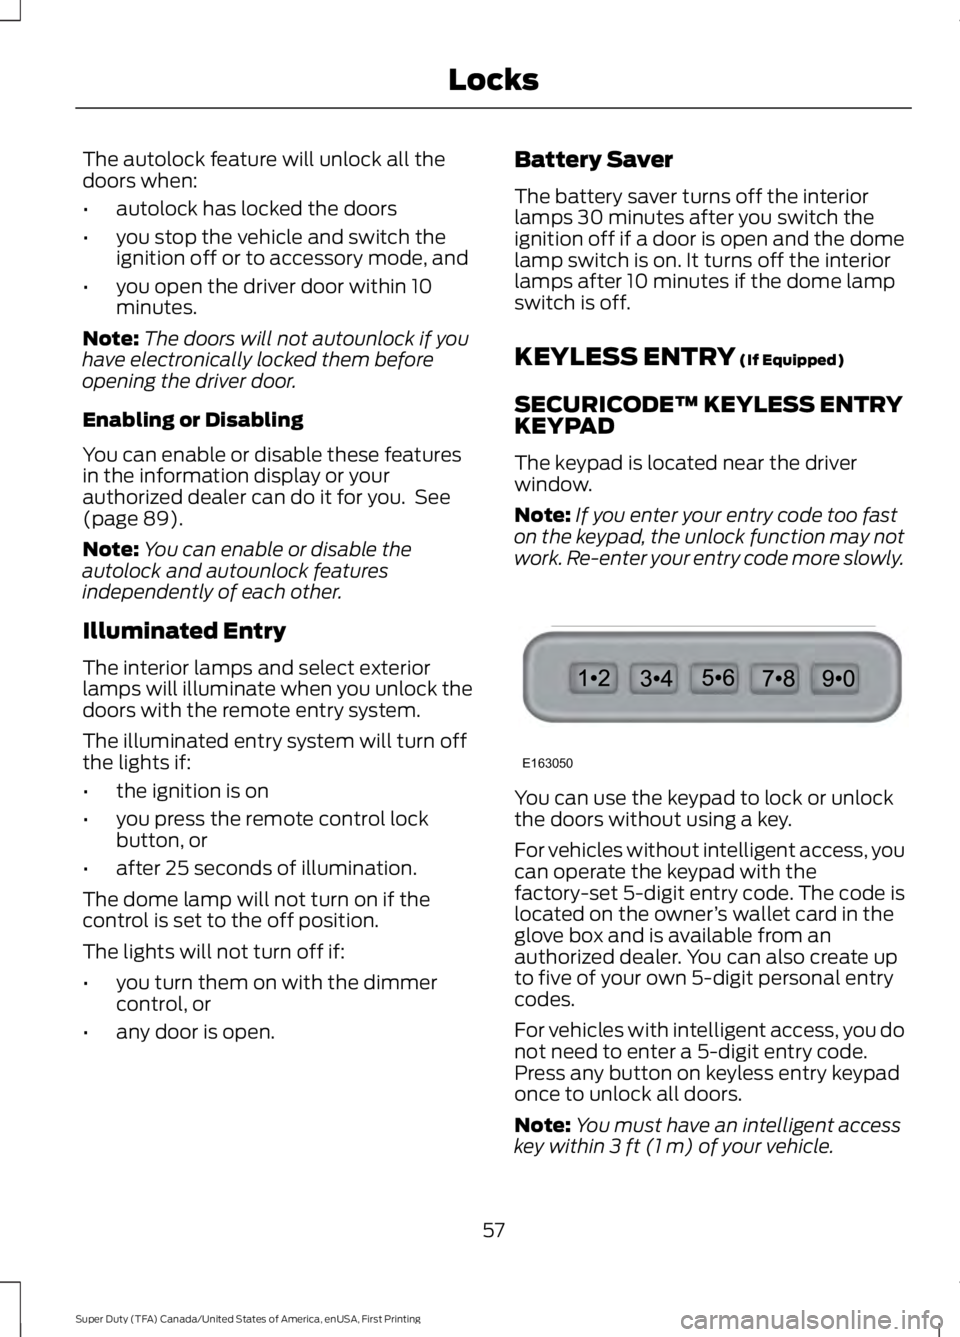
The keypad is located near the driverwindow.
Note:If you enter your entry code too faston the keypad, the unlock function may notwork. Re-enter your entry code more slowly.
You can use the keypad to lock or unlockthe doors without using a key.
For vehicles without intelligent access, youcan operate the keypad with thefactory-set 5-digit entry code. The code islocated on the owner’s wallet card in theglove box and is available from anauthorized dealer. You can also create upto five of your own 5-digit personal entrycodes.
For vehicles with intelligent access, you donot need to enter a 5-digit entry code.Press any button on keyless entry keypadonce to unlock all doors.
Note:You must have an intelligent accesskey within 3 ft (1 m) of your vehicle.
57
Super Duty (TFA) Canada/United States of America, enUSA, First Printing
LocksE163050
Page 75 of 507
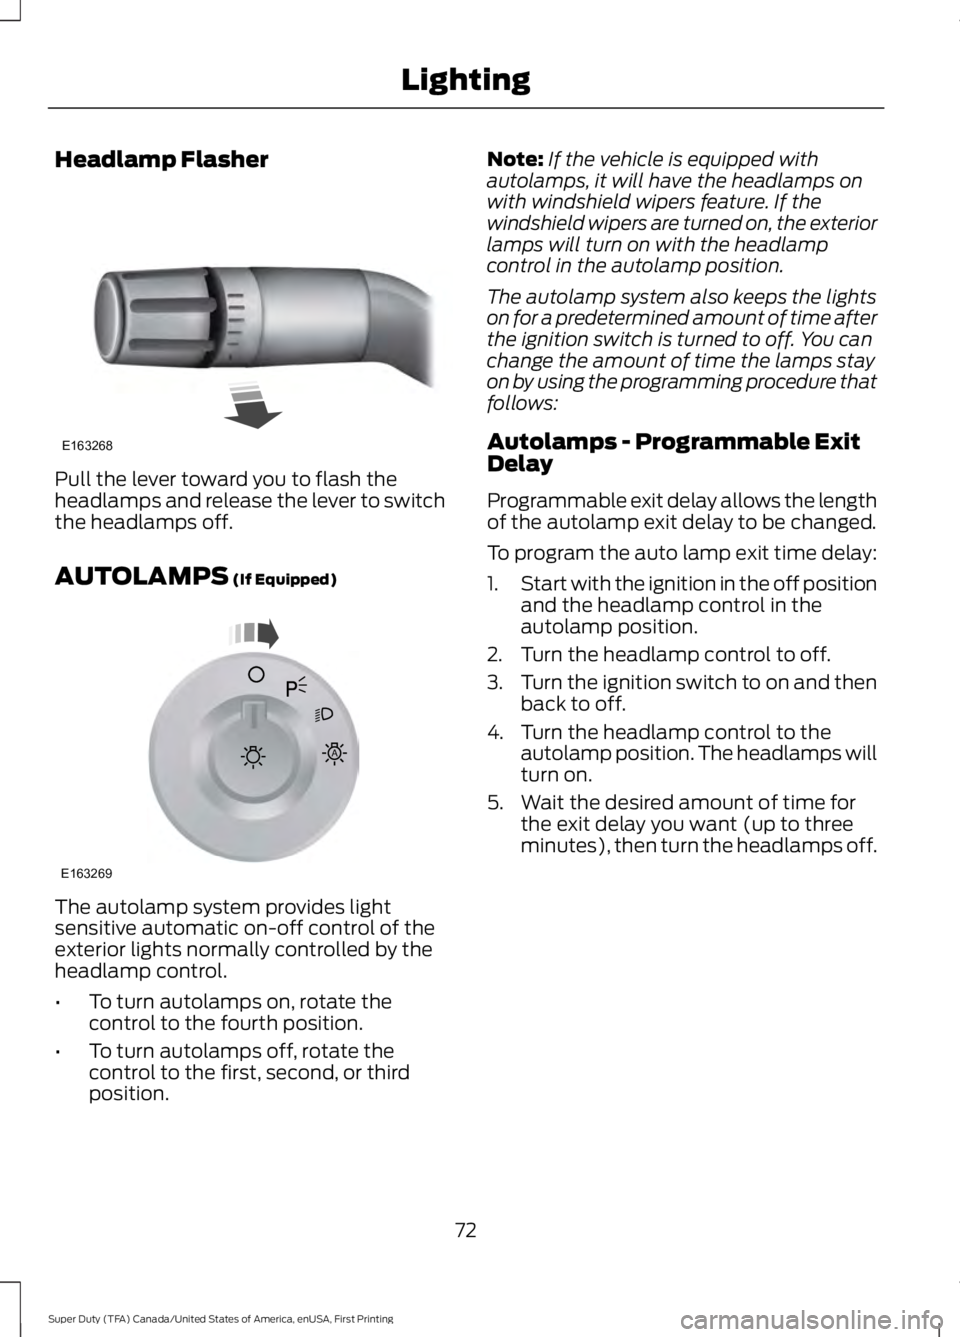
Headlamp Flasher
Pull the lever toward you to flash theheadlamps and release the lever to switchthe headlamps off.
AUTOLAMPS (If Equipped)
The autolamp system provides lightsensitive automatic on-off control of theexterior lights normally controlled by theheadlamp control.
•To turn autolamps on, rotate thecontrol to the fourth position.
•To turn autolamps off, rotate thecontrol to the first, second, or thirdposition.
Note:If the vehicle is equipped withautolamps, it will have the headlamps onwith windshield wipers feature. If thewindshield wipers are turned on, the exteriorlamps will turn on with the headlampcontrol in the autolamp position.
The autolamp system also keeps the lightson for a predetermined amount of time afterthe ignition switch is turned to off. You canchange the amount of time the lamps stayon by using the programming procedure thatfollows:
Autolamps - Programmable ExitDelay
Programmable exit delay allows the lengthof the autolamp exit delay to be changed.
To program the auto lamp exit time delay:
1.Start with the ignition in the off positionand the headlamp control in theautolamp position.
2. Turn the headlamp control to off.
3.Turn the ignition switch to on and thenback to off.
4. Turn the headlamp control to theautolamp position. The headlamps willturn on.
5. Wait the desired amount of time forthe exit delay you want (up to threeminutes), then turn the headlamps off.
72
Super Duty (TFA) Canada/United States of America, enUSA, First Printing
LightingE163268 E163269
A
Page 76 of 507
INSTRUMENT LIGHTING
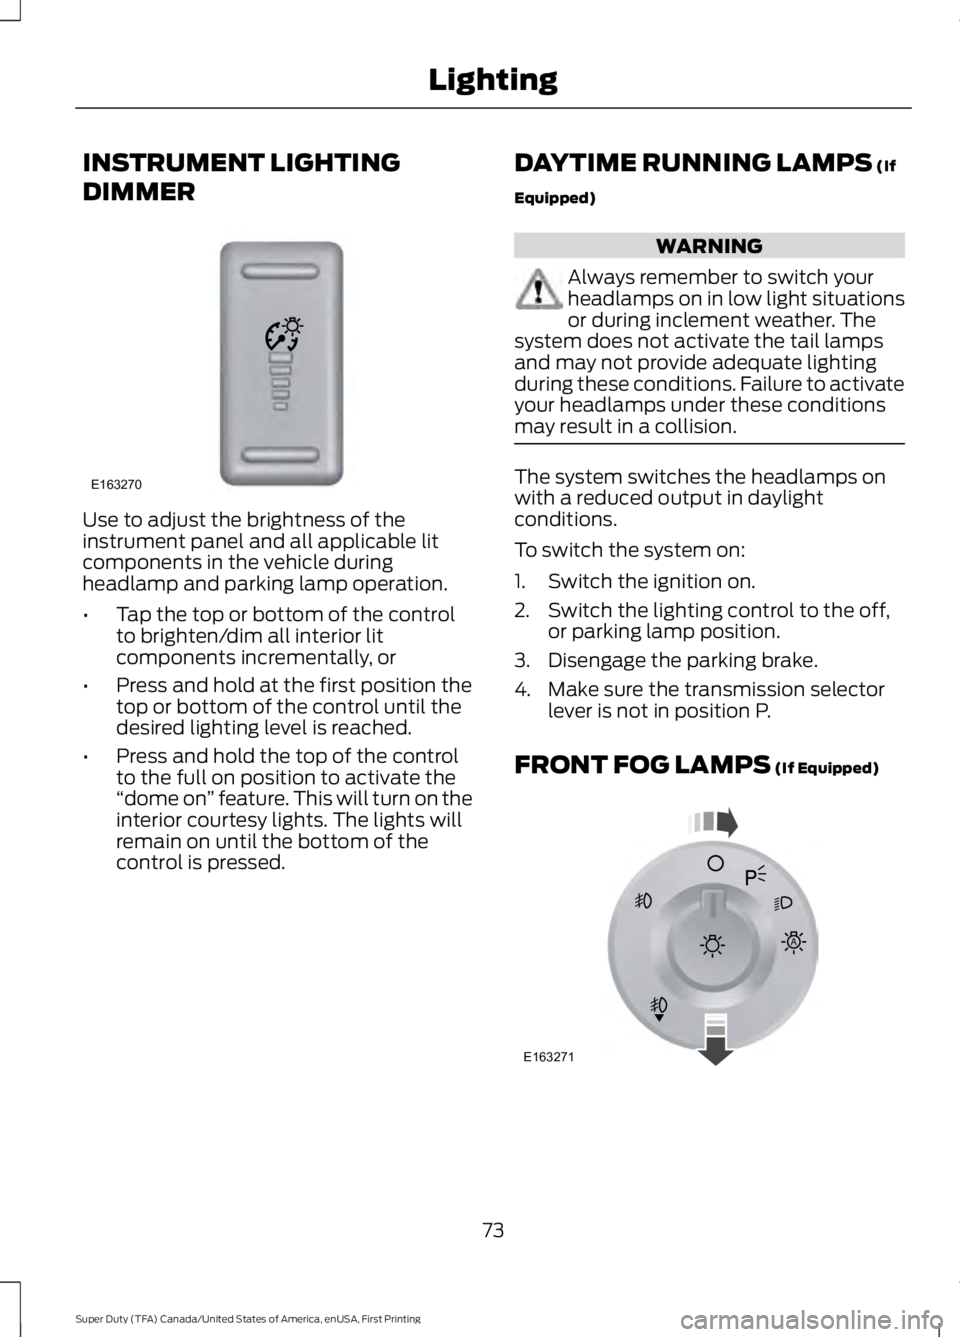
DIMMER
Use to adjust the brightness of theinstrument panel and all applicable litcomponents in the vehicle duringheadlamp and parking lamp operation.
•Tap the top or bottom of the controlto brighten/dim all interior litcomponents incrementally, or
•Press and hold at the first position thetop or bottom of the control until thedesired lighting level is reached.
•Press and hold the top of the controlto the full on position to activate the“dome on” feature. This will turn on theinterior courtesy lights. The lights willremain on until the bottom of thecontrol is pressed.
DAYTIME RUNNING LAMPS (If
Equipped)
WARNING
Always remember to switch yourheadlamps on in low light situationsor during inclement weather. Thesystem does not activate the tail lampsand may not provide adequate lightingduring these conditions. Failure to activateyour headlamps under these conditionsmay result in a collision.
The system switches the headlamps onwith a reduced output in daylightconditions.
To switch the system on:
1. Switch the ignition on.
2. Switch the lighting control to the off,or parking lamp position.
3. Disengage the parking brake.
4. Make sure the transmission selectorlever is not in position P.
FRONT FOG LAMPS (If Equipped)
73
Super Duty (TFA) Canada/United States of America, enUSA, First Printing
LightingE163270 E163271
A
Page 82 of 507
To adjust the mirrors:
•Press and hold the control.
•When you position the mirrors in or out,the motors will run as long as you holdthe control. The running motors allowyou to make adjustments as needed.
•After positioning the mirrors, return thecontrol to the center position to helpprotect the motors from overheating.
INTERIOR MIRROR
WARNING
Do not adjust the mirror when yourvehicle is moving.
Note:Do not clean the housing or glass ofany mirror with harsh abrasives, fuel or otherpetroleum or ammonia-based cleaningproducts.
You can adjust the interior mirror to yourpreference. Some mirrors also have asecond pivot point. This lets you move themirror head up or down and from side toside.
Pull the tab below the mirror toward youto reduce glare at night.
Auto-Dimming Mirror (If Equipped)
Note:Do not block the sensors on the frontand back of the mirror. Mirror performancemay be affected. A rear center passenger orraised rear center head restraint may alsoblock light from reaching the sensor.
The mirror will dim automatically to reduceglare when bright lights are detected frombehind your vehicle. It will automaticallyreturn to normal reflection when you selectreverse gear to make sure you have a clearview when backing up.
SLIDING WINDOWS (If Equipped)
Power Sliding Back Window (If
Equipped)
WARNINGS
When operating the power slidingback window, you must make sureall rear seat occupants and cargo arenot in the proximity of the back window.
Do not leave children unattended inyour vehicle and do not let them playwith the power sliding back window.They may seriously injure themselves.
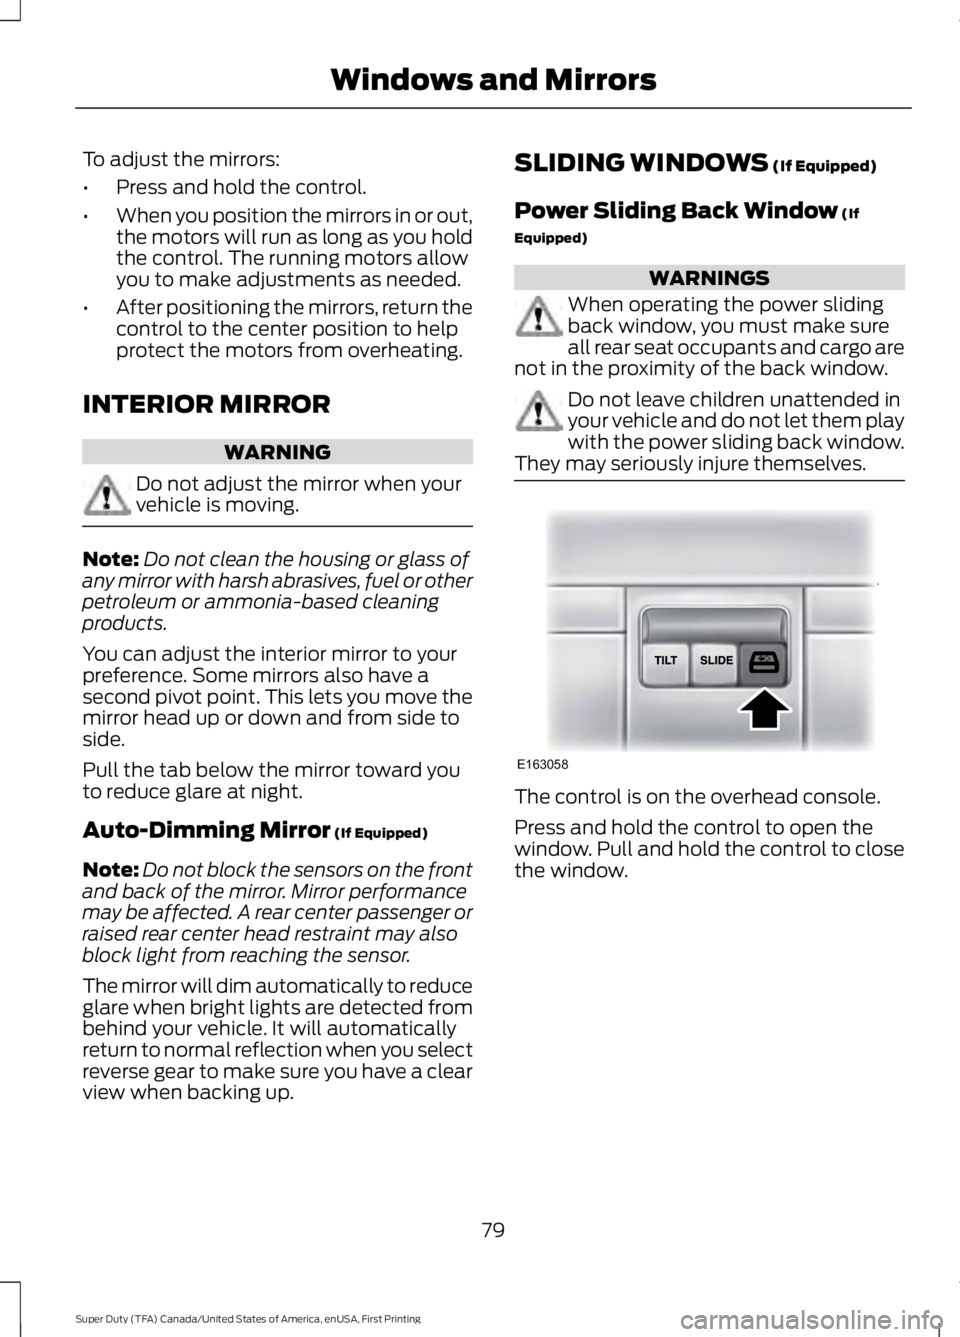
The control is on the overhead console.
Press and hold the control to open thewindow. Pull and hold the control to closethe window.
79
Super Duty (TFA) Canada/United States of America, enUSA, First Printing
Windows and MirrorsE163058
Page 90 of 507
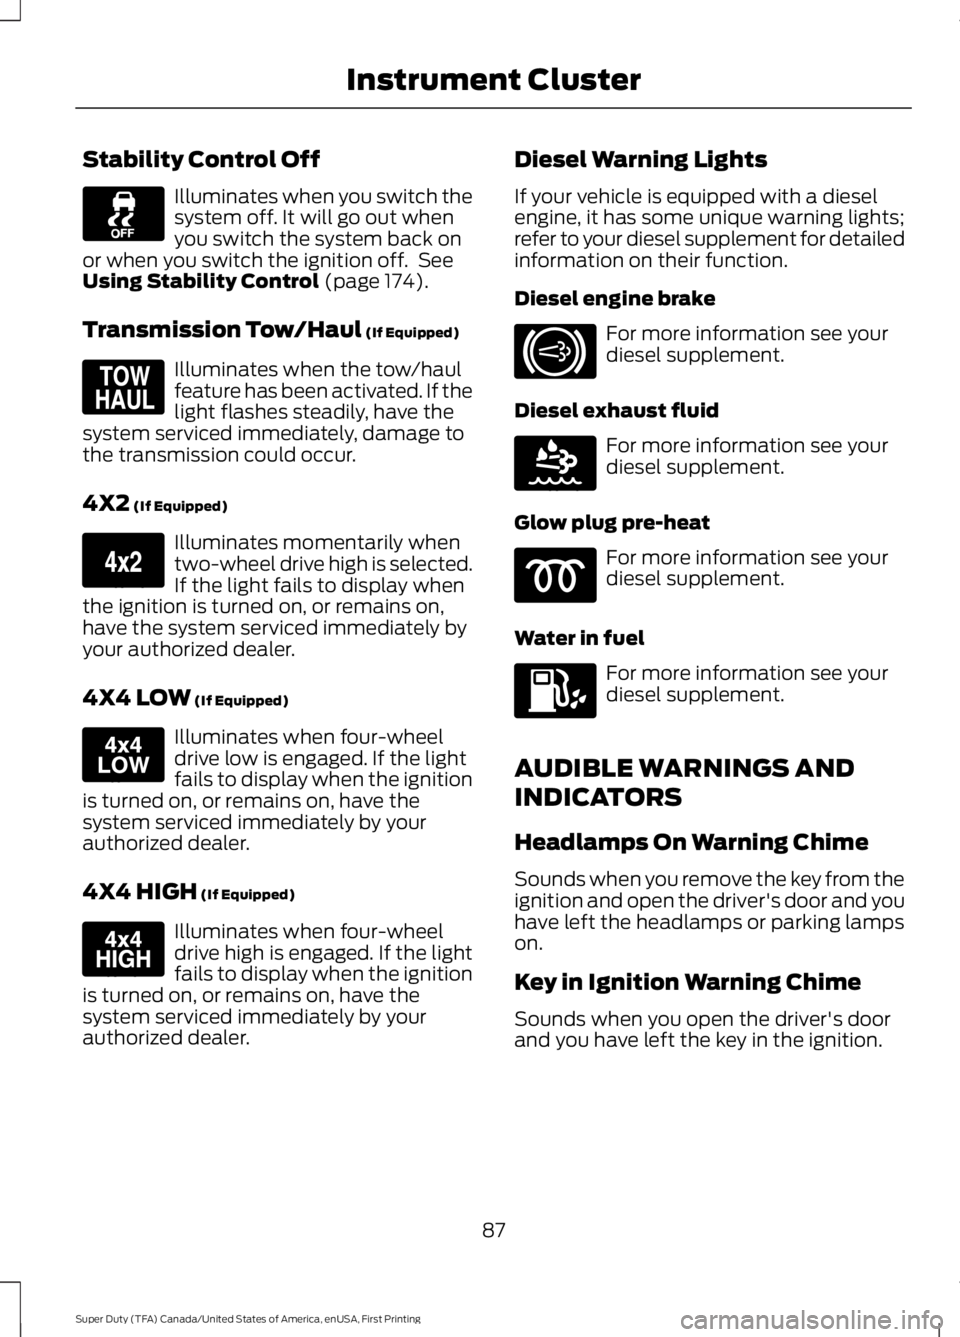
Stability Control Off
Illuminates when you switch thesystem off. It will go out whenyou switch the system back onor when you switch the ignition off. SeeUsing Stability Control (page 174).
Transmission Tow/Haul (If Equipped)
Illuminates when the tow/haulfeature has been activated. If thelight flashes steadily, have thesystem serviced immediately, damage tothe transmission could occur.
4X2 (If Equipped)
Illuminates momentarily whentwo-wheel drive high is selected.If the light fails to display whenthe ignition is turned on, or remains on,have the system serviced immediately byyour authorized dealer.
4X4 LOW (If Equipped)
Illuminates when four-wheeldrive low is engaged. If the lightfails to display when the ignitionis turned on, or remains on, have thesystem serviced immediately by yourauthorized dealer.
4X4 HIGH (If Equipped)
Illuminates when four-wheeldrive high is engaged. If the lightfails to display when the ignitionis turned on, or remains on, have thesystem serviced immediately by yourauthorized dealer.
Diesel Warning Lights
If your vehicle is equipped with a dieselengine, it has some unique warning lights;refer to your diesel supplement for detailedinformation on their function.
Diesel engine brake
For more information see yourdiesel supplement.
Diesel exhaust fluid
For more information see yourdiesel supplement.
Glow plug pre-heat
For more information see yourdiesel supplement.
Water in fuel
For more information see yourdiesel supplement.
AUDIBLE WARNINGS AND
INDICATORS
Headlamps On Warning Chime
Sounds when you remove the key from theignition and open the driver's door and youhave left the headlamps or parking lampson.
Key in Ignition Warning Chime
Sounds when you open the driver's doorand you have left the key in the ignition.
87
Super Duty (TFA) Canada/United States of America, enUSA, First Printing
Instrument Cluster E161509 E163173 E163174 E163175 E171217 E163176
Page 95 of 507

SETUP (cont’d)
On or OffREAR PARK AID
On or OffREMOTE WINDOWOPEN
CREATE MYKEY / MYKEY SETUP / CLEAR MYKEY
On or Offpress the RESETbuttonRESET FOR REMOTE START
5, 10, 15 minutes
Electric or EOHTBC MODE
LOW, MED or HIGHTBC EFFORT
On or OffTRAILER SWAY
English / Spanish / FrenchLANGUAGE = ENGLISH / SPANISH /FRENCH
PRESS RESET FOR SYSTEM CHECK
The information display will begin to cyclethrough the vehicle systems and providea status of the item if needed.
Note:Some systems show a message onlyif a condition is present
OIL LIFE
Displays the remaining oil life. An oilchange is required whenever indicated bythe information display and according tothe recommended maintenance schedule.USE ONLY RECOMMENDED ENGINE OILS.
To reset the oil monitoring system to 100%after each oil change, perform thefollowing:
1. Press and release the SETUP buttonto display OIL LIFE XXX% HOLD RESET= NEW.
2. Press and hold the RESET button fortwo seconds and release to reset theoil life to 100%.
Note:To change oil life 100% value (ifequipped with this feature) to another value,proceed to Step 3.
3. Once OIL LIFE SET TO XXX% isdisplayed, release and press the RESETbutton to change the Oil Life StartValue. Each release and press willreduce the value by 10%.
UNITS
Displays the current units English or Metric
AUTOLAMP (SEC)
This feature keeps your headlights on forup to three minutes after the ignition isswitched off.
AUTOLOCK
This feature automatically locks all vehicledoors when the vehicle is shifted into anygear, putting the vehicle in motion.
92
Super Duty (TFA) Canada/United States of America, enUSA, First Printing
Information Displays
Page 127 of 507
HEATED SEATS (If Equipped)
WARNING
People who are unable to feel painto their skin because of advancedage, chronic illness, diabetes, spinalcord injury, medication, alcohol use,exhaustion or other physical conditions,must exercise care when using the heatedseat. The heated seat may cause burnseven at low temperatures, especially ifused for long periods of time. Do not placeanything on the seat that insulates againstheat, such as a blanket or cushion. Thismay cause the heated seat to overheat.Do not puncture the seat with pins, needlesor other pointed objects. This may damagethe heating element which may cause theheated seat to overheat. An overheatedseat may cause serious personal injury.
Do not do the following:
•Place heavy objects on the seat.
•Operate the heated seat if water or anyother liquid is spilled on the seat. Allowthe seat to dry thoroughly.
•Operate the heated seats unless theengine is running. Doing so can causethe battery to lose charge.
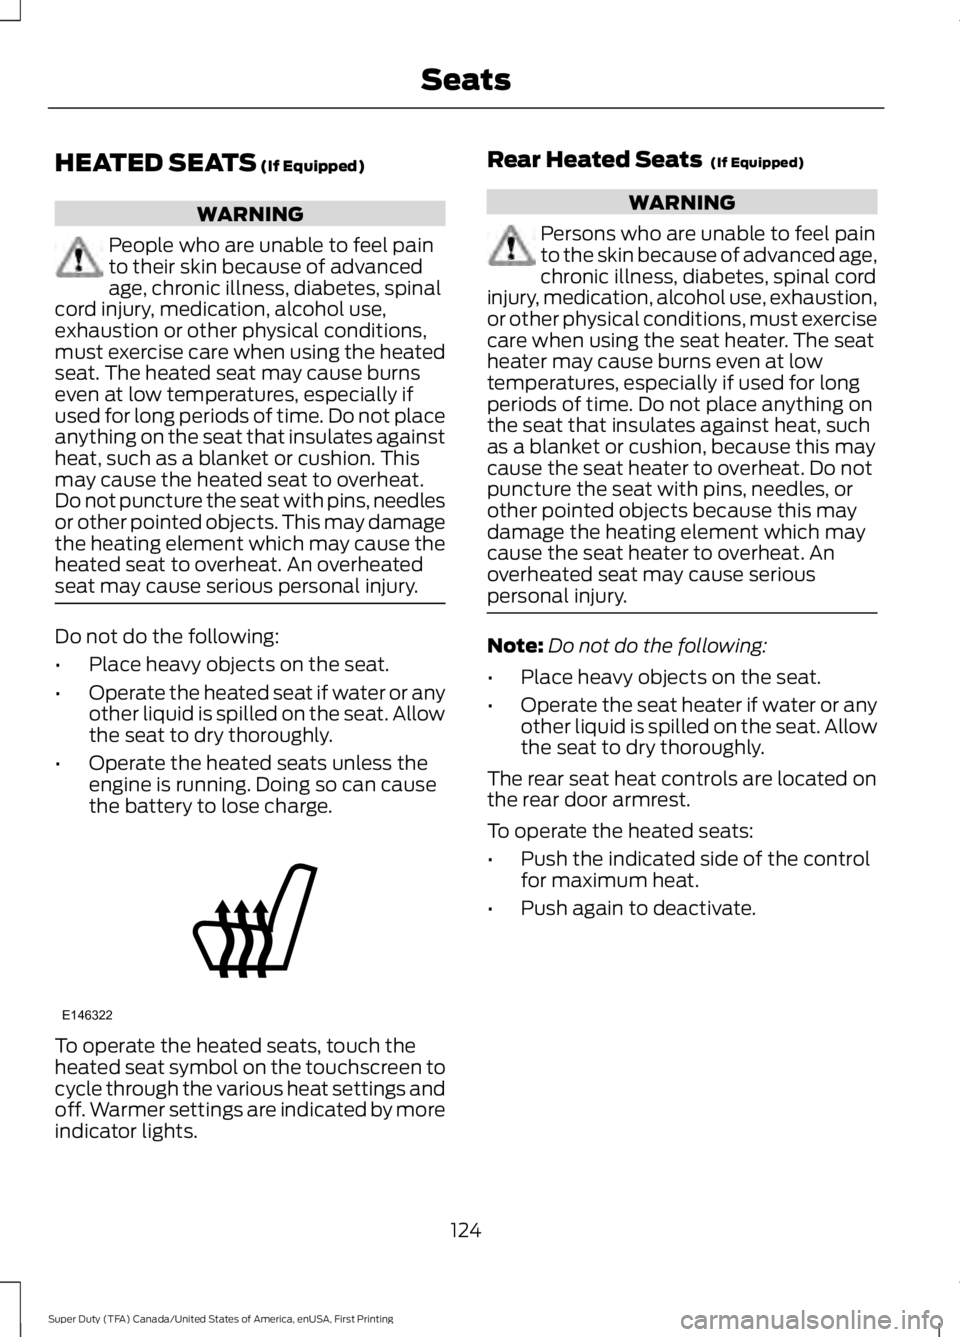
To operate the heated seats, touch theheated seat symbol on the touchscreen tocycle through the various heat settings andoff. Warmer settings are indicated by moreindicator lights.
Rear Heated Seats (If Equipped)
WARNING
Persons who are unable to feel painto the skin because of advanced age,chronic illness, diabetes, spinal cordinjury, medication, alcohol use, exhaustion,or other physical conditions, must exercisecare when using the seat heater. The seatheater may cause burns even at lowtemperatures, especially if used for longperiods of time. Do not place anything onthe seat that insulates against heat, suchas a blanket or cushion, because this maycause the seat heater to overheat. Do notpuncture the seat with pins, needles, orother pointed objects because this maydamage the heating element which maycause the seat heater to overheat. Anoverheated seat may cause seriouspersonal injury.
Note:Do not do the following:
•Place heavy objects on the seat.
•Operate the seat heater if water or anyother liquid is spilled on the seat. Allowthe seat to dry thoroughly.
The rear seat heat controls are located onthe rear door armrest.
To operate the heated seats:
•Push the indicated side of the controlfor maximum heat.
•Push again to deactivate.
124
Super Duty (TFA) Canada/United States of America, enUSA, First Printing
SeatsE146322
Page 129 of 507

To operate the heated seats, touch theheated seat symbol on the touchscreen tocycle through the various heat settings andoff. More indicator lights indicate warmersettings.
Cooled Seats
The cooled seats will only function whenthe engine is running.
To operate the cooled seats, touch thecooled seat symbol on the touchscreen tocycle through the various cool settings andoff. More indicator lights indicate coolersettings.
If the engine falls below 350 RPM whilethe cooled seats are on, the feature willturn itself off. You will need to reactivateit.
Climate Controlled Seat Air FilterReplacement
The climate controlled seat systemincludes air filters. You must replace themperiodically.
The filter is located under each front seat.Access the filter from the second rowfootwell area. Move the front seats all theway to the full front and full up positionsto ease access.
To remove a filter:
1. Turn the vehicle off.
2. Push up on the outside rigid edge ofthe filter until the tabs are released,then remove the filter.
To install a filter:
1. First, position the filter in its housingmaking sure that the far forward endis all the way up in the housing.
2. Push in on the center of the outsideedge of the filter and rotate clockwiseinto the housing until it clips intoposition.
126
Super Duty (TFA) Canada/United States of America, enUSA, First Printing
SeatsE146309 E146319 E146321