2016 FORD F250 display
[x] Cancel search: displayPage 138 of 507

Red indicator light
A.
Green indicator light
B.
1. Press and hold one of the buttons on the hand-held transmitter for 10
seconds. The indicator light will change
from green to red and green.
2. Press the same button twice to confirm
the change to programming mode. If
done properly the indicator light will
appear red.
3. Hold the transmitter within 1– 3 inches
(2 –8 centimeters) of the button on the
visor you want to program.
4. Press and hold both the programmed Genie button on the hand-held
transmitter and the button you want
to program. The indicator light on the
visor will flash rapidly when the
programming is successful.
Note: The Genie transmitter will transmit
for up to 30 seconds. If HomeLink does not
program within 30 seconds you will need to
press the Genie transmitter again. If the
Genie transmitter indicator light displays
green and red, release the button until the
indicator light turns off before pressing the
button again.
Once you have programmed HomeLink
successfully, you must change the Genie
transmitter out of program mode. To do
this: 1. Press and hold the previously
programmed Genie button on the
hand-held transmitter for 10 seconds.
The indicator light will change from red
to red and green.
2. Press the same button twice to confirm
the change. If done correctly the
indicator light will turn green.
Programming HomeLink to the Genie
Intellicode Garage Door Opener Motor
Note: You may need a ladder to access the
garage door opener motor. 1. Press and hold the program button on
the garage door opener motor until
both blue indicator lights turn on.
2. Release the program button. Only the smaller round indicator light should be
on.
3. Press and release the program button.
The larger purple indicator light will
flash.
Note: The next two steps must be
completed in 30 seconds.
4. Press and release the previously programmed button on the Genie
Intellicode 2 hand-held transmitter.
Both indicator lights on the garage door
opener motor unit should now flash
purple.
135
Super Duty (TFA) Canada/United States of America, enUSA, First Printing Universal Garage Door Opener (If Equipped)BAE142661 E142662
Page 157 of 507

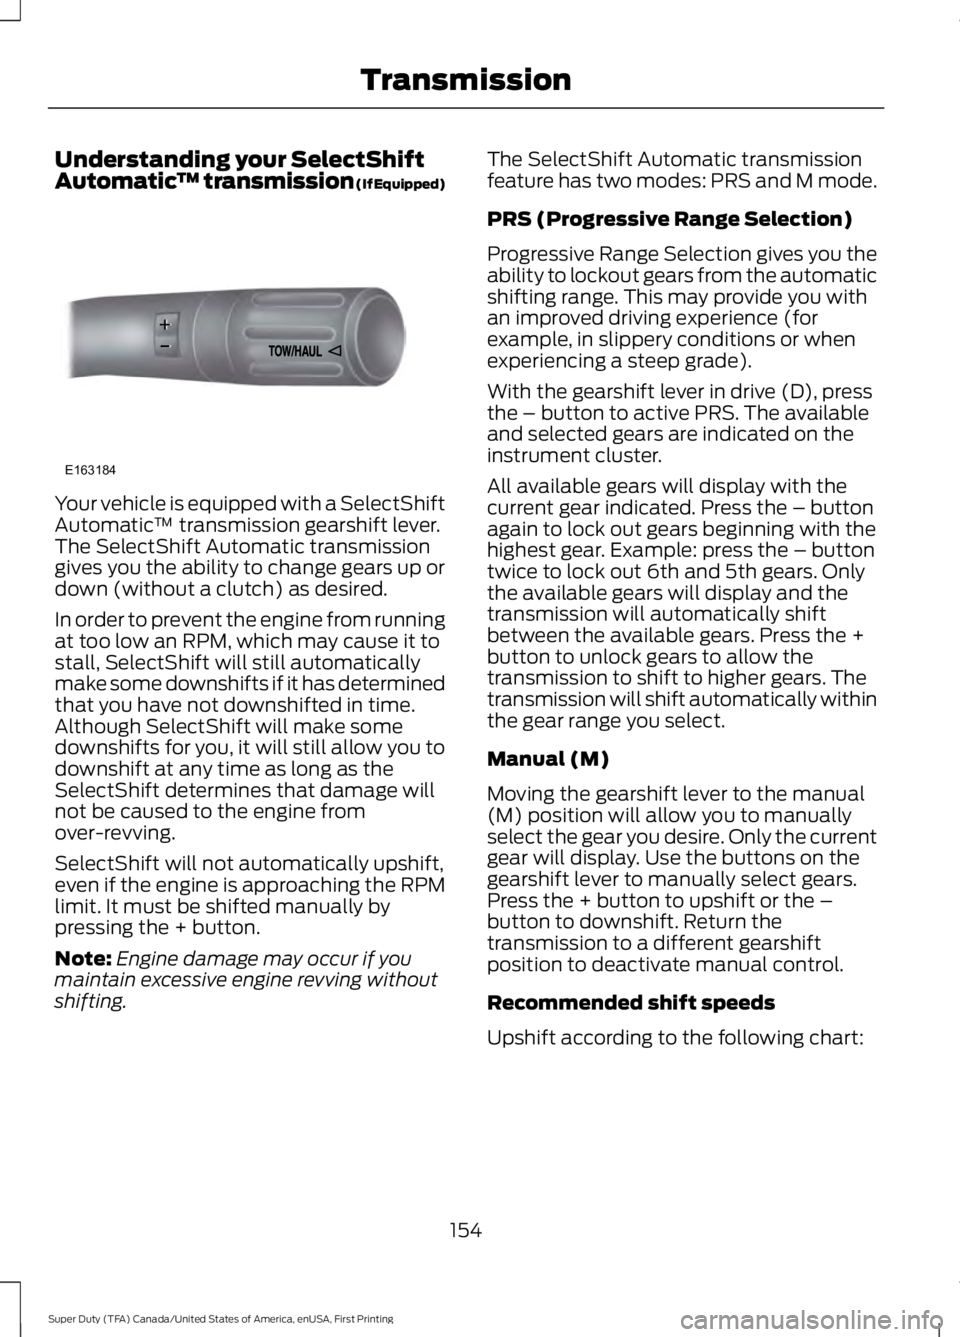
Understanding your SelectShift
Automatic
™ transmission (If Equipped)Your vehicle is equipped with a SelectShift
Automatic
™ transmission gearshift lever.
The SelectShift Automatic transmission
gives you the ability to change gears up or
down (without a clutch) as desired.
In order to prevent the engine from running
at too low an RPM, which may cause it to
stall, SelectShift will still automatically
make some downshifts if it has determined
that you have not downshifted in time.
Although SelectShift will make some
downshifts for you, it will still allow you to
downshift at any time as long as the
SelectShift determines that damage will
not be caused to the engine from
over-revving.
SelectShift will not automatically upshift,
even if the engine is approaching the RPM
limit. It must be shifted manually by
pressing the + button.
Note: Engine damage may occur if you
maintain excessive engine revving without
shifting. The SelectShift Automatic transmission
feature has two modes: PRS and M mode.
PRS (Progressive Range Selection)
Progressive Range Selection gives you the
ability to lockout gears from the automatic
shifting range. This may provide you with
an improved driving experience (for
example, in slippery conditions or when
experiencing a steep grade).
With the gearshift lever in drive (D), press
the – button to active PRS. The available
and selected gears are indicated on the
instrument cluster.
All available gears will display with the
current gear indicated. Press the – button
again to lock out gears beginning with the
highest gear. Example: press the – button
twice to lock out 6th and 5th gears. Only
the available gears will display and the
transmission will automatically shift
between the available gears. Press the +
button to unlock gears to allow the
transmission to shift to higher gears. The
transmission will shift automatically within
the gear range you select.
Manual (M)
Moving the gearshift lever to the manual
(M) position will allow you to manually
select the gear you desire. Only the current
gear will display. Use the buttons on the
gearshift lever to manually select gears.
Press the + button to upshift or the –
button to downshift. Return the
transmission to a different gearshift
position to deactivate manual control.
Recommended shift speeds
Upshift according to the following chart:
154
Super Duty (TFA) Canada/United States of America, enUSA, First Printing TransmissionE163184
Page 162 of 507

•
provides 4x4 High engagement and
disengagement while the vehicle is
moving.
• is operated by a rotary control located
on the instrument panel that allows
you select 4x2, 4x4 High or 4x4 Low
operation.
• uses auto-manual hub locks that can
be engaged and disengaged
automatically based on the 4x4 mode
selected.
• will increase fuel economy when used
in the recommended AUTO lock mode.
4WD Indicator Lights
Note: When a 4X4 system fault is present,
the system will typically remain in whichever
4X4 mode was selected prior to the fault
condition occurring. It will not default to 4X2
in all circumstances. When this warning is
displayed, have your vehicle serviced by an
authorized dealer.
4X2 Momentarily illuminates when
2H is selected.
4X4 HIGH Continuously illuminates when
4H is selected.
4X4 LOW Continuously illuminates when
4L is selected.
CHECK 4X4 Displays when a 4X4 fault is
present. Using a Manual Shift On Stop
(MSOS) 4WD system (If Equipped)
Note: High shift efforts may be encountered
when attempting to shift into and out of 4x4
modes. It is recommended to allow the
vehicle to roll at a speed below
3 mph
(5 km/h) when shifting between modes. 2H (2WD)
For general on-road driving. Sends power
to the rear wheels only and should be used
for street and highway driving. Provides
optimal smoothness and fuel economy at
high speeds
4H (4x4 High)
Used for extra traction such as in snow or
icy roads or in off road situations. This
mode is not intended for use on dry
pavement.
N (Neutral)
Only used when towing the vehicle. No
power to front or rear wheels.
4L (4x4 Low)
Uses extra gearing to provide maximum
power to all four wheels at reduced
speeds. Intended only for off road
applications such as deep sand, steep
grades or pulling heavy objects.
159
Super Duty (TFA) Canada/United States of America, enUSA, First Printing Four-Wheel Drive
(If Equipped)E163173 E163175 E163174 E163189
Page 164 of 507

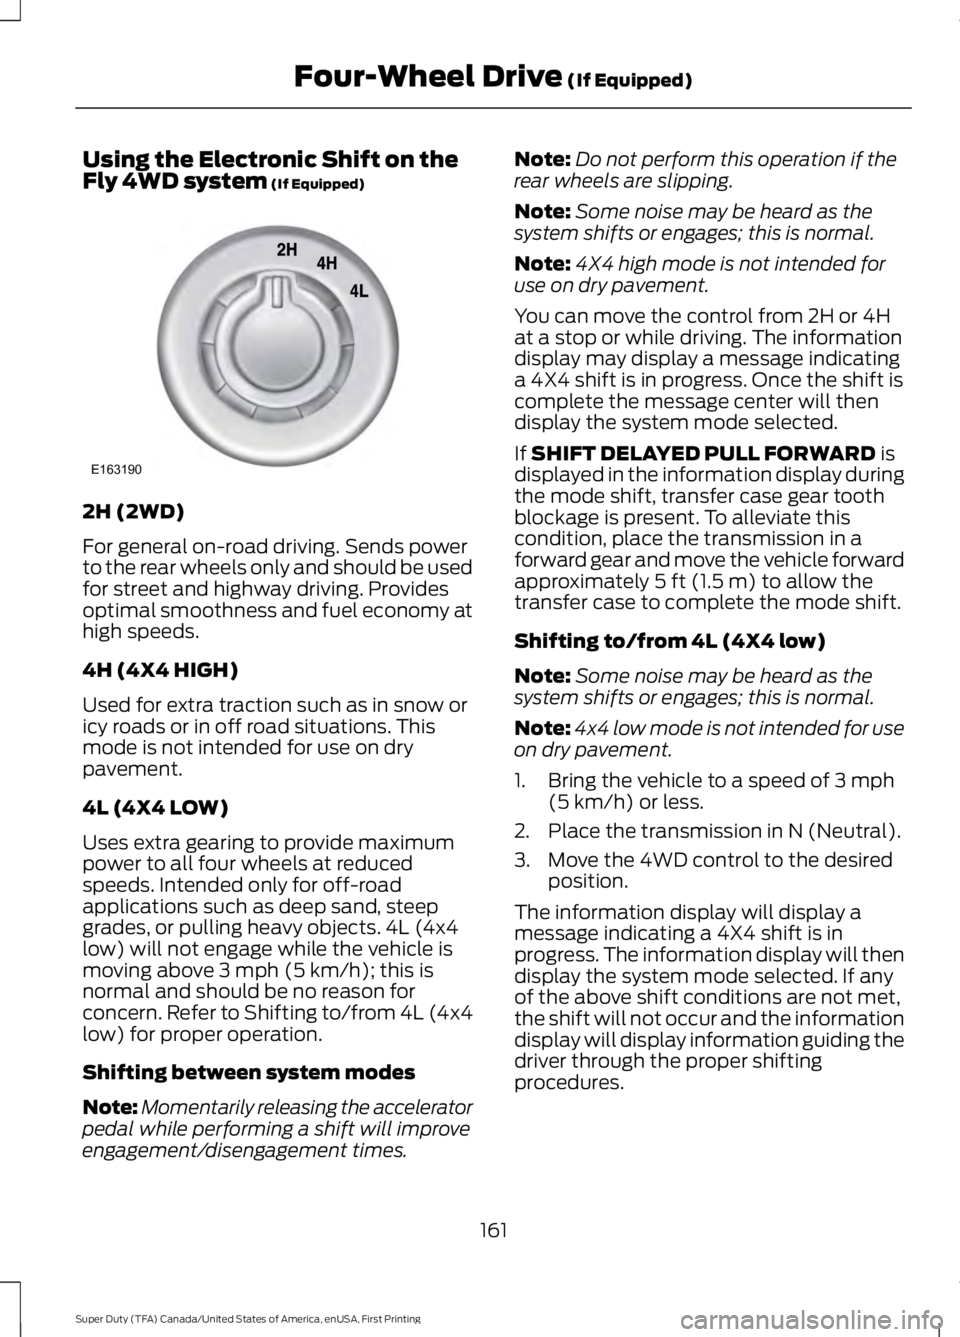
Using the Electronic Shift on the
Fly 4WD system (If Equipped)
2H (2WD)
For general on-road driving. Sends power
to the rear wheels only and should be used
for street and highway driving. Provides
optimal smoothness and fuel economy at
high speeds.
4H (4X4 HIGH)
Used for extra traction such as in snow or
icy roads or in off road situations. This
mode is not intended for use on dry
pavement.
4L (4X4 LOW)
Uses extra gearing to provide maximum
power to all four wheels at reduced
speeds. Intended only for off-road
applications such as deep sand, steep
grades, or pulling heavy objects. 4L (4x4
low) will not engage while the vehicle is
moving above
3 mph (5 km/h); this is
normal and should be no reason for
concern. Refer to Shifting to/from 4L (4x4
low) for proper operation.
Shifting between system modes
Note: Momentarily releasing the accelerator
pedal while performing a shift will improve
engagement/disengagement times. Note:
Do not perform this operation if the
rear wheels are slipping.
Note: Some noise may be heard as the
system shifts or engages; this is normal.
Note: 4X4 high mode is not intended for
use on dry pavement.
You can move the control from 2H or 4H
at a stop or while driving. The information
display may display a message indicating
a 4X4 shift is in progress. Once the shift is
complete the message center will then
display the system mode selected.
If
SHIFT DELAYED PULL FORWARD is
displayed in the information display during
the mode shift, transfer case gear tooth
blockage is present. To alleviate this
condition, place the transmission in a
forward gear and move the vehicle forward
approximately
5 ft (1.5 m) to allow the
transfer case to complete the mode shift.
Shifting to/from 4L (4X4 low)
Note: Some noise may be heard as the
system shifts or engages; this is normal.
Note: 4x4 low mode is not intended for use
on dry pavement.
1. Bring the vehicle to a speed of
3 mph
(5 km/h) or less.
2. Place the transmission in N (Neutral).
3. Move the 4WD control to the desired position.
The information display will display a
message indicating a 4X4 shift is in
progress. The information display will then
display the system mode selected. If any
of the above shift conditions are not met,
the shift will not occur and the information
display will display information guiding the
driver through the proper shifting
procedures.
161
Super Duty (TFA) Canada/United States of America, enUSA, First Printing Four-Wheel Drive
(If Equipped)E163190
Page 165 of 507

If SHIFT DELAYED PULL FORWARD is
displayed in the information display,
transfer case gear tooth blockage is
present. To alleviate this condition, place
the transmission in a forward gear, move
the vehicle forward approximately
5 ft
(1.5 m), and shift the transmission back to
neutral to allow the transfer case to
complete the range shift.
How Your Vehicle Differs From
Other Vehicles WARNING
Vehicles with a higher center of
gravity such as utility and four-wheel
drive vehicles handle differently than
vehicles with a lower center of gravity.
Utility and four-wheel drive vehicles are
not designed for cornering at speeds as
high as passenger cars any more than
low-slung sports cars are designed to
perform satisfactorily under off-road
conditions. Avoid sharp turns, excessive
speed and abrupt maneuvers in these
vehicles. Failure to drive cautiously could
result in an increased risk of loss of vehicle
control, vehicle rollover, personal injury and
death. Truck and utility vehicles can differ from
some other vehicles. Your vehicle may be
higher to allow it to travel over rough
terrain without getting hung up or
damaging underbody components.
The differences that make your vehicle so
versatile also make it handle differently
than an ordinary passenger car.
Maintain steering wheel control at all
times, especially in rough terrain. Since
sudden changes in terrain can result in
abrupt steering wheel motion, make sure
you grip the steering wheel from the
outside. Do not grip the spokes. Drive cautiously to avoid vehicle damage
from concealed objects such as rocks and
stumps.
You should either know the terrain or
examine maps of the area before driving.
Map out your route before driving in the
area. To maintain steering and braking
control of your vehicle, you must have all
four wheels on the ground and they must
be rolling, not sliding or spinning.
Driving Off-Road With Truck and
Utility Vehicles
Note:
On some models, the initial shift from
two-wheel drive to four-wheel drive while
the vehicle is moving can cause some
momentary clunk and ratcheting sounds.
This is the front drivetrain coming up to
speed and the automatic locking hubs
engaging and is not cause for concern.
Note: Your vehicle may be equipped with
a front air dam that can become damaged
(due to reduced ground clearance) when
taking your vehicle off-road. This air dam
can be taken off by removing two bolts.
Four-wheel drive vehicles are specially
equipped for driving on sand, snow, mud
and rough terrain and have operating
characteristics that are somewhat
different from conventional vehicles, both
on and off the road.
Power is supplied to all four wheels
through a transfer case. On four-wheel
drive vehicles, the transfer case allows you
to select 4WD when necessary.
Information on transfer case operation and
shifting procedures can be found in this
chapter. Information on transfer case
maintenance can be found in the
Maintenance chapter. You should become
thoroughly familiar with this information
before you operate your vehicle.
162
Super Duty (TFA) Canada/United States of America, enUSA, First Printing Four-Wheel Drive
(If Equipped)
Page 171 of 507

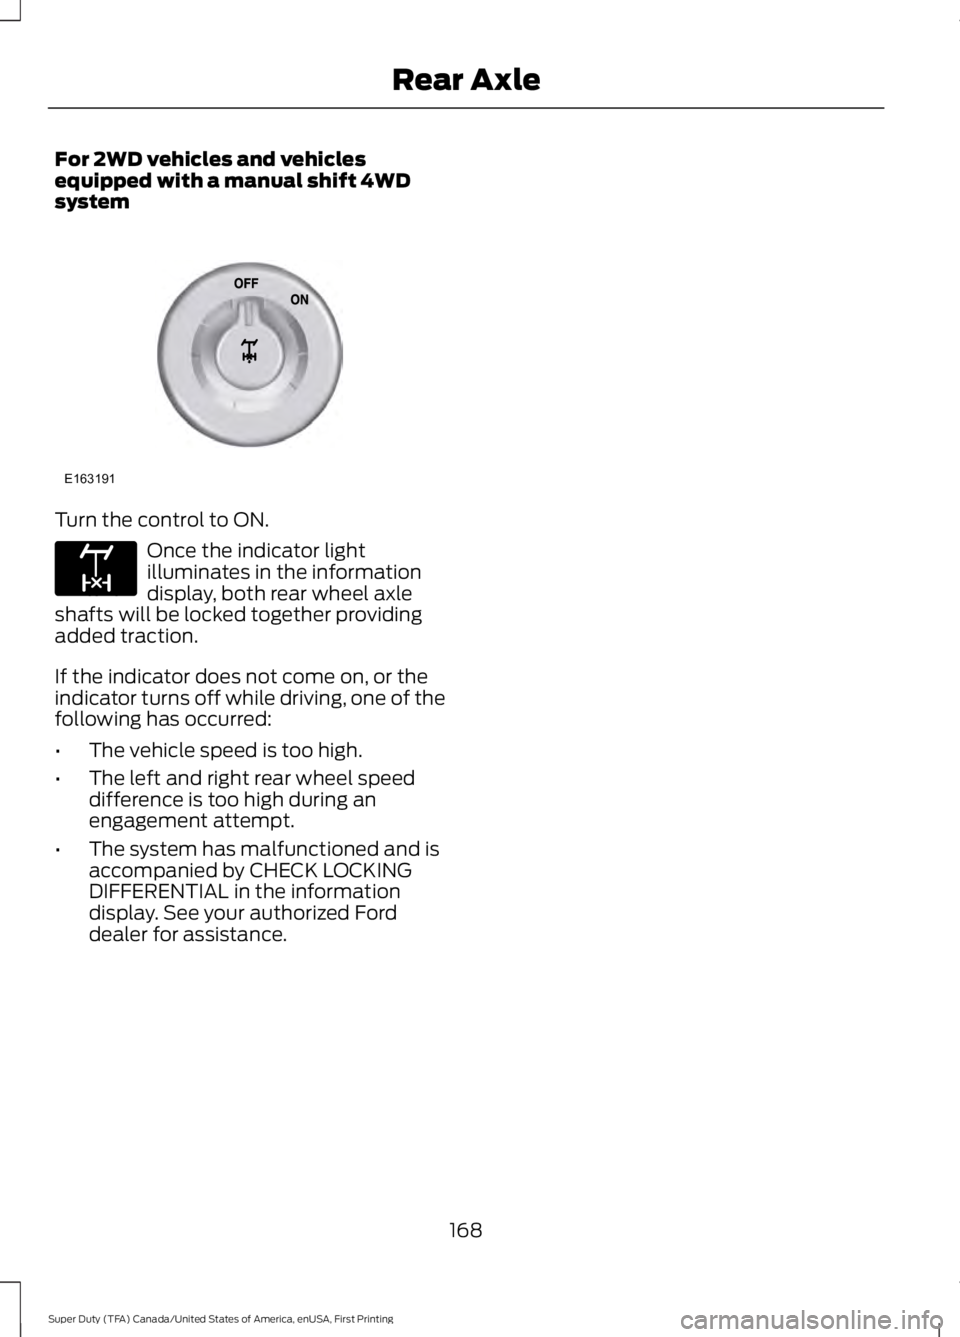
For 2WD vehicles and vehicles
equipped with a manual shift 4WD
system
Turn the control to ON.
Once the indicator light
illuminates in the information
display, both rear wheel axle
shafts will be locked together providing
added traction.
If the indicator does not come on, or the
indicator turns off while driving, one of the
following has occurred:
• The vehicle speed is too high.
• The left and right rear wheel speed
difference is too high during an
engagement attempt.
• The system has malfunctioned and is
accompanied by CHECK LOCKING
DIFFERENTIAL in the information
display. See your authorized Ford
dealer for assistance.
168
Super Duty (TFA) Canada/United States of America, enUSA, First Printing Rear AxleE163191 E163170
Page 174 of 507

2. If the sensors detect that your vehicle
is on a slope, the system activates
automatically.
3. When you remove your foot from the brake pedal, your vehicle remains on
the slope without rolling away for
about two to three seconds. This hold
time automatically extends if you are
in the process of driving off.
4. Drive off in the normal manner. The system releases the brakes
automatically.
Note: When you remove your foot from the
brake pedal and press the pedal again when
the system is active, you will experience
significantly reduced brake pedal travel. This
is normal.
Switching the System On and Off
Vehicles with Manual Transmission
You can switch this feature on or off in the
information display. The system
remembers the last setting when you start
your vehicle.
Vehicles with Automatic Transmission
You cannot turn the system on or off.
When you switch the ignition on, the
system automatically turns on.
171
Super Duty (TFA) Canada/United States of America, enUSA, First Printing Brakes
Page 180 of 507

PRINCIPLE OF OPERATION
WARNINGS
Hill descent control cannot control
descent in all surface conditions and
circumstances, such as ice or
extremely steep grades. Hill descent
control is a driver assist system and cannot
substitute for good judgment by the driver.
Failure to do so may result in loss of vehicle
control, crash or serious injury. Hill descent control does not provide
hill hold at zero miles per hour (0
kilometers per hour). When stopped,
the parking brake must be applied or the
vehicle must be placed in P (Park) or it
may roll away. Hill descent control allows the driver to set
and maintain vehicle speed while
descending steep grades in various surface
conditions.
Hill descent control can maintain vehicle
speeds on downhill grades between 2 mph
(3 km/h) and 12 mph (20 km/h). Above 20
mph (32 km/h), the system remains
armed, but descent speed cannot be set
or maintained.
Hill descent control requires a cooling
down interval after a period of sustained
use. The amount of time that the feature
can remain active before cooling varies
with conditions. The system will provide a
warning in the message center and a chime
will sound when the system is about to
disengage for cooling. At this time,
manually apply the brakes as needed to
maintain descent speed. USING HILL DESCENT
CONTROL Press and release the hill
descent button located on the
instrument panel. A light in the
cluster will illuminate and a chime will
sound when this feature is activated.
To increase descent speed, press the
accelerator pedal until the desired speed
is reached. To decrease descent speed,
press the brake pedal until the desired
speed is reached.
Whether accelerating or decelerating, once
the desired descent speed is reached,
remove your feet from the pedals and the
chosen vehicle speed will be maintained.
Note: Noise from the ABS pump motor may
be observed during hill descent control
operation. This is a normal characteristic of
the ABS and should be no reason for
concern.
Hill descent modes
• At speeds below 20 mph (32 km/h):
When the Hill Descent Control switch
is pressed and Hill Descent Control is
active, the Hill Descent Control telltale
will flash.
• At speeds below 20 mph (32 km/h):
When the Hill Descent Control switch
is pressed and conditions are not
correct for hill descent activation, the
Hill Descent Control system will be
enabled, the Hill Descent Control
telltale will be solid and a message will
display in the information display.
• At speeds above 20 mph (32 km/h):
When the Hill Descent Control switch
is pressed, the Hill Descent Control
system will be enabled, the telltale in
the cluster will not be illuminated and
a message will be displayed in the
information display.
177
Super Duty (TFA) Canada/United States of America, enUSA, First Printing Terrain Response
(If Equipped)E163957