2016 FORD EXPLORER AUX
[x] Cancel search: AUXPage 5 of 541
Steering Wheel
Adjusting the Steering Wheel - Vehicles
With: Manual Adjustable Steering
Column...........................................................72
Adjusting the Steering Wheel -
Vehicles
With: Power Adjustable Steering
Column...........................................................72
Audio Control...................................................73
Voice Control
....................................................74
Cruise Control
..................................................74
Information Display Control.......................75
Heated Steering Wheel................................75
Pedals
Adjusting the Pedals
.....................................76
Wipers and Washers
Windshield Wipers
.........................................77
Autowipers........................................................77
Windshield Washers
.....................................78
Rear Window Wiper and Washers...........78
Lighting
General Information
.....................................80
Lighting Control
..............................................80
Autolamps
.........................................................81
Instrument Lighting Dimmer.....................82
Headlamp Exit Delay
....................................82
Daytime Running Lamps
.............................82
Automatic High Beam Control.................83
Front Fog Lamps............................................84
Direction Indicators
.......................................85
Interior Lamps
.................................................85
Windows and Mirrors
Power Windows
..............................................87
Exterior Mirrors
................................................88
Interior Mirror...................................................90
Sun Visors
..........................................................91
Moonroof............................................................91 Instrument Cluster
Gauges...............................................................93
Warning Lamps and Indicators................96
Audible Warnings and Indicators
...........100
Information Displays
General Information.....................................101
Information Messages
.................................115
Climate Control
Manual Climate Control.............................129
Automatic Climate Control -
Vehicles
With: Premium AM/FM/CD...................131
Automatic Climate Control -
Vehicles
With: Sony Audio System......................132
Hints on Controlling the Interior Climate.........................................................134
Rear Passenger Climate Controls...........137
Heated Windows and Mirrors..................138
Cabin Air Filter
...............................................138
Remote Start.................................................139
Seats
Sitting in the Correct Position
.................140
Head Restraints............................................140
Manual Seats
.................................................143
Power Seats
...................................................144
Memory Function
.........................................146
Rear Seats
.......................................................147
Heated Seats.................................................154
Climate Controlled Seats..........................155
Universal Garage Door Opener
Universal Garage Door Opener................157
Auxiliary Power Points
Auxiliary Power Points................................162
2
Explorer (TUB), enUSA, First Printing Table of Contents
Page 165 of 541
12 Volt DC Power Point
WARNINGS
Do not plug optional electrical
accessories into the cigar lighter
socket. Incorrect use of the cigar
lighter can cause damage not covered by
the vehicle warranty, and can result in fire
or serious injury. Do not use a power point for
operating a cigar lighter. Incorrect
use of the power points can cause
damage not covered by the vehicle
warranty, and can result in fire or serious
injury. Note:
When you switch the ignition on, you
can use the socket to power 12 volt
appliances with a maximum current rating
of 15 amps.
If the power supply does not work after you
switch the ignition off, switch the ignition
on.
Note: Do not hang any accessory from the
accessory plug.
Note: Do not use the power point over the
vehicle capacity of 12 volt DC 180 watts or
a fuse may blow.
Note: Always keep the power point caps
closed when not in use.
Do not insert objects other than an
accessory plug into the power point. This
will damage the power point and blow the
fuse.
Run the vehicle for full capacity use of the
power point.
To prevent the battery from running out of
charge:
• Do not use the power point longer than
necessary when the vehicle is not
running.
• Do not leave devices plugged in
overnight or when you park your vehicle
for extended periods. Locations
Power points may be in the following
locations:
•
On the lower instrument panel.
• Inside the center console.
• On the rear of the center console.
• In the rear cargo area.
110 Volt AC Power Point (If Equipped) WARNING
Do not keep electrical devices
plugged in the power point whenever
the device is not in use. Do not use
any extension cord with the 110 volt AC
power point, since it will defeat the safety
protection design. Doing so may cause the
power point to overload due to powering
multiple devices that can reach beyond
the 150 watt load limit and could result in
fire or serious injury. Note:
The power point will turn off when
the ignition is switched off or the battery
voltage drops below 11 volts.
Use the power point for powering electric
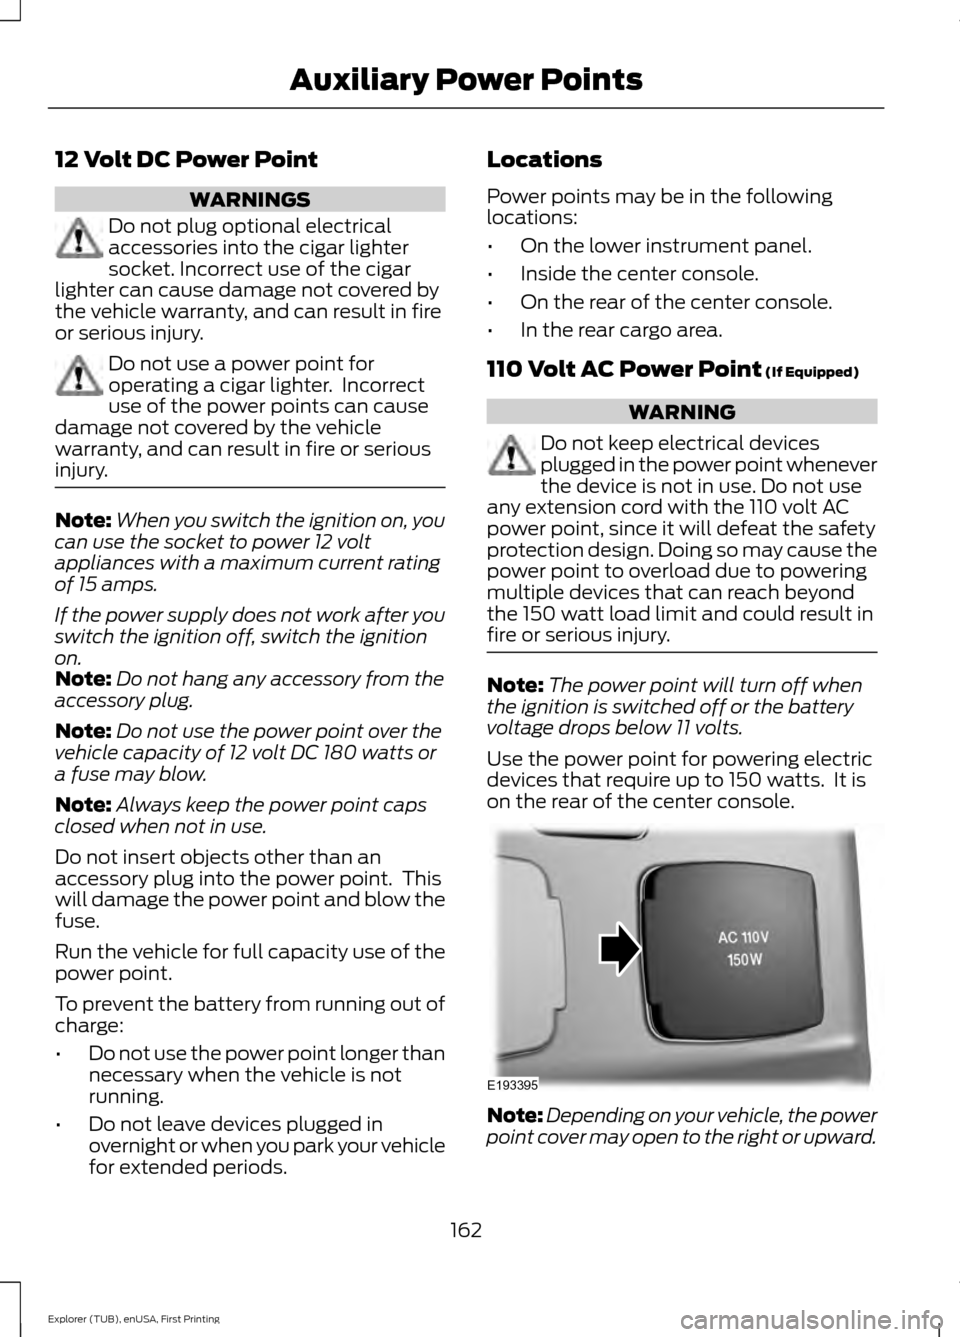
devices that require up to 150 watts. It is
on the rear of the center console. Note:
Depending on your vehicle, the power
point cover may open to the right or upward.
162
Explorer (TUB), enUSA, First Printing Auxiliary Power PointsE193395
Page 166 of 541
When the indicator light on the power point
is:
•
On: The power point is working, the
ignition is on and a device is plugged
in.
• Off: The power point is off, the ignition
is off or no device is plugged in.
• Flashing: The power point is in fault
mode.
The power outlet temporarily turns off
power when in fault mode if the device
exceeds the 150 watt limit. Unplug your
device and switch the ignition off. Switch
the ignition back on, but do not plug your
device back in. Let the system cool off and
switch the ignition off to reset the fault
mode. Switch the ignition back on and
make sure the indicator light remains on.
Do not use the power point for certain
electric devices, including:
• Cathode-ray, tube-type televisions.
• Motor loads, such as vacuum cleaners,
electric saws and other electric power
tools or compressor-driven
refrigerators.
• Measuring devices, which process
precise data, such as medical
equipment or measuring equipment.
• Other appliances requiring an
extremely stable power supply such as
microcomputer-controlled electric
blankets or touch-sensor lamps.
163
Explorer (TUB), enUSA, First Printing Auxiliary Power Points
Page 359 of 541

Seek: In radio mode, select a frequency band and press this button. The system
stops at the first station up the band. Press and hold the button to move quickly
to the next strong radio station or memory preset. In CD mode, press this button
to select the next track. Press and hold the button to move quickly forward
through the current track.
G
TUNE:
Turn to search the frequency band in individual increments.
H
End phone call:
Press this button to end a phone call.
I
Eject:
Press this button to eject a CD.
J
Cursor arrows
Use the arrows to navigate through menus.
K
OK:
Press OK to select an option.
L
CD Slot
Insert a CD.
M
Play/Pause:
Press to either play or pause a track when listening to a CD.
N
Answer or Make phone call:
Press this button to either pick-up an incoming
phone call or to make a phone call.
O
VOL and Power:
Press this button to turn the system off and on. Turn it to
adjust the volume.
P
Seek:
In radio mode, select a frequency band and press this button. The system
stops at the first station down the band. Press and hold the button to move
quickly to the previous strong radio station or memory preset. In CD mode, press
this button to select the previous track. Press and hold the button to move
quickly backward through the current track.
Q
PHONE:
Press this button to access the phone features of the SYNC® system.
See SYNC™ (page 368).
R
MEDIA:
Press this button to access your auxiliary input jack or switch between
devices you plug into the input jack or USB port.
S
RADIO:
Press this button to listen to the radio or change radio frequencies
bands. Press the function buttons below the radio screen to select different
radio functions.
T
CD:
Press this button to listen to a CD. Press the function buttons below the
radio screen to select on-screen options of Repeat or Shuffle.
U
356
Explorer (TUB), enUSA, First Printing Audio System
Page 393 of 541
To Connect Using Voice Commands
Plug the device into your vehicle's USB
port.
Press the voice button and when
prompted, say:
Action and Descrip-
tion
Voice Command
You can now play
music by saying any
of the appropriate
voice commands.
See the media
voice commands.
(USB [stick] | iPod
| MP3 [player])
Words in brackets [ ] are optional and do
not have to be spoken for the system to
understand the command. For example,
for where (USB [stick] | iPOD | MP3
[player]) appears, you can say USB or USB
stick. To Connect Using the System Menu
1.
Plug the device into your vehicle's USB
port.
2. Press the AUX button until an
"initializing" message appears in the
display. Depending on how many
media files are on your connected
device, an indexing message may
appear in the display. When indexing
is complete, the screen returns to the
playback menu.
To view USB content select: Description and Action
Message
Depending on how many media files are on your connected
device, an indexing message may appear in the display. When
indexing is complete, the screen returns to the playback menu.
Browse USB
You can browse the files on the USB
device in categories. Choose from the
following: Message
Play all
Playlists
Songs
Artists Message
Albums
Genres
Browse USB
Reset USB
Media Voice Commands Press the voice button and when
prompted say:
390
Explorer (TUB), enUSA, First Printing SYNC™
(If Equipped)E142599
Page 396 of 541
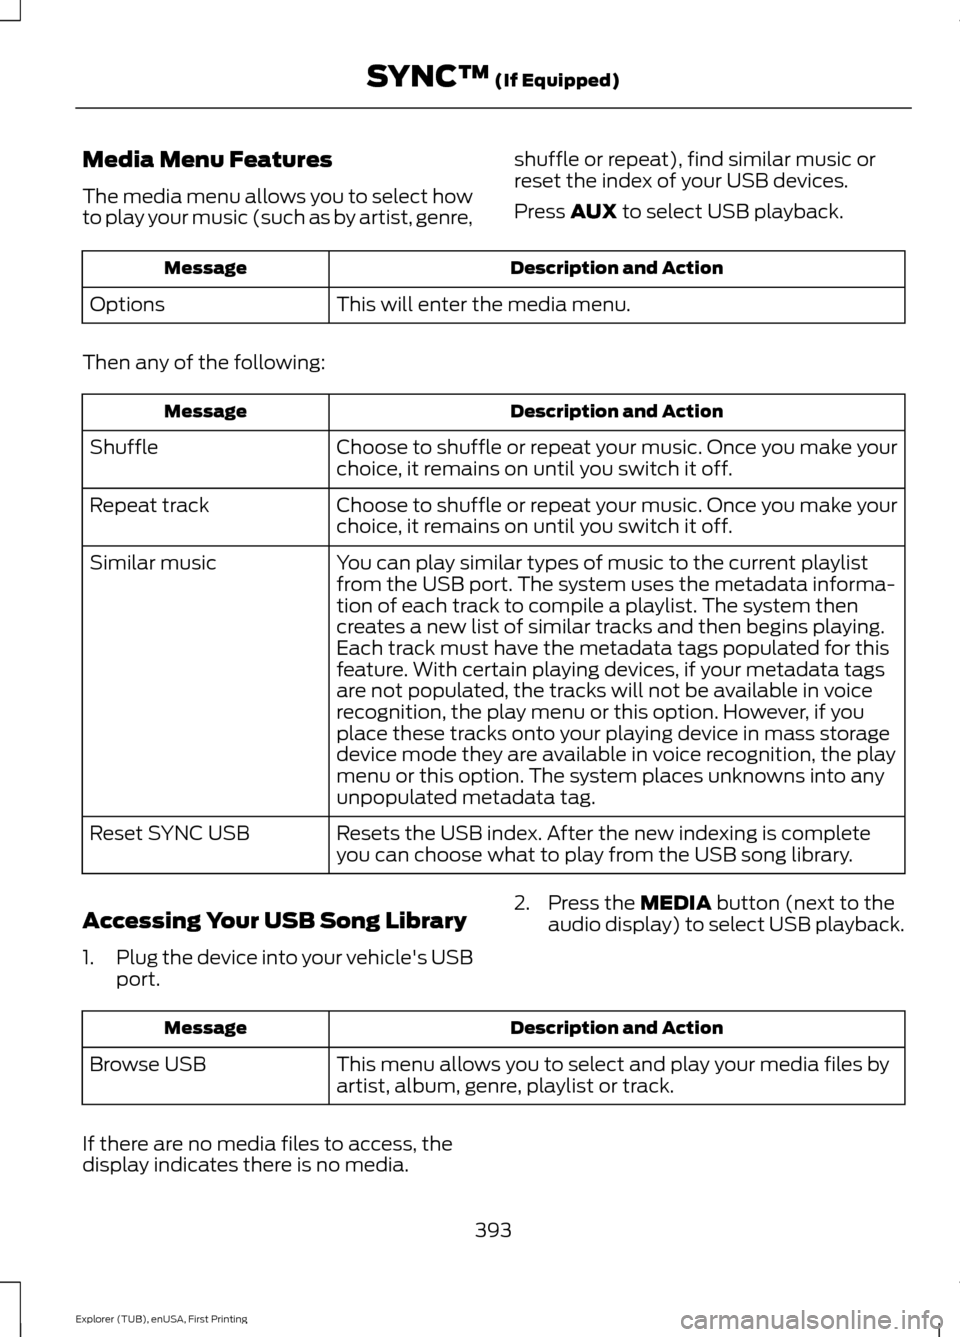
Media Menu Features
The media menu allows you to select how
to play your music (such as by artist, genre,
shuffle or repeat), find similar music or
reset the index of your USB devices.
Press AUX to select USB playback. Description and Action
Message
This will enter the media menu.
Options
Then any of the following: Description and Action
Message
Choose to shuffle or repeat your music. Once you make your
choice, it remains on until you switch it off.
Shuffle
Choose to shuffle or repeat your music. Once you make your
choice, it remains on until you switch it off.
Repeat track
You can play similar types of music to the current playlist
from the USB port. The system uses the metadata informa-
tion of each track to compile a playlist. The system then
creates a new list of similar tracks and then begins playing.
Each track must have the metadata tags populated for this
feature. With certain playing devices, if your metadata tags
Similar music
are not populated, the tracks will not be available in voice
recognition, the play menu or this option. However, if you
place these tracks onto your playing device in mass storage
device mode they are available in voice recognition, the play
menu or this option. The system places unknowns into any
unpopulated metadata tag.
Resets the USB index. After the new indexing is complete
you can choose what to play from the USB song library.
Reset SYNC USB
Accessing Your USB Song Library
1. Plug the device into your vehicle's USB
port. 2. Press the
MEDIA button (next to the
audio display) to select USB playback. Description and Action
Message
This menu allows you to select and play your media files by
artist, album, genre, playlist or track.
Browse USB
If there are no media files to access, the
display indicates there is no media. 393
Explorer (TUB), enUSA, First Printing SYNC™
(If Equipped)
Page 399 of 541
![FORD EXPLORER 2016 5.G Owners Manual Press the voice button and when
prompted say:
Voice Command
(music | audio | entertainment) [system]
Below are a few examples of voice
commands you can use.
[tune [to]] AM
[tune [to]] AM1
[tune [to]] FORD EXPLORER 2016 5.G Owners Manual Press the voice button and when
prompted say:
Voice Command
(music | audio | entertainment) [system]
Below are a few examples of voice
commands you can use.
[tune [to]] AM
[tune [to]] AM1
[tune [to]]](/manual-img/11/4949/w960_4949-398.png)
Press the voice button and when
prompted say:
Voice Command
(music | audio | entertainment) [system]
Below are a few examples of voice
commands you can use.
[tune [to]] AM
[tune [to]] AM1
[tune [to]] AM (autostore | AST |
autoset)
[tune [to]] AM 2
Bluetooth (audio | stereo)
(disc | CD [player]) play
[tune [to]] FM
[tune [to]] FM1
[tune [to]] FM (autostore | AST |
autoset)
[tune [to]] FM 2
((line | AV | audio video) in | AUX | audio
video)
Radio *
[tune [to]] SAT
*
Sirius
(USB [stick] | iPod | MP3 [player]) Voice Command
((who's | who is) this | who plays this |
(what's | what is) playing [now] | (what
| which) (song | track | artist) is this |
(who's | who is) playing | (what's | what
is) this)
Help
* If equipped.
Radio Voice Commands If you are listening to the radio,
press the voice button, and then
say any of the commands in the
following table.
If you are not listening to the radio,
press the voice button and, after the
tone, say: Voice Command
Radio
You can then say any of the following
commands.
[tune [to]] AM
[tune [to]] AM1
[tune [to]] AM (autostore | AST |
autoset)
[tune [to]] AM 2
[tune [to]] (AM ___ | ___ [AM])
[tune [to]] AM preset ___
[tune [to]] AM1 preset ___
[tune [to]] FM
[tune [to]] FM1
[tune [to]] FM (autostore | AST |
autoset) preset ___
396
Explorer (TUB), enUSA, First Printing SYNC™ (If Equipped)E142599 E142599
Page 531 of 541
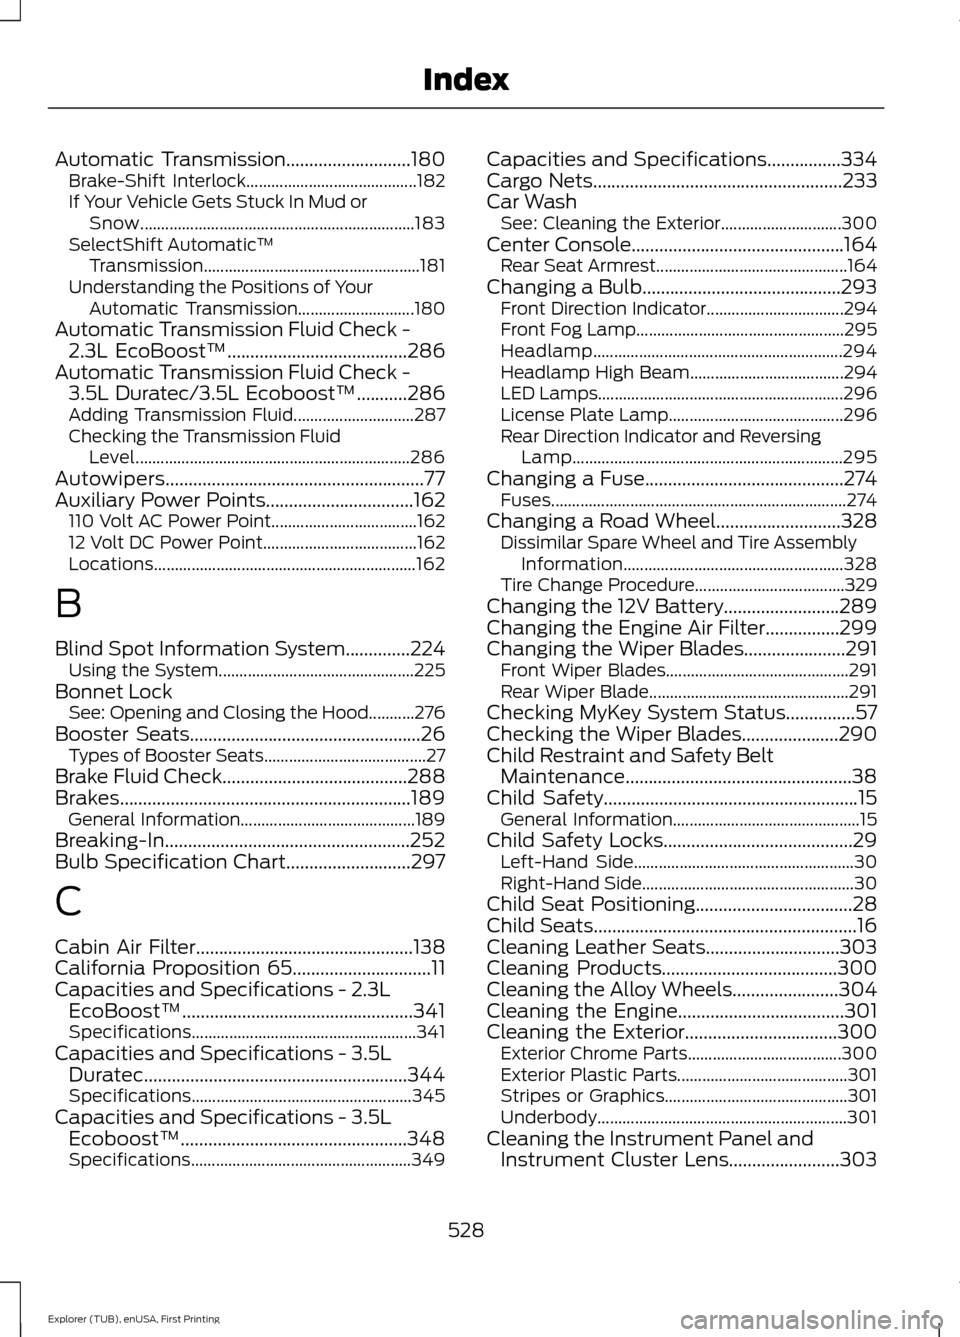
Automatic Transmission...........................180
Brake-Shift Interlock......................................... 182
If Your Vehicle Gets Stuck In Mud or Snow.................................................................. 183
SelectShift Automatic ™
Transmission.................................................... 181
Understanding the Positions of Your Automatic Transmission............................ 180
Automatic Transmission Fluid Check - 2.3L EcoBoost™.......................................286
Automatic Transmission Fluid Check - 3.5L Duratec/3.5L Ecoboost™...........286
Adding Transmission Fluid............................. 287
Checking the Transmission Fluid Level.................................................................. 286
Autowipers........................................................77
Auxiliary Power Points................................162 110 Volt AC Power Point................................... 162
12 Volt DC Power Point..................................... 162
Locations............................................................... 162
B
Blind Spot Information System..............224 Using the System............................................... 225
Bonnet Lock See: Opening and Closing the Hood...........276
Booster Seats..................................................26 Types of Booster Seats....................................... 27
Brake Fluid Check........................................288
Brakes...............................................................189 General Information.......................................... 189
Breaking-In.....................................................252
Bulb Specification Chart...........................297
C
Cabin Air Filter
...............................................138
California Proposition 65..............................11
Capacities and Specifications - 2.3L EcoBoost™..................................................341
Specifications...................................................... 341
Capacities and Specifications - 3.5L Duratec.........................................................344
Specifications..................................................... 345
Capacities and Specifications - 3.5L Ecoboost™.................................................348
Specifications..................................................... 349Capacities and Specifications
................334
Cargo Nets......................................................233
Car Wash See: Cleaning the Exterior............................. 300
Center Console..............................................164 Rear Seat Armrest.............................................. 164
Changing a Bulb...........................................293 Front Direction Indicator................................. 294
Front Fog Lamp.................................................. 295
Headlamp............................................................ 294
Headlamp High Beam..................................... 294
LED Lamps........................................................... 296
License Plate Lamp.......................................... 296
Rear Direction Indicator and Reversing Lamp
................................................................. 295
Changing a Fuse...........................................274
Fuses....................................................................... 274
Changing a Road Wheel
...........................328
Dissimilar Spare Wheel and Tire Assembly
Information..................................................... 328
Tire Change Procedure.................................... 329
Changing the 12V Battery.........................289
Changing the Engine Air Filter................299
Changing the Wiper Blades
......................291
Front Wiper Blades............................................ 291
Rear Wiper Blade................................................ 291
Checking MyKey System Status
...............57
Checking the Wiper Blades.....................290
Child Restraint and Safety Belt Maintenance.................................................38
Child Safety
.......................................................15
General Information............................................. 15
Child Safety Locks
.........................................29
Left-Hand Side..................................................... 30
Right-Hand Side................................................... 30
Child Seat Positioning
..................................28
Child Seats.........................................................16
Cleaning Leather Seats.............................303
Cleaning Products
......................................300
Cleaning the Alloy Wheels.......................304
Cleaning the Engine
....................................301
Cleaning the Exterior.................................300
Exterior Chrome Parts..................................... 300
Exterior Plastic Parts......................................... 301
Stripes or Graphics............................................ 301
Underbody............................................................ 301
Cleaning the Instrument Panel and Instrument Cluster Lens........................303
528
Explorer (TUB), enUSA, First Printing Index