2016 FORD EXPEDITION EL change time
[x] Cancel search: change timePage 215 of 421
The controller shows gain setting, outputbar graph, and trailer connectivity statusin the information display. They appear inthe information display as follows:
•Trailer Brake Controller Gain (withouttrailer connected): Shows the currentgain setting during a given ignition cycleand when adjusting the gain. This alsodisplays if you use the manual controllever or make gain adjustments withno trailer connected.
•Trailer Brake Controller Gain Output:Displays when you push your vehicle'sbrake pedal, or upon use of the manualcontrol. Bar indicators illuminate in theinformation display to indicate theamount of power going to the trailerbrakes relative to the brake pedal ormanual control input. One bar indicatesthe least amount of output; six barsindicate maximum output.
•Trailer Connected: Displays when thesystem senses a correct trailer wiringconnection (a trailer with electric trailerbrakes) during a given ignition cycle.
•Trailer Disconnected: Displays,accompanied by a single audible time,when the system senses a trailerconnection and then a disconnection,either intentional or unintentional,during a given ignition cycle. It alsodisplays if a truck or trailer-wiring faultoccurs causing the trailer to appeardisconnected. This message can alsodisplay if you use the manual controllever without a trailer connected. Afterdisconnecting the trailer connector,press the brake pedal forapproximately five seconds to allowthe system to detect and update thetrailer status.
B: Manual control lever: Slide the controllever to the left to turn on the trailer'selectric brakes independent of the towvehicle's. See the following Procedure foradjusting gain section for instructions onproper use of this feature. If you use themanual control while the brake is alsoapplied, the greater of the two inputsdetermines the power sent to the trailerbrakes.
•Stop lamps: Using the manual controllever illuminates both the trailer brakelamps and your vehicle brake lampsexcept the center high-mount stoplamp, if you make the proper electricalconnection to the trailer. Pressing yourvehicle brake pedal also illuminatesboth trailer and vehicle brake lamps.
Procedure for Adjusting Gain
Note:Only perform this procedure in atraffic-free environment at speeds ofapproximately 20-25 mph (30-40 km/h).
The gain setting sets the trailer brakecontroller for the specific towing condition.You should change the setting as towingconditions change. Changes to towingconditions include trailer load, vehicle load,road conditions and weather.
The gain should be set to provide themaximum trailer braking assistance whilemaking sure the trailer wheels do not lockwhen using the brakes. Locked trailerwheels may lead to trailer instability.
1.Make sure the trailer brakes are in goodworking condition, functioning normallyand properly adjusted. See your trailerdealer if necessary.
2. Hook up the trailer and make theelectrical connections according to thetrailer manufacturer's instructions.
3. When you plug in a trailer with electricor electric-over-hydraulic brakes, amessage confirming connectionappears in the information display.
212
Expedition (TB7) Canada/United States of America, enUSA, First Printing
Towing
Page 216 of 421
4. Use the gain adjustment (+ and -)buttons to increase or decrease thegain setting to the desired startingpoint. A gain setting of 6.0 is a goodstarting point for heavier loads.
5. In a traffic-free environment, tow thetrailer on a dry, level surface at a speedof 20-25 mph (30-40 km/h) andsqueeze the manual control levercompletely.
6. If the trailer wheels lock up, indicatedby squealing tires, reduce the gainsetting. If the trailer wheels turn freely,increase the gain setting. Repeat Steps5 and 6 until the gain setting is at apoint just below trailer wheel lock-up.If towing a heavier trailer, trailer wheellock-up may not be attainable evenwith the maximum gain setting of 10.
Explanation of Information DisplayWarning Messages
Note:An authorized dealer can diagnosethe trailer brake controller to determineexactly which trailer fault has occurred.However, your Ford warranty does not coverthis diagnosis if the fault is with the trailer.
A message indicating a trailer brakemodule fault may display in response tofaults sensed by the trailer brake controller,accompanied by a single tone. If thismessage appears, contact an authorizeddealer as soon as possible for diagnosisand repair. The controller may stillfunction, but performance may bedegraded.
A message indicating a trailer wiring faultmay display when there is a short circuiton the electric brake output wire. If thismessage displays, accompanied by asingle tone, with no trailer connected, theproblem is with your vehicle wiringbetween the trailer brake controller andthe 7-pin connector at the bumper. If themessage only displays with a trailerconnected, the problem is with the trailer
wiring. Consult your trailer dealer forassistance. This can be a short to ground(such as a chaffed wire), short to voltage(such as a pulled pin on trailer emergencybreakaway battery) or the trailer brakesmay be drawing too much current.
Points to Remember
Note:Do not attempt removal of the trailerbrake controller without consulting theWorkshop Manual. Damage to the unit mayresult.
•Adjust gain setting before using thetrailer brake controller for the first time.
•Adjust gain setting, using the procedureabove, whenever road, weather andtrailer or vehicle loading conditionschange from when the gain was initiallyset.
•Only use the manual control lever forproper adjustment of the gain duringtrailer setup. Misuse, such asapplication during trailer sway, couldcause instability of trailer or towvehicle.
•Avoid towing in adverse weatherconditions. The trailer brake controllerdoes not provide anti-lock control ofthe trailer wheels. Trailer wheels canlock up on slippery surfaces, resultingin reduced stability of trailer and towvehicle.
•The trailer brake controller is equippedwith a feature that reduces output atvehicle speeds below 11 mph (18 km/h)so trailer and vehicle braking is not jerkyor harsh. This feature is only availablewhen applying the brakes using yourvehicle's brake pedal, not thecontroller.
•The controller interacts with the brakecontrol system and powertrain controlsystem of your vehicle to provide thebest performance on different roadconditions.
213
Expedition (TB7) Canada/United States of America, enUSA, First Printing
Towing
Page 218 of 421
•Allow more distance for stopping witha trailer attached. Anticipate stops andbrake gradually.
•Avoid parking on a grade. However, ifyou must park on a grade:
1. Turn the steering wheel to point yourvehicle tires away from traffic flow.
2. Set your vehicle parking brake.
3. Place the automatic transmission inposition P.
4. Place wheel chocks in front and backof the trailer wheels. (Chocks notincluded with vehicle.)
Your vehicle may be equipped with atemporary or conventional spare tire. A"temporary" spare tire is different in size(diameter or width), tread-type(All-Season or All Terrain) or is from adifferent manufacturer than the road tireson your vehicle. Consult information on thetire label or Safety Compliance label forlimitations when using.
Launching or Retrieving a Boat orPersonal Watercraft (PWC)
Note:Disconnect the wiring to the trailerbefore backing the trailer into the water.
Note:Reconnect the wiring to the trailerafter removing the trailer from the water.
When backing down a ramp during boatlaunching or retrieval:
•Do not allow the static water level torise above the bottom edge of the rearbumper.
•Do not allow waves to break higherthan 6 inches (15 centimeters) abovethe bottom edge of the rear bumper.
Exceeding these limits may allow water toenter vehicle components:
•Causing internal damage to thecomponents.
•Affecting driveability, emissions, andreliability.
Replace the rear axle lubricant anytimethe rear axle has been submerged in water.Water may have contaminated the rearaxle lubricant, which is not normallychecked or changed unless a leak issuspected or other axle repair is required.
TOWING POINTS (If Equipped)
WARNINGS
Using recovery hooks is dangerousand should only be done by a personfamiliar with proper vehicle recoverysafety practices. Improper use of recoveryhooks may cause hook failure or separationfrom the vehicle and could result in seriousinjury or death.
Always slowly remove the slack fromthe recovery strap prior to pulling.Failure to do so can introducesignificantly higher loads which can causethe recovery hooks to break off, or therecovery strap to fail which can causeserious injury or death.
Never link two straps together witha clevis pin. These heavy metalobjects could become projectiles ifthe strap breaks and can cause seriousinjury or death.
Your vehicle comes equipped withframe-mounted front recovery hooks.These hooks should never have a loadapplied to them greater than the grossvehicle weight rating of your vehicle.
215
Expedition (TB7) Canada/United States of America, enUSA, First Printing
Towing
Page 223 of 421
BREAKING-IN
You need to break in new tires forapproximately 300 miles (480kilometers). During this time, your vehiclemay exhibit some unusual drivingcharacteristics.
Avoid driving too fast during the first 1000miles (1600 kilometers). Vary your speedfrequently and change up through thegears early. Do not labor the engine.
Do not tow during the first 1000 miles(1600 kilometers).
REDUCED ENGINE
PERFORMANCE
WARNING
Continued operation will increase theengine temperature and cause theengine to shut down completely.
If the engine coolant temperature gaugeneedle moves to the upper limit position,the engine is overheating. See Gauges(page 85).
You must only drive your vehicle for a shortdistance if the engine overheats. Thedistance you can travel depends onambient temperature, vehicle load andterrain. The engine will continue to operatewith limited power for a short time.
If the engine temperature continues to rise,the fuel supply to the engine will reduce.The air conditioning will switch off and theengine cooling fan will operate continually.
1.Reduce your speed gradually and stopyour vehicle as soon as it is safe to doso.
2. Switch the engine off immediately toprevent severe engine damage.
3. Wait for the engine to cool down.
4. Check the coolant level. See EngineCoolant Check (page 247).
5. Have your vehicle checked by anauthorized dealer as soon as possible.
ECONOMICAL DRIVING
Fuel economy is affected by several thingssuch as how you drive, the conditions youdrive under and how you maintain yourvehicle.
There are some things to keep in mind thatmay improve your fuel economy:
•Accelerate and slow down in a smooth,moderate fashion.
•Drive at steady speeds.
•Anticipate stops; slowing down mayeliminate the need to stop.
•Combine errands and minimizestop-and-go driving(When runningerrands, go to the furthest destinationfirst and then work your way backhome).
•Close the windows for high-speeddriving.
•Drive at reasonable speeds.
•Keep the tires properly inflated and useonly the recommended size.
•Use the recommended engine oil.
•Perform all regularly scheduledmaintenance.
There are also some things you may wantto avoid doing because they reduce yourfuel economy:
•Avoid sudden or hard accelerations.
•Avoid revving the engine before turningoff the car.
•Avoid long idle periods.
•Do not warm up your vehicle on coldmornings.
•Reduce the use of air conditioning andheat.
220
Expedition (TB7) Canada/United States of America, enUSA, First Printing
Driving Hints
Page 233 of 421
THE BETTER BUSINESS
BUREAU (BBB) AUTO LINE
PROGRAM (U.S. ONLY)
Your satisfaction is important to FordMotor Company and to your dealer. If awarranty concern has not been resolvedusing the three-step procedure outlinedearlier in this chapter in the Getting theServices you need section, you may beeligible to participate in the BBB AUTOLINE program.
The BBB AUTO LINE program consists oftwo parts – mediation and arbitration.During mediation, a representative of theBBB will contact both you and Ford MotorCompany to explore options for settlementof the claim. If an agreement is not reachedduring mediation or you do not want toparticipate in mediation, and if your claimis eligible, you may participate in thearbitration process. An arbitration hearingwill be scheduled so that you can presentyour case in an informal setting before animpartial person. The arbitrator willconsider the testimony provided and makea decision after the hearing.
Disputes submitted to the BBB AUTO LINEprogram are usually decided within fortydays after you file your claim with the BBB.You are not bound by the decision, andmay reject the decision and proceed tocourt where all findings of the BBB AutoLine dispute, and decision, are admissiblein the court action. Should you choose toaccept the BBB AUTO LINE decision, Fordis then bound by the decision, and mustcomply with the decision within 30 daysof receipt of your acceptance letter.
BBB AUTO LINE Application: Using theinformation provided below, please call orwrite to request a program application.You will be asked for your name andaddress, general information about yournew vehicle, information about yourwarranty concerns, and any steps you have
already taken to try to resolve them. ACustomer Claim Form will be mailed thatwill need to be completed, signed andreturned to the BBB along with proof ofownership. Upon receipt, the BBB willreview the claim for eligibility under theProgram Summary Guidelines.
You can get more information bycalling BBB AUTO LINE at1-800-955-5100, or writing to:
BBB AUTO LINE3033 Wilson Boulevard, Suite 600Arlington, Virginia 22201
BBB AUTO LINE applications can also berequested by calling the Ford MotorCompany Customer Relationship Centerat 1-800-392-3673.
Note:Ford Motor Company reserves theright to change eligibility limitations, modifyprocedures, or to discontinue this processat any time without notice and withoutobligation.
UTILIZING THE
MEDIATION/ARBITRATION
PROGRAM (CANADA ONLY)
For vehicles delivered to authorizedCanadian dealers. In those cases whereyou continue to feel that the efforts by Fordof Canada and the authorized dealer toresolve a factory-related vehicle serviceconcern have been unsatisfactory, Ford ofCanada participates in an impartial thirdparty mediation/arbitration programadministered by the Canadian MotorVehicle Arbitration Plan (CAMVAP).
The CAMVAP program is a straight forwardand relatively speedy alternative to resolvea disagreement when all other efforts toproduce a settlement have failed. Thisprocedure is without cost to you and isdesigned to eliminate the need for lengthyand expensive legal proceedings.
230
Expedition (TB7) Canada/United States of America, enUSA, First Printing
Customer Assistance
Page 253 of 421
At this time, you may notice your enginecoolant temperature gauge needle movetoward the H and the POWER REDUCEDTO LOWER TEMP message may appearin the information display.
You may notice a reduction in vehiclespeed caused by reduced engine power.In order to manage the engine fluidtemperatures, your vehicle may enter thismode if certain high-temperature andhigh-load conditions take place. Theamount of speed reduction depends onmany factors such as vehicle loading,towing, grade and ambient temperature.If this occurs, there is no need to pull offthe road. You can continue to drive yourvehicle while this message is active.
The air conditioning may also cycle on andoff during severe operating conditions toprotect overheating of the engine. Whenthe engine coolant temperature decreasesto a normal operating temperature, the airconditioning will turn on once again.
If the engine coolant temperature gaugemoves fully into the red (hot) area, or if thecoolant temperature warning or serviceengine soon messages appear in yourinformation display:
1. Pull off the road as soon as safelypossible and shift the transmission intoP.
2. Leave the engine running until thecoolant temperature gauge needlemoves away from the red (hot) area.After several minutes, if thetemperature does not drop, follow theremaining steps.
3.Switch the engine off and wait for it tocool before checking the coolant level.
4. If the coolant level is normal, restartyour engine and continue.
5. If the coolant is low, add coolant, andrestart the engine. See Adding EngineCoolant or How Fail-Safe CoolingWorks in this chapter for moreinformation.
AUTOMATIC TRANSMISSION
FLUID CHECK
If required, have an authorized dealer checkand change the transmission fluid at thecorrect service interval. See ScheduledMaintenance (page 372).
The automatic transmission does not havea transmission fluid dipstick.
Refer to your scheduled maintenanceinformation for scheduled intervals for fluidchecks and changes. Your transmissiondoes not consume fluid. However, if thetransmission slips, shifts slowly or if younotice a sign of leaking fluid, contact anauthorized dealer.
Do not use supplemental transmissionfluid additives, treatments or cleaningagents. The use of these materials mayaffect transmission operation and resultin damage to internal transmissioncomponents.
250
Expedition (TB7) Canada/United States of America, enUSA, First Printing
Maintenance
Page 275 of 421
GENERAL INFORMATION
Use only approved wheel and tire sizes,using other sizes could damage yourvehicle. If you change the diameter of thetires from that fitted at the factory, thespeedometer may not display the correctspeed. Take your vehicle to an authorizedFord dealer to have the systemreprogrammed. If you intend to change thesize of the wheels from that fitted by themanufacturer, you can check the suitabilitywith an authorized dealer.
Additional information related to thefunctionality and maintenance of your tirescan be found later in this chapter. See TireCare (page 275).
The Ford recommended tire inflationpressures can be found on the Tire Label,which is located on the B-pillar or the edgeof the driver's door. This information canalso be found on the Safety ComplianceCertification Label (affixed to either thedoor hinge pillar, door-latch post, or thedoor edge that meets the door last post;next to the driver’s seating position).
Ford strongly recommends maintainingthese tire pressures at all times. Failure tofollow the tire pressure recommendationscan cause uneven treadwear patterns,reduced fuel economy, and adverselyaffect the way your vehicle handles.
Note:Check and set the tire pressure at theambient temperature in which you areintending to drive your vehicle and when thetires are cold.
Note:Check your tire pressures at leastonce per month.
Set the pressure for your spare tire to thehighest value given for your vehicle and tiresize combination (if equipped).
Notice to utility vehicle and truckowners
WARNINGS
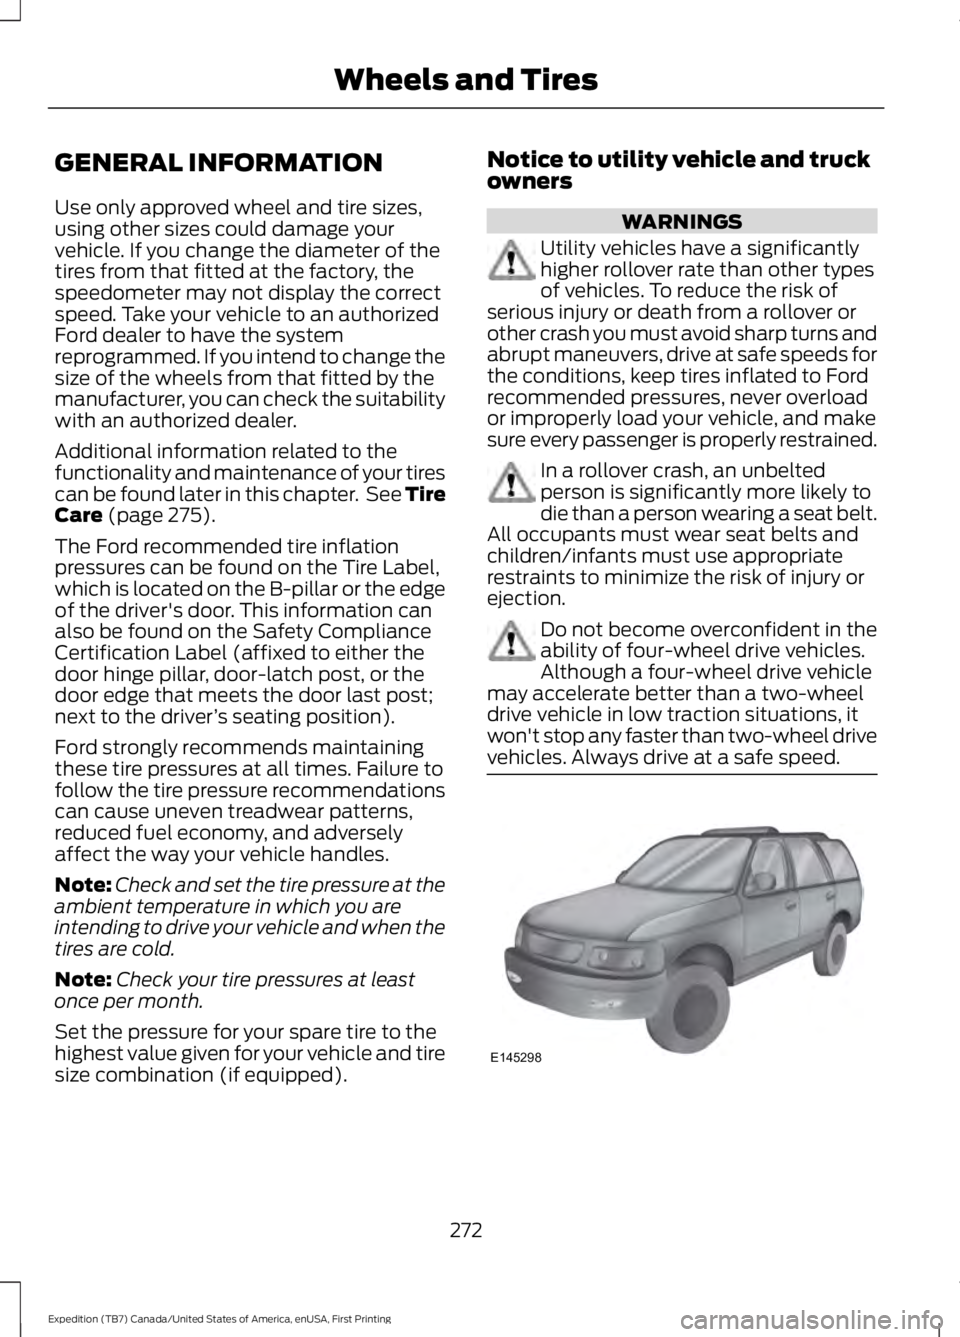
Utility vehicles have a significantlyhigher rollover rate than other typesof vehicles. To reduce the risk ofserious injury or death from a rollover orother crash you must avoid sharp turns andabrupt maneuvers, drive at safe speeds forthe conditions, keep tires inflated to Fordrecommended pressures, never overloador improperly load your vehicle, and makesure every passenger is properly restrained.
In a rollover crash, an unbeltedperson is significantly more likely todie than a person wearing a seat belt.All occupants must wear seat belts andchildren/infants must use appropriaterestraints to minimize the risk of injury orejection.
Do not become overconfident in theability of four-wheel drive vehicles.Although a four-wheel drive vehiclemay accelerate better than a two-wheeldrive vehicle in low traction situations, itwon't stop any faster than two-wheel drivevehicles. Always drive at a safe speed.
272
Expedition (TB7) Canada/United States of America, enUSA, First Printing
Wheels and TiresE145298
Page 281 of 421

A.P: Indicates a tire, designatedby the Tire and Rim Association,that may be used for service oncars, sport utility vehicles,minivans and light trucks.Note: Ifyour tire size does not begin witha letter this may mean it isdesignated by either the EuropeanTire and Rim TechnicalOrganization or the Japan TireManufacturing Association.
B.215: Indicates the nominalwidth of the tire in millimetersfrom sidewall edge to sidewalledge. In general, the larger thenumber, the wider the tire.
C.65: Indicates the aspect ratiowhich gives the tire's ratio ofheight to width.
D.R: Indicates a radial type tire.
E.15: Indicates the wheel or rimdiameter in inches. If you changeyour wheel size, you will have topurchase new tires to match thenew wheel diameter.
F.95: Indicates the tire's loadindex. It is an index that relates tohow much weight a tire can carry.You may find this information inyour owner’s manual. If not,contact a local tire dealer.
Note:You may not find thisinformation on all tires because itis not required by federal law.
G.H: Indicates the tire's speedrating. The speed rating denotesthe speed at which a tire isdesigned to be driven for extendedperiods of time under a standardcondition of load and inflationpressure. The tires on your vehiclemay operate at differentconditions for load and inflationpressure. These speed ratings mayneed to be adjusted for thedifference in conditions. Theratings range from 81 mph(130 km/h) to 186 mph(299 km/h). These ratings arelisted in the following chart.
Note:You may not find thisinformation on all tires because itis not required by federal law.
mph ( km/h)Letterrating
81 (130)M
87 (140)N
99 (159)Q
106 (171)R
112 (180)S
118 (190)T
124 (200)U
130 (210)H
149 (240)V
278
Expedition (TB7) Canada/United States of America, enUSA, First Printing
Wheels and Tires