2016 FORD EXPEDITION EL air filter
[x] Cancel search: air filterPage 7 of 421

Economical Driving.....................................220
Driving Through Water................................221
Floor Mats........................................................221
Roadside Emergencies
Roadside Assistance..................................223
Hazard Warning Flashers..........................224
Fuel Shutoff...................................................224
Jump Starting the Vehicle........................225
Customer Assistance
Getting the Services You Need...............228
In California (U.S. Only).............................229
The Better Business Bureau (BBB) AutoLine Program (U.S. Only).....................230
Utilizing the Mediation/ArbitrationProgram (Canada Only).......................230
Getting Assistance Outside the U.S. andCanada.........................................................231
Ordering Additional Owner'sLiterature.....................................................232
Reporting Safety Defects (U.S.Only).............................................................232
Reporting Safety Defects (CanadaOnly).............................................................233
Fuses
Fuse Specification Chart..........................234
Changing a Fuse...........................................242
Maintenance
General Information...................................243
Opening and Closing the Hood..............243
Under Hood Overview - 3.5LEcoboost™................................................244
Engine Oil Dipstick......................................245
Engine Oil Check..........................................245
Oil Change Indicator Reset......................246
Engine Coolant Check................................247
Automatic Transmission FluidCheck...........................................................250
Transfer Case Fluid Check.........................251
Brake Fluid Check.........................................251
Washer Fluid Check....................................252
Fuel Filter........................................................252
Changing the 12V Battery.........................252
Checking the Wiper Blades.....................254
Changing the Wiper Blades.....................255
Adjusting the Headlamps.........................255
Removing a Headlamp..............................256
Changing a Bulb...........................................257
Bulb Specification Chart..........................260
Changing the Engine Air Filter.................262
Vehicle Care
General Information...................................264
Cleaning Products.......................................264
Cleaning the Exterior..................................264
Waxing.............................................................265
Cleaning the Engine....................................265
Cleaning the Windows and WiperBlades..........................................................266
Cleaning the Interior...................................266
Cleaning the Instrument Panel andInstrument Cluster Lens........................267
Cleaning Leather Seats.............................267
Repairing Minor Paint Damage..............269
Cleaning the Alloy Wheels.......................269
Vehicle Storage............................................269
Wheels and Tires
General Information....................................272
Tire Care..........................................................275
Using Snow Chains....................................290
Tire Pressure Monitoring System..........290
Changing a Road Wheel...........................296
Technical Specifications............................301
Capacities and Specific-ations
Engine Specifications................................303
4
Expedition (TB7) Canada/United States of America, enUSA, First Printing
Table of Contents
Page 11 of 421
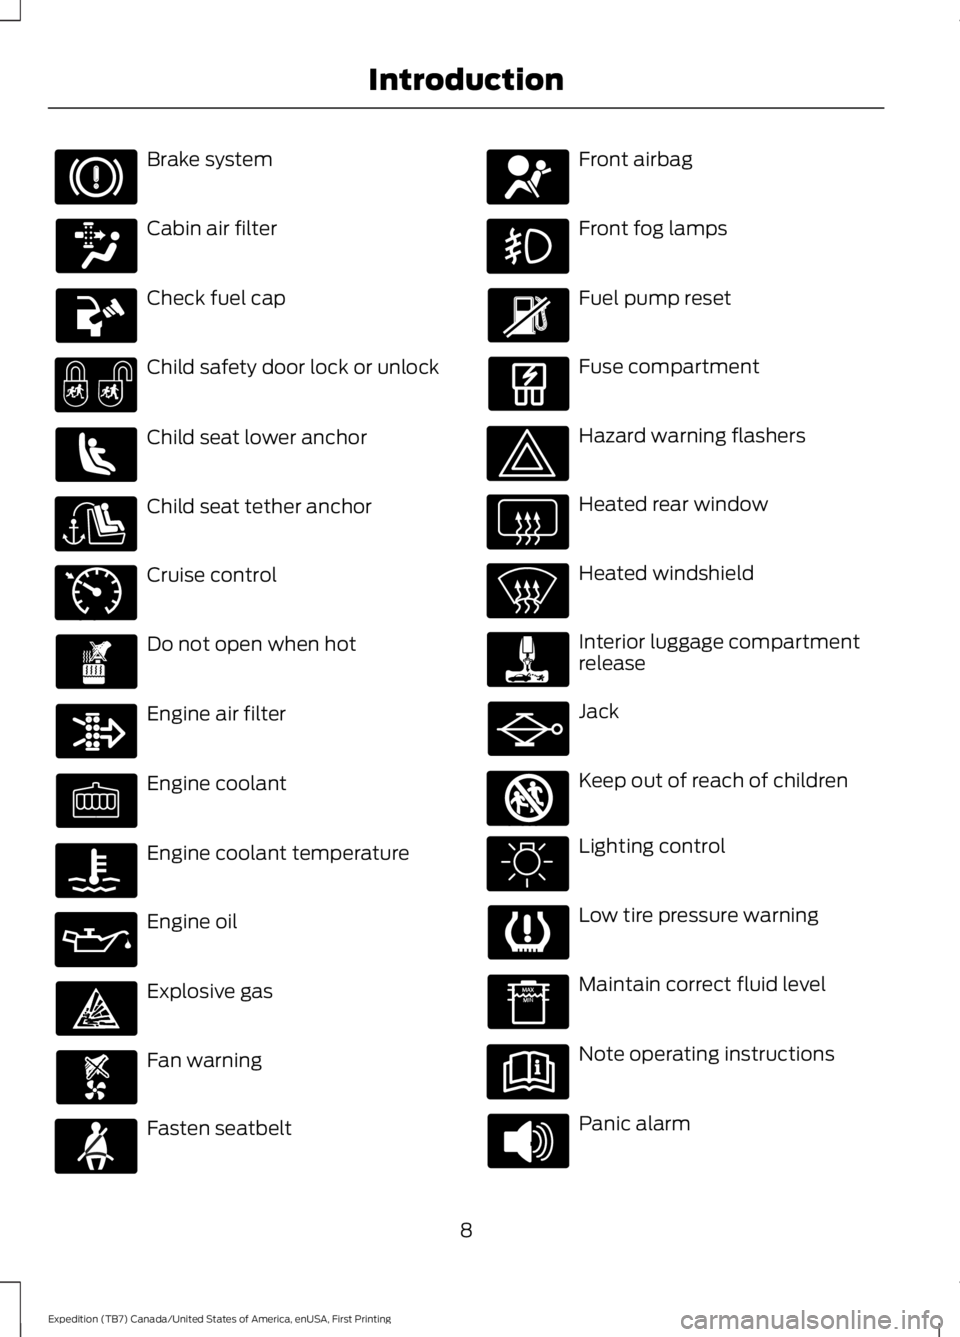
Brake system
Cabin air filter
Check fuel cap
Child safety door lock or unlock
Child seat lower anchor
Child seat tether anchor
Cruise control
Do not open when hot
Engine air filter
Engine coolant
Engine coolant temperature
Engine oil
Explosive gas
Fan warning
Fasten seatbelt
Front airbag
Front fog lamps
Fuel pump reset
Fuse compartment
Hazard warning flashers
Heated rear window
Heated windshield
Interior luggage compartmentrelease
Jack
Keep out of reach of children
Lighting control
Low tire pressure warning
Maintain correct fluid level
Note operating instructions
Panic alarm
8
Expedition (TB7) Canada/United States of America, enUSA, First Printing
Introduction E71340 E161353
Page 138 of 421
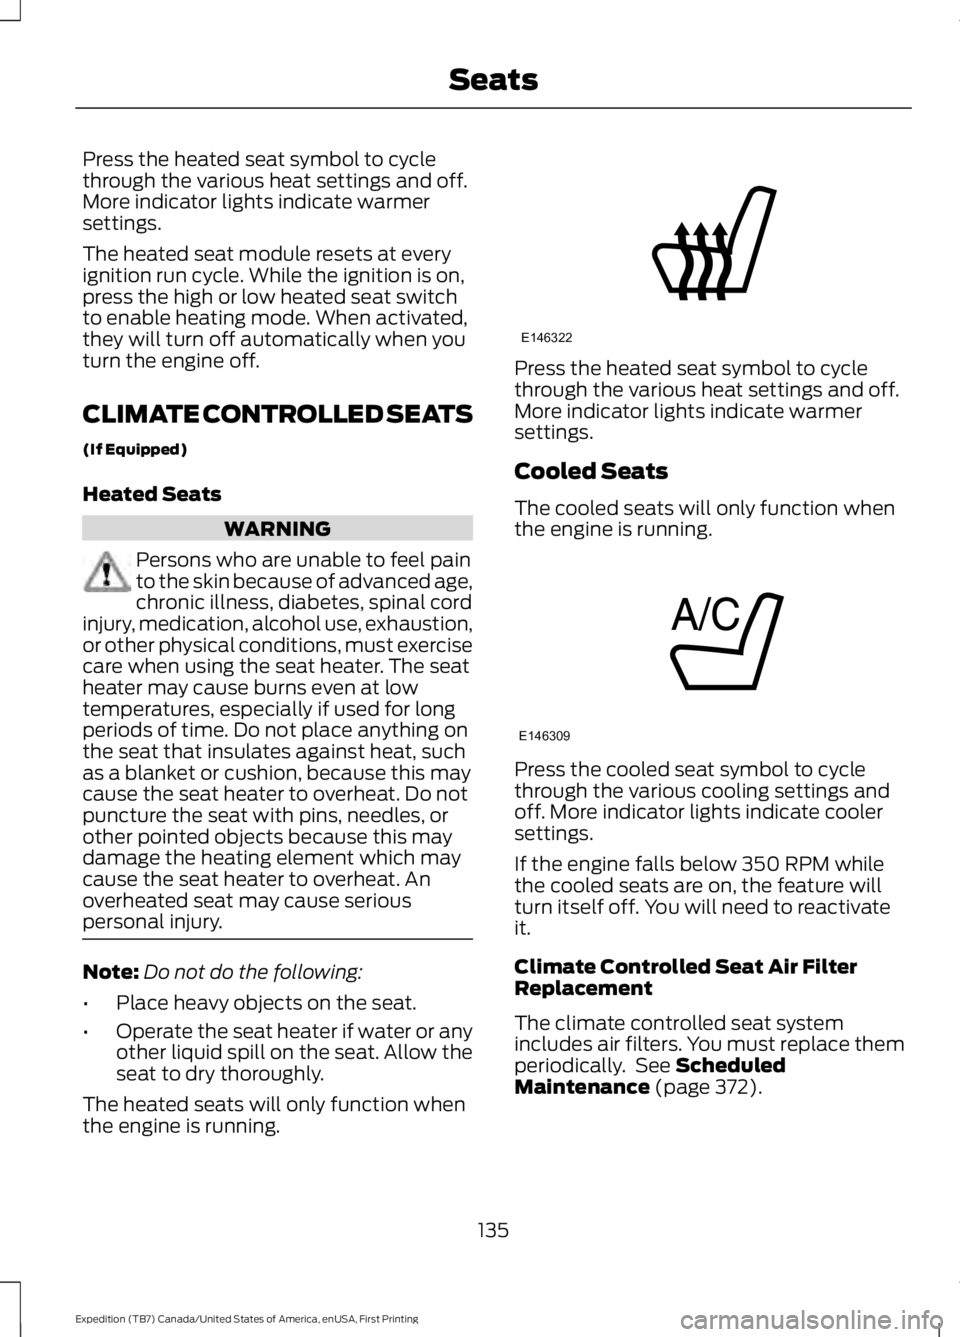
Press the heated seat symbol to cyclethrough the various heat settings and off.More indicator lights indicate warmersettings.
The heated seat module resets at everyignition run cycle. While the ignition is on,press the high or low heated seat switchto enable heating mode. When activated,they will turn off automatically when youturn the engine off.
CLIMATE CONTROLLED SEATS
(If Equipped)
Heated Seats
WARNING
Persons who are unable to feel painto the skin because of advanced age,chronic illness, diabetes, spinal cordinjury, medication, alcohol use, exhaustion,or other physical conditions, must exercisecare when using the seat heater. The seatheater may cause burns even at lowtemperatures, especially if used for longperiods of time. Do not place anything onthe seat that insulates against heat, suchas a blanket or cushion, because this maycause the seat heater to overheat. Do notpuncture the seat with pins, needles, orother pointed objects because this maydamage the heating element which maycause the seat heater to overheat. Anoverheated seat may cause seriouspersonal injury.
Note:Do not do the following:
•Place heavy objects on the seat.
•Operate the seat heater if water or anyother liquid spill on the seat. Allow theseat to dry thoroughly.
The heated seats will only function whenthe engine is running.
Press the heated seat symbol to cyclethrough the various heat settings and off.More indicator lights indicate warmersettings.
Cooled Seats
The cooled seats will only function whenthe engine is running.
Press the cooled seat symbol to cyclethrough the various cooling settings andoff. More indicator lights indicate coolersettings.
If the engine falls below 350 RPM whilethe cooled seats are on, the feature willturn itself off. You will need to reactivateit.
Climate Controlled Seat Air FilterReplacement
The climate controlled seat systemincludes air filters. You must replace themperiodically. See ScheduledMaintenance (page 372).
135
Expedition (TB7) Canada/United States of America, enUSA, First Printing
SeatsE146322 E146309
Page 224 of 421
•Avoid using speed control in hillyterrain.
•Do not rest your foot on the brakepedal while driving.
•Avoid carrying unnecessary weight.
•Avoid adding particular accessories toyour vehicle (e.g. bug deflectors,rollbars/light bars, running boards, skiracks).
•Avoid driving with the wheels out ofalignment.
DRIVING THROUGH WATER
WARNING
Do not drive through flowing or deepwater as you may lose control of yourvehicle.
Note:Driving through standing water cancause vehicle damage.
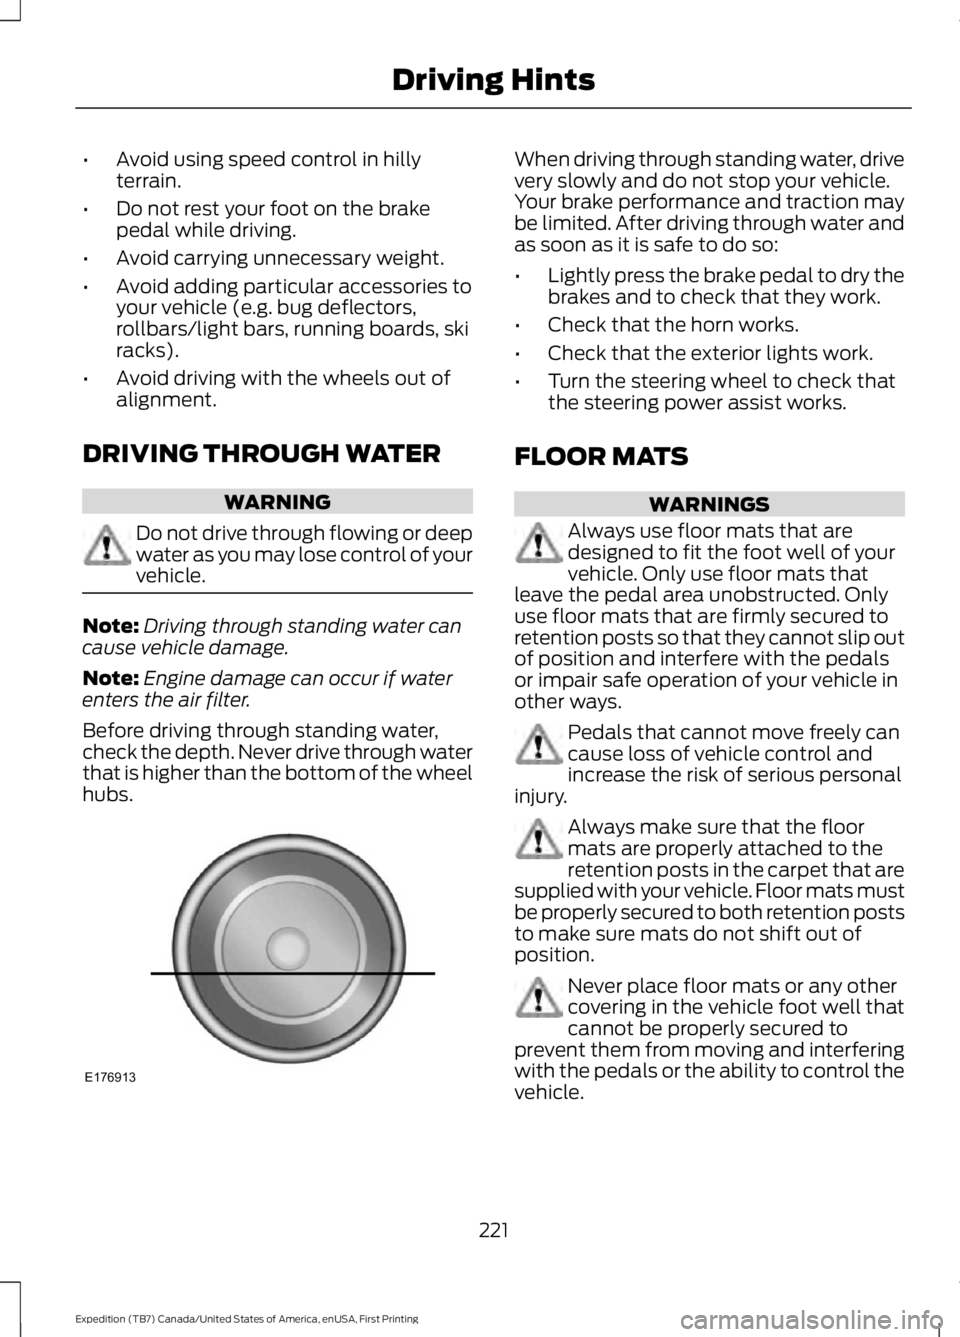
Note:Engine damage can occur if waterenters the air filter.
Before driving through standing water,check the depth. Never drive through waterthat is higher than the bottom of the wheelhubs.
When driving through standing water, drivevery slowly and do not stop your vehicle.Your brake performance and traction maybe limited. After driving through water andas soon as it is safe to do so:
•Lightly press the brake pedal to dry thebrakes and to check that they work.
•Check that the horn works.
•Check that the exterior lights work.
•Turn the steering wheel to check thatthe steering power assist works.
FLOOR MATS
WARNINGS
Always use floor mats that aredesigned to fit the foot well of yourvehicle. Only use floor mats thatleave the pedal area unobstructed. Onlyuse floor mats that are firmly secured toretention posts so that they cannot slip outof position and interfere with the pedalsor impair safe operation of your vehicle inother ways.
Pedals that cannot move freely cancause loss of vehicle control andincrease the risk of serious personalinjury.
Always make sure that the floormats are properly attached to theretention posts in the carpet that aresupplied with your vehicle. Floor mats mustbe properly secured to both retention poststo make sure mats do not shift out ofposition.
Never place floor mats or any othercovering in the vehicle foot well thatcannot be properly secured toprevent them from moving and interferingwith the pedals or the ability to control thevehicle.
221
Expedition (TB7) Canada/United States of America, enUSA, First Printing
Driving HintsE176913
Page 248 of 421
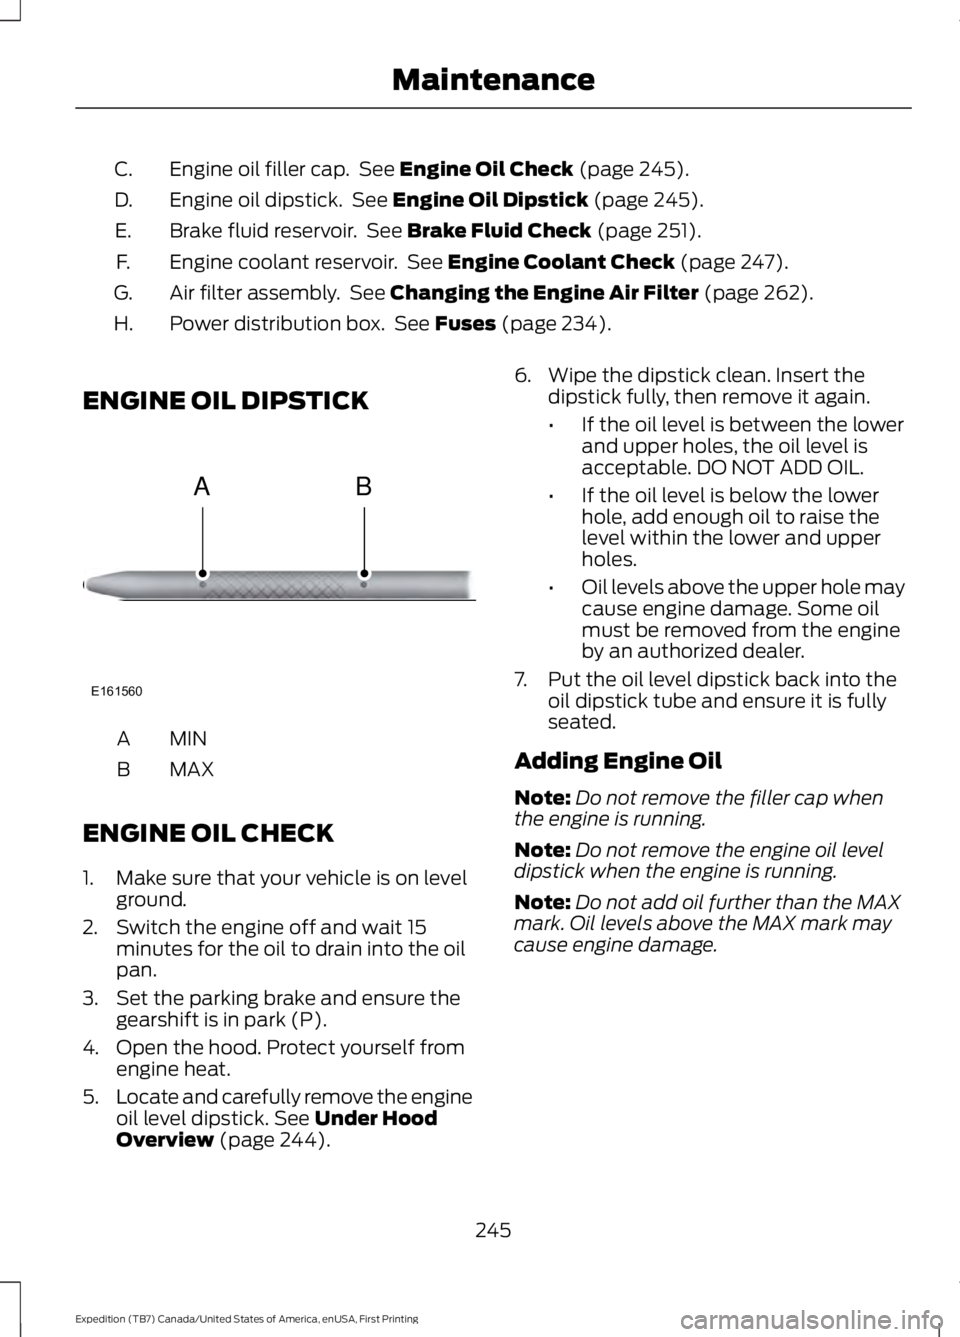
Engine oil filler cap. See Engine Oil Check (page 245).C.
Engine oil dipstick. See Engine Oil Dipstick (page 245).D.
Brake fluid reservoir. See Brake Fluid Check (page 251).E.
Engine coolant reservoir. See Engine Coolant Check (page 247).F.
Air filter assembly. See Changing the Engine Air Filter (page 262).G.
Power distribution box. See Fuses (page 234).H.
ENGINE OIL DIPSTICK
MINA
MAXB
ENGINE OIL CHECK
1. Make sure that your vehicle is on levelground.
2. Switch the engine off and wait 15minutes for the oil to drain into the oilpan.
3. Set the parking brake and ensure thegearshift is in park (P).
4. Open the hood. Protect yourself fromengine heat.
5.Locate and carefully remove the engineoil level dipstick. See Under HoodOverview (page 244).
6. Wipe the dipstick clean. Insert thedipstick fully, then remove it again.
•If the oil level is between the lowerand upper holes, the oil level isacceptable. DO NOT ADD OIL.
•If the oil level is below the lowerhole, add enough oil to raise thelevel within the lower and upperholes.
•Oil levels above the upper hole maycause engine damage. Some oilmust be removed from the engineby an authorized dealer.
7. Put the oil level dipstick back into theoil dipstick tube and ensure it is fullyseated.
Adding Engine Oil
Note:Do not remove the filler cap whenthe engine is running.
Note:Do not remove the engine oil leveldipstick when the engine is running.
Note:Do not add oil further than the MAXmark. Oil levels above the MAX mark maycause engine damage.
245
Expedition (TB7) Canada/United States of America, enUSA, First Printing
MaintenanceE161560
AB
Page 255 of 421
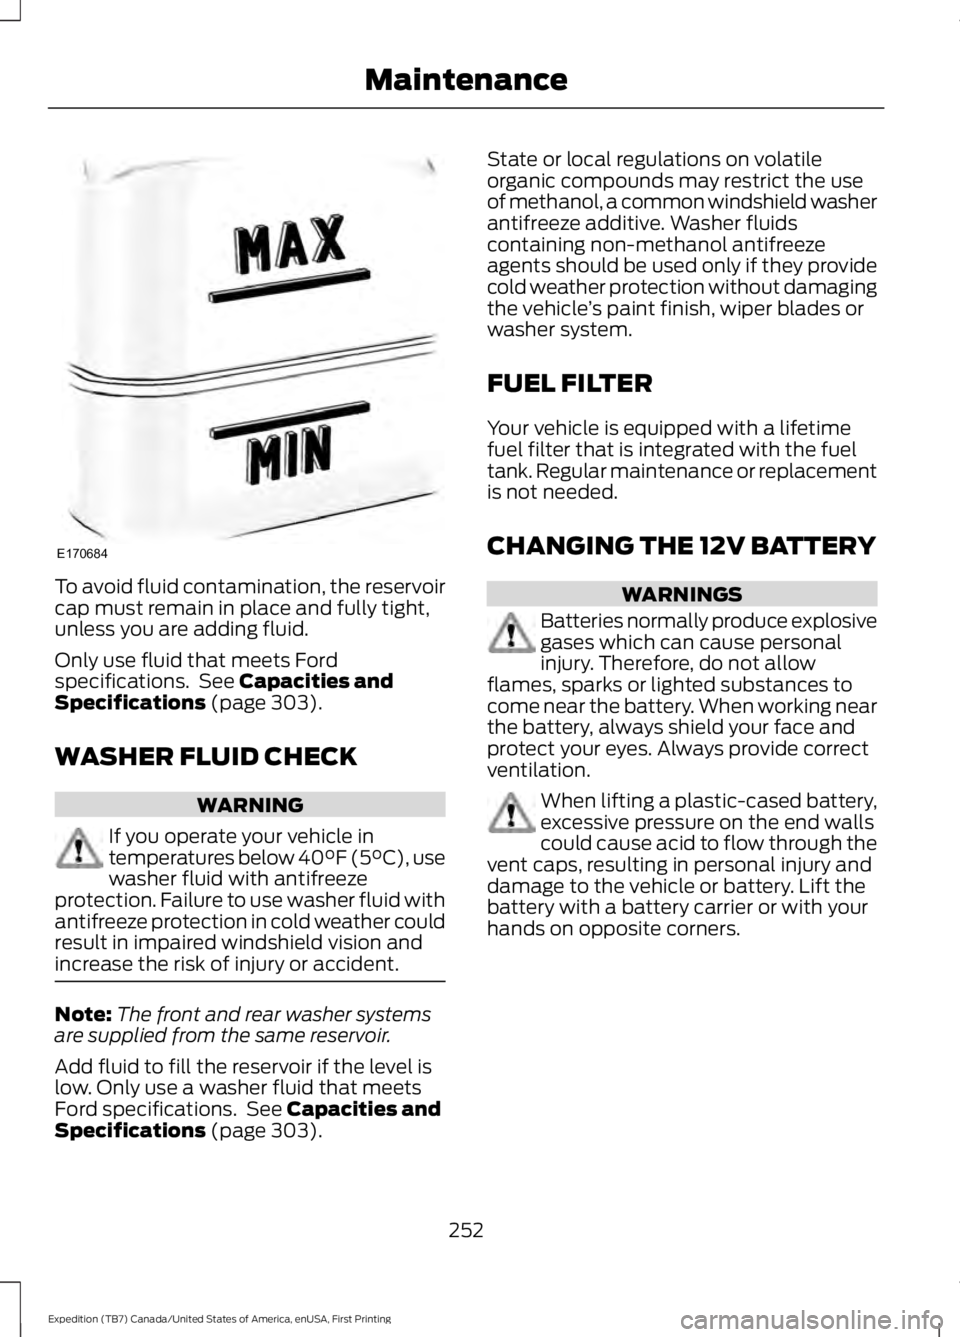
To avoid fluid contamination, the reservoircap must remain in place and fully tight,unless you are adding fluid.
Only use fluid that meets Fordspecifications. See Capacities andSpecifications (page 303).
WASHER FLUID CHECK
WARNING
If you operate your vehicle intemperatures below 40°F (5°C), usewasher fluid with antifreezeprotection. Failure to use washer fluid withantifreeze protection in cold weather couldresult in impaired windshield vision andincrease the risk of injury or accident.
Note:The front and rear washer systemsare supplied from the same reservoir.
Add fluid to fill the reservoir if the level islow. Only use a washer fluid that meetsFord specifications. See Capacities andSpecifications (page 303).
State or local regulations on volatileorganic compounds may restrict the useof methanol, a common windshield washerantifreeze additive. Washer fluidscontaining non-methanol antifreezeagents should be used only if they providecold weather protection without damagingthe vehicle’s paint finish, wiper blades orwasher system.
FUEL FILTER
Your vehicle is equipped with a lifetimefuel filter that is integrated with the fueltank. Regular maintenance or replacementis not needed.
CHANGING THE 12V BATTERY
WARNINGS
Batteries normally produce explosivegases which can cause personalinjury. Therefore, do not allowflames, sparks or lighted substances tocome near the battery. When working nearthe battery, always shield your face andprotect your eyes. Always provide correctventilation.
When lifting a plastic-cased battery,excessive pressure on the end wallscould cause acid to flow through thevent caps, resulting in personal injury anddamage to the vehicle or battery. Lift thebattery with a battery carrier or with yourhands on opposite corners.
252
Expedition (TB7) Canada/United States of America, enUSA, First Printing
MaintenanceE170684
Page 265 of 421

CHANGING THE ENGINE AIR
FILTER
WARNING
To reduce the risk of vehicle damageand personal burn injuries, do notstart your engine with the air cleanerremoved and do not remove it while theengine is running.
Note: Failure to use the correct air filterelement may result in severe enginedamage. Resulting component damagemay not be covered by the vehicle Warranty.
When changing the air filter element, useonly the air filter element listed. SeeMotorcraft Parts (page 303).
Change the air filter element at the correctinterval. See Scheduled Maintenance(page 372).
1. Locate the mass air flow sensorelectrical connector on the air outlettube. Disconnect the mass air flowsensor electrical connector.
2. Reposition the locking clip on theconnector (connector shown frombelow for clarity), squeeze theconnector and pull it off of the airoutlet tube.
3.Clean the area from around the air tubeto the air cover connection to preventdebris from entering the system. Next,loosen the bolt on the air tube clampso the clamp is no longer snug to theair tube. It is not necessary tocompletely remove the clamp.
4.Pull the air tube off from the air cleanerhousing.
262
Expedition (TB7) Canada/United States of America, enUSA, First Printing
MaintenanceE163755 E163756 E163757
Page 266 of 421

5. Release the three clamps that securethe cover to the air filter housing. Pushthe air filter cover toward the center ofthe vehicle and up slightly to release it.
6.Remove the air filter element from theair filter housing.
7. Install the new air filter element.
8.Replace the air filter housing cover andsecure all the clamps. Be careful notto crimp the filter element edgesbetween the air filter housing and coverand ensure that you properly align thetabs on the edge into the slots.
9. Slip the air tube onto the air filterhousing and tighten the air-tube clampbolt snugly. Do not over tightenair-tube clamp bolt.
10. Reconnect the mass air flow sensorelectrical connector to the outlettube. Make sure the locking tab onthe connector is in the locked position(connector shown from below forclarity).
263
Expedition (TB7) Canada/United States of America, enUSA, First Printing
MaintenanceE163758 E163759 E163760