2016 FORD EXPEDITION EL light
[x] Cancel search: lightPage 224 of 421
•Avoid using speed control in hillyterrain.
•Do not rest your foot on the brakepedal while driving.
•Avoid carrying unnecessary weight.
•Avoid adding particular accessories toyour vehicle (e.g. bug deflectors,rollbars/light bars, running boards, skiracks).
•Avoid driving with the wheels out ofalignment.
DRIVING THROUGH WATER
WARNING
Do not drive through flowing or deepwater as you may lose control of yourvehicle.
Note:Driving through standing water cancause vehicle damage.
Note:Engine damage can occur if waterenters the air filter.
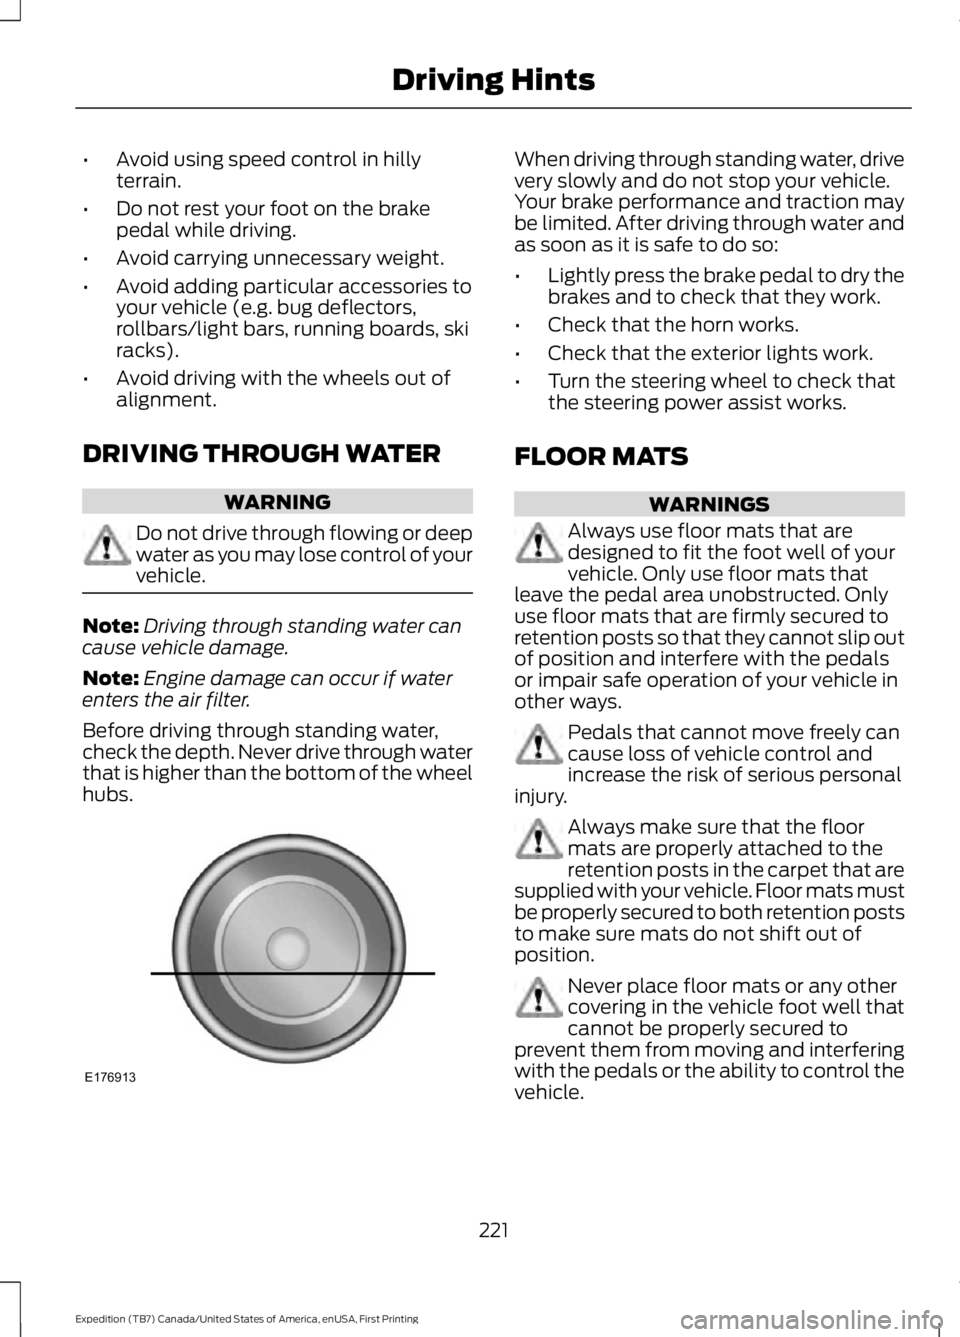
Before driving through standing water,check the depth. Never drive through waterthat is higher than the bottom of the wheelhubs.
When driving through standing water, drivevery slowly and do not stop your vehicle.Your brake performance and traction maybe limited. After driving through water andas soon as it is safe to do so:
•Lightly press the brake pedal to dry thebrakes and to check that they work.
•Check that the horn works.
•Check that the exterior lights work.
•Turn the steering wheel to check thatthe steering power assist works.
FLOOR MATS
WARNINGS
Always use floor mats that aredesigned to fit the foot well of yourvehicle. Only use floor mats thatleave the pedal area unobstructed. Onlyuse floor mats that are firmly secured toretention posts so that they cannot slip outof position and interfere with the pedalsor impair safe operation of your vehicle inother ways.
Pedals that cannot move freely cancause loss of vehicle control andincrease the risk of serious personalinjury.
Always make sure that the floormats are properly attached to theretention posts in the carpet that aresupplied with your vehicle. Floor mats mustbe properly secured to both retention poststo make sure mats do not shift out ofposition.
Never place floor mats or any othercovering in the vehicle foot well thatcannot be properly secured toprevent them from moving and interferingwith the pedals or the ability to control thevehicle.
221
Expedition (TB7) Canada/United States of America, enUSA, First Printing
Driving HintsE176913
Page 228 of 421
3.Remove your foot from the brake pedaland press the START/STOP buttonto switch off the ignition.
4. You can either attempt to start theengine by pressing the brake pedal andthe START/STOP button, or switchon the ignition only by pressing theSTART/STOP button withoutpressing the brake pedal. Both waysre-enable the fuel system.
Note:When you try to restart your vehicleafter a fuel shutoff, the vehicle makes surethat various systems are safe to restart.Once your vehicle determines that thesystems are safe, then the vehicle will allowyou to restart.
Note:In the event that your vehicle doesnot restart after your third attempt, contactan authorized dealer.
JUMP STARTING THE VEHICLE
WARNINGS
Batteries normally produce explosivegases which can cause personalinjury. Therefore, do not allowflames, sparks or lighted substances tocome near the battery. When working nearthe battery, always shield your face andprotect your eyes. Always provide correctventilation.
Keep batteries out of reach ofchildren. Batteries contain sulfuricacid. Avoid contact with skin, eyes orclothing. Shield your eyes when workingnear the battery to protect against possiblesplashing of acid solution. In case of acidcontact with skin or eyes, flushimmediately with water for a minimum of15 minutes and get prompt medicalattention. If acid is swallowed, call aphysician immediately.
Use only adequately sized cableswith insulated clamps.
Preparing Your Vehicle
Do not attempt to push-start yourautomatic transmission vehicle.
Note:Attempting to push-start a vehiclewith an automatic transmission may causetransmission damage.
Note:Use only a 12-volt supply to start yourvehicle.
Note:Do not disconnect the battery of thedisabled vehicle as this could damage thevehicle electrical system.
Park the booster vehicle close to the hoodof the disabled vehicle, making sure thetwo vehicles do not touch.
Connecting the Jumper Cables
WARNINGS
Do not attach the cables to fuel lines,engine rocker covers, the intakemanifold or electrical componentsas grounding points. Stay clear of movingparts. To avoid reverse polarityconnections, make sure that you correctlyidentify the positive (+) and negative (-)terminals on both the disabled and boostervehicles before connecting the cables.
Do not attach the end of the positivecable to the studs or L-shaped eyeletlocated above the positive (+)terminal of your vehicle’s battery. Highcurrent may flow through and causedamage to the fuses.
Do not connect the end of thesecond cable to the negative (-)terminal of the battery to be jumped.A spark may cause an explosion of thegases that surround the battery.
Note:In the illustration, the bottom vehiclerepresents the booster vehicle.
225
Expedition (TB7) Canada/United States of America, enUSA, First Printing
Roadside Emergencies
Page 240 of 421
Protected componentsFuse amp ratingFuse or relay number
Blower motor run/start.5A**57
Not used.—58
Heated mirrors.15A**59
Not used.—60
Not used.—61
Not used.—62
Electronic fan.25A*63
Moonroof.30A*64
Not used.—65
Auxiliary power point (rear of centerconsole).20A*66
Front row climate controlled seats.40A*67
Anti-lock brake system valves.30A*68
Anti-lock brake system pump.60A*69
Third row power fold seat.30A*70
Auxiliary power point/cigar lighter.20A*71
Auxiliary power point (right rear quarterpanel).20A*72
Rear seat climate module.20A*73
Driver power seat.30A*74
Vehicle power 1 – powertrain controlmodule.25A**75
Vehicle power 2 – powertrain controlmodule.20A**76
Vehicle power 4 – ignition coils.20A**77
Not used.—78
Vehicle power 3 – powertrain controlmodule.15A**79
Not used.—80
237
Expedition (TB7) Canada/United States of America, enUSA, First Printing
Fuses
Page 243 of 421

Protected componentsFuse amp ratingFuse or relay number
SYNC.10A9Power lift gate.Electric finish panel.Display.
Run accessory relay.10A10
Passive entry/start module.10A11
Interior lighting.15A12Puddle lamps.
Right turn and stop/turn signals.15A13
Left turn and stop/turn signals.15A14
Reverse lamp.15A15Center high mount stop lamp.EC mirror.
Right front low beam.10A16
Left front low beam.10A17
Brake shift interlock/start button LED/keypad illumination.10A18
Third row power folding seat.Passive entry touch start.
Not used.—19
Lock/unlock relays.20A20
Not used.—21
Horn.20A22
Steering wheel control module.15A23Cluster.
Adjustable pedals/power adjustablecolumn.15A24
Datalink.
Liftgate release decklid.15A25Liftglass release motor.
Push to start switch.5A26
Passive entry/start module.20A27
240
Expedition (TB7) Canada/United States of America, enUSA, First Printing
Fuses
Page 250 of 421

ENGINE COOLANT CHECK
WARNINGS
Do not add engine coolant when theengine is hot. Steam and scaldingliquids released from a hot coolingsystem can burn you badly. Also, spillingcoolant on hot engine parts can burn you.
Do not put engine coolant in thewindshield washer fluid container. Ifsprayed on the windshield, enginecoolant could make it difficult to seethrough the windshield.
To reduce the risk of personal injury,make sure the engine is cool beforeunscrewing the coolant pressurerelief cap. The cooling system is underpressure. Steam and hot liquid can comeout forcefully when you loosen the capslightly.
Do not add coolant further than theMAX mark.
Checking the Engine Coolant
When the engine is cold, check theconcentration and level of the enginecoolant at the intervals listed in thescheduled maintenance information. SeeScheduled Maintenance (page 372).
Note:Make sure that the coolant level isbetween the MIN and MAX marks on thecoolant reservoir.
Note: Coolant expands when it is hot. Thelevel may extend beyond the MAX mark.
Note:If the level is at the MIN mark, belowthe MIN mark, or empty, add coolantimmediately.
Maintain coolant concentration within48% to 50%, which equates to a freezepoint between -30°F (-34°C) and -34°F(-37°C).
Note:For best results, coolantconcentration should be tested with arefractometer such as Robinair® Coolantand Battery Refractometer 75240. We donot recommend the use of hydrometers orcoolant test strips for measuring coolantconcentrations.
Note:Automotive fluids are notinterchangeable. Do not use engine coolant,antifreeze or windshield washer fluid outsideof its specified function and vehicle location.
Adding Engine Coolant
Note:Do not use stop leak pellets, coolingsystem sealants or additives as they cancause damage to the engine cooling orheating systems. Your warranty may notcover these damages.
Note:During normal vehicle operation, thecoolant may change color from orange topink or light red. As long as the coolant isclear and uncontaminated, this color changedoes not indicate the coolant has degradednor does it require the coolant to be drained,the system to be flushed, or the coolant tobe replaced.
Do not mix different colors or types ofcoolant in your vehicle. Mixing of enginecoolants may harm your engine’s coolingsystem. Use prediluted engine coolantmeeting the correct specification. SeeCapacities and Specifications (page303). The use of an incorrect coolant mayharm the engine or cooling systemcomponents and may not be covered bythe vehicle Warranty.
In case of emergency, you can add a largeamount of water without engine coolantin order to reach a vehicle service location.In this instance, qualified personnel:
1. Must drain the cooling system.
2. Chemically clean the cooling systemwith Motorcraft Premium CoolingSystem Flush.
247
Expedition (TB7) Canada/United States of America, enUSA, First Printing
Maintenance
Page 251 of 421
3. Refill with engine coolant as soon aspossible.
Water alone, without engine coolant, cancause engine damage from corrosion,overheating or freezing.
Do not use the following as a coolantsubstitute:
•Alcohol.
•Methanol.
•Brine.
•Any engine coolant mixed with alcoholor methanol antifreeze or coolant.
Alcohol and other liquids can cause enginedamage from overheating or freezing.
Do not add extra inhibitors or additives tothe coolant. These can be harmful andcompromise the corrosion protection ofthe engine coolant.
When adding coolant:
1. Unscrew the cap slowly. Any pressurewill escape as you unscrew the cap.
2.Add prediluted engine coolant meetingthe correct specification. SeeCapacities and Specifications (page303).
3. Check the coolant level in the coolantreservoir the next few times you driveyour vehicle.
4. If necessary, add enough predilutedengine coolant to bring the coolantlevel to the proper level.
Recycled Engine Coolant
We do not recommend the use of recycledengine coolant as an approved recyclingprocess is not yet available.
Used engine coolant should be disposedof in an appropriate manner. Follow yourcommunity’s regulations and standardsfor recycling and disposing of automotivefluids.
Severe Climates
If you drive in extremely cold climates:
•It may be necessary to have anauthorized dealer increase the coolantconcentration above 50%.
•A coolant concentration of 60%provides improved freeze pointprotection. Engine coolantconcentrations above 60% decreasethe overheat protection characteristicsof the engine coolant and may causeengine damage.
If you drive in extremely hot climates:
•It may be necessary to have anauthorized dealer decrease the coolantconcentration to 40%.
•A coolant concentration of 40%provides improved overheat protection.Engine coolant concentrations below40% decrease the freeze and corrosionprotection characteristics of the enginecoolant and may cause enginedamage.
Vehicles driven year-round in non-extremeclimates should use prediluted enginecoolant for optimum cooling system andengine protection.
What You Should Know About Fail-Safe Cooling
If you deplete the engine coolant supply,fail-safe cooling allows you to temporarilydrive your vehicle before you incurincremental component damage. Thefail-safe distance depends on ambienttemperatures, vehicle load and terrain.
How Fail-Safe Cooling Works
If the engine begins to overheat, the enginecoolant temperature gauge will move tothe red (hot) area and:
the coolant temperature warninglight will illuminate
248
Expedition (TB7) Canada/United States of America, enUSA, First Printing
Maintenance
Page 255 of 421
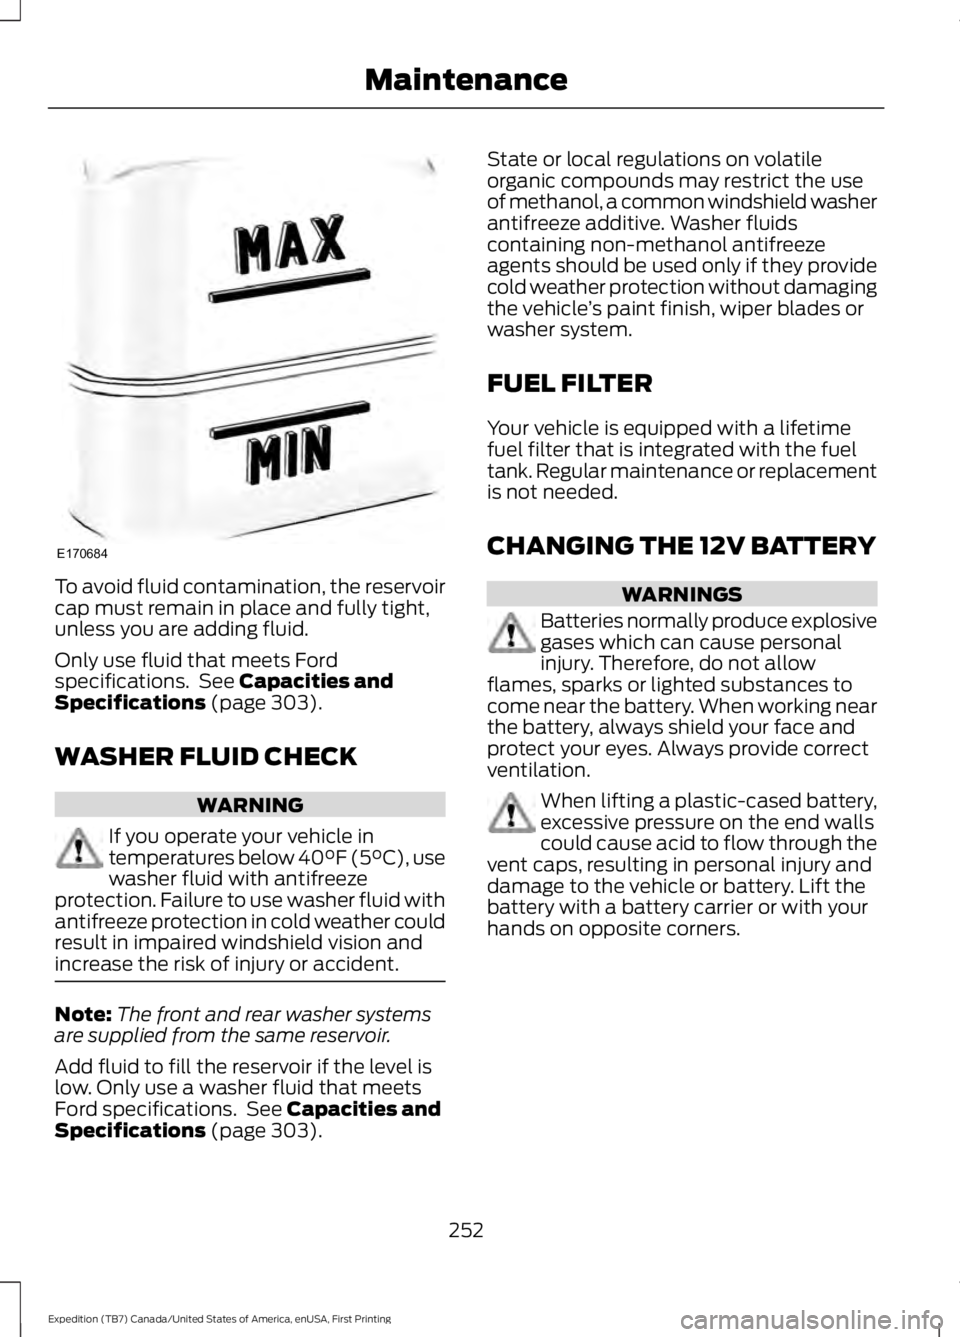
To avoid fluid contamination, the reservoircap must remain in place and fully tight,unless you are adding fluid.
Only use fluid that meets Fordspecifications. See Capacities andSpecifications (page 303).
WASHER FLUID CHECK
WARNING
If you operate your vehicle intemperatures below 40°F (5°C), usewasher fluid with antifreezeprotection. Failure to use washer fluid withantifreeze protection in cold weather couldresult in impaired windshield vision andincrease the risk of injury or accident.
Note:The front and rear washer systemsare supplied from the same reservoir.
Add fluid to fill the reservoir if the level islow. Only use a washer fluid that meetsFord specifications. See Capacities andSpecifications (page 303).
State or local regulations on volatileorganic compounds may restrict the useof methanol, a common windshield washerantifreeze additive. Washer fluidscontaining non-methanol antifreezeagents should be used only if they providecold weather protection without damagingthe vehicle’s paint finish, wiper blades orwasher system.
FUEL FILTER
Your vehicle is equipped with a lifetimefuel filter that is integrated with the fueltank. Regular maintenance or replacementis not needed.
CHANGING THE 12V BATTERY
WARNINGS
Batteries normally produce explosivegases which can cause personalinjury. Therefore, do not allowflames, sparks or lighted substances tocome near the battery. When working nearthe battery, always shield your face andprotect your eyes. Always provide correctventilation.
When lifting a plastic-cased battery,excessive pressure on the end wallscould cause acid to flow through thevent caps, resulting in personal injury anddamage to the vehicle or battery. Lift thebattery with a battery carrier or with yourhands on opposite corners.
252
Expedition (TB7) Canada/United States of America, enUSA, First Printing
MaintenanceE170684
Page 259 of 421
Vertical Aim Adjustment
1. Park your vehicle directly in front of awall or screen on a level surface,approximately 25 feet (7.6 meters)away.
2. Measure the height from the center ofyour headlamp (indicated by a 3.0millimeter circle on the lens) to theground and mark an 8 foot (2.4 meter)horizontal reference line on the verticalwall or screen at this height (a piece ofmasking tape works well).
Note:To see a clearer light pattern foradjusting, you may want to block the lightfrom one headlamp while adjusting theother.
3.Switch on the low beam headlamps toilluminate the wall or screen and openthe hood. Cover one of the headlampsso no light hits the wall.
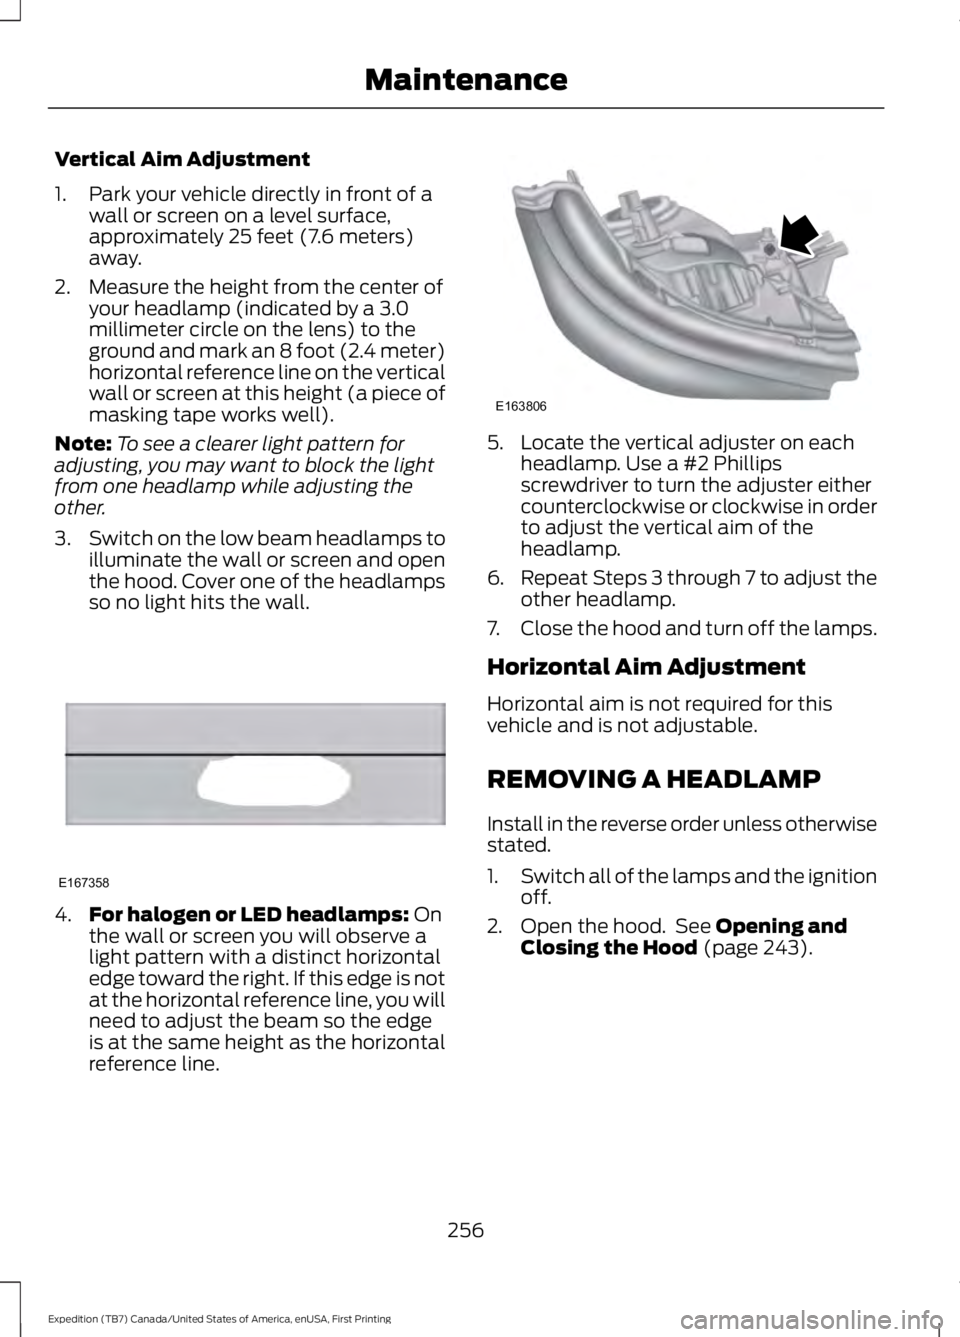
4.For halogen or LED headlamps: Onthe wall or screen you will observe alight pattern with a distinct horizontaledge toward the right. If this edge is notat the horizontal reference line, you willneed to adjust the beam so the edgeis at the same height as the horizontalreference line.
5. Locate the vertical adjuster on eachheadlamp. Use a #2 Phillipsscrewdriver to turn the adjuster eithercounterclockwise or clockwise in orderto adjust the vertical aim of theheadlamp.
6.Repeat Steps 3 through 7 to adjust theother headlamp.
7.Close the hood and turn off the lamps.
Horizontal Aim Adjustment
Horizontal aim is not required for thisvehicle and is not adjustable.
REMOVING A HEADLAMP
Install in the reverse order unless otherwisestated.
1.Switch all of the lamps and the ignitionoff.
2. Open the hood. See Opening andClosing the Hood (page 243).
256
Expedition (TB7) Canada/United States of America, enUSA, First Printing
MaintenanceE167358 E163806