2016 FIAT TIPO 5DOORS STATION WAGON Air con
[x] Cancel search: Air conPage 210 of 240

LIVEservices in your vehicle you have
to pair the
Bluetooth®with your
smartphone and the radio, as
described in the "Pairing a mobile
phone" chapter.
When pairing is complete, the
connected services can be accessed
by pressing theUconnect™ LIVEicon
on the radio.
Before you can use the connected
services, complete the activation
procedure by following the instructions
that appear in theUconnect™LIVE
app after having done the
Bluetooth®
pairing.
Settings of the Uconnect™LIVE
services that can be managed
through the radio
In theUconnect™ LIVEradio menu
the "Settings" section can be accessed
by pressing the
icon. In this section
the user can check the system options
and change them according to their
preferences.
System updates
If an update for theUconnect™LIVE
system is available while the
Uconnect™LIVEservices are being
used, the user will be informed with a
message on the radio screen.Connected services that can be
accessed on the vehicle
Theeco:Drive™andmy:Carapps are
developed to improve the customer's
driving experience, therefore they are
available in all markets where the
Uconnect™LIVEservices can be
accessed.
If the navigation system is installed in
the radio, accessing the
Uconnect™LIVEservices enables use
of the "Live" services.
eco:Drive™
Theeco:Drive™application allows you
to display your driving behaviour in real
time, in order to help you reach a more
efficient driving style as far as
consumption and emissions are
concerned.
In addition, the data can be saved on a
USB flash drive, and the data analysis
can be made on your personal
computer thanks to theeco:Drive™
desktop application, available on
www.DriveUconnect.eu.
Driving style is evaluated by means of
four indices which monitor the following
parameters: acceleration, deceleration,
gearchange, speed
Display of the eco:Drive™
Press theeco:Drive™button to
interact with the function.A screen will appear on the radio
showing 4 indices: Acceleration,
Deceleration, Speed and Gear. These
indices are grey until the system has
enough data to evaluate the driving
style. Once sufficient data are available,
the indices will have 5 colours
depending on the evaluation: dark
green (very good), light green, yellow,
orange and red (very bad).
In the event of extended inactivity, the
display will show the average of the
indices until that moment (the "Average
index"), then the indices will be
coloured again in real time as soon as
the vehicle is restarted.
Recording and transferring trip data
The trip data can be stored in the
system memory and transferred using a
suitably configured USB memory stick
or byUconnect™LIVEapp. This
allows you to display the history of the
collected data, showing the complete
analysis of the trip data and of your
driving style.
Further information is available at
www.DriveUconnect.eu.
my:Car
my:Carallows you to keep the "health"
of your vehicle always under control.
my:Carcan detect malfunction in real
time and inform the user about the
208
MULTIMEDIA
Page 212 of 240
"Lane Assist Warning"(where
provided): this function can be used to
select the LaneAssist system
intervention "readiness".
"Lane Assist Strength"(where
provided): this function can be used to
select the force to apply to the steering
wheel to put the vehicle back in the
lane through the electric steering
system, in the event of Lane Assist
system intervention.
"Blind Spot Alert"(where provided):
this function can be used to select the
type of warning ("Sound Only" or
"Sound & Display") to indicate the
presence of objects in the blind spot of
the door mirror.
"Rain sensor"(where provided): this
function can be used to activate/
deactivate the automatic operation of
the wipers in the event of rain.
"Brakes"(where provided): this
function can be used to select the
following submenus:
- "Brake Service" (where provided):
allows you to activate the procedure for
carrying out braking system servicing;
- "Auto Park Brake" (where provided):
allows you to activate/deactivate the
automatic park brake engagement.
NAVIGATION(UConnect™ 5" Nav LIVE only)
Programming a route
WARNING In the interest of safety and
to reduce distractions while you are
driving, you should always plan a route
before you start driving.
Using the destination search function, it
is possible to find and reach your
destinations in different ways: searching
for a specific address, a partial address,
a specific type of location (for example
a service station or a restaurant), a
postal code, a POI (Point Of Interest)
near your current position (for example,
a restaurant with the search type set to
"nearby"), a pair of latitude and
longitude coordinates, or by selecting a
point on the map.
Select “Search” in the Main menu and
set the search for a destination.
While entering the information, the list
displays the corresponding addresses
and POIs in two separate lists. The
corresponding address and city are
displayed in the Address list and the
POI, the type of POIs and the locations
are displayed in the Point of Interest
lists.
To plan a route towards the destination,
select the “Guide” button.
A route is planned and you are guided
to your destination, using spoken
instructions and on-screen directions.VOICE COMMANDS
NoteFor languages not supported by
the system, voice commands are not
available.
To use the voice commands, press the
button on the steering wheel ("Voice"
button) and say out loud the command
you want to activate.
Global
The following voice commands can be
given after pressing the
button on
the steering wheel:
Help
Cancel
Repeat
Voice Prompts
Phone
The following voice commands can be
given after pressing the
button on
the steering wheel:
Call
Dial
Redial
Call back
Last calls
Outgoing calls
Missed calls
Incoming calls
Contacts
Search
Show SMS
Send an SMS
210
MULTIMEDIA
Show messages
Page 221 of 240
(Uconnect™7" HD Nav LIVEversions
only).
At the bottom: information on the
track being played and the following
graphic buttons:
Active device or audio source;
/: select previous/next
track;
: pause track being played;
"Audio": access to the "Audio
setting" screen.
Track selection
Use this function to scroll through and
select the tracks on the active device.
The choices available depend on the
device connected. For example, on a
USB/iPod device you can also scroll
through the list of artists, genres and
albums available on the device
depending on the information present
on the tracks using the BROWSE
ENTER button/knob or by means of the
egraphic buttons.
Within each list, the "ABC" button
allows the user to skip to the desired
letter in the list.
NOTE This button might be disabled for
some
Apple®devices.
NOTE The BROWSE ENTER button
does not allow any operation on an
AUX device.
Bluetooth® SOURCE
This mode is activated by pairing a
Bluetooth®device containing music
tracks with the system.
PAIRING A Bluetooth®
AUDIO DEVICE
To pair aBluetooth®audio device,
proceed as follows:
activate theBluetooth®function on
the device;
press the “Media” button on the
display;
press the "Select device" button;
select theBluetooth®Media
source;
press the "Add device" button;
search forUconnect™on the
Bluetooth®audio device (during the
pairing stage a screen is displayed
showing the progress of the operation);
when requested by the audio device,
enter the PIN code shown on the
system display or confirm on the device
the PIN displayed;
if the pairing procedure is completed
successfully, a screen is displayed.
Answer "Yes" to the question to pair the
Bluetooth®audio device as favourite
(the device will have priority over all
other devices to be paired
subsequently). If "No" is selected, the
priority is determined according to the
order of connection. The last device
connected will have the highest priority;
an audio device can also be paired
by pressing the "Phone" graphic button
on the display and by selecting
"Settings" or, from the "Settings" menu,
selecting "Phone/Bluetooth".
IMPORTANT If theBluetooth®
connection between mobile phone and
system is lost, consult the mobile
phone handbook.
USB/iPod SOURCE
To activate the USB/iPod mode insert
the corresponding device (USB or iPod)
in the USB port located in the central
console.
If a USB/iPod device is inserted with the
system on, this starts playing the tracks
present on the device.
AUX SOURCE
To activate AUX mode, insert an
appropriate device in the AUX socket
on the vehicle.
When a device is inserted using the
AUX output socket the system starts
reproducing the AUX source
connected, if it is already being played.
Adjust the volume using the
button/knob on the front panel or
using the volume adjustment control on
the connected device.
The "AUX volume compensation"
function can be selected in Radio mode
only when the AUX source is active.
219
Page 222 of 240
IMPORTANT NOTES
The functions of the device connected
with the AUX socket are directly
managed by the device itself: it is not
possible to change track/folder/playlist
or control playing start/end/pause with
the controls on the front panel or on the
steering wheel.
Do not leave the cable of your portable
player connected to the AUX socket
after disconnection, to avoid possible
hiss from the speakers.
PHONE MODE
PHONE MODE ACTIVATION
Press the “Phone” button on the display
to activate the Phone mode.
NOTE To consult the list of mobile
phones and supported functions, visit
the www.DriveUconnect.eu website.
Use the buttons on the display to:
dial the phone number (using the
graphic keypad on the display);
display and call the contacts in the
mobile phone phonebook;
display and call contacts from the
registers of previous calls;
pair up to 10 phones/audio devices
to make access and connection easier
and quicker;
transfer calls from the system to the
mobile phone and vice versa and
deactivate the microphone audio for
private conversations.The mobile phone audio is transmitted
through the vehicle’s audio system; the
system automatically mutes the radio
when the Phone function is used.
PAIRING A MOBILE PHONE
IMPORTANT Carry out this operation
only with vehicle stationary and in safety
conditions; this function is deactivated
when the vehicle is moving.
The pairing procedure for a mobile
phone is described below: always
consult the handbook for the mobile
phone in any case.
To pair the mobile phone, proceed as
follows:
activate theBluetooth®function on
the mobile phone;
press the “Phone” button on the
display;
if no phone is paired with the system
yet, the display shows a dedicated
screen;
select "Yes" to start the pairing
procedure, then search for the
Uconnect™device on the mobile
phone (if "No" is selected, the Phone
main screen is displayed);
when prompted by the mobile
phone, use its keypad to enter the PIN
code shown on the system display or
confirm on the mobile phone the PIN
displayed;
from the "Phone" screen you can
always pair a mobile phone by pressing
the "Settings" button: press the "Add
device" button and proceed as
described above;
during the pairing stage a screen is
displayed showing the progress of the
operation;
when the pairing procedure is
completed successfully, a screen is
displayed: answer "Yes" to the question
to pair the mobile phone as favourite
(the mobile phone will have priority over
all other mobile phones to be paired
subsequently). If no other devices are
paired, the system will consider the first
associated device as favourite.
NOTE After updating the phone
software, for proper operation, it is
recommended to remove the phone
from the list of devices linked to the
radio, delete the previous system
pairing also from the list of
Bluetooth®
devices on the phone and make a new
pairing.
MAKING A PHONE CALL
The operations described below can
only be accessed if supported by the
mobile phone in use. For all functions
available, refer to the mobile phone
owner's handbook.
A call can be made by:
selecting "Contacts";
220
MULTIMEDIA
Page 223 of 240
selecting "Recent";
selecting "Dial";
selecting "Redial".
FAVOURITES
You can add a number or a contact (if
already in Contacts) to the favourite list
during a call by pressing one of the five
"Empty" graphic buttons on the upper
part of the display. The favourites can
also be managed by using the Contacts
options.
SMS MESSAGE READER
The system can read the messages
received by the mobile phone. To use
this function the mobile phone must
support the SMS exchange function
through
Bluetooth®.
If this function is not supported by the
phone, the corresponding "Text" button
is deactivated (greyed out).
When a text message is received, the
display will show a screen where the
options "Read", "Show", "Call" or
"Ignore" can be selected.
Press the "Text" graphic button to
access the list of text messages
received by the mobile phone (the list
displays a maximum of 60 messages
received).
DO NOT DISTURB FUNCTION
By pressing the "Do not disturb"
graphic button the user will not receivenotifications in case of incoming calls or
text messages. The user can reply with
a default or customised message by
means of the settings.
Uconnect™LIVE
SERVICES
Press theUconnect™button to
access theUconnect™ LIVE
applications.
The services available depend on the
car configuration and the market.
To use theUconnect™LIVEservices,
you need to download theUconnect™
LIVEapp from Google Play or Apple
Store and register using the app or on
www.DriveUconnect.eu.
First access to the vehicle
Once you have launched the
Uconnect™ LIVEApp and entered
your details, to access theUconnect™
LIVEservices in your vehicle you have
to pair the
Bluetooth®with your
smartphone and the radio, as
described in the "Pairing a mobile
phone" chapter.
When pairing is complete, the
connected services can be accessed
by pressing theUconnect™ LIVEicon
on the radio.
Before you can use the connected
services, complete the activation
procedure by following the instructions
that appear in theUconnect™LIVEapp after having done the
Bluetooth®
pairing.
Settings of the Uconnect™LIVE
services that can be managed
through the radio
In theUconnect™ LIVEradio menu
the "Settings" section can be accessed
by pressing the
icon. In this section
the user can check the system options
and change them according to their
preferences.
System updates
If an update for theUconnect™LIVE
system is available while the
Uconnect™LIVEservices are being
used, the user will be informed with a
message on the radio screen.
Connected services that can be
accessed on the vehicle
Theeco:Drive™andmy:Carapps are
developed to improve the customer's
driving experience, therefore they are
available in all markets where the
Uconnect™LIVEservices can be
accessed.
If the navigation system is installed in
the radio, accessing the
Uconnect™LIVEservices enables use
of the "Live" services.
eco:Drive™
Theeco:Drive™application allows you
to display your driving behaviour in real
221
Page 228 of 240
WARNING
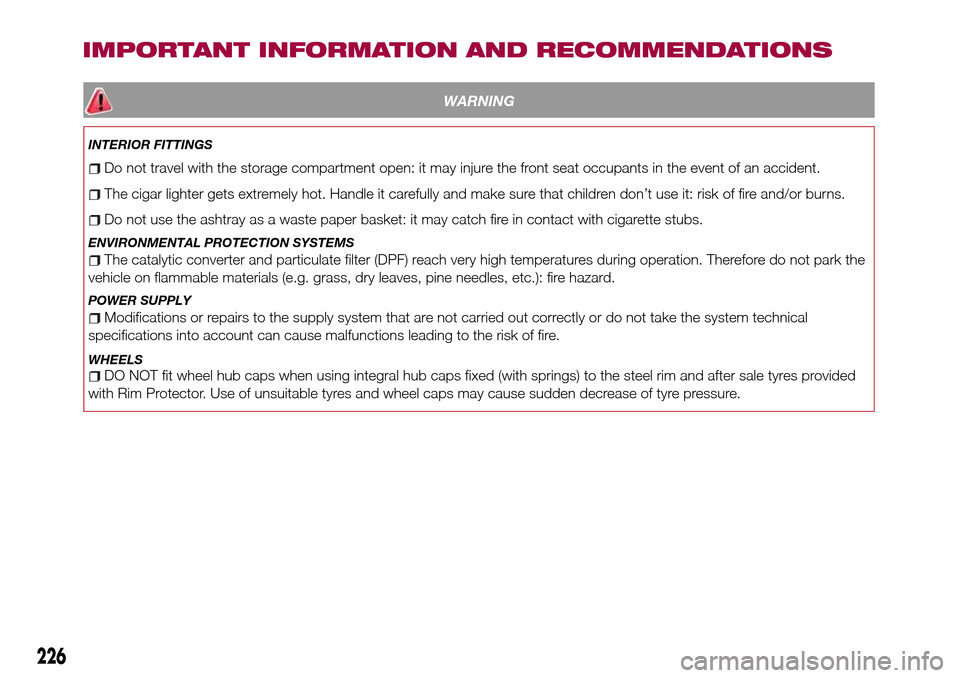
INTERIOR FITTINGS
Do not travel with the storage compartment open: it may injure the front seat occupants in the event of an accident.
The cigar lighter gets extremely hot. Handle it carefully and make sure that children don’t use it: risk of fire and/or burns.
Do not use the ashtray as a waste paper basket: it may catch fire in contact with cigarette stubs.
ENVIRONMENTAL PROTECTION SYSTEMS
The catalytic converter and particulate filter (DPF) reach very high temperatures during operation. Therefore do not park the
vehicle on flammable materials (e.g. grass, dry leaves, pine needles, etc.): fire hazard.
POWER SUPPLY
Modifications or repairs to the supply system that are not carried out correctly or do not take the system technical
specifications into account can cause malfunctions leading to the risk of fire.
WHEELS
DO NOT fit wheel hub caps when using integral hub caps fixed (with springs) to the steel rim and after sale tyres provided
with Rim Protector. Use of unsuitable tyres and wheel caps may cause sudden decrease of tyre pressure.
226
IMPORTANT INFORMATION AND RECOMMENDATIONS
Page 235 of 240
INDEX
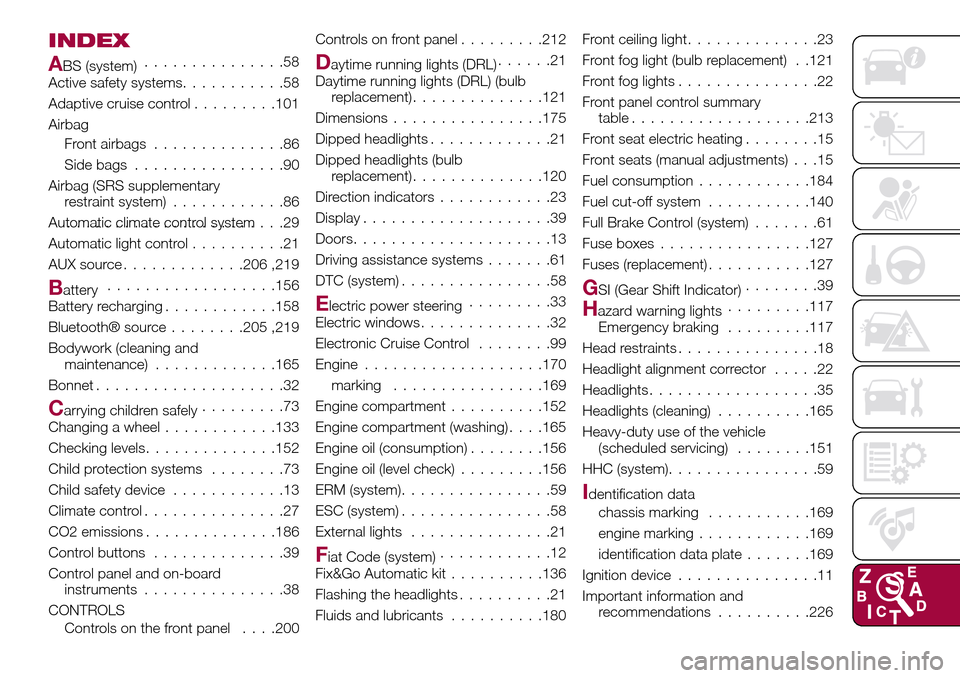
ABS (system)...............58
Active safety systems...........58
Adaptive cruise control.........101
Airbag
Front airbags..............86
Side bags................90
Airbag (SRS supplementary
restraint system)............86
Automatic climate control system.......................29
Automatic light control..........21
AUX source.............206 ,219
Battery..................156
Battery recharging............158
Bluetooth® source........205 ,219
Bodywork (cleaning and
maintenance).............165
Bonnet....................32
Carrying children safely.........73
Changing a wheel............133
Checking levels..............152
Child protection systems........73
Child safety device............13
Climate control...............27
CO2 emissions..............186
Control buttons..............39
Control panel and on-board
instruments...............38
CONTROLS
Controls on the front panel. . . .200Controls on front panel.........212
Daytime running lights (DRL)......21
Daytime running lights (DRL) (bulb
replacement)..............121
Dimensions................175
Dipped headlights.............21
Dipped headlights (bulb
replacement)..............120
Direction indicators............23
Display....................39
Doors.....................13
Driving assistance systems.......61
DTC (system)................58
Electric power steering.........33
Electric windows..............32
Electronic Cruise Control........99
Engine...................170
marking................169
Engine compartment..........152
Engine compartment (washing). . . .165
Engine oil (consumption)........156
Engine oil (level check).........156
ERM (system)................59
ESC (system)................58
External lights...............21
Fiat Code (system)............12
Fix&Go Automatic kit..........136
Flashing the headlights..........21
Fluids and lubricants..........180Front ceiling light..............23
Front fog light (bulb replacement) . .121
Front fog lights...............22
Front panel control summary
table...................213
Front seat electric heating........15
Front seats (manual adjustments) . . .15
Fuel consumption............184
Fuel cut-off system...........140
Full Brake Control (system).......61
Fuse boxes................127
Fuses (replacement)...........127
GSI (Gear Shift Indicator)........39
Hazard warning lights.........117
Emergency braking.........117
Head restraints...............18
Headlight alignment corrector.....22
Headlights..................35
Headlights (cleaning)..........165
Heavy-duty use of the vehicle
(scheduled servicing)........151
HHC (system)................59
Identification data
chassis marking...........169
engine marking............169
identification data plate.......169
Ignition device...............11
Important information and
recommendations..........226