2016 FIAT TIPO 5DOORS STATION WAGON ECO mode
[x] Cancel search: ECO modePage 207 of 240

SWITCHING THE SYSTEM
ON/OFF
The system is switched on/off by
pressing the
button/knob.
Turn the button/knob clockwise to
increase the radio volume or
anticlockwise to decrease it. The
electronic volume adjustment control
rotates continuously (360°) in both
directions, without stop positions.
RADIO MODE
To activate Radio mode press the
RADIO button on the front panel and
the following information will appear on
the display:
At the top: the list of radio stations
stored (preset) is displayed; the station
being listened to is highlighted.
In the middle: display of the name of
the current radio station and the
buttons for selecting the previous or
next radio station.
At the bottom: display of the following
buttons:
"Browse": list of the radio stations
available;
"AM/FM", "AM/DAB", "FM/DAB":
selection of the desired frequency band
(button reconfigurable according to the
band selected: AM, FM or DAB);
"Tune" : manual radio station tuning
(not available for DAB radios);
"Info": additional information on the
source being listened to;
"Audio": access to the "Audio
setting" screen.
Audio menu
To access the "Audio" menu press the
Audio" button
on the front panel or
the "Audio" graphic button located at
the bottom of the display.
The following adjustments can be
carried out using the "Audio" menu:
"Equalizer" (for versions/markets,
where provided);
"Balance/Fader" (left/right and
front/rear audio balance adjustment);
"Speed/Volume" (speed-dependent
automatic volume control);
"Loudness" (for versions/markets,
where provided);
"Auto-On Radio";
To exit the "Audio" menu, press the
/Done button.
MEDIA MODE
Press the "Source" button to select the
desired audio source among those
available: AUX, USB, iPod and
Bluetooth®.
Applications used on portable devices
may be not compatible with the
Uconnect™system.Track selection (Browse)
Use this function to scroll through and
select the tracks on the active device.
The choices available depend on the
device connected.
For example, on a USB/iPod device you
can also scroll through the list of artists,
genres and albums available on the
device depending on the information
present on the tracks using the
BROWSE ENTER button/knob.
Within each list, the "ABC" button
allows the user to skip to the desired
letter in the list.
NOTE This button might be disabled for
some
Apple®devices.
NOTE The BROWSE ENTER button
does not allow any operation on an
AUX device.
Press the BROWSE ENTER button to
activate this function on the source
being played.
Turn the BROWSE ENTER button/knob
to select the desired category and then
press the button/knob to confirm the
selection.
Press the
button on the front panel
to cancel the function.
Bluetooth® SOURCE
This mode is activated by pairing a
Bluetooth®device containing music
tracks with the system.
205
Page 218 of 240

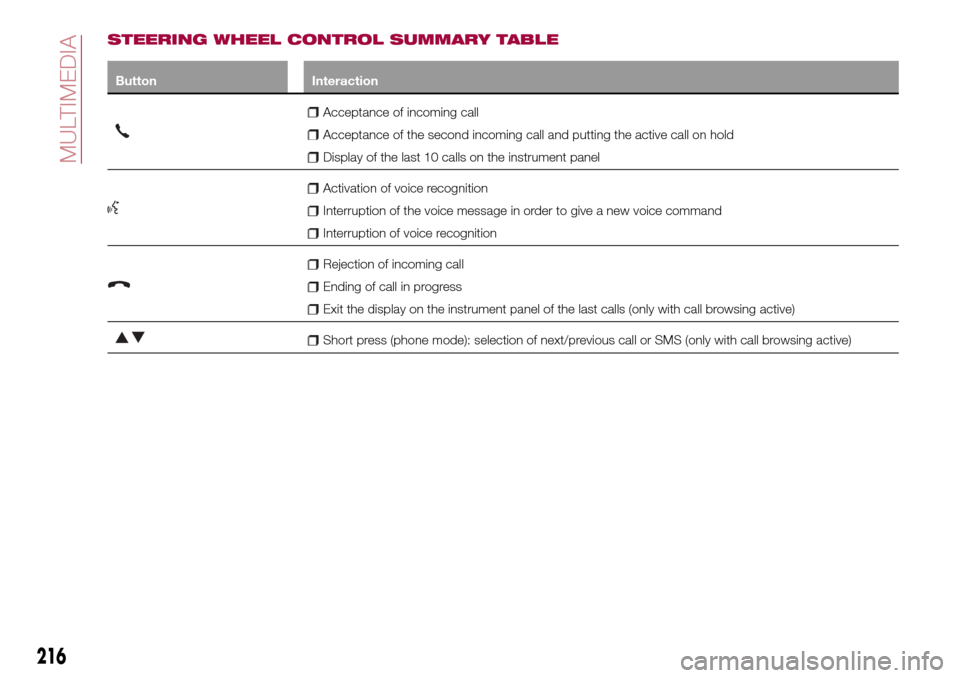
STEERING WHEEL CONTROL SUMMARY TABLE
Button Interaction
Acceptance of incoming call
Acceptance of the second incoming call and putting the active call on hold
Display of the last 10 calls on the instrument panel
Activation of voice recognition
Interruption of the voice message in order to give a new voice command
Interruption of voice recognition
Rejection of incoming call
Ending of call in progress
Exit the display on the instrument panel of the last calls (only with call browsing active)
Short press (phone mode): selection of next/previous call or SMS (only with call browsing active)
216
MULTIMEDIA
Page 220 of 240

SWITCHING THE SYSTEM
ON/OFF
The system is switched on/off by
pressing the
button/knob.
Turn the button/knob clockwise to
increase the radio volume or
anticlockwise to decrease it. The
electronic volume adjustment control
rotates continuously (360°) in both
directions, without stop positions.
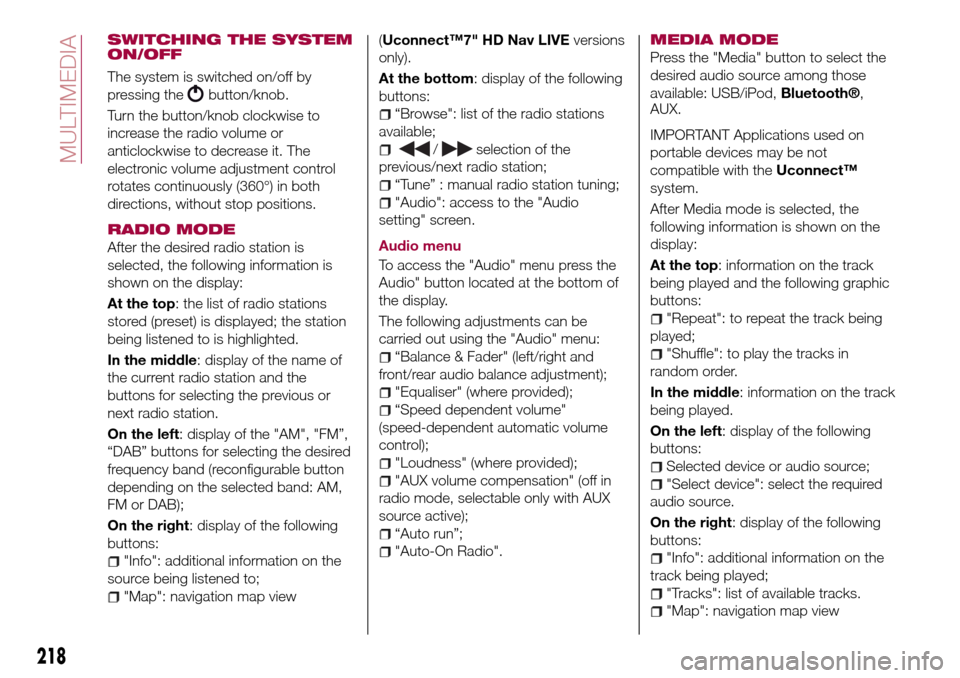
RADIO MODE
After the desired radio station is
selected, the following information is
shown on the display:
At the top: the list of radio stations
stored (preset) is displayed; the station
being listened to is highlighted.
In the middle: display of the name of
the current radio station and the
buttons for selecting the previous or
next radio station.
On the left: display of the "AM", "FM”,
“DAB” buttons for selecting the desired
frequency band (reconfigurable button
depending on the selected band: AM,
FM or DAB);
On the right: display of the following
buttons:
"Info": additional information on the
source being listened to;
"Map": navigation map view(Uconnect™7" HD Nav LIVEversions
only).
At the bottom: display of the following
buttons:
“Browse": list of the radio stations
available;
/selection of the
previous/next radio station;
“Tune” : manual radio station tuning;
"Audio": access to the "Audio
setting" screen.
Audio menu
To access the "Audio" menu press the
Audio" button located at the bottom of
the display.
The following adjustments can be
carried out using the "Audio" menu:
“Balance & Fader" (left/right and
front/rear audio balance adjustment);
"Equaliser" (where provided);
“Speed dependent volume"
(speed-dependent automatic volume
control);
"Loudness" (where provided);
"AUX volume compensation" (off in
radio mode, selectable only with AUX
source active);
“Auto run”;
"Auto-On Radio".
MEDIA MODE
Press the "Media" button to select the
desired audio source among those
available: USB/iPod,
Bluetooth®,
AUX.
IMPORTANT Applications used on
portable devices may be not
compatible with theUconnect™
system.
After Media mode is selected, the
following information is shown on the
display:
At the top: information on the track
being played and the following graphic
buttons:
"Repeat": to repeat the track being
played;
"Shuffle": to play the tracks in
random order.
In the middle: information on the track
being played.
On the left: display of the following
buttons:
Selected device or audio source;
"Select device": select the required
audio source.
On the right: display of the following
buttons:
"Info": additional information on the
track being played;
"Tracks": list of available tracks.
"Map": navigation map view
218
MULTIMEDIA
Page 222 of 240

IMPORTANT NOTES
The functions of the device connected
with the AUX socket are directly
managed by the device itself: it is not
possible to change track/folder/playlist
or control playing start/end/pause with
the controls on the front panel or on the
steering wheel.
Do not leave the cable of your portable
player connected to the AUX socket
after disconnection, to avoid possible
hiss from the speakers.
PHONE MODE
PHONE MODE ACTIVATION
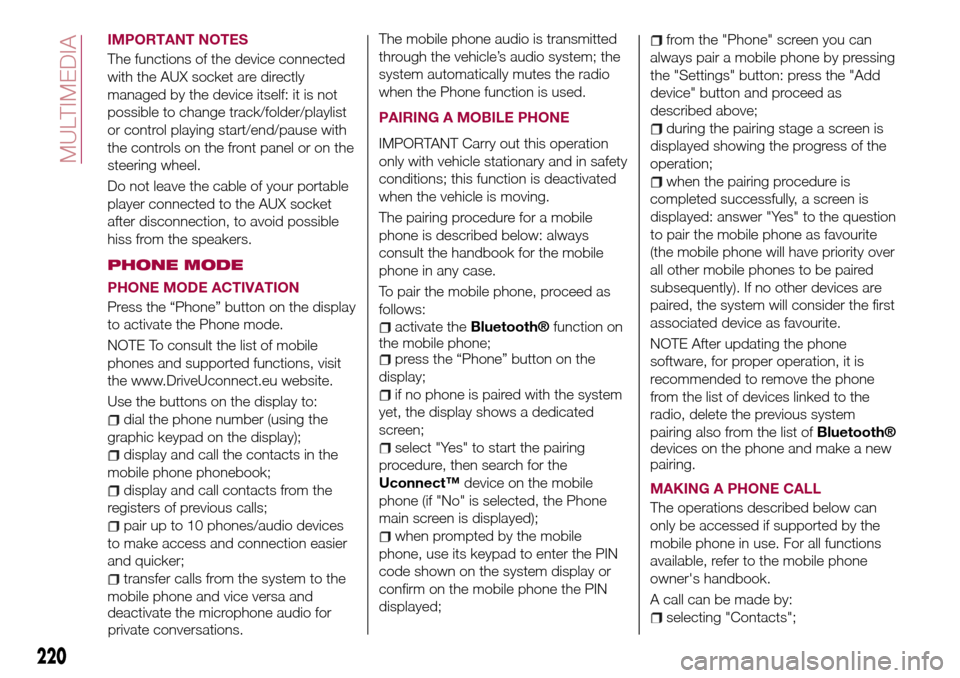
Press the “Phone” button on the display
to activate the Phone mode.
NOTE To consult the list of mobile
phones and supported functions, visit
the www.DriveUconnect.eu website.
Use the buttons on the display to:
dial the phone number (using the
graphic keypad on the display);
display and call the contacts in the
mobile phone phonebook;
display and call contacts from the
registers of previous calls;
pair up to 10 phones/audio devices
to make access and connection easier
and quicker;
transfer calls from the system to the
mobile phone and vice versa and
deactivate the microphone audio for
private conversations.The mobile phone audio is transmitted
through the vehicle’s audio system; the
system automatically mutes the radio
when the Phone function is used.
PAIRING A MOBILE PHONE
IMPORTANT Carry out this operation
only with vehicle stationary and in safety
conditions; this function is deactivated
when the vehicle is moving.
The pairing procedure for a mobile
phone is described below: always
consult the handbook for the mobile
phone in any case.
To pair the mobile phone, proceed as
follows:
activate theBluetooth®function on
the mobile phone;
press the “Phone” button on the
display;
if no phone is paired with the system
yet, the display shows a dedicated
screen;
select "Yes" to start the pairing
procedure, then search for the
Uconnect™device on the mobile
phone (if "No" is selected, the Phone
main screen is displayed);
when prompted by the mobile
phone, use its keypad to enter the PIN
code shown on the system display or
confirm on the mobile phone the PIN
displayed;
from the "Phone" screen you can
always pair a mobile phone by pressing
the "Settings" button: press the "Add
device" button and proceed as
described above;
during the pairing stage a screen is
displayed showing the progress of the
operation;
when the pairing procedure is
completed successfully, a screen is
displayed: answer "Yes" to the question
to pair the mobile phone as favourite
(the mobile phone will have priority over
all other mobile phones to be paired
subsequently). If no other devices are
paired, the system will consider the first
associated device as favourite.
NOTE After updating the phone
software, for proper operation, it is
recommended to remove the phone
from the list of devices linked to the
radio, delete the previous system
pairing also from the list of
Bluetooth®
devices on the phone and make a new
pairing.
MAKING A PHONE CALL
The operations described below can
only be accessed if supported by the
mobile phone in use. For all functions
available, refer to the mobile phone
owner's handbook.
A call can be made by:
selecting "Contacts";
220
MULTIMEDIA
Page 236 of 240

Interior lights................23
Interiors (cleaning)............166
ISOFIX child restraint system
(installation)...............77
iTPMS (indirect Tyre Pressure
Monitoring System)..........65
Jump starting..............139
Keys.....................10
key with remote control.......10
Lifting the vehicle............164
Light beam direction...........35
Light bulbs
types of bulbs............118
Luggage Compartment.........34
Luggage compartment
(extension)................16
Main beam headlights..........21
Main Beam Headlights (bulb
replacement)..............120
Main menu.................40
Manual climate control..........27
Media mode...............218
Multimedia
Uconnect™ LIVE Services .207 ,221
Number plate lights (bulb
replacement)..............126
Occupant protection systems.....68
Paintwork (cleaning and
maintenance).............165
Parking lights................21Parking sensors.............108
Parking the vehicle............95
PBA (system)................59
Performance (top speed)........183
Periodic checks (scheduled
servicing)................151
Pre-tensioners...............71
Load limiters..............72
Prescriptions for handling the
vehicle at the end of its life.....187
Radio mode...............218
Rain sensor.................25
Rear seats..................16
Rear view camera............110
Rear View Camera............110
Rear view mirrors.............19
Reconfigurable Multifunction
Display..................38
Refuelling.................178
Refuelling procedure..........114
Emergency refuelling........114
Refuelling the vehicle..........113
Replacing a bulb.............117
Replacing an external bulb......120
Rims and tyres (dimensions)......173
Roof rack/ski rack.............36
SBR (Seat Belt Reminder).......70
SBR (Seat Belt Reminder) system.......................70
Scheduled servicing...........144Scheduled Servicing Plan.......145
Screen wiper/washer...........24
Smart washing function.......24
Seat belts..................68
Seats.....................15
Servicing procedures..........159
Side bag...................90
Side direction indicators (bulb
replacement)..............121
Snow chains...............164
Speed Limiter...............98
SRS (supplementary restraint
system)..................86
Starting the engine............94
Steering lock................12
Steering wheel...............19
Steering wheel controls.........215
Stop/Start system.............96
TC (system)................59
Technical data..............169
Third brake light (bulb
replacement)..............125
Towing the vehicle............142
Towing trailers..............112
Trip Computer...............43
TSC (system)................60
Tyres (inflation pressure)........174
Uconnect 3” Radio...........191
Uconnect 5” LIVE — Uconnect 5”
Nav LIVE................200
INDEX