2016 FIAT DOBLO PANORAMA radio
[x] Cancel search: radioPage 9 of 323

VEHICLE MODIFICATIONS / ALTERATIONS
IMPORTANT
Any change or alteration of the vehicle might seriously affect its safety and road holding, thus causing accidents, in which the
occupants could even be fatally injured.
ACCESSORIES PURCHASED BY THE OWNER
If after buying the vehicle, you decide to install electrical accessories that require a permanent electrical supply (e.g. radio,
satellite anti-theft system, etc.) or accessories that in any case burden the electrical supply, contact a Fiat Dealership, whose
personnel will check whether the vehicles's electrical system is able to withstand the load required, or whether it needs to
be integrated with a more powerful battery.
IMPORTANT Take care when fitting additional spoilers, alloy wheels or non-standard wheel hubs: they could reduce the
ventilation of the brakes and affect efficiency under sharp, repeated braking or on long descents. Make sure that nothing
obstructs the pedal stroke (mats, etc.).
INSTALLING ELECTRICAL/ELECTRONIC DEVICES
Electrical and electronic devices installed after buying the vehicle and available as after-sales must carry the following label
.
Fiat authorises the installation of transceivers provided that installation is carried out at a specialised centre, in a workmanlike
fashion and in compliance with manufacturer's specifications.
IMPORTANT Traffic authorities may not allow the vehicle on the road if devices are fitted that involve modifications to the
features of the vehicle. This may also cause lapse of the warranty in relation to faults caused by the change or either directly or
indirectly related to it.
Fiat shall not be liable for damage caused by the installation of accessories either not supplied or recommended by Fiat and/or
not installed in compliance with the provided instructions.
RADIO TRANSMITTERS AND MOBILE PHONES
Radio transmitters (car phones, CB radios etc.) cannot be used inside the vehicle unless a separate aerial is mounted
externally.
Transmission and reception of these devices may be affected by the shielding effect of the vehicle body. As far as the use of
EC-approved mobile phones is concerned (GSM, GPRS, UMTS, LTE), follow the usage instructions provided by the mobile
phone Manufacturer.
Page 15 of 323

.
AIR VENTS
❒Diffusers ............................................. 42
LEFT STALK
❒External lights ..................................... 34
INSTRUMENT PANEL
❒Control panel and on-board
instruments ......................................... 72
❒Warning lights ..................................... 88
RIGHT STALK
❒Window cleaning ................................ 39
CAR RADIO
❒System ............................................... 67
PASSENGER SIDE FRONT AIRBAG
❒Front airbag ........................................122
GLOVE COMPARTMENT
❒Interior fittings ..................................... 62
DASHBOARD CONTROLS
❒Operation ........................................... 56
HEATER/CLIMATE CONTROL
SYSTEM
❒Heating and ventilation ........................ 43❒Manual climate control system ............ 45
❒Automatic climate control .................... 49
GEAR LEVER
❒Operation ...........................................133
STEERING WHEEL
❒Adjustment ......................................... 32
❒Driver's side front airbag .....................122
3F0V0538
11
Page 17 of 323

KNOW YOUR VEHICLE
In-depth knowledge of your new vehicle
starts here.
The booklet that you are reading simply
and directly explains how it is made
and how it works.
That’s why we advise you to read it
seated comfortably on board, so that
you can see what is described here for
yourself.THE KEYS....................................... 14
IGNITION DEVICE ........................... 16
SYMBOLS ...................................... 17
THE FIAT CODE SYSTEM ............... 18
DOORS ........................................... 19
SEATS ............................................ 23
PARTITIONS ................................... 28
HEAD RESTRAINTS ........................ 30
STEERING WHEEL ......................... 32
REAR VIEW MIRRORS .................... 32
EXTERIOR LIGHTS ......................... 34
INTERIOR LIGHTS .......................... 36
WINDSCREEN/REAR WINDOW
WIPER ............................................ 39
HEATING AND VENTILATION
SYSTEM ......................................... 41
DIFFUSERS..................................... 42
HEATING AND VENTILATION.......... 43
MANUAL CLIMATE CONTROL
SYSTEM ......................................... 45
AUTOMATIC CLIMATE CONTROL
SYSTEM ......................................... 49
ELECTRIC WINDOWS .................... 55
CONTROLS .................................... 56
BONNET ......................................... 57
BOOT ............................................. 58
INTERIOR FITTINGS ....................... 62
ROOF RACK/SKI RACK .................. 66HEADLIGHTS.................................. 66
RADIO............................................. 67
PROTECTING THE
ENVIRONMENT .............................. 68
13
Page 71 of 323

Position 2 - five people + load in the
luggage compartment.
Position 3 - driver + maximum
permitted load stowed in the luggage
compartment.
IMPORTANT Check the light beam
alignment every time the load
transported changes.
FOG LIGHTS ALIGNMENT
(for versions/markets, where provided)
Contact a Fiat Dealership to have the
headlights checked and adjusted.ADJUSTING THE
HEADLIGHTS ABROAD
The dipped beam headlights are
aligned for operation in the country
where the vehicle was originally
purchased. In countries where vehicles
are driven on the other side of the
road, the beams are aligned by
applying a specially designed adhesive
film in order not to dazzle the vehicles
travelling in the opposite direction.
Such film is provided by Lineaccessori
Fiat and is available at Fiat Dealerships.RADIO
(for versions/markets, where provided)
For the operation of the radio with
CD/MP3 player (for versions/markets
where provided), read the Supplement
attached to this Owner's Handbook.
WIRING FOR
LIGHTWEIGHT SYSTEM
The system consists of:
❒radio supply leads;
❒front speaker cables (on door mirrors
trims);
❒front door panel speaker cables;
❒rear speaker cables (on the side of
the parcel shelf) (for versions/
markets, where provided);
❒radio housing;
❒aerial lead:
❒aerial.
WIRING FOR
HEAVYWEIGHT SYSTEM
The system consists of:
❒radio supply leads;
❒rear speaker cables (on the side of
the parcel shelf) (for versions/
markets, where provided);
❒no. 2 tweeters on door mirror trims;
113F0V0506
67
Page 72 of 323

❒no. 2 midwoofers on front door lower
part;
❒no. 2 rear speakers (on the side of
the parcel shelf) (for versions/
markets, where provided);
❒radio housing;
❒aerial lead:
❒aerial.
SOUND SYSTEM
INSTALLATION
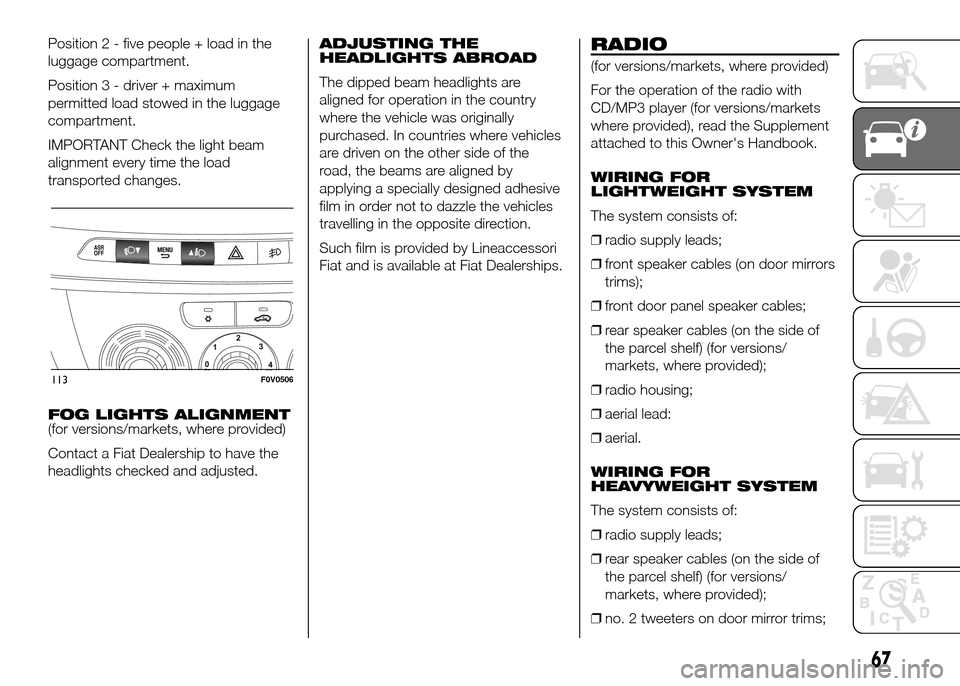
The sound system must be installed in
the space occupied by the centre glove
compartment where you will find the
wiring. Press tabs A to remove the
compartment fig. 114.
46)
WARNING
46) For connection to the existing
devices supplied in the vehicle
contact a Fiat Dealership to
prevent any problems that could
impair vehicle safety.
PROTECTING THE
ENVIRONMENT
The following devices are used for
reducing petrol fuel engine emissions:
❒three-way catalytic converter
(catalytic converter);
❒oxygen sensors;
❒evaporation control system.
In addition, do not let the engine run,
even for a test, with one or more spark
plugs disconnected.
The following devices are used for
reducing diesel fuel engine emissions:
❒oxidising catalytic converter;
❒exhaust gas recirculation system
(EGR);
❒particulate filter (DPF) (for versions/
markets, where provided).
DIESEL PARTICULATE
FILTER (DPF)
(for versions/markets, where provided)
The Diesel Particulate Filter is a
mechanical filter, integral with the
exhaust system, that physically traps
carbon particles present in the exhaust
gases of diesel engines.
114F0V0508
68
KNOW YOUR VEHICLE
Page 83 of 323

Adjusting the vehicle
interior lighting
– on the standard screen, they adjust
the brightness of the instrument panel
and the sound system.
Set-up menu
– within the menu, they allow you to
scroll up and down through the
options;
– during setting operations they
increase or decrease the value.
– within the menu, they allow you to
scroll up and down through the
options;
– during setting operations they
increase or decrease the value.SET-UP MENU
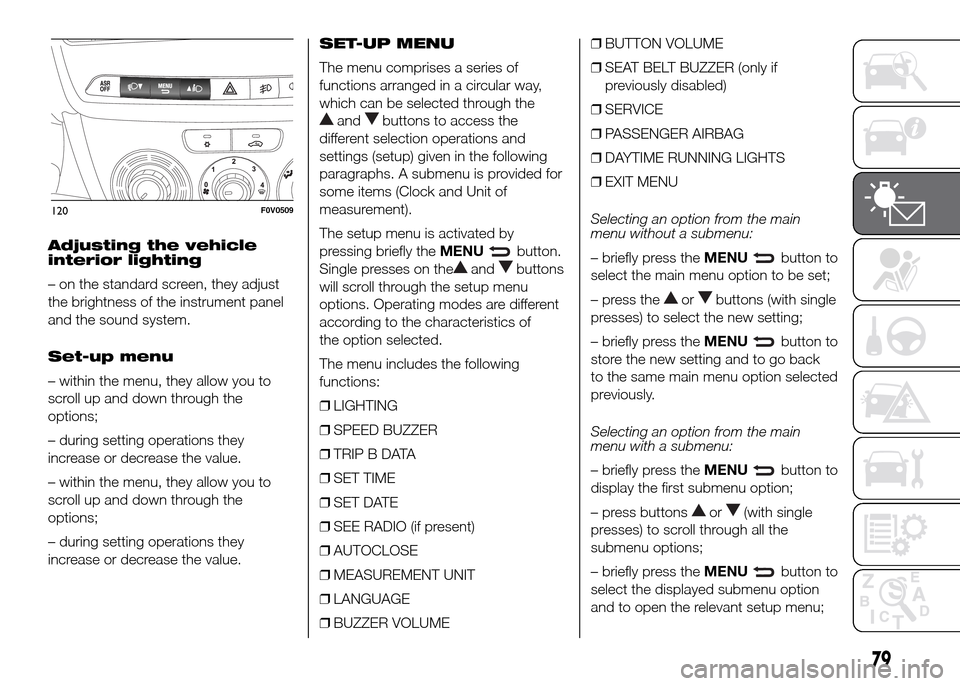
The menu comprises a series of
functions arranged in a circular way,
which can be selected through the
andbuttons to access the
different selection operations and
settings (setup) given in the following
paragraphs. A submenu is provided for
some items (Clock and Unit of
measurement).
The setup menu is activated by
pressing briefly theMENU
button.
Single presses on the
andbuttons
will scroll through the setup menu
options. Operating modes are different
according to the characteristics of
the option selected.
The menu includes the following
functions:
❒LIGHTING
❒SPEED BUZZER
❒TRIP B DATA
❒SET TIME
❒SET DATE
❒SEE RADIO (if present)
❒AUTOCLOSE
❒MEASUREMENT UNIT
❒LANGUAGE
❒BUZZER VOLUME❒BUTTON VOLUME
❒SEAT BELT BUZZER (only if
previously disabled)
❒SERVICE
❒PASSENGER AIRBAG
❒DAYTIME RUNNING LIGHTS
❒EXIT MENU
Selecting an option from the main
menu without a submenu:
– briefly press theMENUbutton to
select the main menu option to be set;
– press the
orbuttons (with single
presses) to select the new setting;
– briefly press theMENU
button to
store the new setting and to go back
to the same main menu option selected
previously.
Selecting an option from the main
menu with a submenu:
– briefly press theMENU
button to
display the first submenu option;
– press buttons
or(with single
presses) to scroll through all the
submenu options;
– briefly press theMENU
button to
select the displayed submenu option
and to open the relevant setup menu;
120F0V0509
79
Page 85 of 323

– press theMENUbutton briefly to
return to the menu screen or hold the
button down to return to the standard
screen without storing.
Set Time (Setting the
clock)
This function enables the clock to be
set through two submenus: "Time" and
"Format".
To carry out the adjustment, proceed as
follows:
– briefly pressMENU
; the display
will show the two sub-menus “Time”
and “Mode”;
– press the
orbutton to switch
between the two submenus;
– select the required option and then
pressMENU
briefly;
– if selecting the “Time” submenu,
briefly pressMENU
, the “hours”
will flash on the display;
– press the
orbutton to make the
adjustment;
– briefly press theMENU
button;
the “minutes” will flash on the display;
– press the
orbutton for setting.NOTE The setting will increase or
decrease by one unit each time the
orbutton is pressed. Hold down
the button to increase/decrease the
setting rapidly and automatically.
Complete the adjustment with single
presses of the button when you
approach the desired value.
– when you select “Mode”, pressing the
MENU
button makes the mode
flash on the display;
– press the
orbutton to select
"24h" or "12h".
When you have made the required
settings, press theMENU
button
briefly to go back to the submenu
screen or hold the button down to go
back to the main menu screen without
saving.
– hold theMENU
button down
again to return to the standard screen
or to the main menu according to
where you are in the menu.
Set Date (Setting the
date)
Using this function you can update the
date (day - month - year).
Proceed as follows to update:
– briefly press theMENU
button:
“year” will flash on the display;– press the
orbutton to make the
adjustment;
– briefly press theMENU
button:
"month" will flash on the display;
– press the
orbutton to make the
adjustment;
– briefly press theMENU
button:
“day” will flash on the display;
– press the
orbutton for setting.
NOTE The setting will increase or
decrease by one unit each time the
orbutton is pressed. Hold down
the button to increase/decrease the
setting rapidly and automatically.
Complete the adjustment with single
presses of the button when you
approach the desired value.
– press theMENU
button briefly to
return to the menu screen or hold the
button down to return to the standard
screen without storing.
See radio (audio
information repetition)
(for versions/markets, where provided)
With this function the display shows
information about the radio.
– Radio: selected radio station
frequency or RDS message, automatic
tuning activation or AutoSTore;
– Audio CD, MP3 CDs: track number;
81
Page 143 of 323

The TPMS continues to advise the
driver of the low tyre pressure condition
until this is corrected; the warning
continues until the pressure
corresponds or exceeds the pressure
prescribed for the cold tyres. When the
tyre low pressure control warning
light
switches on constantly, the
inflation pressure must be adjusted until
it reaches the pressure prescribed for
cold tyres. After the automatic update
of the system, the tyre pressure control
warning light switches off. You may
need to drive the vehicle for about 20
minutes at a speed higher than 20
km/h to allow the TPMS to receive this
information.
IMPORTANT In the case of deflation of
more than one tyre sequentially, without
switching off and on the engine, from
the second tyre involved the acoustic
signal is not activated, only the
dedicated signal is shown on the
display.
To prevent the signal from being stored
in the event of pressure loss of a
subsequent tyre (with deactivation of
the acoustic signal), the ignition key
must be turned to MAR and then to
STOP, each time pressure is restored.TPMS operation faults
The system fault is indicated by
warning light
which first flashes for
75 seconds and then stays on steadily.
This can occur in any of the following
situations:
❒interference caused by electronic
devices or radio frequency emissions
similar to those of the TPM sensors.
❒Application of tinted films which
interfere with the signals of the radio
waves.
❒Presence of snow or ice on the
wheels or the wheel arches.
❒Use of snow chains.
❒Use of wheels/tyres not equipped
with TPM sensors.
❒The space-saver wheel is not
equipped with the tyre pressure
control sensor. Therefore, the tyre
pressure is not controlled by the
system.
NOTE The vehicle may be equipped
with FiX&Go Automatic tyre repair
kit, space-saver wheel or full size spare
wheel (with or without original TPMS
sensor to measure tyre pressure).After the punctured tyre has been
repaired with the original tyre sealant
contained in the FiX&Go Automatic tyre
repair kit, the previous condition must
be restored, so that the
warning
light is off during normal driving.
Space-saver wheel (for versions/
markets, where provided): the
space-saver wheel is not equipped with
a TPMS sensor. Once fitted, while
driving normally, the warning light
comes on (flashing for about 75
seconds, and then constantly). This
condition lasts until a wheel equipped
with an original TPMS sensor is fitted
on the vehicle.
Normal spare wheel (without TPMS
sensor): once fitted, while driving
normally, the
warning light comes on
(flashing for about 75 seconds, and
then constantly). This condition lasts
until a wheel equipped with an original
TPMS sensor is fitted on the vehicle.
The system is then restored and the
warning light switches off.
Normal spare wheel (with TPMS
sensor): once fitted, while driving
normally, the
warning light switches
off.
139