Page 162 of 476
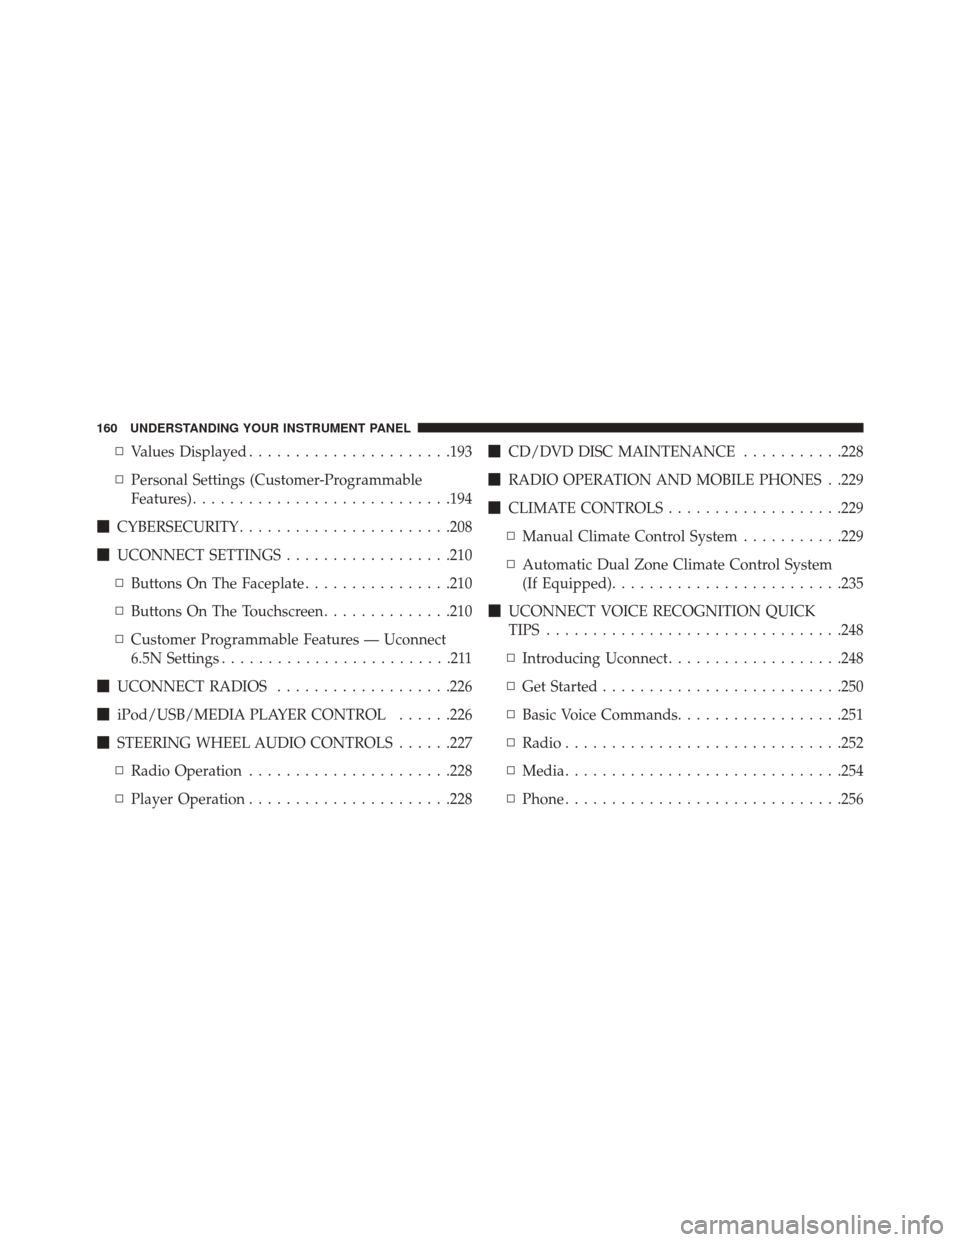
▫Values Displayed ..................... .193
▫ Personal Settings (Customer-Programmable
Features) ........................... .194
� CYBERSECURITY ...................... .208
� UCONNECT SETTINGS ..................210
▫ Buttons On The Faceplate ................210
▫ Buttons On The Touchscreen ..............210
▫ Customer Programmable Features — Uconnect
6.5N Settings .........................211
� UCONNECT RADIOS ...................226
� iPod/USB/MEDIA PLAYER CONTROL ......226
� STEERING WHEEL AUDIO CONTROLS ......227
▫ Radio Operation ..................... .228
▫ Player Operation ..................... .228�
CD/DVD DISC MAINTENANCE ...........228
� RADIO OPERATION AND MOBILE PHONES . .229
� CLIMATE CONTROLS ...................229
▫ Manual Climate Control System ...........229
▫ Automatic Dual Zone Climate Control System
(If Equipped) ........................ .235
� UCONNECT VOICE RECOGNITION QUICK
TIPS ............................... .248
▫ Introducing Uconnect ...................248
▫ Get Started ......................... .250
▫ Basic Voice Commands ..................251
▫ Radio ............................. .252
▫ Media ............................. .254
▫ Phone ............................. .256
160 UNDERSTANDING YOUR INSTRUMENT PANEL
Page 189 of 476

EVIC Screen
The EVIC will display the following:
•Time
• Date or trip distance display in miles or kilometers
• Outside temperature
• Gear Indicator
• Odometer (display of distance travelled in miles/
kilometers)
• Car status indication (e.g. doors open, possible ice on
road, service, etc.)
EVIC Control Buttons
The EVIC control buttons are located on the instrument
panel below the radio.
Push and release the MENUbutton briefly to access the
menu and/or go to next screen or to confirm the required menu option. Push and hold the
MENUbutton (approxi-
mately one second) to return to the main screen.
Push and release the UP
button to scroll upward
through the displayed menu and the related options
or to increase the displayed value.
Push and release the DOWNbutton to scroll down-
ward through the displayed menu and the related
options or to decrease the value displayed.
NOTE: UPand DOWNbuttons activate differ-
ent functions according to the following situations:
• To scroll the menu options upwards or downwards.
• To increase or decrease values during settings.
NOTE: When opening one of the front doors, the EVIC
display will turn on the clock, the external temperature
and the miles or kilometers covered (for versions/
markets, where provided) for a few seconds.
4
UNDERSTANDING YOUR INSTRUMENT PANEL 187
Page 190 of 476
Electronic Vehicle Information Center (EVIC)
Setup Menu
The menu comprises a series of functions arranged in a
cycle. The menu includes the following functions:
NOTE:Some of the Menu Items could be managed by
Uconnect (if equipped). In that case, some of these are not
present in EVIC but in Uconnect.
• Dimmer
• Headlight Adj
• Speed Buzzer
• Headlamp Sensor
• Cornering Lights
• Rain Sensor
• Trip B Data •
Set Time
• Set Date
• First Page
• See Radio
• Autoclose
• Units
• Language
• Buzzer Volume
• Seat Belt Buzzer
• Service
• Passenger Airbag
• Day Lights
• Hill Start
188 UNDERSTANDING YOUR INSTRUMENT PANEL
Page 202 of 476
•Briefly push the MENUbutton to go back to the menu
screen or hold the button down to go back to the
standard screen without saving.
When the key is turned to MAR/ON and the initial check
stage is over, the display will show the information
selected via the �First Page�menu function.
Audio Repetition (Repeat Audio Information)
With this function active, the EVIC display shows infor-
mation relevant to the sound system.
•Radio: tuned radio station frequency, automatic tuning
activation or AutoStore.
• CD audio, CD MP3: track number. To activate (On) or to deactivate (Off) the sound system
info displaying, proceed as follows:
1. Briefly push and release the
MENUbutton. Push and
release the UP
or Downbutton to highlight
See Radio and push and release the MENUbutton.
2. Push and release the UPor DOWNbutton for
setting.
3. Briefly push and release the MENUbutton to go back
to the menu screen, or push and hold the MENU
button (approximately one second) to go back to the
main screen without storing the settings.
If the radio has Uconnect, refer to the appropriate
“Uconnect Radio Supplement” for further information.
200 UNDERSTANDING YOUR INSTRUMENT PANEL
Page 214 of 476
NOTE:When Day or Night is selected for the Display
Mode, the usage of the Parade Mode feature will cause
the radio to activate the Display Brightness Day control
even though the headlights are on.
• Display Brightness With Headlights ON
This feature will allow you to select the brightness with
the headlights on. Adjust the brightness with the “+” and
“–” setting buttons on the touchscreen or by selecting any
point on the scale between the “+” and “–” buttons on the
touchscreen.
• Display Brightness With Headlights OFF
When in this display, you may select the brightness with
the headlights off. Adjust the brightness with the “+” and
“–” setting buttons on the touchscreen or by selecting any
point on the scale between the “+” and “–” buttons on the
touchscreen. •
Set Language
When in this display, you may select one of multiple
languages (English / Français / Español) for all display
nomenclature, including the trip functions and the navi-
gation system. Press the Set Language button on the
touchscreen, then press the desired language button on
the touchscreen.
• Touchscreen Beep
When in this display, you may turn on or shut off the
sound heard when a touchscreen button (button on the
touchscreen) is pressed. Press the “Touchscreen Beep”
button on the touchscreen. Press the “On” or “Off”
button on the touchscreen to turn the Touchscreen Beep
ON or OFF.
• Navigation Turn-By-Turn In Cluster
When this feature is selected, the turn-by-turn directions
will appear in the display as the vehicle approaches a
212 UNDERSTANDING YOUR INSTRUMENT PANEL
Page 217 of 476

•Sync Time With GPS
This feature will allow you to automatically have the
radio set the time. To change the Sync Time setting, press
the “Sync Time with Nav” button on the touchscreen.
Press the “On” or “Off” button on the touchscreen to turn
the Sync Time With GPS ON or OFF.
• Set Time Hours
This feature will allow you to adjust the hours. The “Sync
Time with Nav” button on the touchscreen must be
unchecked. To make your selection, press the “+” or “–”
buttons on the touchscreen to adjust the hours up or
down.
• Set Time Minutes
This feature will allow you to adjust the minutes. The
“Sync Time with Nav” button on the touchscreen must be unchecked. To make your selection, press the “+” or “–”
buttons on the touchscreen to adjust the minutes up or
down.
•
Time Format
This feature will allow you to select the time format
display setting. Press the “Time Format” button on the
touchscreen. Press the “12hrs” or “24hrs” button on the
touchscreen.
• Show Time In Status Bar — If Equipped
This feature will allow you to turn on or shut off the
digital clock in the status bar. To change the Show Time
Status setting press the “On” or “Off” button on the
touchscreen.
4
UNDERSTANDING YOUR INSTRUMENT PANEL 215
Page 224 of 476
Seats” button on the touchscreen, then select either “Off,”
“Remote Start” or “All Starts.” The button will highlight
indicating that the setting has been selected. Press the
back arrow button on the touchscreen to return to the
previous menu.
Engine Off Options
After pressing the “Engine Off Options” button on the
touchscreen the following settings will be available:
•Easy Exit Seats — If Equipped
When this feature is selected, the Driver ’s seat will
automatically move rearward once the engine is shut off.
To make your selection, press the “Easy Exit Seats”
button on the touchscreen, then choose “Yes” or “No.”
The button will highlight indicating that the setting has
been selected. •
Engine Off Power Delay
When this feature is selected, the power window
switches, radio, Uconnect Phone system (if equipped),
DVD video system (if equipped), power sunroof (if
equipped), and power outlets will remain active for up to
10 minutes after the ignition is cycled to OFF. Opening
either front door will cancel this feature. To change the
Engine Off Power Delay status, press the “+” or “–”
button on the touchscreen to select your desired time
interval.
• Headlight Off Delay
When this feature is selected, the driver can choose to
have the headlights remain on for 0, 30, 60, or 90 seconds
when exiting the vehicle. To change the Headlight Off
Delay status, press the “+” or “–” button on the touch-
screen to select your desired time interval.
222 UNDERSTANDING YOUR INSTRUMENT PANEL
Page 225 of 476
•Radio Off Delay
When this feature is selected, the radio will stay on for a
preset time after the ignition key is turned to STOP. To
change the Radio Off Delay status, press the “0 MIN” or
“20 MIN” button on the touchscreen to select your
desired time interval.
Audio
After pressing the “Audio” button on the touchscreen the
following settings will be available:
• Balance/Fade
When in this display you may adjust the Balance and
Fade settings. Press and drag the speaker icon, use the
arrows to adjust, or tap the speaker icon to readjust to the
center. •
Equalizer
When in this display you may adjust the Bass, Mid and
Treble settings. Adjust the settings with the “+” and “–”
buttons on the touchscreen or by selecting any point on
the scale between the “+” and “–” buttons on the
touchscreen.
NOTE: Bass/Mid/Treble allow you to simply slide your
finger up or down to change the setting as well as press
directly on the desired setting.
• Speed Adjusted Volume
This feature increases or decreases volume relative to
vehicle speed. To change the Speed Adjusted Volume
press the “Off,” “1,” “2” or ”3” button on the touchscreen.
• Surround Sound — If Equipped
This feature provides simulated surround sound mode.
To make your selection, press the “Surround Sound”
button on the touchscreen, select On or Off.
4
UNDERSTANDING YOUR INSTRUMENT PANEL 223
