2016 FIAT 500L air conditioning
[x] Cancel search: air conditioningPage 232 of 476
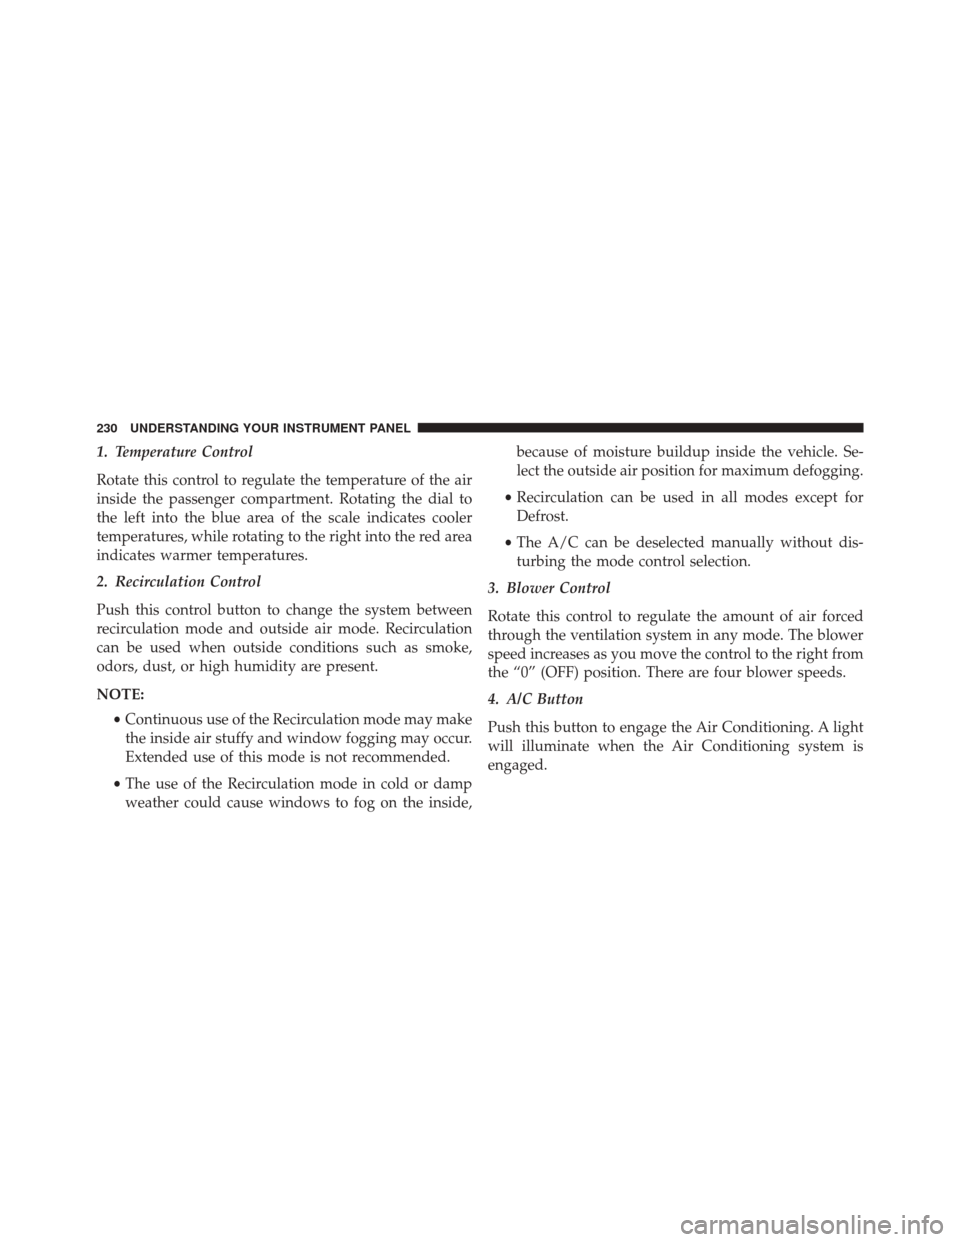
1. Temperature Control
Rotate this control to regulate the temperature of the air
inside the passenger compartment. Rotating the dial to
the left into the blue area of the scale indicates cooler
temperatures, while rotating to the right into the red area
indicates warmer temperatures.
2. Recirculation Control
Push this control button to change the system between
recirculation mode and outside air mode. Recirculation
can be used when outside conditions such as smoke,
odors, dust, or high humidity are present.
NOTE:•Continuous use of the Recirculation mode may make
the inside air stuffy and window fogging may occur.
Extended use of this mode is not recommended.
• The use of the Recirculation mode in cold or damp
weather could cause windows to fog on the inside, because of moisture buildup inside the vehicle. Se-
lect the outside air position for maximum defogging.
• Recirculation can be used in all modes except for
Defrost.
• The A/C can be deselected manually without dis-
turbing the mode control selection.
3. Blower Control
Rotate this control to regulate the amount of air forced
through the ventilation system in any mode. The blower
speed increases as you move the control to the right from
the “0” (OFF) position. There are four blower speeds.
4. A/C Button
Push this button to engage the Air Conditioning. A light
will illuminate when the Air Conditioning system is
engaged.
230 UNDERSTANDING YOUR INSTRUMENT PANEL
Page 234 of 476
require extra heat to the windshield. This setting is
good for maintaining comfort while reducing mois-
ture on the windshield.
•Defrost
Air is directed through the windshield and
side window demister outlets. Use this mode
with maximum blower and temperature settings for
best windshield and side window defrosting.
NOTE: The air conditioning compressor operates in Mix
or Defrost, even if the Air Conditioning (A/C) button is
not pushed. This dehumidifies the air to help dry the
windshield. To improve fuel economy, use these modes
only when necessary.
Rear Window Defrosting
Push and release the rear window defrost button to turn
the function on/off. The activation of the function is indicated by the rear
defrost warning light on the instrument panel switching
on. The function is automatically deactivated after 20
minutes.
If equipped, push the rear defrost button to activate
defrosting of door mirrors and heated rear window.
NOTE:
Do not affix stickers to the inside of the heated
rear window over the heating filaments, to avoid damage
that might cause them to stop working properly.
Air Recirculation
Push and release the Air Recirculation button, so that the
LED on the button switch is on, to enter recirculation
mode. It is advisable to switch internal air recirculation
on while standing in traffic or in tunnels to prevent the
introduction of polluted air.
232 UNDERSTANDING YOUR INSTRUMENT PANEL
Page 239 of 476
indicator illuminates when this feature is ON. Perform-
ing this function will cause the ATC to switch into
manual mode. The blower speed may increase when
Defrost mode is selected, the air conditioning compressor
is switched ON (LED on button ON) and the air recircu-
lation is switched OFF (LED on button OFF). If the front
defrost mode is turned OFF, the climate system will
return to the previous setting.
10. Passenger Temperature Control
Provides the passenger with independent temperature
control. Rotate adjustment knob to set desired tempera-
ture.
NOTE:Rotating the Passenger Temperature Control
knob while in Sync mode will automatically exit Sync.
11. SYNC Button
Push the Sync button to toggle the Sync feature ON/OFF.
The Sync indicator is illuminated when this feature is enabled. Sync is used to synchronize the passenger
temperature setting with the driver temperature setting.
Changing the passenger temperature setting while in
Sync will automatically exit this feature.
12. AUTO Button
Automatically controls the interior cabin temperature by
adjusting airflow distribution and amount. Performing
this function will cause the ATC to switch between
manual mode and automatic modes.
Description
The automatic dual zone climate control system regulates
the air temperatures in the passenger compartment in
two zones: driver side and passenger side.
The system maintains comfort inside the passenger com-
partment and compensates for possible variations in
external climate conditions.
4
UNDERSTANDING YOUR INSTRUMENT PANEL 237
Page 241 of 476

The system allows the following to be set or adjusted
manually:
•driver/passenger side air temperature
• fan speed (continuous variation)
• air distribution to seven positions
• compressor enablement
• rapid defrosting/demisting function
• air recirculation
• heated rear window
• system deactivation NOTE:
The climate control system detects the passenger
compartment temperature using a mean radiant tem-
perature sensor located in the interior rear view mirror
and protected by a specific cover. Obstructing the field of
view of this sensor with any object could cause the
climate control system to operate with less than optimal
efficiency.
Switching On The Climate Control System
The climate control system can be switched on in differ-
ent ways: it is advisable to push the AUTO button and
turn the knobs to set the desired temperatures.
In this way the system operates completely automatically
to adjust the temperature, quantity and distribution of
the air introduced into the passenger compartment. It
also manages the air recirculation function and the acti-
vation of the air conditioning compressor.
4
UNDERSTANDING YOUR INSTRUMENT PANEL 239
Page 247 of 476
The system remembers that the compressor has been
switched off, even after the engine has stopped.
When the compressor is switched off, the system deacti-
vates air recirculation to prevent the windows from
misting up.
Pushing the A/C button will stop the AUTO MODE (the
AUTO LED will switch off). To restore automatic control
of compressor engagement, push the AUTO button
again.
NOTE:With the compressor off, air cannot be introduced
to the passenger compartment with a temperature lower
than the outside temperature. Moreover, under certain
environmental conditions, windows could mist rapidly
since the air is not dehumidified.
Rapid Window Demisting (MAX-DEF function)
Push the MAX-DEF button to activate (LED on button
on) the windshield and side window demisting function. The climate control system carries out the following
operations:
•
switches on the air conditioning compressor when
environmental conditions are suitable;
• switches air recirculation off;
• sets fan speed according to the engine coolant tem-
perature;
• directs air flow to windshield and front side window
diffusers;
• activates the heated rear window;
• activates the heated windshield (if equipped);
• displays the fan speed (Blower Control Indicator LED
lit).
4
UNDERSTANDING YOUR INSTRUMENT PANEL 245
Page 352 of 476
supplement to the radiator and aids in removing heat
from the engine cooling system.
CAUTION!
Driving with a hot cooling system could damage
your vehicle. If the pointer rises to the H (red) mark,
the instrument cluster will sound a chime. When
safe, pull over and stop the vehicle with the engine at
idle. Turn off the air conditioning and wait until the
pointer drops back into the normal range. If the
pointer remains on the H (red) mark for more than a
minute, turn the engine off immediately and call for
service.
WARNING!
You or others can be badly burned by hot engine
coolant (antifreeze) or steam from your radiator. If
you see or hear steam coming from under the hood,
do not open the hood until the radiator has had time
to cool. Never try to open a cooling system pressure
cap when the radiator or coolant bottle is hot.
WHEEL AND TIRE TORQUE SPECIFICATIONS
Proper lug nut/bolt torque is very important to ensure
that the wheel is properly mounted to the vehicle. Any
time a wheel has been removed and reinstalled on the
vehicle the lug nuts/bolts should be torqued using a
properly calibrated torque wrench.
350 WHAT TO DO IN EMERGENCIES
Page 387 of 476

CAUTION!(Continued)
transmission, or air conditioning. Such damage is
not covered by the New Vehicle Limited Warranty.
If a flush is needed because of component malfunc-
tion, use only the specified fluid for the flushing
procedure.
Engine Oil
Checking Oil Level
To assure proper engine lubrication, the engine oil must
be maintained at the correct level. Check the oil level at
regular intervals, such as every fuel stop. The best time to
check the engine oil level is approximately five minutes
after a fully warmed engine is shut off. Do not check oil
level before starting the engine after it has sat overnight.
Checking engine oil level when the engine is cold will
give you an incorrect reading. Checking the oil while the vehicle is on level ground, and
approximately five minutes after a fully warmed engine
is shut off, will improve the accuracy of the oil level
readings. Maintain the oil level between the range mark-
ings on the dipstick. The safe range is indicated by a
crosshatch zone. Adding 1 quart (0.9 Liters) of oil when
the reading is at the low end of the indicated range will
result in the oil level at the full end of the indicator range.
CAUTION!
Do not overfill the engine with oil. Overfilling the
engine with oil will cause oil aeration, which can
lead to loss of oil pressure and an increase in oil
temperature. This loss of oil pressure and increased
oil temperature could damage your engine.7
MAINTAINING YOUR VEHICLE 385
Page 392 of 476
WARNING!(Continued)
•The air conditioning system contains refrigerant
under high pressure. To avoid risk of personal
injury or damage to the system, adding refrigerant
or any repair requiring lines to be disconnected
should be done by an experienced technician.
CAUTION!
Do not use chemical flushes in your air conditioning
system as the chemicals can damage your air condi-
tioning components. Such damage is not covered by
the New Vehicle Limited Warranty.
Refrigerant Recovery And Recycling HFO 1234yf
HFO 1234yf Air Conditioning Refrigerant is a hydro-
fluoolefine HFO that is endorsed by the Environmental
Protection Agency and is an ozone-saving product. The manufacturer recommends that air conditioning service
be performed by authorized dealer using recovery and
recycling equipment.
NOTE:
Use only manufacturer approved A/C system
PAG compressor oil, and refrigerants.
A/C Air Filter
WARNING!
Do not remove the A/C air filter while the blower is
operating or personal injury may result.
The A/C air filter is located in the fresh air inlet behind
the glove box. Perform the following procedure to re-
place the filter:
1. Open the glove compartment and remove all contents.
2. Push in on the sides of the glove compartment and lower the door.
390 MAINTAINING YOUR VEHICLE