Page 129 of 476
Audible And Visual Signals Supplied By The Rear Park Assist System
SIGNALMEANING INDICATION
Obstacle
Distance An obstacle is present within the
sensors’ field of view Audible signal
(dashboard loudspeaker)
• Sound pulses emitted at a rate that increases as the
distance decreases.
• Emits continuous tone at 12 in (30 cm).
• Adjustable volume level. (Refer to “Electronic Ve-
hicle Information Center (EVIC)” in “Understanding
Your Instrument Panel” for further information).
Visual signal (EVIC)
• Arcs are shown based on the obstacle’s distance and
location relative to the vehicle. (Refer to “Rear Park
Assist Display” for further information).
Failure Sensor or System failures Visual Signal(instrument panel)
• Icon appears on display.
• Message is displayed on the Electronic Vehicle Infor-
mation Center (EVIC) (where provided).
3
UNDERSTANDING THE FEATURES OF YOUR VEHICLE 127
Page 235 of 476

Do not use the function for a long time, particularly if
there are many passengers on board, to prevent the
windows from misting up.
NOTE:Internal air recirculation makes it possible to
reach the required heating or cooling conditions more
quickly depending on the mode selected. Do not use the
internal air recirculation function on rainy/cold days as it
would considerably increase the possibility of the win-
dows misting.
Air Distribution Selection
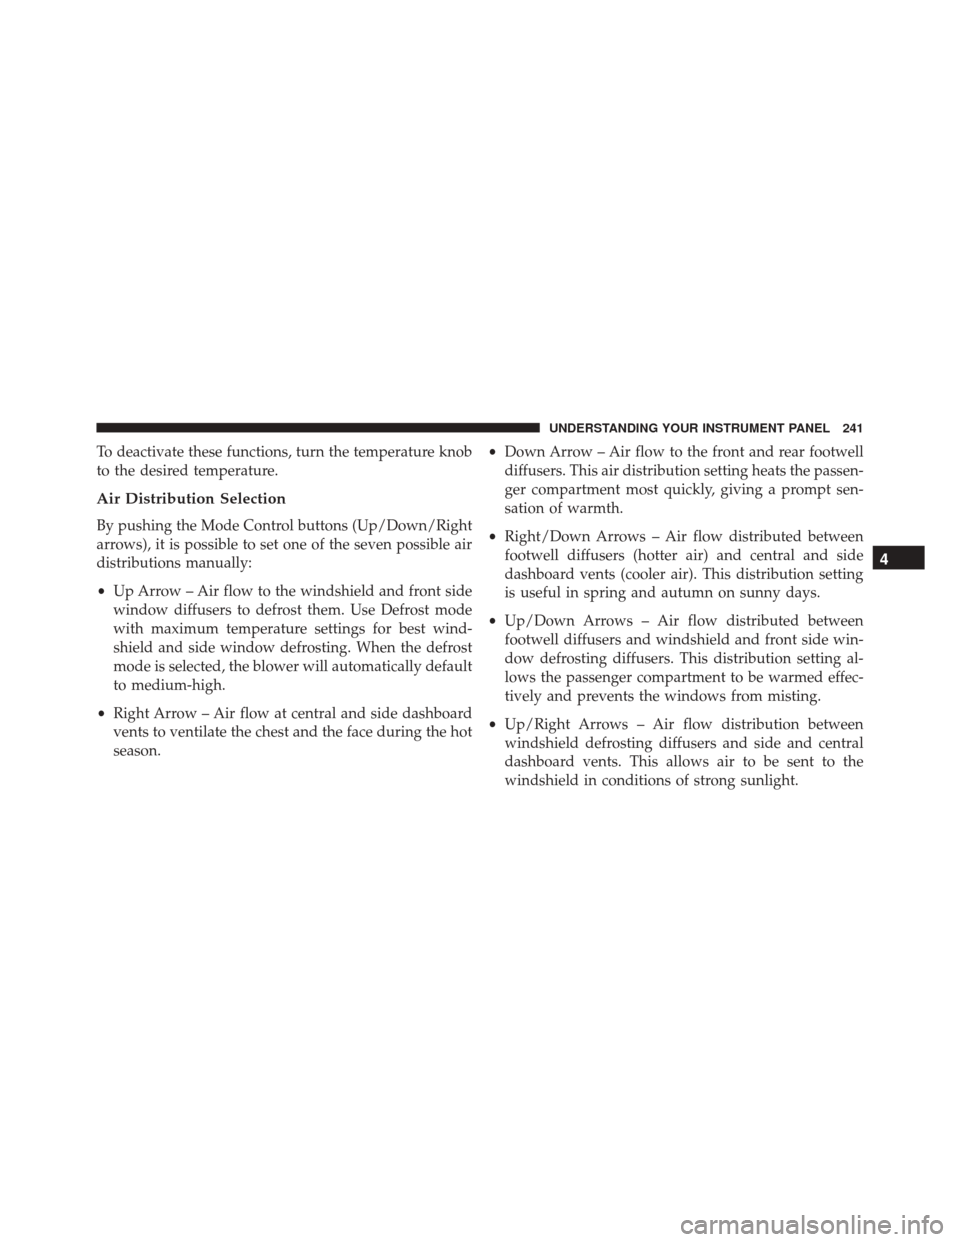
Rotate the Mode Control knob to manually select one of
the five possible air distribution settings in the passenger
compartment:
Air flow to the front windshield, front side win-
dow and front/rear footwell diffusers. Air flow to the front/rear footwell diffusers. This
air distribution allows the passenger compart-
ment to be heated quickly.
Air flow distributed between central and side
dashboard vents and front/rear footwell vents.
Air flow to central/side dashboard vents (passen-
ger ’s body).
Air flow to windshield and side windows.
Selecting the footwell/windshield or only windshield
distribution activates the climate control system com-
pressor (LED on A/C button on) and the air recirculation
is set to �outside air� (LED on Recirculation Control
4
UNDERSTANDING YOUR INSTRUMENT PANEL 233
Page 243 of 476

To deactivate these functions, turn the temperature knob
to the desired temperature.
Air Distribution Selection
By pushing the Mode Control buttons (Up/Down/Right
arrows), it is possible to set one of the seven possible air
distributions manually:
•Up Arrow – Air flow to the windshield and front side
window diffusers to defrost them. Use Defrost mode
with maximum temperature settings for best wind-
shield and side window defrosting. When the defrost
mode is selected, the blower will automatically default
to medium-high.
• Right Arrow – Air flow at central and side dashboard
vents to ventilate the chest and the face during the hot
season. •
Down Arrow – Air flow to the front and rear footwell
diffusers. This air distribution setting heats the passen-
ger compartment most quickly, giving a prompt sen-
sation of warmth.
• Right/Down Arrows – Air flow distributed between
footwell diffusers (hotter air) and central and side
dashboard vents (cooler air). This distribution setting
is useful in spring and autumn on sunny days.
• Up/Down Arrows – Air flow distributed between
footwell diffusers and windshield and front side win-
dow defrosting diffusers. This distribution setting al-
lows the passenger compartment to be warmed effec-
tively and prevents the windows from misting.
• Up/Right Arrows – Air flow distribution between
windshield defrosting diffusers and side and central
dashboard vents. This allows air to be sent to the
windshield in conditions of strong sunlight.
4
UNDERSTANDING YOUR INSTRUMENT PANEL 241
Page 244 of 476

•Up/Right/Down Arrows – Air flow distribution to all
diffusers on the car.
NOTE: Air always flows from the side dashboard diffus-
ers: it is, however, possible to interrupt the air flow by
operating the wheel located near the corresponding
vents.
In AUTO mode, the climate control system automatically
manages air distribution (the LEDs on the Mode Control
buttons are off).
When set manually, the air distribution is indicated by
the LEDs on the selected buttons switching on.
In combined function mode, functions are enabled to-
gether with those already set when the relevant button is
pushed. If a button whose function is already active is
pushed, the operation is cancelled and the corresponding
LED switches off. To restore automatic control of the air distribution after a
manual selection, push the AUTO button.
AUTO Button
When the AUTO button is pushed (LED on button lit) the
climate control system automatically adjusts the follow-
ing settings in the corresponding zones:
•
quantity and distribution of the air introduced into the
passenger compartment
• climate control system compressor and
• air recirculation.
Cancelling all previous manual adjustments.
This is indicated by the LED on the AUTO button
switching on.
242 UNDERSTANDING YOUR INSTRUMENT PANEL
Page 357 of 476

Push the Tire Service Kit power button to the “I” position.
The electric compressor will be turned on, sealant and air
will inflate the tire.
Minimum 26 psi (1.8 bar) of pressure should be reached
within 20 minutes. If the pressure has not been reached,
turn off and remove the Tire Service Kit, drive the vehicle
30 feet (10 meters) back and forth, to better distribute the
sealant inside the tire.
Attach the Clear flexible filling and tube of the compres-
sor directly to the tire valve and repeat the inflation
process.
When the correct pressure has been reached, start driving
the vehicle to uniformly distribute the sealant inside the
tire. After 10 minutes, stop and check the tire pressure. If
the pressure is below 19 psi (1.3 bar), do not drive the
vehicle, as the tire is too damaged, contact the nearest
Authorized Dealer.WARNING!
Tire Service Kit is not a permanent flat tire repair.
Have the tire inspected and repaired or replaced after
using Tire Service Kit. Do not exceed 65 mph
(110 km/h) until the tire is repaired or replaced.
Failure to follow this warning can result in injuries
that are serious or fatal to you, your passengers, and
others around you. Have the tire checked as soon as
possible at an Authorized Dealer.
If the pressure is at 19 psi (1.3 bar) or above, repeat the
inflation process to reach the correct tire pressure and
continue driving.
Peel off the warning label from the bottle and place it on
the dashboard as a reminder to the driver that the tire has
been treated with the Tire Service Kit
6
WHAT TO DO IN EMERGENCIES 355