2016 FIAT 500E display
[x] Cancel search: displayPage 12 of 132

ELECTRIC VEHICLE FEATURES
Auto Park
The Auto Park feature automatically places the vehicle into PARK if there is any indication
that the driver may leave the vehicle while the drive mode indicator is in the D (DRIVE),
N (NEUTRAL) or R (REVERSE) modes.
Auto Park is enabled under the following conditions:
– READY mode (12 Volt ON and High Voltage ON).
– Vehicle speed is below 2 mph (3 km/h).
NOTE:
•Auto Park feature only occurs once per key cycle.
•Auto Park is disabled above 2 mph (3 km/h) and the drive mode range will be
maintained.
The instrument cluster will display an Auto Shift To Park message and chime once when
Auto Park action occurs.
Mode Of Operation With Key ON
Auto Park will be engaged when the drive mode is in DRIVE, NEUTRAL or REVERSE
and the following conditions are detected:
•Seat Belt is unlatched
•Brake pedal is released
•Driver's door is ajar
•Vehicle speed is below 2 mph (3 km/h)
Mode Of Operation With Key OFF
Auto Park will engage as you turn off the key while in gear/neutral and speed is less than
2 mph (3 km/h).
Audible Pedestrian Warning System
Your vehicle is equipped with an Audible Pedestrian Warning System.The Audible Pedes-
trian Warning System uses distinct sounds to alert pedestrians that your vehicle is ap-
proaching.
The audible warning system uses an in-car sound synthesizer with a speaker located in
the underhood compartment.The warning system is automatically activated when select-
ing D (DRIVE) or R (REVERSE).
In D (DRIVE) range, the system will remain active until the vehicle reaches a speed of
approximately 22 mph (35.5 km/h).At approximately 22 mph (35.5 km/h) the warning
system is deactivated and will automatically be active when the vehicle returns to approxi-
mately 20 mph (32 km/h).
GETTING STARTED
10
Page 13 of 132

Smartphone Features
With the “Uconnect Access” app, you can monitor the state of charge of the high voltage
battery or initiate charging from your phone.You can also turn on your vehicle’s climate
control system remotely.The app provides the following features:
•Monitor battery charge level
•Display available driving distance
•Check charging status
•Remotely activate vehicle climate control system
•Unlock and lock doors
•Assist with locating your vehicle
•Locate charging stations
•Send a point-of-interest to your vehicle’s navigation system
•Schedule a charge
•View energy consumed
•Notifications for charging and preconditioning events
How Do I Get The “Uconnect Access” Smartphone App?
Visit the 500e registration website:
www.fiatusa.com/500eRegistration
500e Registration Website
GETTING STARTED
11
Page 27 of 132

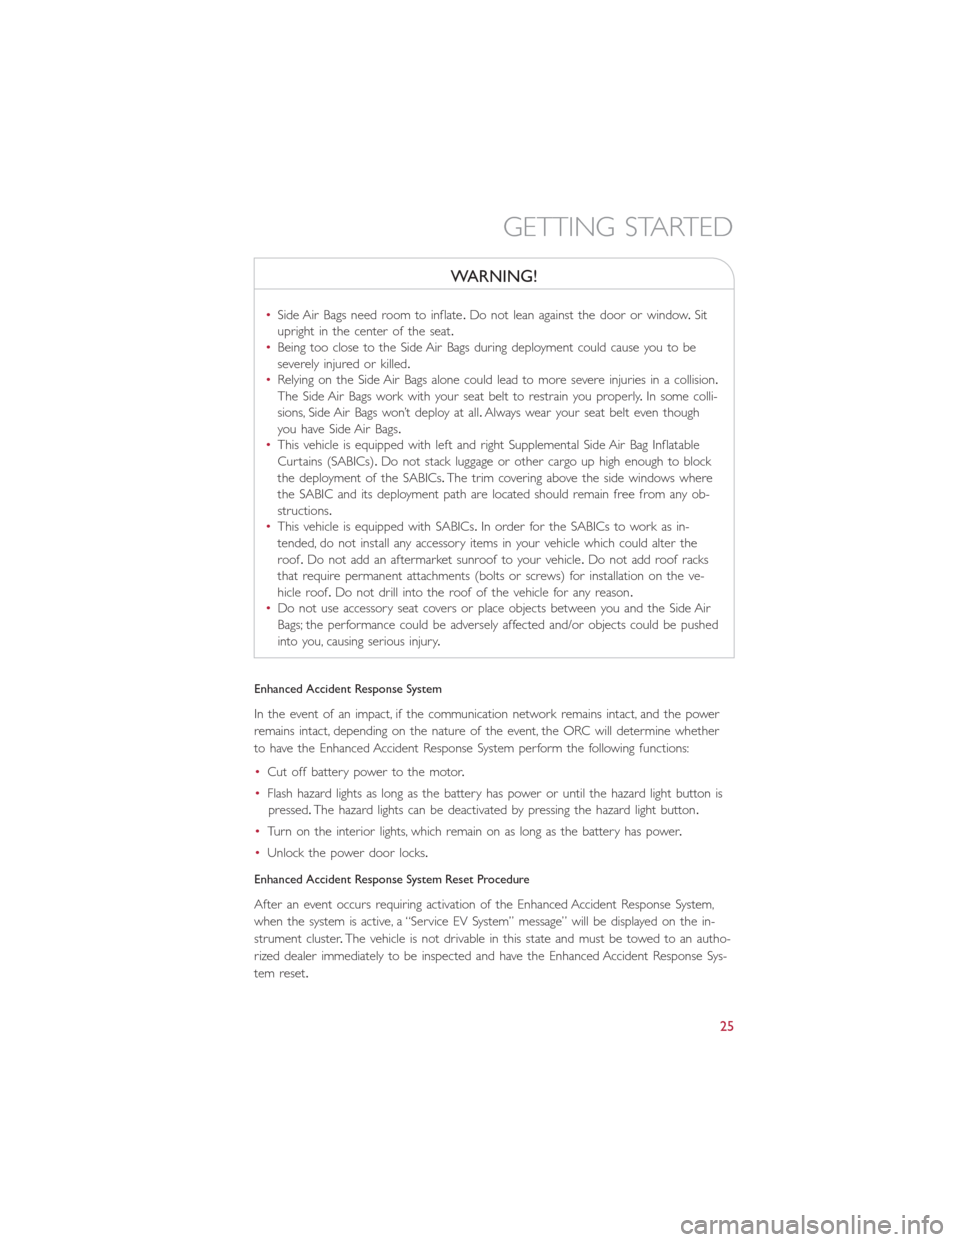
WARNING!
•Side Air Bags need room to inflate.Do not lean against the door or window.Sit
upright in the center of the seat.
•Being too close to the Side Air Bags during deployment could cause you to be
severely injured or killed.
•Relying on the Side Air Bags alone could lead to more severe injuries in a collision.
The Side Air Bags work with your seat belt to restrain you properly.In some colli-
sions, Side Air Bags won’t deploy at all.Always wear your seat belt even though
you have Side Air Bags.
•This vehicle is equipped with left and right Supplemental Side Air Bag Inflatable
Curtains (SABICs).Do not stack luggage or other cargo up high enough to block
the deployment of the SABICs.The trim covering above the side windows where
the SABIC and its deployment path are located should remain free from any ob-
structions.
•This vehicle is equipped with SABICs.In order for the SABICs to work as in-
tended, do not install any accessory items in your vehicle which could alter the
roof.Do not add an aftermarket sunroof to your vehicle.Do not add roof racks
that require permanent attachments (bolts or screws) for installation on the ve-
hicle roof.Do not drill into the roof of the vehicle for any reason.
•Do not use accessory seat covers or place objects between you and the Side Air
Bags; the performance could be adversely affected and/or objects could be pushed
into you, causing serious injury.
Enhanced Accident Response System
In the event of an impact, if the communication network remains intact, and the power
remains intact, depending on the nature of the event, the ORC will determine whether
to have the Enhanced Accident Response System perform the following functions:
•Cut off battery power to the motor.
•Flash hazard lights as long as the battery has power or until the hazard light button is
pressed.The hazard lights can be deactivated by pressing the hazard light button.
•Turn on the interior lights, which remain on as long as the battery has power.
•Unlock the power door locks.
Enhanced Accident Response System Reset Procedure
After an event occurs requiring activation of the Enhanced Accident Response System,
when the system is active, a “Service EV System” message” will be displayed on the in-
strument cluster.The vehicle is not drivable in this state and must be towed to an autho-
rized dealer immediately to be inspected and have the Enhanced Accident Response Sys-
tem reset.
GETTING STARTED
25
Page 41 of 132

EXTENDING YOUR DRIVING RANGE PER CHARGE
•A little knowledge will go a long way to extend your driving range on the 500e.First
and foremost understand that the drive system and cabin temperature management
features use the most energy from the high voltage battery.Reducing energy draw
from these features are the easiest and most effective way to extend driving range.
•Just like a conventional vehicle, 500e likes to keep things smooth and steady for most
efficient operation.When driving, avoid aggressive driving styles and high speeds for
extended times.When practical, choose surface streets over the highway, work to
maintain a steady speed to extend range.
•The 500e uses high voltage components to heat and cool the cabin, so a little aware-
ness can go a long way to extend range.When using automatic climate control, con-
sider setting temperatures a few degrees higher or lower during hot and cold days.If
your 500e has been soaking in hot or cold temperatures for an extended period, it is
recommended that the car be preconditioned via the Uconnect Access smartphone
app while still plugged into a charging source.This will allow 500e to use external
power to establish a comfortable cabin temperature before the drive, and allow the
battery to maintain the temperature using significantly less energy during the drive.
Additional Tips:
•Keep tires properly inflated
•Avoid carrying nonessential cargo
•Be mindful of adding external accessories that may increase aerodynamic drag
•Perform all scheduled maintenance at recommended intervals
Driving Behavior Gauge
To help the driver extend the driving range of the high voltage battery your vehicle is
equipped with a Driving Behavior Gauge.The Driving Behavior Gauge is located on the
right side of the instrument cluster and displays three driving ranges:
Power
The Driving Behavior Gauge will move into
the Power range when under acceleration.
ECO
The Driving Behavior Gauge will move into
the ECO range when you are maximizing
the driving range of the high voltage bat-
tery.
Charge
The Driving Behavior Gauge will move into
the Charge range when battery regenera-
tion is active (either coasting or braking).
Driving Behavior Gauge
OPERATING YOUR VEHICLE
39
Page 42 of 132

LIGHTS
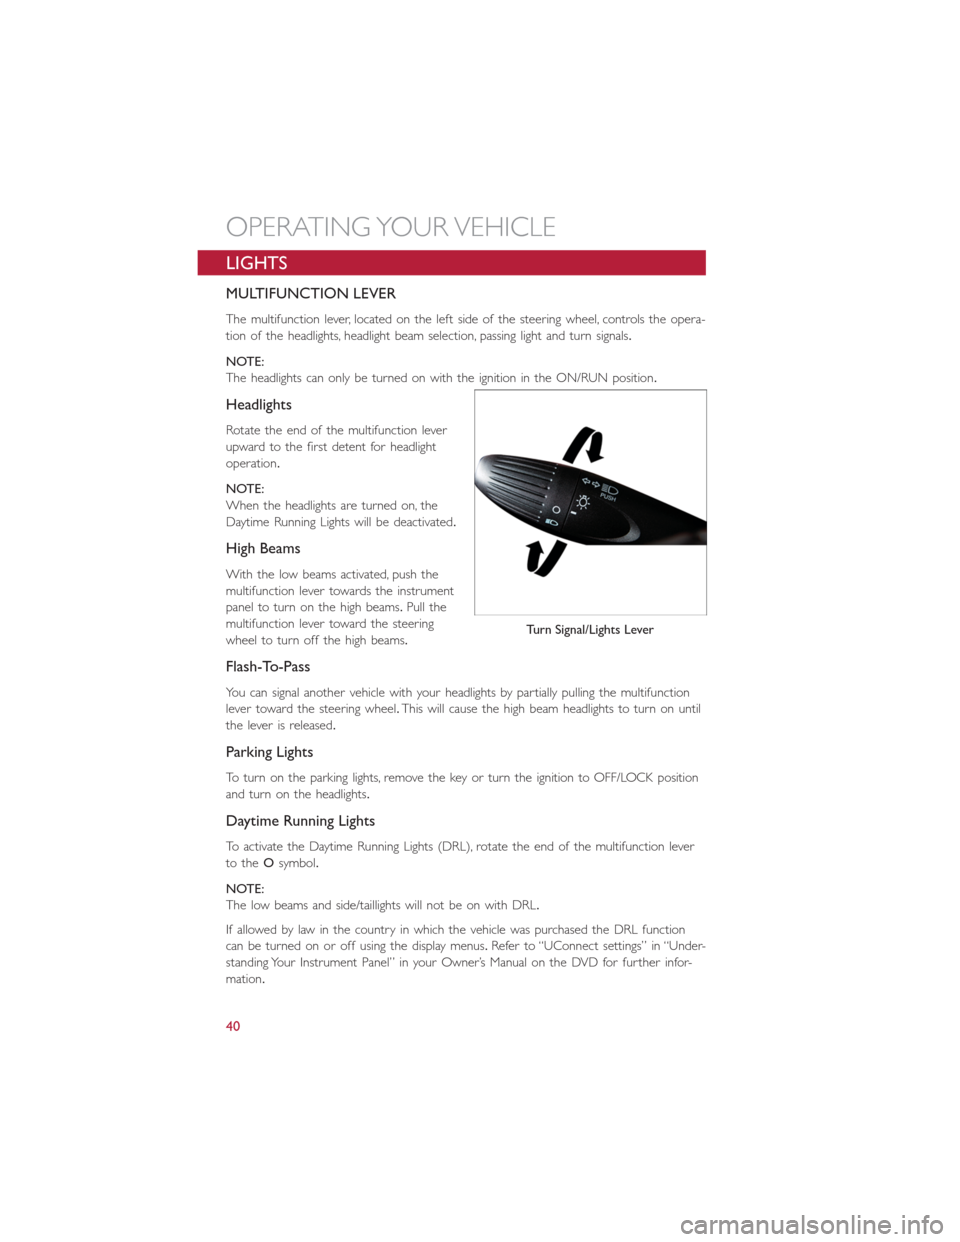
MULTIFUNCTION LEVER
The multifunction lever, located on the left side of the steering wheel, controls the opera-
tion of the headlights, headlight beam selection, passing light and turn signals.
NOTE:
The headlights can only be turned on with the ignition in the ON/RUN position.
Headlights
Rotate the end of the multifunction lever
upward to the first detent for headlight
operation.
NOTE:
When the headlights are turned on, the
Daytime Running Lights will be deactivated.
High Beams
With the low beams activated, push the
multifunction lever towards the instrument
panel to turn on the high beams.Pull the
multifunction lever toward the steering
wheel to turn off the high beams.
Flash-To-Pass
You can signal another vehicle with your headlights by partially pulling the multifunction
lever toward the steering wheel.This will cause the high beam headlights to turn on until
the lever is released.
Parking Lights
To turn on the parking lights, remove the key or turn the ignition to OFF/LOCK position
and turn on the headlights.
Daytime Running Lights
To activate the Daytime Running Lights (DRL), rotate the end of the multifunction lever
to theOsymbol.
NOTE:
The low beams and side/taillights will not be on with DRL.
If allowed by law in the country in which the vehicle was purchased the DRL function
can be turned on or off using the display menus.Refer to “UConnect settings” in “Under-
standing Your Instrument Panel” in your Owner’s Manual on the DVD for further infor-
mation.
Turn Signal/Lights Lever
OPERATING YOUR VEHICLE
40
Page 57 of 132

Privacy of any wireless and wired communications cannot be assured.Third parties may
unlawfully intercept information and private communications without your consent.For
further information, refer to “Onboard Diagnostic System (OBD II) Cybersecurity” in
“Maintaining Your Vehicle” in your Owner’s Manual on the DVD.
IDENTIFYING YOUR RADIO
Uconnect 5.0
•5.0” Full Color Touchscreen Display
•Bluetooth Connectivity/Bluetooth
Streaming Audio
Uconnect 5.0
ELECTRONICS
55
Page 59 of 132

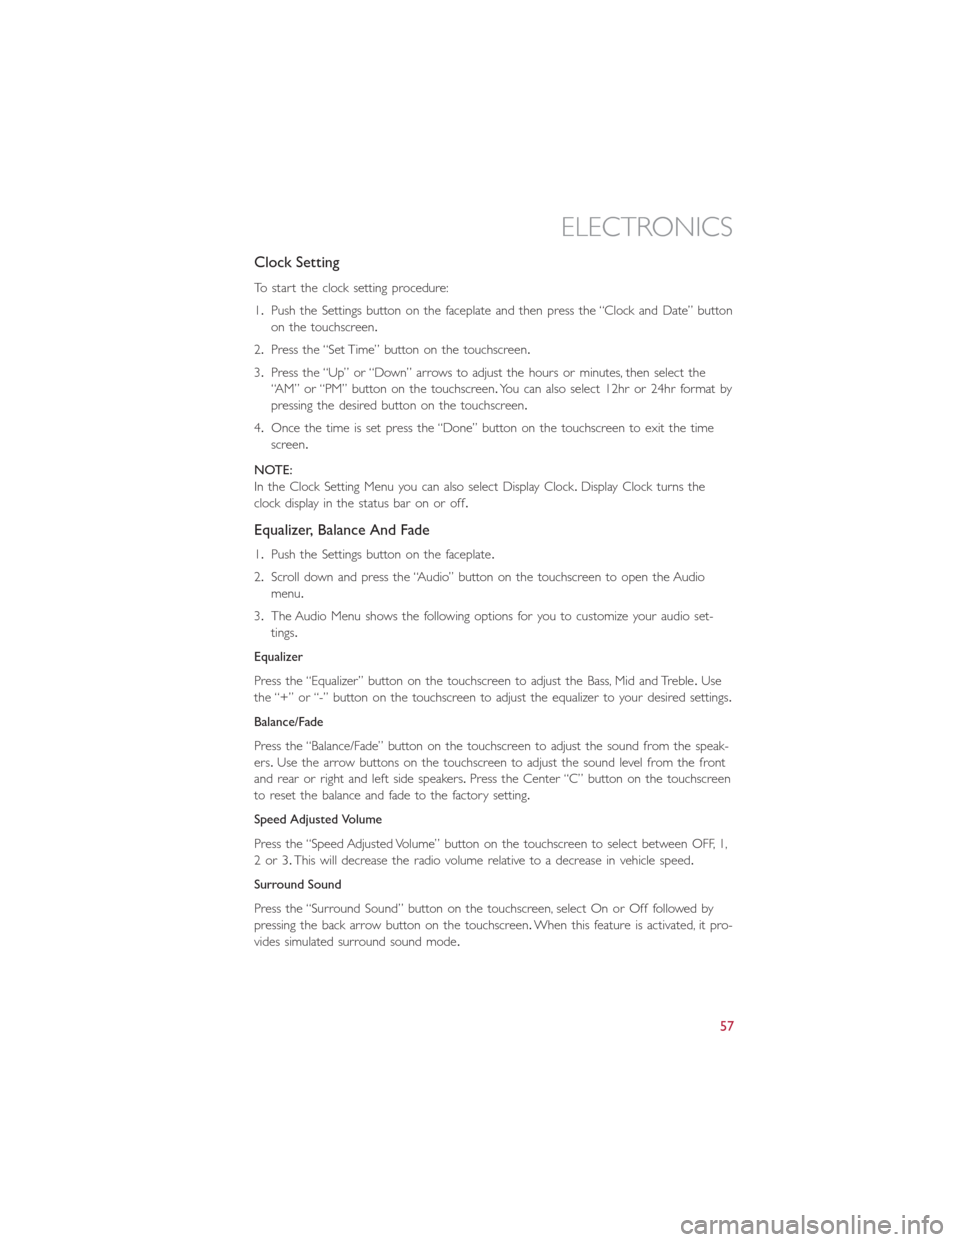
Clock Setting
To start the clock setting procedure:
1.Push the Settings button on the faceplate and then press the “Clock and Date” button
on the touchscreen.
2.Press the “Set Time” button on the touchscreen.
3.Press the “Up” or “Down” arrows to adjust the hours or minutes, then select the
“AM” or “PM” button on the touchscreen.You can also select 12hr or 24hr format by
pressing the desired button on the touchscreen.
4.Once the time is set press the “Done” button on the touchscreen to exit the time
screen.
NOTE:
In the Clock Setting Menu you can also select Display Clock.Display Clock turns the
clock display in the status bar on or off.
Equalizer, Balance And Fade
1.Push the Settings button on the faceplate.
2.Scroll down and press the “Audio” button on the touchscreen to open the Audio
menu.
3.The Audio Menu shows the following options for you to customize your audio set-
tings.
Equalizer
Press the “Equalizer” button on the touchscreen to adjust the Bass, Mid and Treble.Use
the “+” or “-” button on the touchscreen to adjust the equalizer to your desired settings.
Balance/Fade
Press the “Balance/Fade” button on the touchscreen to adjust the sound from the speak-
ers.Use the arrow buttons on the touchscreen to adjust the sound level from the front
and rear or right and left side speakers.Press the Center “C” button on the touchscreen
to reset the balance and fade to the factory setting.
Speed Adjusted Volume
Press the “Speed Adjusted Volume” button on the touchscreen to select between OFF, 1,
2or3.This will decrease the radio volume relative to a decrease in vehicle speed.
Surround Sound
Press the “Surround Sound” button on the touchscreen, select On or Off followed by
pressing the back arrow button on the touchscreen.When this feature is activated, it pro-
vides simulated surround sound mode.
ELECTRONICS
57
Page 60 of 132

Radio Operation
Store Radio Presets Manually
The Radio stores up to 12 presets in each of the Radio modes.There are four visible
presets at the top of the radio screen.Pressing the “All” button on the touchscreen on
the radio home screen will display all of the preset stations for that mode.
To store a radio preset manually, follow the steps below:
1.Tune to the desired station.
2.Press and hold the desired numbered button on the touchscreen for more than two
seconds, or until you hear a confirmation beep.
Seek Next/Previous Buttons
•Press the up or down button to seek through radio stations in AM, FM or SXM bands.
•Hold either button to bypass stations without stopping.
Radio Operation
1 — Radio Station Preset
2 — All Presets
3 — Seek Next
4 — Audio Settings5 — Station Information
6 — Direct Tune
7 — Radio Band
8 — Seek Previous
ELECTRONICS
58