Page 81 of 432
Periodic Safety Checks You Should Make Outside
The Vehicle
Tires
Examine tires for excessive tread wear and uneven wear
patterns. Check for stones, nails, glass, or other objects
lodged in the tread or sidewall. Inspect the tread for cuts
and cracks. Inspect sidewalls for cuts, cracks and bulges.
Check the wheel bolts for tightness. Check the tires for
proper cold inflation pressure.
Lights
Have someone observe the operation of brake lights and
exterior lights while you work the controls. Check turn
signal and high beam indicator lights on the instrument
panel.
Door Latches
Check for proper closing, latching, and locking.
Fluid Leaks
Check area under vehicle after overnight parking for fuel,
engine coolant, oil, or other fluid leaks. Also, if gasoline
fumes are detected or if fuel, power steering fluid (if
equipped), or brake fluid leaks are suspected. The cause
should be located and corrected immediately.
2
THINGS TO KNOW BEFORE STARTING YOUR VEHICLE 79
Page 155 of 432

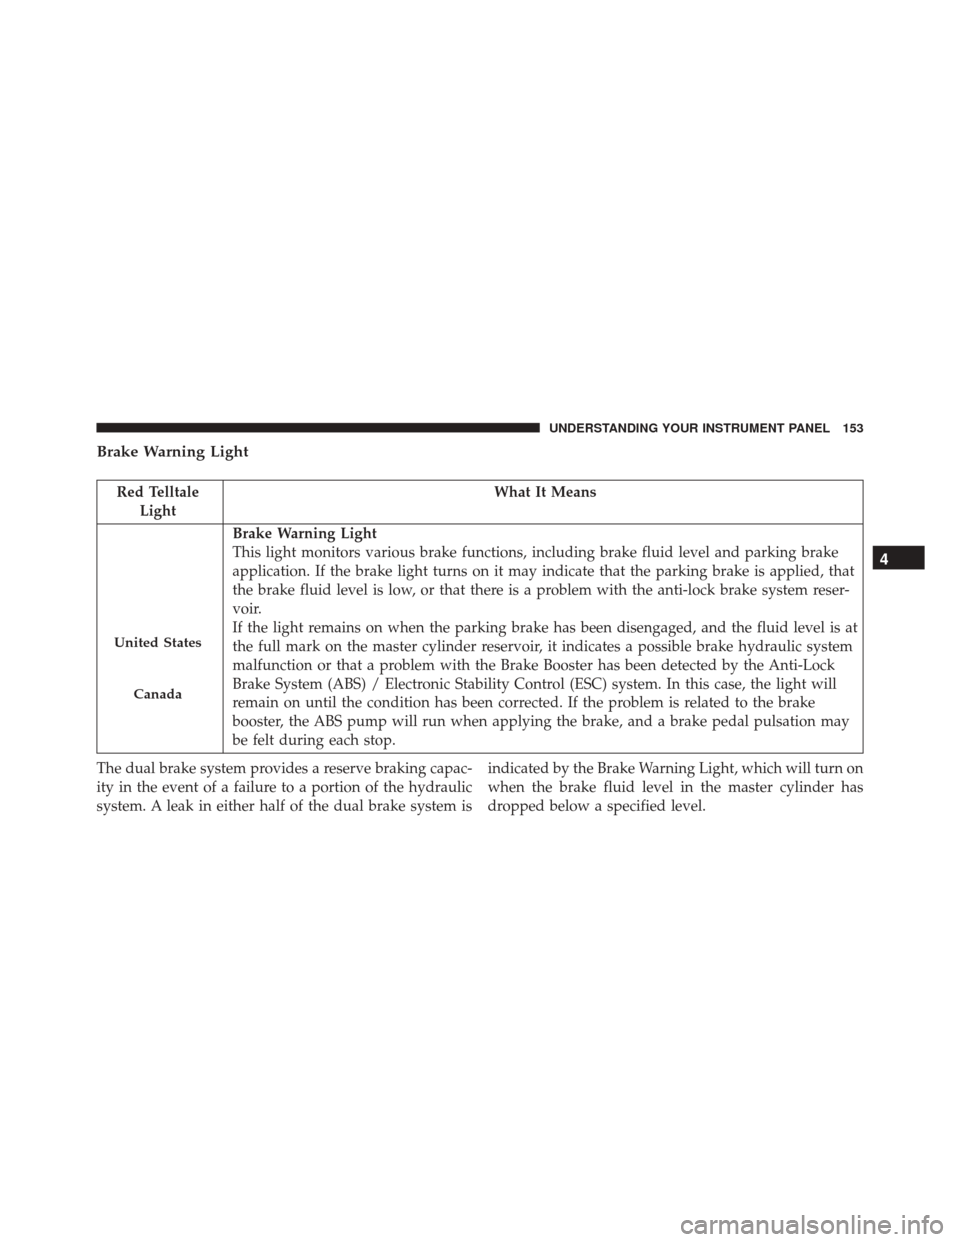
Brake Warning Light
Red TelltaleLight What It Means
United States
Canada
Brake Warning Light
This light monitors various brake functions, including brake fluid level and parking brake
application. If the brake light turns on it may indicate that the parking brake is applied, that
the brake fluid level is low, or that there is a problem with the anti-lock brake system reser-
voir.
If the light remains on when the parking brake has been disengaged, and the fluid level is at
the full mark on the master cylinder reservoir, it indicates a possible brake hydraulic system
malfunction or that a problem with the Brake Booster has been detected by the Anti-Lock
Brake System (ABS) / Electronic Stability Control (ESC) system. In this case, the light will
remain on until the condition has been corrected. If the problem is related to the brake
booster, the ABS pump will run when applying the brake, and a brake pedal pulsation may
be felt during each stop.
The dual brake system provides a reserve braking capac-
ity in the event of a failure to a portion of the hydraulic
system. A leak in either half of the dual brake system is indicated by the Brake Warning Light, which will turn on
when the brake fluid level in the master cylinder has
dropped below a specified level.
4
UNDERSTANDING YOUR INSTRUMENT PANEL 153
Page 156 of 432

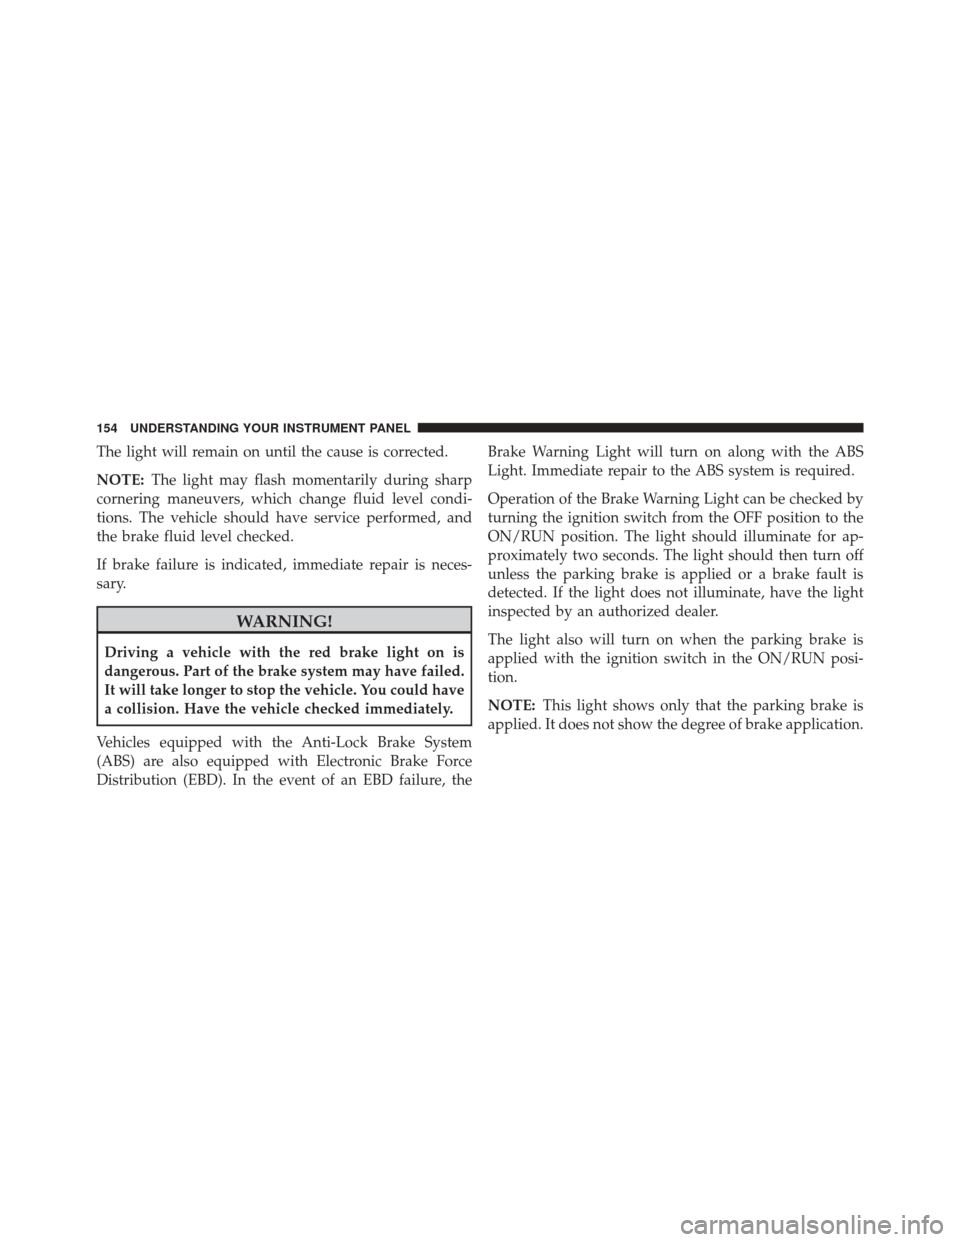
The light will remain on until the cause is corrected.
NOTE:The light may flash momentarily during sharp
cornering maneuvers, which change fluid level condi-
tions. The vehicle should have service performed, and
the brake fluid level checked.
If brake failure is indicated, immediate repair is neces-
sary.
WARNING!
Driving a vehicle with the red brake light on is
dangerous. Part of the brake system may have failed.
It will take longer to stop the vehicle. You could have
a collision. Have the vehicle checked immediately.
Vehicles equipped with the Anti-Lock Brake System
(ABS) are also equipped with Electronic Brake Force
Distribution (EBD). In the event of an EBD failure, the Brake Warning Light will turn on along with the ABS
Light. Immediate repair to the ABS system is required.
Operation of the Brake Warning Light can be checked by
turning the ignition switch from the OFF position to the
ON/RUN position. The light should illuminate for ap-
proximately two seconds. The light should then turn off
unless the parking brake is applied or a brake fault is
detected. If the light does not illuminate, have the light
inspected by an authorized dealer.
The light also will turn on when the parking brake is
applied with the ignition switch in the ON/RUN posi-
tion.
NOTE:
This light shows only that the parking brake is
applied. It does not show the degree of brake application.
154 UNDERSTANDING YOUR INSTRUMENT PANEL
Page 172 of 432
Anti-Lock Brake (ABS) Indicator Light
Yellow TelltaleLight What It Means
Anti-Lock Brake (ABS) Indicator Light
After the ignition is turned on, the Anti-Lock Brake System (ABS) light illuminates to indi-
cate function check at vehicle startup. If the light remains on after startup or comes on and
stays on at road speeds, it may indicate that the ABS has detected a malfunction or has be-
come inoperative. The system reverts to standard non-anti-lock brakes.
If both the Brake Warning Light and the ABS Warning Light are on, see an authorized dealer
immediately. Refer to “Anti-Lock Brake System” in “Starting And Operating” for further in-
formation.
170 UNDERSTANDING YOUR INSTRUMENT PANEL
Page 228 of 432

▫Operation .......................... .243
� DRIVING ON SLIPPERY SURFACES .........245
▫ Acceleration ........................ .245
▫ Traction ........................... .245
� DRIVING THROUGH WATER .............246
▫ Flowing/Rising Water ..................246
▫ Shallow Standing Water .................246
� POWER STEERING .....................248
� PARKING BRAKE ..................... .249
� SPORT MODE ........................ .251
▫ Manual Transmission — If Equipped ........251
▫ Automatic Transmission — If Equipped ......252
� BRAKE SYSTEM ...................... .253�
ELECTRONIC BRAKE CONTROL SYSTEM . . . .254
▫ Four-Wheel Anti-Lock Brake System (ABS) . . .254
▫ Brake Assist System (BAS) ...............255
▫ Traction Control System (TCS) ............256
▫ Hill Start Assist (HSA) .................256
▫ Electronic Stability Control (ESC) ..........257
▫ ESC Activation/Malfunction Indicator Light And
ESC OFF Indicator Light ................261
� TIRE SAFETY INFORMATION .............263
▫ Tire Markings ....................... .263
▫ Tire Identification Number (TIN) ...........266
▫ Tire Terminology And Definitions ..........268
▫ Tire Loading And Tire Pressure ...........269
226 STARTING AND OPERATING
Page 249 of 432

WARNING!
•Driving through standing water limits your vehi-
cle’s traction capabilities. Do not exceed 5 mph
(8 km/h) when driving through standing water.
• Driving through standing water limits your vehi-
cle’s braking capabilities, which increases stopping
distances. Therefore, after driving through stand-
ing water, drive slowly and lightly press on the
brake pedal several times to dry the brakes.
• Failure to follow these warnings may result in
injuries that are serious or fatal to you, your pas-
sengers, and others around you.
CAUTION!
• Always check the depth of the standing water
before driving through it. Never drive through
(Continued)
CAUTION! (Continued)
standing water that is deeper than the bottom of
the tire rims mounted on the vehicle.
• Determine the condition of the road or the path
that is under water and if there are any obstacles in
the way before driving through the standing water.
• Do not exceed 5 mph (8 km/h) when driving
through standing water. This will minimize wave
effects.
• Driving through standing water may cause damage
to your vehicle’s drivetrain components. Always
inspect your vehicle’s fluids (i.e., engine oil, trans-
mission, axle, etc.) for signs of contamination (i.e.,
fluid that is milky or foamy in appearance) after
driving through standing water. Do not continue to
operate the vehicle if any fluid appears contami-
nated, as this may result in further damage. Such
(Continued)
5
STARTING AND OPERATING 247
Page 251 of 432

Refer to “Electronic Vehicle Information (EVIC)” in “Un-
derstanding Your Instrument Panel” for further informa-
tion.
If the Steering icon is displayed and the “SERVICE
POWER STEERING – ASSIST OFF” message is displayed
on the EVIC screen, they indicate the vehicle needs to be
taken to an authorized dealer for service. Refer to “Elec-
tronic Vehicle Information (EVIC)” in “Understanding
Your Instrument Panel” for further information.
NOTE:
•Even if the power steering assistance is no longer
operational, it is still possible to steer the vehicle.
Under these conditions there will be a substantial
increase in steering effort, especially at low speeds and
during parking maneuvers.
• If the condition persists, see your authorized dealer for
service.PARKING BRAKE
Before leaving the vehicle, make sure that the parking
brake is fully applied. Also, be certain to leave the
manual transmission in REVERSE or first gear.
The parking brake lever is located in the center console.
To apply the parking brake, pull the lever up as firmly as
possible. To release the parking brake, pull the lever up
slightly, press the center button, then lower the lever
completely.
5
STARTING AND OPERATING 249
Page 252 of 432
When the parking brake is applied with the ignition
switch in the MAR (ACC/ON/RUN) position, the Brake
Warning Light in the instrument cluster will illuminate.
When parking on a hill, it is important to turn the front
wheels toward the curb on a downhill grade and away
from the curb on an uphill grade. The parking brakeshould always be applied whenever the driver is not in
the vehicle.
WARNING!
•
Never leave children alone in a vehicle, or with
access to an unlocked vehicle.
• Allowing children to be in a vehicle unattended is
dangerous for a number of reasons. A child or
others could be seriously or fatally injured. Chil-
dren should be warned not to touch the parking
brake, brake pedal or the gear selector.
• Do not leave the Key Fob in or near the vehicle or
in a location accessible to children. A child could
operate power windows, other controls, or move
the vehicle.
(Continued)
Parking Brake
250 STARTING AND OPERATING