Page 374 of 661

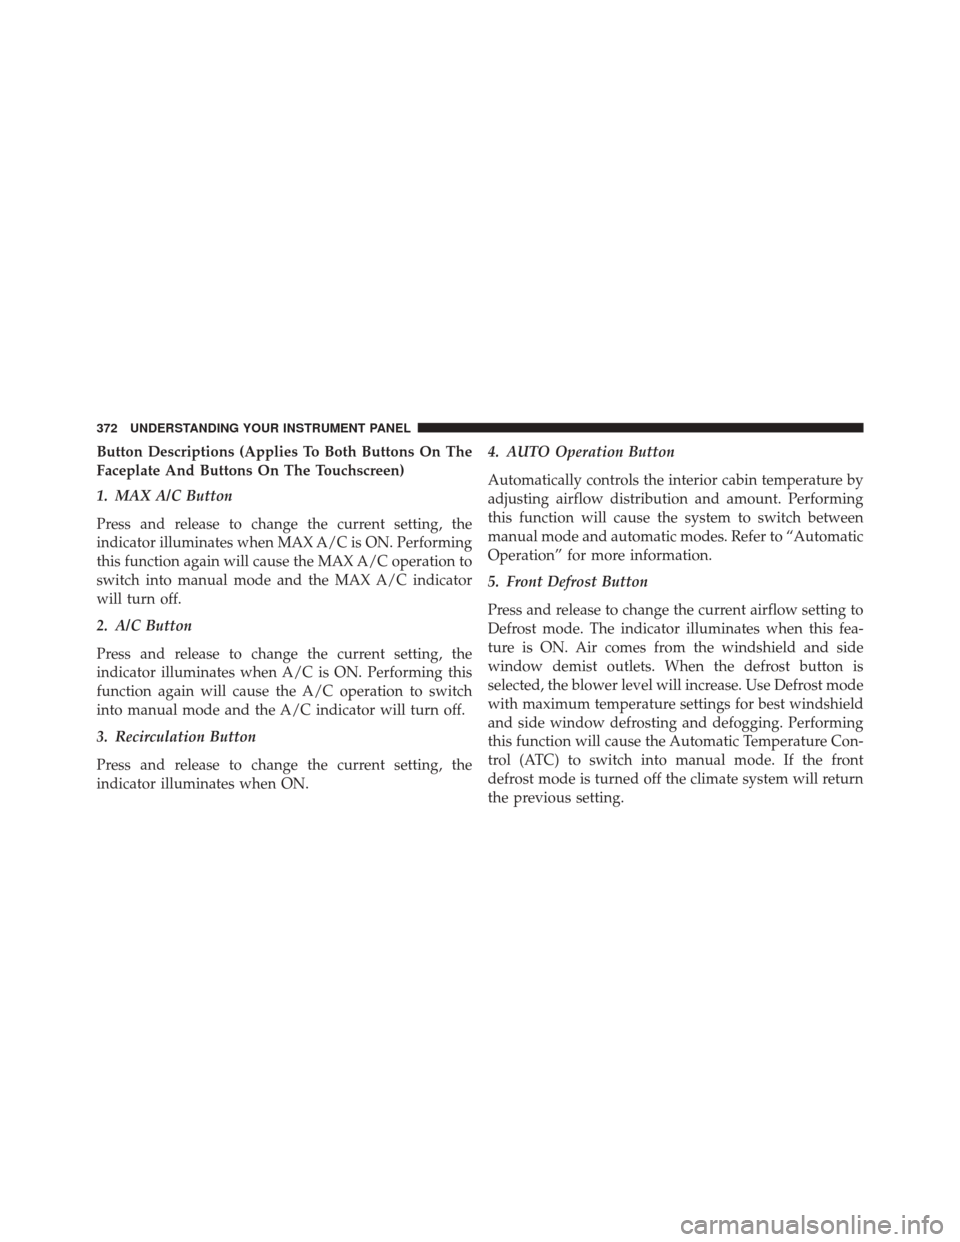
Button Descriptions (Applies To Both Buttons On The
Faceplate And Buttons On The Touchscreen)
1. MAX A/C Button
Press and release to change the current setting, the
indicator illuminates when MAX A/C is ON. Performing
this function again will cause the MAX A/C operation to
switch into manual mode and the MAX A/C indicator
will turn off.
2. A/C Button
Press and release to change the current setting, the
indicator illuminates when A/C is ON. Performing this
function again will cause the A/C operation to switch
into manual mode and the A/C indicator will turn off.
3. Recirculation Button
Press and release to change the current setting, the
indicator illuminates when ON.4. AUTO Operation Button
Automatically controls the interior cabin temperature by
adjusting airflow distribution and amount. Performing
this function will cause the system to switch between
manual mode and automatic modes. Refer to “Automatic
Operation” for more information.
5. Front Defrost Button
Press and release to change the current airflow setting to
Defrost mode. The indicator illuminates when this fea-
ture is ON. Air comes from the windshield and side
window demist outlets. When the defrost button is
selected, the blower level will increase. Use Defrost mode
with maximum temperature settings for best windshield
and side window defrosting and defogging. Performing
this function will cause the Automatic Temperature Con-
trol (ATC) to switch into manual mode. If the front
defrost mode is turned off the climate system will return
the previous setting.
372 UNDERSTANDING YOUR INSTRUMENT PANEL
Page 376 of 661

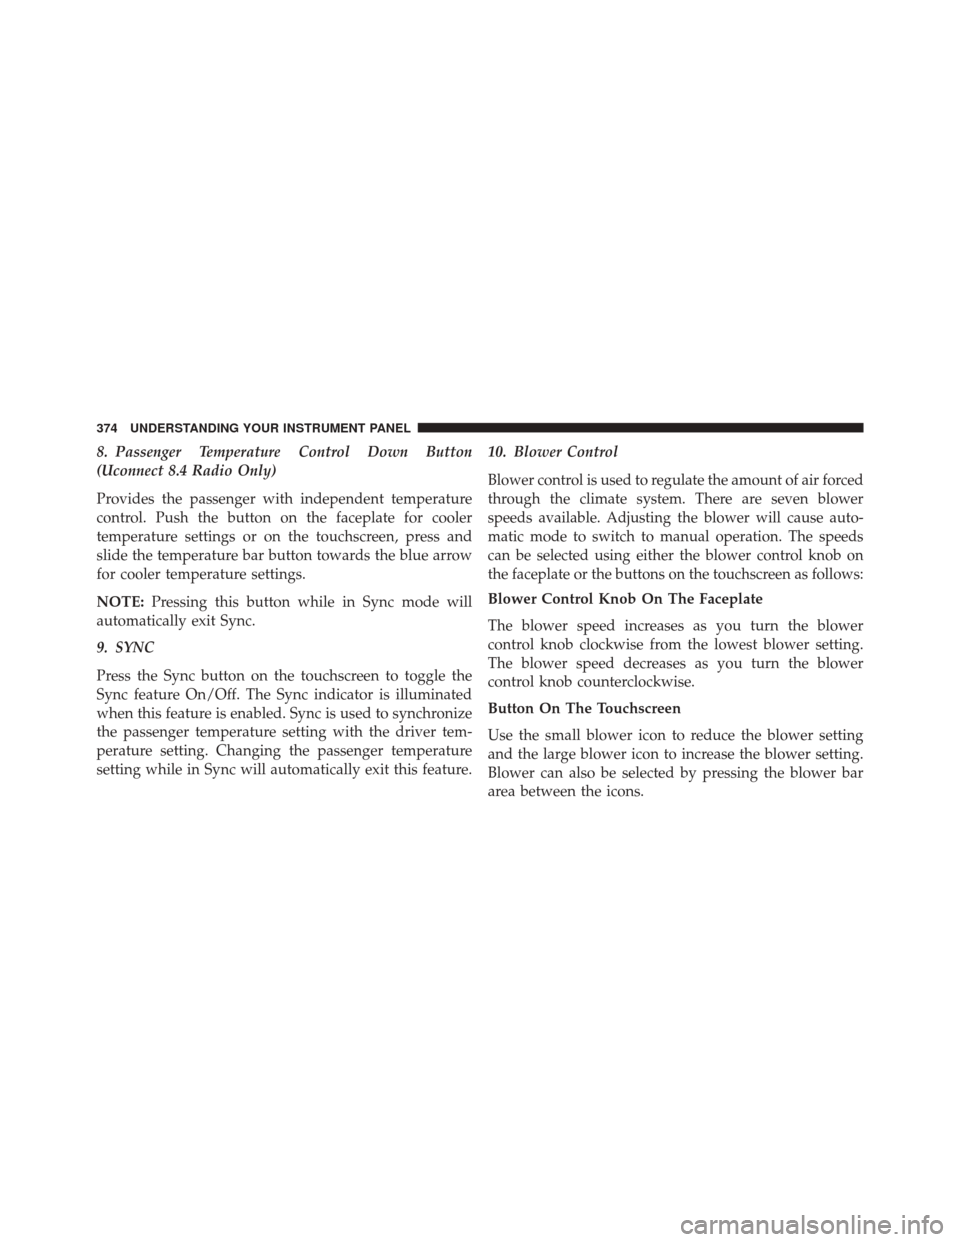
8. Passenger Temperature Control Down Button
(Uconnect 8.4 Radio Only)
Provides the passenger with independent temperature
control. Push the button on the faceplate for cooler
temperature settings or on the touchscreen, press and
slide the temperature bar button towards the blue arrow
for cooler temperature settings.
NOTE:Pressing this button while in Sync mode will
automatically exit Sync.
9. SYNC
Press the Sync button on the touchscreen to toggle the
Sync feature On/Off. The Sync indicator is illuminated
when this feature is enabled. Sync is used to synchronize
the passenger temperature setting with the driver tem-
perature setting. Changing the passenger temperature
setting while in Sync will automatically exit this feature. 10. Blower Control
Blower control is used to regulate the amount of air forced
through the climate system. There are seven blower
speeds available. Adjusting the blower will cause auto-
matic mode to switch to manual operation. The speeds
can be selected using either the blower control knob on
the faceplate or the buttons on the touchscreen as follows:
Blower Control Knob On The Faceplate
The blower speed increases as you turn the blower
control knob clockwise from the lowest blower setting.
The blower speed decreases as you turn the blower
control knob counterclockwise.
Button On The Touchscreen
Use the small blower icon to reduce the blower setting
and the large blower icon to increase the blower setting.
Blower can also be selected by pressing the blower bar
area between the icons.
374 UNDERSTANDING YOUR INSTRUMENT PANEL
Page 380 of 661

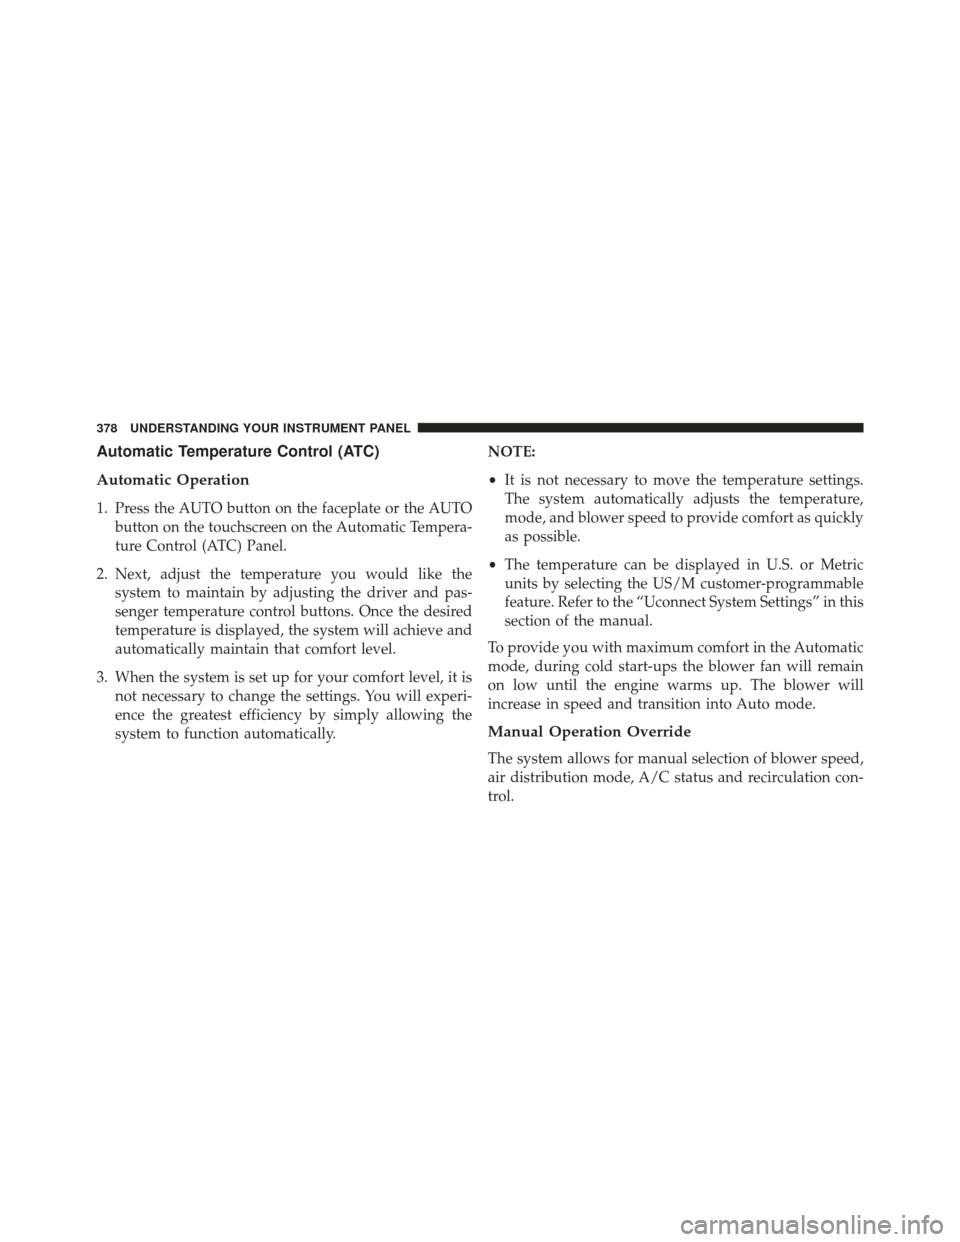
Automatic Temperature Control (ATC)
Automatic Operation
1. Press the AUTO button on the faceplate or the AUTObutton on the touchscreen on the Automatic Tempera-
ture Control (ATC) Panel.
2. Next, adjust the temperature you would like the system to maintain by adjusting the driver and pas-
senger temperature control buttons. Once the desired
temperature is displayed, the system will achieve and
automatically maintain that comfort level.
3. When the system is set up for your comfort level, it is not necessary to change the settings. You will experi-
ence the greatest efficiency by simply allowing the
system to function automatically. NOTE:
•
It is not necessary to move the temperature settings.
The system automatically adjusts the temperature,
mode, and blower speed to provide comfort as quickly
as possible.
• The temperature can be displayed in U.S. or Metric
units by selecting the US/M customer-programmable
feature. Refer to the “Uconnect System Settings” in this
section of the manual.
To provide you with maximum comfort in the Automatic
mode, during cold start-ups the blower fan will remain
on low until the engine warms up. The blower will
increase in speed and transition into Auto mode.
Manual Operation Override
The system allows for manual selection of blower speed,
air distribution mode, A/C status and recirculation con-
trol.
378 UNDERSTANDING YOUR INSTRUMENT PANEL
Page 386 of 661
Get Started
All you need to control your Uconnect system with your
voice are the buttons on your steering wheel.
1. VisitUconnectPhone.com to check mobile device and
feature compatibility and to find phone pairing
instructions.
2. Reduce background noise. Wind and passenger con- versations are examples of noise that may impact
recognition.
3. Speak clearly at a normal pace and volume while facing straight ahead. The microphone is positioned
on the rearview mirror and aimed at the driver. 4. Each time you give a Voice Command, you must first
push either the VR or Phone button, wait until after
the beep, then say your Voice Command.
5. You can interrupt the help message or system prompts by pushing the VR or Phone button and saying a Voice
Command from current category.
384 UNDERSTANDING YOUR INSTRUMENT PANEL
Page 387 of 661
Basic Voice Commands
The basic Voice Commands below can be given at any
point while using your Uconnect system.
Push the VR button
. After the beep, say�
•Cancel to stop a current voice session
• Help to hear a list of suggested Voice Commands
• Repeat to listen to the system prompts again
Uconnect Voice Command Buttons
1 — Push To Initiate Or To Answer A Phone Call, Send Or Re-
ceive A Text
2 — For All Radios: Push To Begin Radio Or Media functions. For
8.4A/8.4AN Only: Push To Begin Navigation, Apps And Climate
Functions.
3 — Push To End Call
4
UNDERSTANDING YOUR INSTRUMENT PANEL 385