Page 201 of 380

199
In the event of a fault with the SCR emissions control system
If it is a temporary fault, the alert disappears during the next journey,
a
fter self-diagnosis of the SCR system.
A
system that prevents engine starting is activated automatically from 650 miles (1 100 km) after confirmation of a fault with the SCR emissions
c
ontrol system. Have the system checked by a CITROËN dealer or a qualified workshop as soon as possible.
In the event of the detection of a fault
du
ring an authorised driving phase (between
650 miles and 0 miles) (1 100 km and 0 km)
The
UREA, SERVICE and diagnostic warning
l
amps
comes on, accompanied by an audible
s
ignal
and the display of the message
"
Emissions
f
ault".
The
alert is triggered when driving when the
f
ault
is detected for the first time, then when
s
witching on the ignition for subsequent
j
ourneys, while the fault persists. If a fault with the SCR system is confirmed (after
3
0 miles (50 km) covered with the permanent
d
isplay of the message signalling a fault), the
S
ERVICE and engine diagnostic warning lamps
c
ome on and the UREA warning lamp flashes,
a
ccompanied by an audible signal and the
d
isplay of a message (e.g.: "Emissions fault:
S
tarting prevented in 150 miles") indicating the
r
emaining range express in miles or kilometres.
While driving, the message is displayed every
3
0 seconds while the fault with the SCR system
p
ersists.
The alert is repeated when switching on the ig
nition.
You
should go to a CITROËN dealer or a
q
ualified workshop as soon as possible.
Other wise, you will not be able to restart your
engine. You
have exceeded the authorised
d
riving limit: the starting prevention
s
ystem inhibits engine starting.
Every
time the ignition is switched on, the SERVICE a
nd engine diagnostic warning lamps come on and t
he UREA warning lamp flashes, accompanied by
a
n audible signal and the display of the message
"
Emissions fault: Starting prevented".
Starting prevented
To
be able to start the engine, you must call on
a
CITROËN dealer or a qualified workshop.
Practical information
Page 202 of 380

Freezing of the AdBlue® additiveKeep AdBlue
® out of the reach of
children,
in
its
original bottle.
Never
transfer AdBlue
® to another
container:
it
would
lose
its purity. Never
dilute the additive with water.
Never pour the additive into the Diesel
f
uel tank.
Never top-up from an AdBlue®
dispenser
reserved
for
heavy
goods
v
ehicles.
Filling
the
AdBlue
® tank is an operation i
ncluded
in
every
routine service on your
v
ehicle
by
a
CITROËN dealer or a qualified
w
orkshop.
Nevertheless,
given the capacity of the tank,
i
t
may
be
necessary to top-up the additive
b
etween
services,
more particularly if an alert
(
warning
lamps
and a message) signals the
r
equirement.
You
can
got
to
a
CITROËN dealer or a qualified
w
orkshop.
If
you
envisage
topping-up yourself, please
r
ead
the
following
warnings carefully.
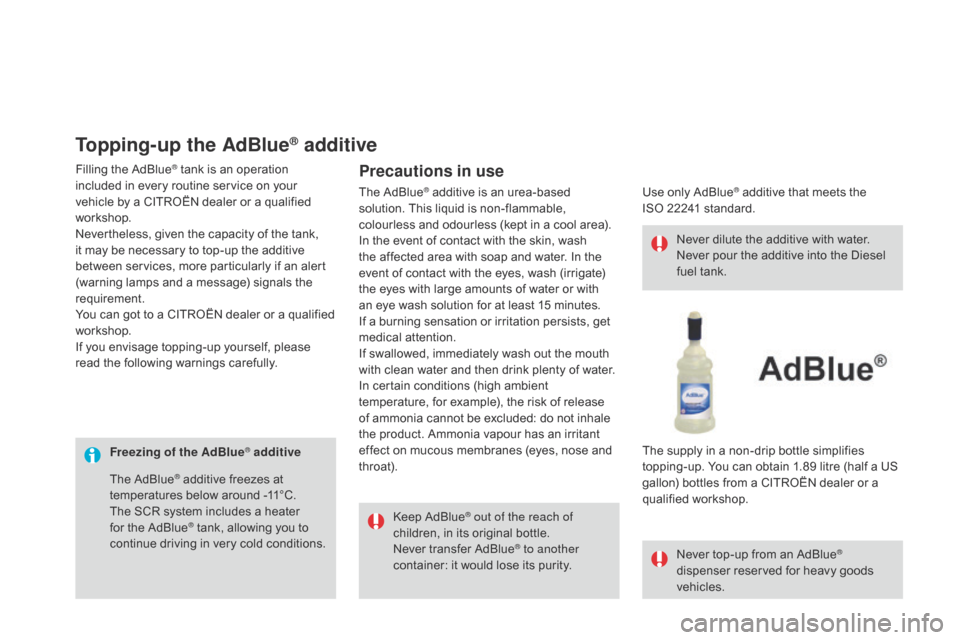
Topping-up the AdBlue® additive
Precautions in use
Use only AdBlue® additive that meets the I
SO 22241
standard.
The
supply
in
a
non-drip bottle simplifies
t
opping-up.
You
can obtain 1.89 litre (half a US
g
allon)
bottles
from a CITROËN dealer or a
q
ualified
w
orkshop.
The
AdBlue® additive is an urea-based s
olution.
This liquid is non-flammable,
c
olourless
and odourless (kept in a cool area).
In
the
event
of contact with the skin, wash
t
he
affected
area with soap and water. In the
e
vent
of
contact with the eyes, wash (irrigate)
t
he
eyes
with large amounts of water or with
a
n
eye
wash
solution for at least 15 minutes.
I
f
a
burning
sensation or irritation persists, get
m
edical
attention.
If
swallowed, immediately wash out the mouth
w
ith
clean
water and then drink plenty of water.
In
certain
conditions (high ambient
t
emperature,
for example), the risk of release
o
f
ammonia
cannot be excluded: do not inhale
t
he
product.
Ammonia vapour has an irritant
e
ffect
on
mucous membranes (eyes, nose and
t
hroat).
The
AdBlue
® additive freezes at t
emperatures below around -11°C.
The
SCR
system includes a heater
f
or
the
AdBlue
® tank, allowing you to c
ontinue
driving in very cold conditions.
Page 203 of 380

201
Never store bottles of AdBlue® in your
vehicle.
AdBlue
® freezes at about -11°C and d
eteriorates above 25°C. It is recommended
t
hat
bottles be stored in a cool area and
p
rotected from direct sunlight.
Under
these conditions, the additive can be
k
ept
for
at least a year.
If
the
additive has frozen, it can be used once it
h
as
completely thawed out.
Recommendations on storage
Before topping-up, ensure that the vehicle is parked on a flat and level sur face.
In
wintry conditions, ensure that the
t
emperature of the vehicle is above -11°C.
O
therwise
t
he
A
dBlue
® may be frozen and s
o
cannot
be
poured
into its tank. Park your
v
ehicle
in
a
warmer
area for a few hours to
a
llow
the
top-up
to
be
carried out.
Procedure
F Switch off the ignition and remove the key.
F
F
or access to the AdBlue
® tank, raise the boot c
arpet
then,
depending
on equipment, lift out t
he
spare
wheel
and/or
the storage box.
F
W
ithout
pressing,
turn
the black cap a
q
uarter
turn
anti-clockwise and lift it off.
F
T
urn the blue cap a 6
th of a turn anti-
c
lockwise.
F
L
ift
off
the
cap.
Practical information
Page 204 of 380

Important: if your vehicle's Ad
Blue® tank is completely empty - w
hich
is
confirmed by the alert
m
essages and the impossibility of
s
tarting
the engine, you must add at
l
east
3.8 litres (so two 1.89 litre bottles).If
any additive is split or splashed, wash
i
mmediately with cold water or wipe
w
ith a damp cloth.
If the additive has crystallised, clean it
o
ff using a sponge and hot water.Important:
i
n the event of a top-up after
a breakdown because of a lack of
additive , signalled by the message "Top
u
p emissions additive: Starting prevented",
y
ou must wait around 5 minutes before
s
witching
o
n
t
he
i
gnition,
w
ithout opening
the driver's door, locking the vehicle
or introducing the key into the ignition
switch .
Switch on the ignition, then, after
1
0 seconds, start the engine.
F
O
btain
a
bottle of AdBlue
®. After first c
hecking
the
use-by
date,
read carefully
t
he instructions on use on the label before
pouring
the
contents
of
the bottle into your
v
ehicle's
Ad
Blue
® tank. N ever dispose of AdBlue
® additive b
ottles
in
the
household
waste. Place
t
hem
in
a
special
container provided
t
his
purpose
or
take
them
to your
d
ealer.
F
A
fter
emptying
the
bottle,
wipe
away
any
s
pillage
around
the
tank
filler
using
a
damp
c
loth.
F
R
efit
the
blue
cap
to
the
tank
and
turn
it
a
6
th of a turn clockwise, to its stop.
F
R
efit the black cap and turn it a quarter of
a
turn clockwise without pressing. Ensure
t
hat
the indicator on the cap lines up with
t
he
indicator on the support.
F
D
epending on equipment, return the spare
w
heel and/or the storage box to the bottom
o
f
the boot.
F
R
efit the boot carpet and close the tailgate.
Page 205 of 380
203
The speed l imit s ticker m ust b e s ecured t
o the interior of the vehicle in the
driver's
field of vision, to remind you
t
hat a wheel is in temporary use.
Composition of the kit
1. 12 V compressor, with integral pressure ga
uge.
2.
S
ealant cartridge, with integral hose.
3.
S
peed limit sticker.
Temporary puncture r epair k it
Comprising a compressor and a sealant c
artridge, it allows the temporary repair of
a
tyre so that you can drive to the nearest
g
arage.
It
is designed to repair most punctures which
c
ould affect the tyre, located on the tyre tread
o
r shoulder.Access to the kit
This kit is installed i n t he s torage b ox, u nder t he b
oot floor.
The
vehicle's electric system allows the
c
onnection of a compressor for long
e
nough to inflate a tyre after a puncture
r
epair or for inflating a small inflatable
a
ccessory. Do
not exceed a speed of 50 mph
(80
km/h) when driving with a tyre
r
epaired using this type of kit.
Practical information
Page 206 of 380
F Switch off the ignition.
F S ecure the speed limit sticker inside the
v
ehicle.
Repair procedure
Avoid removing any foreign bodies which have penetrated into the tyre.F
U
ncoil the pipe stowed under the
c
ompressor.
F
C
onnect the pipe from the compressor to
t
he sealant cartridge.
F
T
urn the the sealant cartridge and secure it
i
n the cut-out provided on the compressor.F
R
emove the valve cap from the tyre to be
r
epaired, and place it in a clean area.
F
C
onnect the hose from the sealant
c
artridge to the valve of the tyre to be
r
epaired and tighten firmly.
Page 207 of 380

205
If after around 5 to 7 minutes the pressure is not attained, this indicates
t
hat the tyre is not repairable; contact
a
CITROËN dealer or a qualified
w
orkshop for assistance.
F
C
heck
that
the
compressor
switch
is
at
t
he
" O "
position.
F
U
ncoil
fully
the
electric
cable,
stowed
under
t
he
compressor.
F
C
onnect
compressor's
plug
to
the
vehicle's
1
2
V
socket.
F
S
witch
on
the
ignition. F
S
tart
the
compressor
by
placing
the
switch
a
t the " I"
position
and
leave
it
running
until
t
he
tyre
pressure
reaches
2.0
bar.
T
he
sealant
product
is
injected
into
the
tyre
u
nder
pressure;
do
not
disconnect
the
pipe
f
rom
the
valve
during
this
operation
(risk
of
sp
lashing
an
d
s
tains). Take
care, the sealant product
i
s harmful (e.g. ethylene-glycol,
c
olophony...) if swallowed and causes
i
rritation to the eyes.
Keep
this product out of the reach of
c
hildren.
The
use-by date is marked on the
c
artridge.
After
use, do not discard the
c
artridge by the roadside, take it to
a
CITROËN dealer or an authorised
w
aste disposal site.
Don't
forget to obtain a new sealant
c
artridge, available from a CITROËN
d
ealer or a qualified workshop.
Practical information
Page 208 of 380
F Place the switch in the "O" position.
F R emove the kit.
F
D
rive immediately for approximately
t
hree miles (five kilometres), at reduced
s
peed (between 15 and 35 mph (20 and
6
0 km/h)), to plug the puncture.
F
S
top to check the repair and the tyre
p
ressure using the kit.
Checking / adjusting tyre pressures
You can also use the compressor, without injecting sealant, to check and if necessary
a
djust the tyre pressures
F
R
emove the valve cap from the tyre and
p
lace it in a clean area.
F
U
ncoil the pipe stowed under the
c
ompressor.
F
S
crew the pipe onto the valve and tighten
f
i r m l y. F
C heck that the compressor switch is at
t
he "O "
position.
F
U
ncoil fully the electric cable, stowed under
t
he compressor.
F
C
onnect the compressor's plug to the
v
ehicle's 12 V socket.
F
S
witch on the ignition.