Page 235 of 727
With the parking lights or headlights on, rotating the
dimmer control upward will increase the brightness of
the instrument panel lights.
Interior Lighting On
Rotate the left dimmer control completely upward to the
second detent (extreme top position) to turn on the
interior lights. The interior lights will remain on when the
dimmer control is in this position.
Interior lights are also turned on when a door or liftgate
is opened, the Remote Keyless Entry (RKE) transmitter is
activated, or when the dimmer control is moved to the
extreme top.
The interior lights will automatically turn off in approxi-
mately 10 minutes for the first activation and 90 seconds
every activation thereafter until the engine is started, if
one of the following occur:
•A door, sliding door or the liftgate is left open.
• Any overhead reading light is left on.
Dimmer Control
3
UNDERSTANDING THE FEATURES OF YOUR VEHICLE 233
Page 248 of 727
Push the switch rearward to move the pedals rearward
(toward the driver).
•The pedals can be adjusted with the ignition OFF.
• The pedals cannotbe adjusted when the vehicle is in
REVERSE or when the Electronic Speed Control Sys-
tem is on. The following messages will be displayed on
vehicles equipped with the Electronic Vehicle Informa-
tion System (EVIC) if the pedals are attempted to be
adjusted when the system is locked out (“Adjustable
Pedal Disabled — Cruise Control Engaged” or “Ad-
justable Pedal Disabled — Vehicle In Reverse”).
NOTE:
• Always adjust the pedals to a position that allows full
pedal travel.
• Further small adjustments may be necessary to find
the best possible seat/pedal position. •
For vehicles equipped with Driver Memory Seat, you
can use your Remote Keyless Entry (RKE) transmitter
or the memory switch on the driver ’s door trim panel
to return the adjustable pedals to pre-programmed
positions. Refer to “Driver Memory Seat” in “Under-
standing The Features Of Your Vehicle” for further
information.
CAUTION!
Do not place any article under the adjustable pedals
or impede its ability to move, as it may cause damage
to the pedal controls. Pedal travel may become lim-
ited if movement is stopped by an obstruction in the
adjustable pedal’s path.
246 UNDERSTANDING THE FEATURES OF YOUR VEHICLE
Page 265 of 727
Courtesy/Interior Lighting
At the forward end of the console are two courtesy lights
(standard dome light has two buttons). The lights turn on
when a front door, a sliding door or the liftgate is opened.If your vehicle is equipped with Remote Keyless Entry
(RKE) the lights will also turn on when the UNLOCK
button on the RKE transmitter is pushed.
The courtesy lights also function as reading lights. Push
in on each lens to turn these lights on while inside the
vehicle. Push a second time to turn each light off. You
may adjust the direction of these lights by pushing the
outside ring, which is identified with four directional
arrows (LED lamps only).
The area around the instrument panel cupholders is also
illuminated from a light in the overhead console (pre-
mium console only). This light is turned on when the
headlight switch is on, and will adjust in brightness when
the dimmer control is rotated up or down.
Overhead Console
3
UNDERSTANDING THE FEATURES OF YOUR VEHICLE 263
Page 267 of 727
NOTE:From the “conversation mirror” position, the
door can only be closed.
To return to the full open position, the door must first be
closed and then opened by pushing the latch again to
release.
Rear Courtesy/Reading Lights — If Equipped
The overhead console has two sets of courtesy lights. The
lights turn on when a front door, a sliding door or the
liftgate is opened. If your vehicle is equipped with
Remote Keyless Entry (RKE) the lights will also turn on
when the UNLOCK button on the RKE transmitter is
pushed.
The courtesy lights also function as reading lights. Push
in on each lens to turn these lights on while inside the
vehicle. Push the lens a second time to turn each light off.
You may adjust the direction of these lights by pushing
the outside ring, which is identified with four directional
arrows.
Conversation Mirror Position
3
UNDERSTANDING THE FEATURES OF YOUR VEHICLE 265
Page 372 of 727
opened. To make your selection, push and release the
Right arrow button until a check-mark appears next to
the feature showing the system has been activated, or the
check-mark is removed showing the system has been
deactivated.
Remote Unlock Sequence
WhenUnlock Driver Door Only On 1st Press is selected,
only the driver ’s door will unlock on the first push of the
Remote Keyless Entry (RKE) transmitter UNLOCK but-
ton. When Unlock Driver Door Only On 1st Press, you
must push the RKE transmitter UNLOCK button twice to
unlock the passenger ’s doors. When Unlock All Doors
On 1st Press is selected, all of the doors will unlock on
the first push of the RKE transmitter UNLOCK button. To
make your selection, push and release the RIGHT arrow
button until a check-mark appears next to the feature
showing the system has been activated or the check-mark
is removed showing the system has been deactivated.
RKE Linked To Memory- If Equipped
When this feature is selected, the memory seat, mirror,
and radio settings will return to the memory set position
when the RKE transmitter UNLOCK button is pushed. If
this feature is not selected, then the memory seat, mirror,
and radio settings can only return to the memory set
position using the door mounted switch. To make your
selection, push and release the RIGHT button until a
check-mark appears next to the feature showing the
system has been activated or the check-mark is removed
showing the system has been deactivated.
Remote Start Comfort Sys.
When this feature is selected and the remote start is
activated, the heated steering wheel and driver heated
seat features will automatically turn on in cold weather.
These features will stay on through the duration of
remote start or until the key is cycled to ON/RUN
position. To make your selection, push and release the
370 UNDERSTANDING YOUR INSTRUMENT PANEL
Page 375 of 727
Illuminated Approach
When this feature is selected, the headlights will activate
and remain on for up to 90 seconds when the doors are
unlocked with the RKE transmitter. To make your selec-
tion, scroll up or down until the preferred setting is
highlighted, then push and release the RIGHT button
until a check-mark appears next to the setting, showing
that the setting has been selected.
Hill Start Assist (HSA) — If Equipped
When on is selected, the HSA system is active. Refer to
“Electronic Brake Control System” in “Starting And
Operating” for system function and operating informa-
tion. To make your selection, push and release the RIGHT
button until “ON” or “OFF” appears.
Flashers With Sliding Door
When this feature is selected, the signal lamps activate
when power or manual sliding doors are in operation,signaling other drivers that someone may be exiting or
entering the vehicle. To make your selection, push and
release the RIGHT button until a check-mark appears
next to the feature showing the system has been activated
or the check-mark is removed, showing the system has
been deactivated.
Keyless Enter-N-Go (Passive Entry) — If Equipped
This feature allows you to lock and unlock the vehicle’s
door(s) without having to push the RKE transmitter lock
or unlock buttons. To make your selection, push and
release the RIGHT button until a check-mark appears
next to the feature showing the system has been acti-
vated, or the check-mark is removed showing the system
has been deactivated. Refer to “Keyless Enter-N-Go” in
“Things To Know Before Starting Your Vehicle.”
Easy Exit Seat
This feature provides automatic driver seat positioning to
enhance driver mobility when entering and exiting the
4
UNDERSTANDING YOUR INSTRUMENT PANEL 373
Page 674 of 727
Cavity Cartridge FuseMini-FuseDescription
M24 –25 Amp Clear Rear Wiper
M25 –20 Amp Yellow Fuel Pump, Diesel Lift Pump – If Equipped
M26 –10 Amp Red Power Mirror Switch, Driver Window Switch
M27 –10 Amp Red Wireless Control Module, Keyless Entry Mod-
ule
M28 –10 Amp Red Powertrain, Transmission Control Module
M29 –10 Amp Red Occupant Classification Module
M30 –15 Amp Blue Rear Wiper Module, Power Folding Mirror
M31 –20 Amp Yellow Back-Up Lamps
M32 –10 Amp Red Airbag Module, THATCHUM – If Equipped
M33 –10 Amp Red Powertrain
M34 –10 Amp Red Park Assist, Heater Climate Control Module,
Headlamp Wash, Compass, Rear Camera,
Door Lamps, Flashlight, Relay Diesel Cabin Heater, Rad Fan Diesel – If Equipped
672 MAINTAINING YOUR VEHICLE
Page 710 of 727
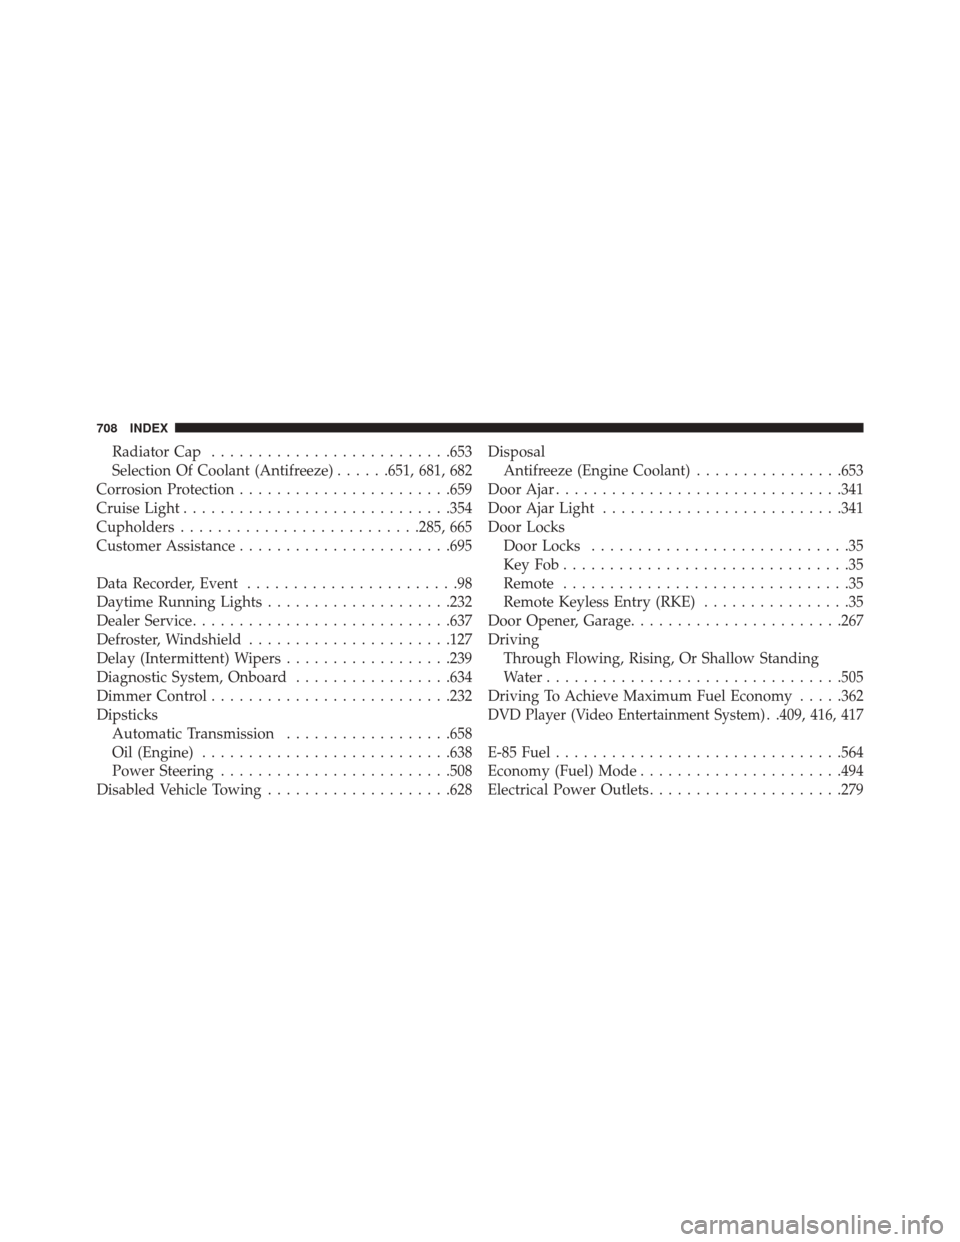
Radiator Cap......................... .653
Selection Of Coolant (Antifreeze) ......651, 681, 682
Corrosion Protection ...................... .659
Cruise Light ............................ .354
Cupholders ......................... .285, 665
Customer Assistance ...................... .695
Data Recorder, Event .......................98
Daytime Running Lights ....................232
Dealer Service ........................... .637
Defroster, Windshield ..................... .127
Delay (Intermittent) Wipers ..................239
Diagnostic System, Onboard .................634
Dimmer Control ......................... .232
Dipsticks Automatic Transmission ..................658
Oil (Engine) .......................... .638
Power Steering ........................ .508
Disabled Vehicle Towing ....................628 Disposal
Antifreeze (Engine Coolant) ................653
Door Ajar .............................. .341
Door Ajar Light ......................... .341
Door Locks Door Locks ............................35
KeyFob...............................35
Remote ...............................35
Remote Keyless Entry (RKE) ................35
Door Opener, Garage ...................... .267
Driving Through Flowing, Rising, Or Shallow Standing
Water ............................... .505
Driving To Achieve Maximum Fuel Economy .....362
DVD Player (Video Entertainment System). .409, 416, 417
E-85 Fuel .............................. .564
Economy (Fuel) Mode ..................... .494
Electrical Power Outlets .....................279
708 INDEX