Page 105 of 620
WARNING!(Continued)
•Never put floor mats or other floor coverings on top
of already installed floor mats. Additional floor
mats and other coverings will reduce the size of the
pedal area and interfere with the pedals.
• Check mounting of mats on a regular basis. Always
properly reinstall and secure floor mats that have
been removed for cleaning.
• Always make sure that objects cannot fall into the
driver footwell while the vehicle is moving. Ob-
jects can become trapped under the brake pedal
and accelerator pedal causing a loss of vehicle
control.
• If required, mounting posts must be properly in-
stalled, if not equipped from the factory.
Failure to properly follow floor mat installation or
mounting can cause interference with the brake
pedal and accelerator pedal operation causing loss of
control of the vehicle.
Periodic Safety Checks You Should Make Outside
The Vehicle
Tires
Examine tires for excessive tread wear and uneven wear
patterns. Check for stones, nails, glass, or other objects
lodged in the tread or sidewall. Inspect the tread for cuts
and cracks. Inspect sidewalls for cuts, cracks, and bulges.
Check the wheel nuts for tightness. Check the tires
(including spare) for proper cold inflation pressure.
Lights
Have someone observe the operation of brake lights and
exterior lights while you work the controls. Check turn
signal and high beam indicator lights on the instrument
panel.
2
THINGS TO KNOW BEFORE STARTING YOUR VEHICLE 103
Page 109 of 620
▫Fog Lights — If Equipped ...............157
▫ Multifunction Lever ...................157
▫ Turn Signals ........................ .158
▫ Lane Change Assist ...................158
▫ High/Low Beam Switch ................159
▫ Flash-To-Pass ....................... .159
▫ Front Map/Reading Lights — If Equipped . . .159
▫ Courtesy Lights ...................... .160
▫ Ambient Light — If Equipped ............161
▫ Interior Lights ...................... .161
� WINDSHIELD WIPERS AND WASHERS ......164
▫ Intermittent Wiper System ...............164
▫ Wiper Operation ..................... .164▫
Mist Feature ........................ .165
▫ Windshield Washers ...................165
▫ Headlights On With Wipers (Available With
Automatic Headlights Only) .............166
▫ Rain Sensing Wipers ...................166
� MANUAL TILT/TELESCOPING STEERING
COLUMN ........................... .168
� POWER TILT/TELESCOPING STEERING
COLUMN — IF EQUIPPED ...............169
� HEATED STEERING WHEEL — IF
EQUIPPED .......................... .171
� ADJUSTABLE PEDALS — IF EQUIPPED ......172
� ELECTRONIC SPEED CONTROL — IF
EQUIPPED .......................... .174
▫ To Activate ......................... .175
3
UNDERSTANDING THE FEATURES OF YOUR VEHICLE 107
Page 156 of 620
To activate the delay feature, place the ignition in the OFF
position while the headlights are still on. Then, turn off
the headlights within 45 seconds. The delay interval
begins when the headlight switch is turned off.
If you turn the headlights or parking lights on, or place
the ignition in ACC or RUN, the system will cancel the
delay.
If you turn the headlights off before the ignition, they will
turn off in the normal manner.
NOTE:
•The lights must be turned off within 45 seconds of
placing the ignition in the OFF position to activate this
feature.
• The headlight delay time is programmable using the
Uconnect System, refer to “Uconnect Settings” in “Un-
derstanding Your Instrument Panel” for further infor-
mation.Automatic High Beam Headlamp Control — If
Equipped
The Automatic High Beam Headlamp Control system
provides increased forward lighting at night by automat-
ing high beam control through the use of a digital camera
mounted on the windshield. This camera detects vehicle
specific light and automatically switches from high
beams to low beams until the approaching vehicle is out
of view.
NOTE:
• The Automatic High Beam Headlamp Control can be
turned on or off using the Uconnect System. Refer to
“Uconnect Settings” in “Understanding Your Instru-
ment Panel” for further information.
• Broken, muddy, or obstructed headlights and taillights
of vehicles in the field of view will cause headlights to
remain on longer (closer to the vehicle). Also, dirt, film,
154 UNDERSTANDING THE FEATURES OF YOUR VEHICLE
Page 157 of 620
and other obstructions on the windshield or camera
lens will cause the system to function improperly.
If the windshield or forward facing camera module is
replaced, the camera must be re-calibrated to ensure
proper system performance. See your local authorized
dealer.
To Activate
1. Turn the headlight switch to the AUTO headlight position.
2. Push the multifunction lever away from you (toward front of vehicle) to engage the high beam mode.
NOTE: This system will not activate until the vehicle is
at or above 15 mph (24 km/h).
To Deactivate
1. Pull the multifunction lever toward you (or rearward in vehicle) to manually deactivate the system (normal
operation of low beams).
2. Push back on the multifunction lever to reactivate the system.
Adaptive Bi-Xenon High Intensity Discharge
Headlights — If Equipped
This system automatically swivels the headlight beam
pattern horizontally to provide increased illumination in
the direction the vehicle is steering.
3
UNDERSTANDING THE FEATURES OF YOUR VEHICLE 155
Page 159 of 620
Fog Lights — If Equipped
The front fog light switch is built into the headlight
switch.To activate the front fog lights, turn on the parking
lights or the low beam headlights and push the headlight switch. To turn off the front fog lights, either
push the headlight switch a second time or turn off the
headlight switch.
NOTE:
The fog lights will operate with the low beam
headlights or parking lights on. However, selecting the
high beam headlights will turn off the fog lights.
Multifunction Lever
The multifunction lever controls the operation of the turn
signals, headlight beam selection and passing lights. The
multifunction lever is located on the left side of the
steering column.
Fog Light Switch
3
UNDERSTANDING THE FEATURES OF YOUR VEHICLE 157
Page 161 of 620
High/Low Beam Switch
Push the multifunction lever away from you to switch
the headlights to high beam. Pull the multifunction lever
toward you to switch the headlights back to low beam.
Flash-To-Pass
You can signal another vehicle with your headlights by
lightly pulling the multifunction lever toward you. This
will turn on the high beams headlights until the lever is
released.
Front Map/Reading Lights — If Equipped
The front map/reading lights are mounted in the over-
head console.
Front Map/Reading Lights
3
UNDERSTANDING THE FEATURES OF YOUR VEHICLE 159
Page 303 of 620
Blue Telltale Indicator Lights
High Beam Indicator Light
Blue TelltaleLight What It Means
High Beam Indicator Light
This indicator shows that the high beam headlights are on. Push the multifunction control
lever away from you to switch the headlights to high beam. Pull the lever toward you to
switch the headlights back to low beam. Pull the lever toward you for a temporary high
beam on,
�flash to pass� scenario.
DRIVER INFORMATION DISPLAY (DID)
The Driver Information Display (DID) features an inter-
active display which is located in the instrument cluster.
This system conveniently allows the driver to select a
variety of useful information by pushing the arrow
buttons located on the left side of the steering wheel. The
DID Menu Items consists of the following: •
Speedometer
• Vehicle Info
• Driver Assist — If Equipped
• Fuel Economy
• Trip
• Audio
4
UNDERSTANDING YOUR INSTRUMENT PANEL 301
Page 508 of 620
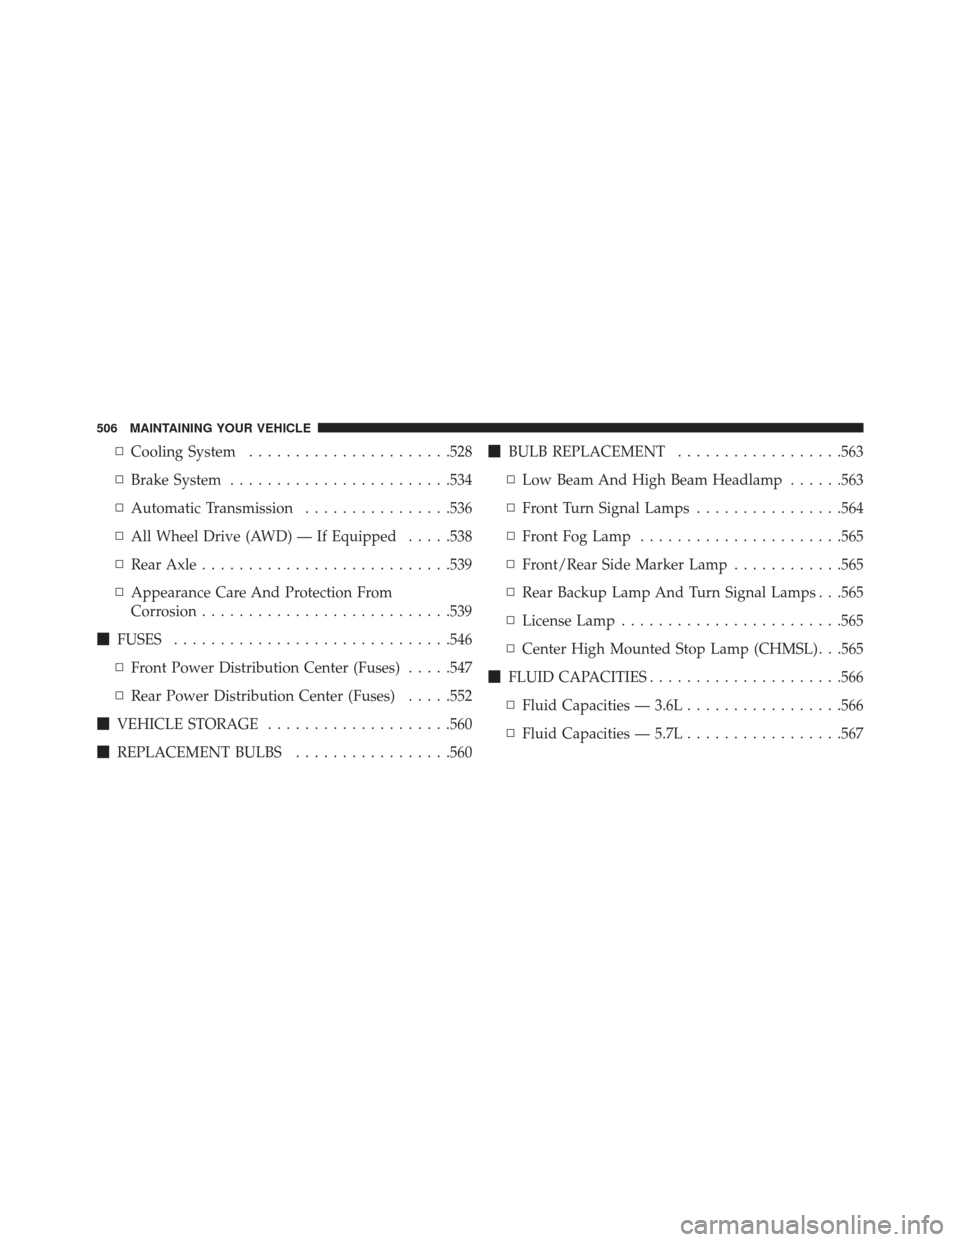
▫Cooling System ..................... .528
▫ Brake System ....................... .534
▫ Automatic Transmission ................536
▫ All Wheel Drive (AWD) — If Equipped .....538
▫ Rear Axle .......................... .539
▫ Appearance Care And Protection From
Corrosion .......................... .539
� FUSES ............................. .546
▫ Front Power Distribution Center (Fuses) .....547
▫ Rear Power Distribution Center (Fuses) .....552
� VEHICLE STORAGE ....................560
� REPLACEMENT BULBS .................560 �
BULB REPLACEMENT ..................563
▫ Low Beam And High Beam Headlamp ......563
▫ Front Turn Signal Lamps ................564
▫ Front Fog Lamp ..................... .565
▫ Front/Rear Side Marker Lamp ............565
▫ Rear Backup Lamp And Turn Signal Lamps . . .565
▫ License Lamp ....................... .565
▫ Center High Mounted Stop Lamp (CHMSL) . . .565
� FLUID CAPACITIES .....................566
▫ Fluid Capacities — 3.6L .................566
▫ Fluid Capacities — 5.7L .................567
506 MAINTAINING YOUR VEHICLE