2016 CHEVROLET MALIBU LIMITED service
[x] Cancel search: servicePage 189 of 360
Chevrolet Malibu Limited Owner Manual (GMNA-Localizing-U.S/Canada-
9086425) - 2016 - crc - 7/30/15
188 Driving and Operating
When the vehicle is shifted into
P (Park), the ignition system will
switch to OFF.
Do not turn the engine off when the
vehicle is moving. This will cause a
loss of power assist in the brake
and steering systems and disable
the airbags.
If the vehicle must be shut off in an
emergency:1. Brake using a firm and steady pressure. Do not pump the
brakes repeatedly. This may
deplete power assist, requiring
increased brake pedal force.
2. Shift the vehicle to N (Neutral). This can be done while the
vehicle is moving. After shifting
to N (Neutral), firmly apply the
brakes and steer the vehicle to
a safe location.
3. Come to a complete stop, shift to P (Park), and turn the
ignition to OFF. On vehicles
with an automatic transmission,
the shift lever must be in
P (Park) to turn the ignition
switch to the OFF position. 4. Set the parking brake. See
Parking Brake 0200.
{Warning
Turning off the vehicle while
moving may cause loss of power
assist in the brake and steering
systems and disable the airbags.
While driving, only shut the
vehicle off in an emergency.
If the vehicle cannot be pulled over,
and must be shut off while driving,
press and hold the ENGINE START/
STOP button for longer than
two seconds, or press twice in
five seconds.
ACC/ACCESSORY (Amber
Indicator Light) : This mode allows
you to use some electrical
accessories when the engine is off.
With the ignition off, pressing the
button one time without the brake
pedal applied will place the ignition
system in ACC/ACCESSORY. The ignition will switch from ACC/
ACCESSORY to OFF after
five minutes to prevent battery
run down.
ON/RUN/START (Green Indicator
Light) :
This mode is for driving and
starting. With the ignition off, and
the brake pedal applied, pressing
the button once will place the
ignition system in ON/RUN/START.
Once engine cranking begins,
release the button. Engine cranking
will continue until the engine starts.
See Starting the Engine 0191. The
ignition will then remain in ON/RUN.
Service Only Mode
This power mode is available for
service and diagnostics, and to
verify the proper operation of the
malfunction indicator lamp as may
be required for emission inspection
purposes. With the vehicle off, and
the brake pedal not applied,
pressing and holding the button for
more than five seconds will place
the vehicle in Service Only Mode.
The instruments and audio systems
will operate as they do in ON/RUN,
but the vehicle will not be able to be
Page 190 of 360
Chevrolet Malibu Limited Owner Manual (GMNA-Localizing-U.S/Canada-
9086425) - 2016 - crc - 7/30/15
Driving and Operating 189
driven. The engine will not start in
Service Only Mode. Push the button
again to turn the vehicle off.
Ignition Positions (Key
Access)
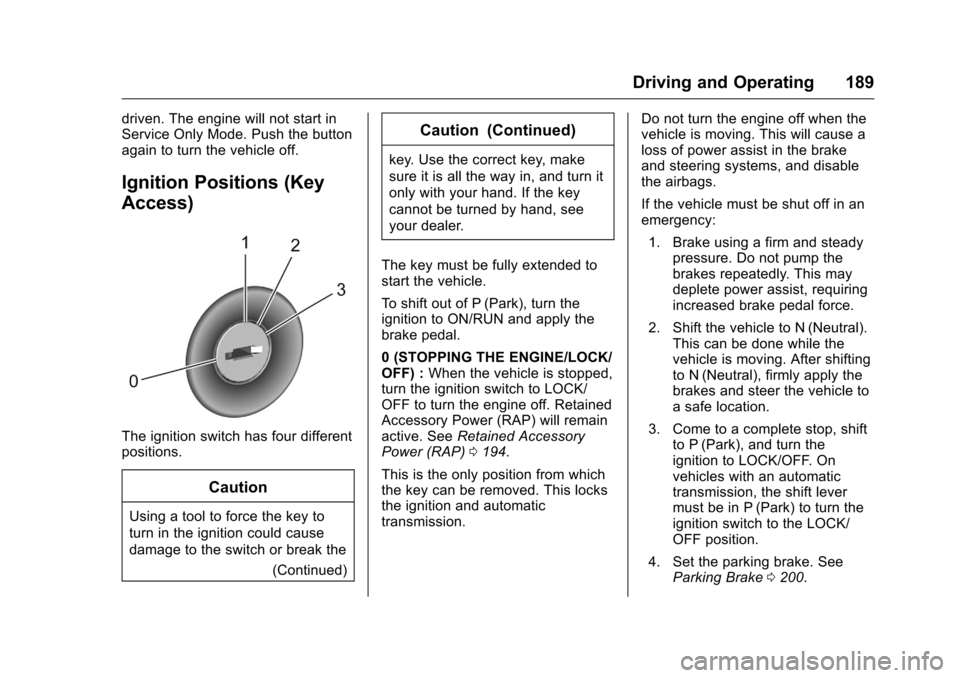
The ignition switch has four different
positions.
Caution
Using a tool to force the key to
turn in the ignition could cause
damage to the switch or break the(Continued)
Caution (Continued)
key. Use the correct key, make
sure it is all the way in, and turn it
only with your hand. If the key
cannot be turned by hand, see
your dealer.
The key must be fully extended to
start the vehicle.
To shift out of P (Park), turn the
ignition to ON/RUN and apply the
brake pedal.
0 (STOPPING THE ENGINE/LOCK/
OFF) : When the vehicle is stopped,
turn the ignition switch to LOCK/
OFF to turn the engine off. Retained
Accessory Power (RAP) will remain
active. See Retained Accessory
Power (RAP) 0194.
This is the only position from which
the key can be removed. This locks
the ignition and automatic
transmission. Do not turn the engine off when the
vehicle is moving. This will cause a
loss of power assist in the brake
and steering systems, and disable
the airbags.
If the vehicle must be shut off in an
emergency:
1. Brake using a firm and steady pressure. Do not pump the
brakes repeatedly. This may
deplete power assist, requiring
increased brake pedal force.
2. Shift the vehicle to N (Neutral). This can be done while the
vehicle is moving. After shifting
to N (Neutral), firmly apply the
brakes and steer the vehicle to
a safe location.
3. Come to a complete stop, shift to P (Park), and turn the
ignition to LOCK/OFF. On
vehicles with an automatic
transmission, the shift lever
must be in P (Park) to turn the
ignition switch to the LOCK/
OFF position.
4. Set the parking brake. See Parking Brake 0200.
Page 191 of 360

Chevrolet Malibu Limited Owner Manual (GMNA-Localizing-U.S/Canada-
9086425) - 2016 - crc - 7/30/15
190 Driving and Operating
{Warning
Turning off the vehicle while
moving may cause loss of power
assist in the brake and steering
systems and disable the airbags.
While driving, only shut the
vehicle off in an emergency.
If the vehicle cannot be pulled over,
and must be shut off while driving,
turn the ignition to ACC/
ACCESSORY.
1 (ACC/ACCESSORY) : This
position provides power to some of
the electrical accessories. It unlocks
the ignition. To move the key from
ACC/ACCESSORY to LOCK/OFF,
the shift lever must be in P (Park).
2 (ON/RUN) : The ignition switch
stays in this position when the
engine is running. This position can
be used to operate the electrical
accessories, including the
ventilation fan and 12-volt power
outlets, as well as to display some
warning and indicator lights. This
position can also be used for service and diagnostics, and to
verify the proper operation of the
malfunction indicator lamp as may
be required for emission inspection
purposes. The transmission is also
unlocked in this position.
The battery could be drained if the
key is left in the ACC/ACCESSORY
or ON/RUN position with the engine
off. The vehicle might not restart if
the battery is allowed to drain for an
extended period of time.
3 (START) :
This position starts the
engine. When the engine starts,
release the key. The ignition switch
will return to ON/RUN for normal
driving.
A warning tone sounds when the
driver door is opened when the
ignition is still in ACC/ACCESSORY
and the key is in the ignition. If the
ignition becomes difficult to turn,
see Keys 025.
Key Lock Release
Vehicles with an automatic
transmission are equipped with an
electronic key lock release system.
This system is to prevent ignition
key removal unless the shift lever is
in P (Park).
The key lock release will not work if
the battery is charged less than
9 volts, or uncharged. Try charging
or jump starting the battery. See
Jump Starting - North America
0293.
If charging or jump starting the
battery does not work, there is a
manual key lock release. Locate the
Page 208 of 360
Chevrolet Malibu Limited Owner Manual (GMNA-Localizing-U.S/Canada-
9086425) - 2016 - crc - 7/30/15
Driving and Operating 207
Symbols and Guidelines
The system may have a feature that
lets the driver view caution symbols
on the infotainment screen while
using the RVC. The Rear Parking
Assist (RPA) system must not be
disabled to use the caution symbols.
The error message Rear Parking
Assist Symbols Unavailable may
display if RPA has been disabled
and the symbols have been
turned on.
The symbols appear and may cover
an object when viewing the
infotainment screen when an object
is detected by the RPA system.
The RVC system may have a
guideline overlay that can help the
driver align the vehicle when
backing into a parking spot.
To turn the symbols and guidelines
on or off:1. Shift into P (Park).
2. Press the CONFIG button on the infotainment system.
3. Select Display Settings and then Rear Camera Options. 4. Select Symbols or Guidelines.
When a checkmark appears
next to the option, the feature
is on.
Rear Cross Traffic Alert (RCTA)
On vehicles with the RCTA, when
shifted into R (Reverse), a warning
triangle with a left or right pointing
arrow may display on the RVC
screen to warn of traffic coming from
the left or the right. Three beeps will
also sound from the left or right
side, depending on the approaching
cross traffic direction. This system
detects objects coming from up to
20 m (65 ft) from the left or right side
behind the vehicle. The RCTA
system will not work properly if ice,
snow, mud, or anything else builds
up on the rear bumper sensors.
Use caution while backing up when
towing a trailer, as the RCTA
detection zones that extend out
from the back of your vehicle do not
move further back when a trailer is
towed.
To turn RCTA on or off, see
“Collision Detection Systems” under
Vehicle Personalization 0122. Rear Vision Camera Error
Messages
SERVICE REAR VISION CAMERA
SYSTEM :
If this message appears
in the center stack display, the
system may need service.
If any other problem occurs or if a
problem persists, see your dealer.
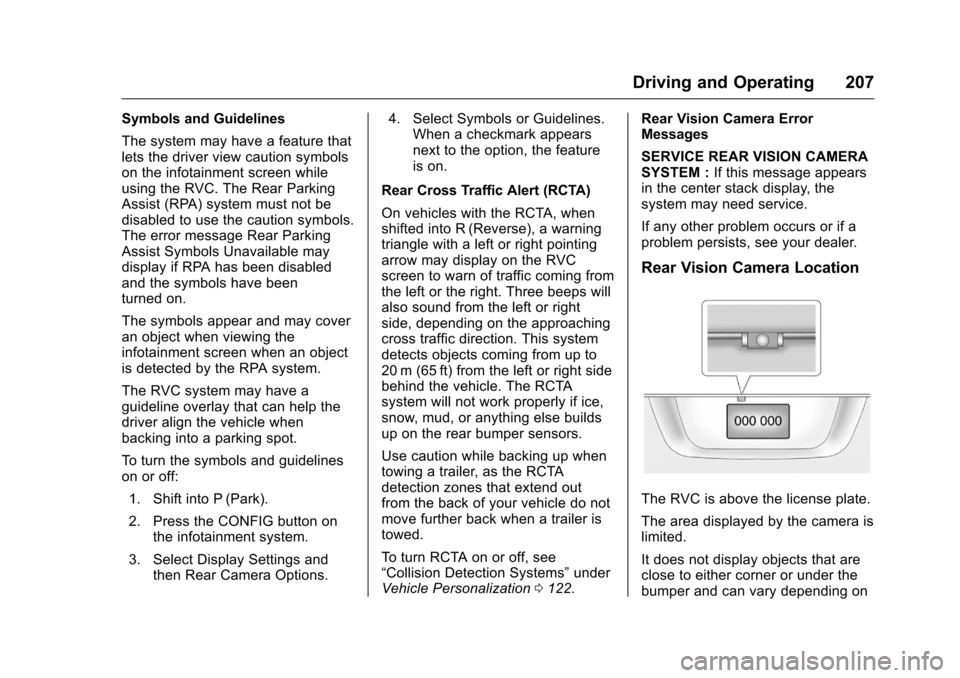
Rear Vision Camera Location
The RVC is above the license plate.
The area displayed by the camera is
limited.
It does not display objects that are
close to either corner or under the
bumper and can vary depending on
Page 210 of 360
Chevrolet Malibu Limited Owner Manual (GMNA-Localizing-U.S/Canada-
9086425) - 2016 - crc - 7/30/15
Driving and Operating 209
Warning (Continued)
below the bumper or that are too
close or too far from the vehicle.
It is not available at speeds
greater than 8 km/h (5 mph). To
prevent injury, death, or vehicle
damage, even with parking assist,
always check the area around the
vehicle and check all mirrors
before backing.
How the System Works
RPA comes on automatically when
the shift lever is moved into
R (Reverse). A single beep sounds
to indicate the system is working.
An obstacle detection is indicated
by beeps. The time between the
beeps becomes shorter as the
vehicle gets closer to the obstacle.
When the distance is less than
30 cm (12 in), the beeping is a
continuous beep for five seconds.
Turning the System On and Off
The RPA system can be turned on
and off using the infotainment
system controls. SeeVehicle
Personalization 0122.
When the system is off, PARK
ASSIST OFF displays on the Driver
Information Center (DIC). The
message disappears after a short
period of time.
RPA defaults to the on setting each
time the vehicle is started.
Turn off RPA when towing a trailer.
When the System Does Not
Seem to Work Properly
The following messages may be
displayed on the DIC:
SERVICE PARKING ASSIST : If
this message occurs, check the
following conditions:
. The sensors are not clean. Keep
the vehicle's rear bumper free of
mud, dirt, snow, ice, and slush.
For cleaning instructions, see
Exterior Care 0298. .
The parking assist sensors are
covered by frost or ice. Frost or
ice can form around and behind
the sensors and may not always
be seen; this can occur after
washing the vehicle in cold
weather. The message may not
clear until the frost or ice has
melted.
If the above conditions do not exist,
take the vehicle to your dealer to
repair the system.
PARK ASSIST OFF : If the RPA
system does not activate due to a
temporary condition, the message
displays on the DIC. This can occur
under the following conditions:
. The driver has disabled the
system.
. An object was hanging out of the
trunk during the last drive cycle.
Once the object is removed,
RPA will return to normal
operation.
. The bumper is damaged. Take
the vehicle to your dealer to
repair the system.
Page 212 of 360
Chevrolet Malibu Limited Owner Manual (GMNA-Localizing-U.S/Canada-
9086425) - 2016 - crc - 7/30/15
Driving and Operating 211
Collision Alert
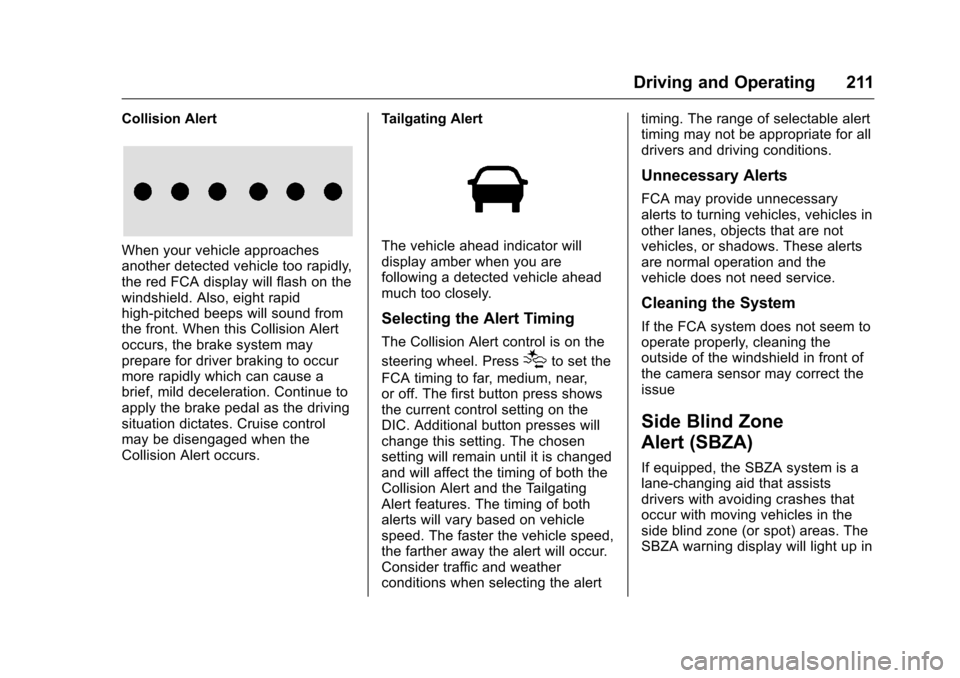
When your vehicle approaches
another detected vehicle too rapidly,
the red FCA display will flash on the
windshield. Also, eight rapid
high-pitched beeps will sound from
the front. When this Collision Alert
occurs, the brake system may
prepare for driver braking to occur
more rapidly which can cause a
brief, mild deceleration. Continue to
apply the brake pedal as the driving
situation dictates. Cruise control
may be disengaged when the
Collision Alert occurs.Tailgating AlertThe vehicle ahead indicator will
display amber when you are
following a detected vehicle ahead
much too closely.
Selecting the Alert Timing
The Collision Alert control is on the
steering wheel. Press
[to set the
FCA timing to far, medium, near,
or off. The first button press shows
the current control setting on the
DIC. Additional button presses will
change this setting. The chosen
setting will remain until it is changed
and will affect the timing of both the
Collision Alert and the Tailgating
Alert features. The timing of both
alerts will vary based on vehicle
speed. The faster the vehicle speed,
the farther away the alert will occur.
Consider traffic and weather
conditions when selecting the alert timing. The range of selectable alert
timing may not be appropriate for all
drivers and driving conditions.
Unnecessary Alerts
FCA may provide unnecessary
alerts to turning vehicles, vehicles in
other lanes, objects that are not
vehicles, or shadows. These alerts
are normal operation and the
vehicle does not need service.
Cleaning the System
If the FCA system does not seem to
operate properly, cleaning the
outside of the windshield in front of
the camera sensor may correct the
issue
Side Blind Zone
Alert (SBZA)
If equipped, the SBZA system is a
lane-changing aid that assists
drivers with avoiding crashes that
occur with moving vehicles in the
side blind zone (or spot) areas. The
SBZA warning display will light up in
Page 214 of 360
Chevrolet Malibu Limited Owner Manual (GMNA-Localizing-U.S/Canada-
9086425) - 2016 - crc - 7/30/15
Driving and Operating 213
If SBZA is disabled by the driver,
the SBZA mirror displays will not
light up.
When the System Does Not
Seem to Work Properly
SBZA displays may not come on
when passing a vehicle quickly, for
a stopped vehicle, or when towing a
trailer. The SBZA detection zones
that extend back from the side of
the vehicle do not move further back
when a trailer is towed. Use caution
while changing lanes when towing a
trailer. SBZA may alert to objects
attached to the vehicle, such as a
trailer, bicycle, or object extending
out to either side of the vehicle. This
is normal system operation; the
vehicle does not need service.
SBZA may not always alert the
driver to vehicles in the side blind
zone, especially in wet conditions.
The system does not need to be
serviced. The system may light up
due to guardrails, signs, trees,
shrubs, and other non-moving
objects. This is normal system
operation; the vehicle does not need
service.SBZA may not operate when the
SBZA sensors in the left or right
corners of the rear bumper are
covered with mud, dirt, snow, ice,
or slush, or in heavy rainstorms. For
cleaning instructions, see "Washing
the Vehicle" under
Exterior Care
0 298. If the DIC displays the
system unavailable message after
cleaning both sides of the vehicle
toward the rear corners of the
vehicle, see your dealer.
If the SBZA displays do not light up
when vehicles are in the blind zone
and the system is clean, the system
may need service. Take the vehicle
to your dealer.
When SBZA is disabled for any
reason other than the driver turning
it off, the Side Blind Zone Alert On
option will not be available on the
personalization menu.
Radio Frequency Information
See Radio Frequency Statement
0 335.
Lane Departure
Warning (LDW)
If equipped, LDW may help avoid
crashes due to unintentional lane
departures. It may provide an alert if
the vehicle is crossing a lane
without using a turn signal in that
direction. LDW uses a camera
sensor to detect the lane markings
at speeds of 56 km/h (35 mph) or
greater.
{Warning
The LDW system does not steer
the vehicle. The LDW system
may not:
. Provide enough time to
avoid a crash.
. Detect lane markings under
poor weather or visibility
conditions. This can occur if
the windshield or
headlamps are blocked by
dirt, snow, or ice; if they are
(Continued)
Page 215 of 360
Chevrolet Malibu Limited Owner Manual (GMNA-Localizing-U.S/Canada-
9086425) - 2016 - crc - 7/30/15
214 Driving and Operating
Warning (Continued)
not in proper condition; or if
the sun shines directly into
the camera.
. Detect road edges.
. Detect lanes on winding or
hilly roads.
If LDW only detects lane
markings on one side of the road,
it will only warn you when
departing the lane on the side
where it has detected a lane
marking. Always keep your
attention on the road and
maintain proper vehicle position
within the lane, or vehicle
damage, injury, or death could
occur. Always keep the
windshield, headlamps, and
camera sensors clean and in
good repair. Do not use LDW in
bad weather conditions.
How the System Works
The LDW camera sensor is on the
windshield ahead of the rearview
mirror.
To turn LDW on and off, press
@on
the center stack, forward of the shift
lever. The control indicator will light
when LDW is on.
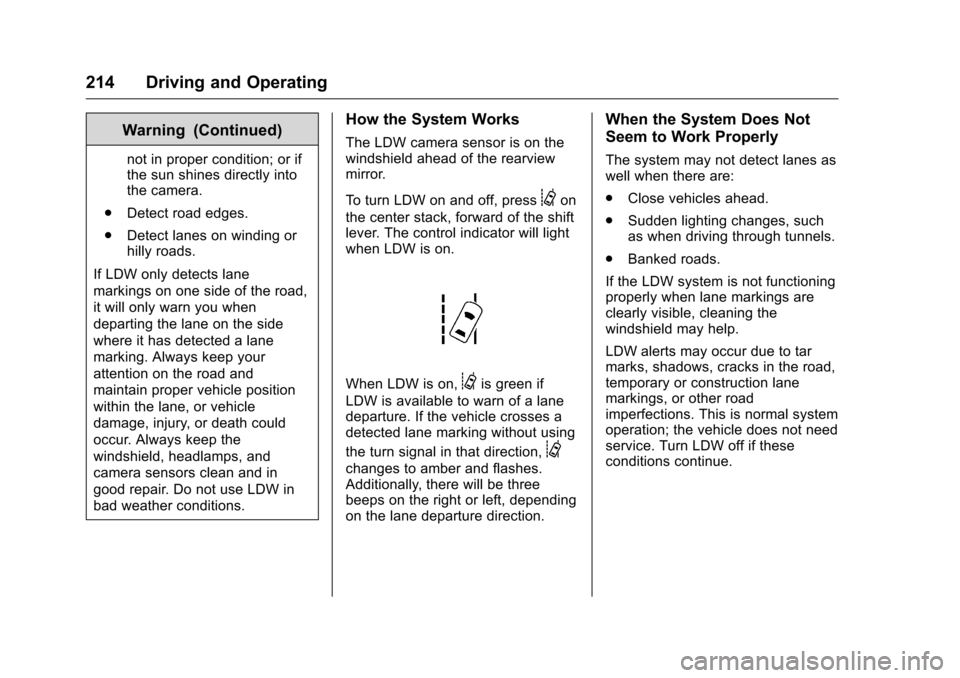
When LDW is on,@is green if
LDW is available to warn of a lane
departure. If the vehicle crosses a
detected lane marking without using
the turn signal in that direction,
@
changes to amber and flashes.
Additionally, there will be three
beeps on the right or left, depending
on the lane departure direction.
When the System Does Not
Seem to Work Properly
The system may not detect lanes as
well when there are:
. Close vehicles ahead.
. Sudden lighting changes, such
as when driving through tunnels.
. Banked roads.
If the LDW system is not functioning
properly when lane markings are
clearly visible, cleaning the
windshield may help.
LDW alerts may occur due to tar
marks, shadows, cracks in the road,
temporary or construction lane
markings, or other road
imperfections. This is normal system
operation; the vehicle does not need
service. Turn LDW off if these
conditions continue.