2016 BMW M4 seat adjustment
[x] Cancel search: seat adjustmentPage 42 of 228
Boot lid is opened and doors are un‐
locked.
Acknowledgement signal of the
vehicle
Settings are saved in active profile, see
page 33.
1."Settings"2."Doors/key"3."Turn signals for lock/unl."
Automatic locking
Settings are saved in active profile, seepage 33.
1."Settings"2."Doors/key"3.Select the desired function:▷"Automatic relock"
The vehicle is locked automatically af‐
ter a short while if no door is opened.▷"Lock after driving away"
On driving off, the vehicle is locked au‐
tomatically.
Calling up seat, mirror setting
The last adjusted driver's seat and exterior mir‐
ror position is saved for the currently used re‐
mote control.
When the vehicle is unlocked, this position is
called up automatically if the function has been
enabled.
WARNING
Danger of trapping when moving the
seats. Danger of injury or damage to property.
Before making the setting, make sure that the
movement area of the seat is clear.◀
Adjustment procedure is interrupted:
▷By operating the switch or the seat adjust‐
ment.▷By touching a button of the seat and mirror
memory.
Enabling setting
1."Settings"2."Doors/key"3."Last seat position autom."
Alarm system
PrincipleThe alarm system is triggered when the vehi‐cle is locked if:
▷A door, the bonnet or the the boot lid is
opened.▷Movements in the interior.▷The vehicle's incline changes, for instance
if an attempt is made to jack it up and steal
the wheels or to raise it prior to towing
away.▷There is an interruption in the power sup‐
ply from the battery.
The alarm system will respond briefly to unau‐
thorised attempts to access the vehicle as fol‐
lows:
▷Acoustic alarm.▷Switching on the hazard warning lights.
Arming and disarming
At the same time as unlocking and locking the
vehicle by remote control or Comfort Access
the alarm system is also disarmed or armed.
Door lock with alarm system armed Alarm system is deactivated if the vehicle is
unlocked using the door lock.
Boot lid with alarm system armed The boot lid can be opened even with the
alarm system armed.
Seite 42ControlsOpening and closing42
Online Edition for Part no. 01 40 2 964 013 - VI/15
Page 48 of 228
AdjustingVehicle equipment
This chapter describes all standard, national
and special equipment provided in the model
series. Equipment not available in the vehicle is
therefore also described, for example the se‐
lected special equipment or national version.
This also applies to safety-relevant functions
and systems. Comply with the relevant na‐
tional regulations when using the correspond‐
ing functions and systems.
Safe seated position A seated position that suitably reflects your re‐
quirements is a vital condition of relaxed driv‐
ing with a minimum of fatigue.
In the event of an accident, the seated position
plays an important role together with:▷Seat belts, see page 52.▷Head restraints, see page 54.▷Airbags, see page 104.
Seats
Notes WARNING
Seat adjustment during the journey can
lead to unexpected seat movements. You
could lose control of the vehicle. Danger of ac‐
cidents. Only adjust the seat on the driver side
when at a standstill.◀
WARNING
If the seat backrest is angled back too
far, the protective effect of the seat belt will no
longer be guaranteed. There is a danger of
slipping under the seat belt in the event of an
accident. Danger of injury or life. Set the seat
before starting the journey. Place the seat
backrest in the most upright possible position,
and do not change it during the journey.◀
WARNING
Danger of trapping when moving the
seats. Danger of injury or damage to property.
Before making the setting, make sure that the
movement area of the seat is clear.◀
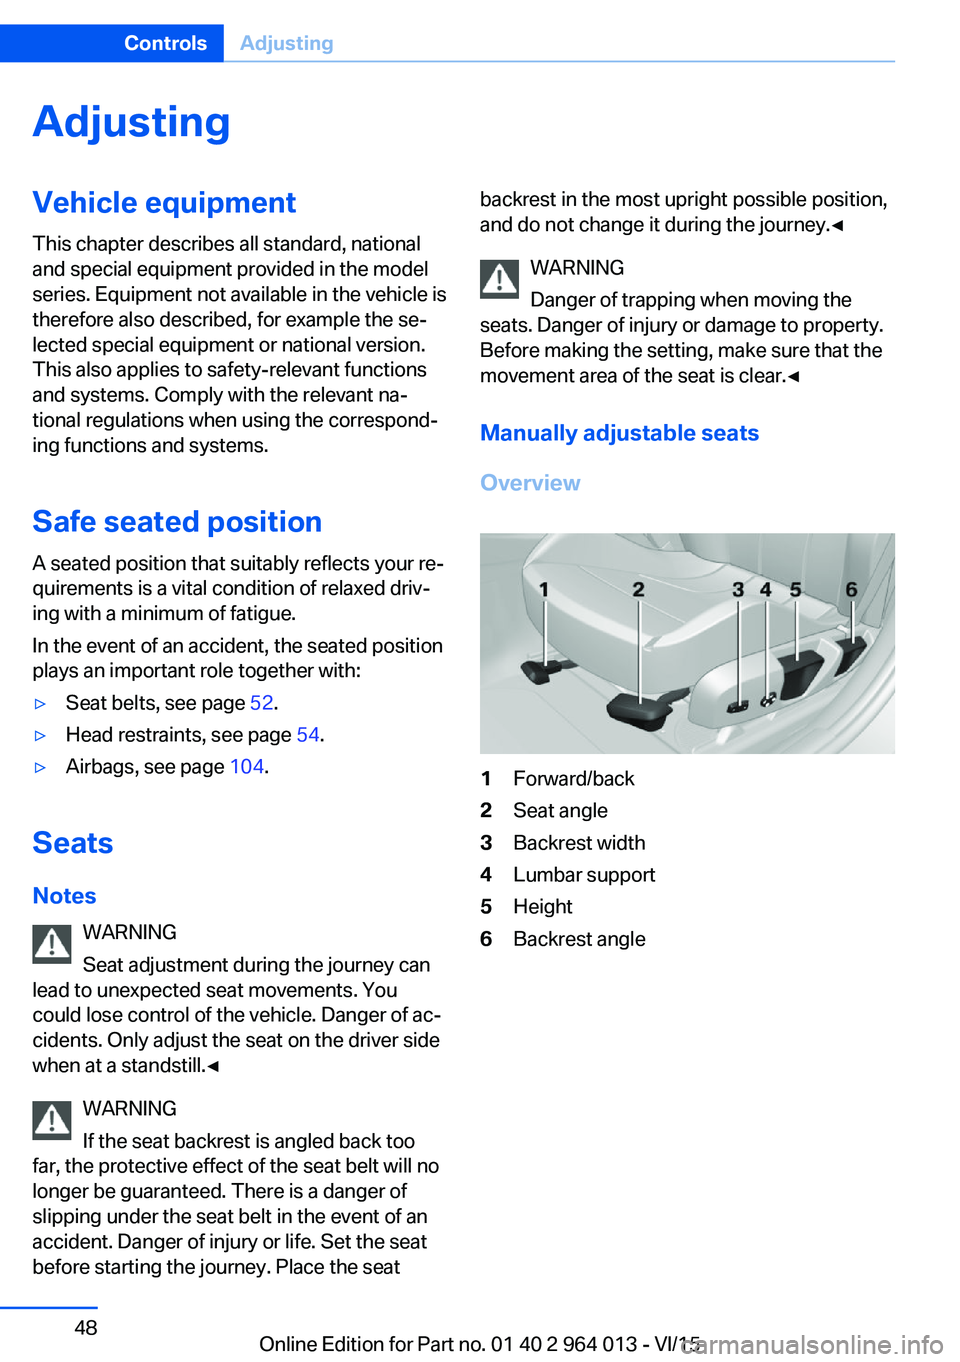
Manually adjustable seats
Overview1Forward/back2Seat angle3Backrest width4Lumbar support5Height6Backrest angleSeite 48ControlsAdjusting48
Online Edition for Part no. 01 40 2 964 013 - VI/15
Page 49 of 228
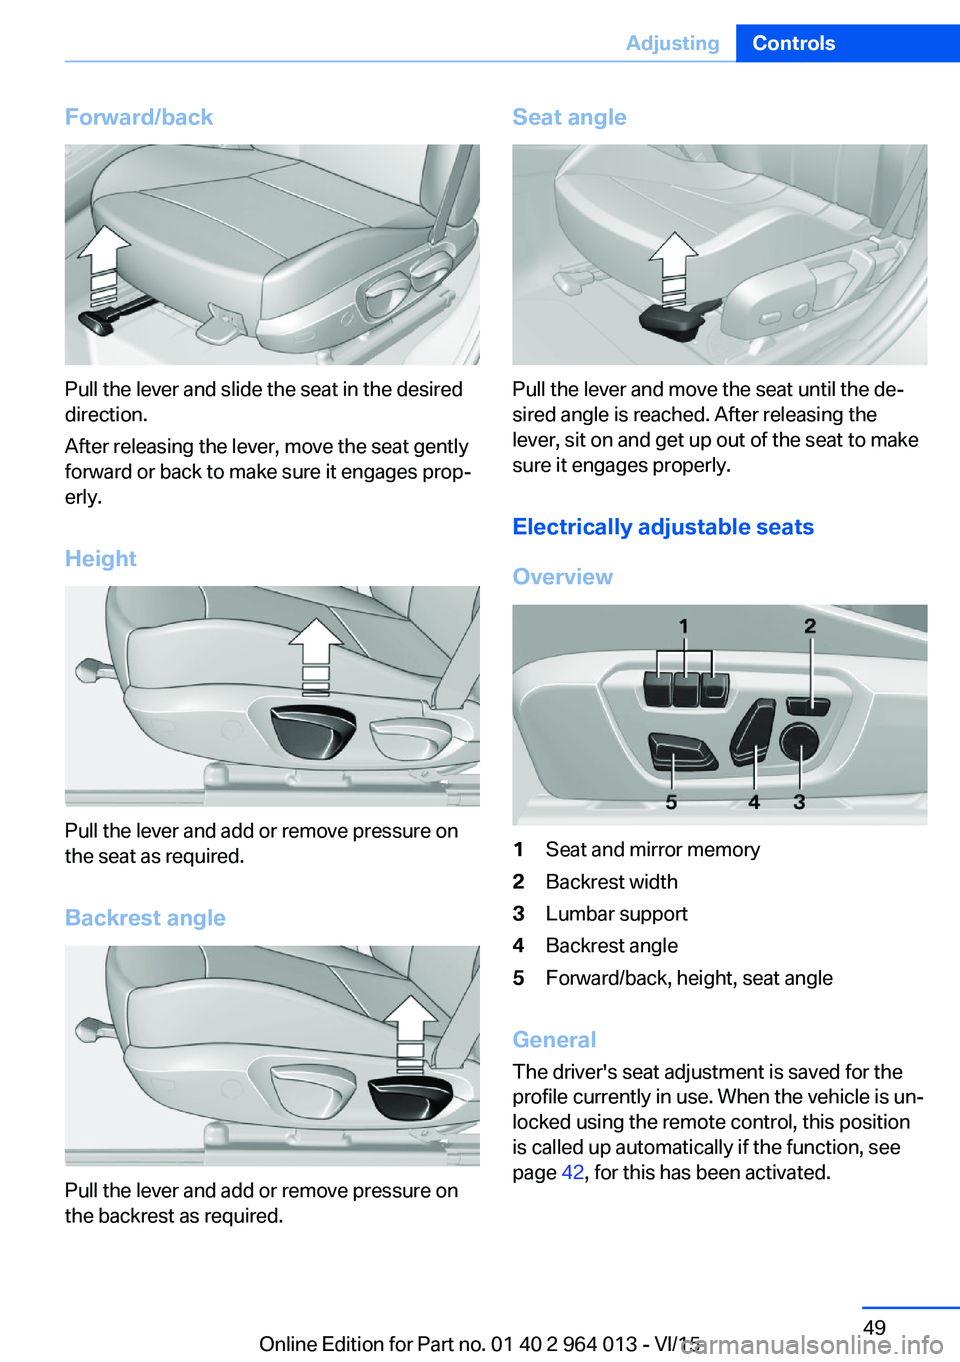
Forward/back
Pull the lever and slide the seat in the desired
direction.
After releasing the lever, move the seat gently
forward or back to make sure it engages prop‐
erly.
Height
Pull the lever and add or remove pressure on
the seat as required.
Backrest angle
Pull the lever and add or remove pressure on
the backrest as required.
Seat angle
Pull the lever and move the seat until the de‐
sired angle is reached. After releasing the
lever, sit on and get up out of the seat to make
sure it engages properly.
Electrically adjustable seats
Overview
1Seat and mirror memory2Backrest width3Lumbar support4Backrest angle5Forward/back, height, seat angle
General The driver's seat adjustment is saved for the
profile currently in use. When the vehicle is un‐
locked using the remote control, this position is called up automatically if the function, see
page 42, for this has been activated.
Seite 49AdjustingControls49
Online Edition for Part no. 01 40 2 964 013 - VI/15
Page 51 of 228

Switch offPress and hold down the button.
LEDs go out.
Entering in the back
Notes WARNING
Danger of trapping when moving the
seats. Danger of injury or damage to property.
Before making the setting, make sure that the
movement area of the seat is clear.◀
WARNING
The backrest can unexpectedly move
during the journey when it is unlocked. You
could lose control of the vehicle. Danger of in‐
jury. Fold back and lock the backrests before
every journey.◀
Manual longitudinal adjustment Comfort entry
The comfort entry contains a memory function
for the longitudinal and backrest adjustment.1.Pull the lever until it stops.2.Fold the backrest forwards.3.Slide the seat forwards.
Original position
1.Push seat back to the starting position.2.Fold back backrest to lock the seat.Electric longitudinal adjustment
Comfort entry
The comfort entry contains a memory function
for the longitudinal and backrest adjustment.1.Pull the lever until it stops.2.Fold the backrest forwards.3.Changing the entrance area:▷Press and hold down the button
until the seat has moved into the
desired position. Releasing stops the
movement.▷Press the button briefly. Seat au‐
tomatically moves into the end
position. Pressing the switch again
stops the movement.
Original position
1.Move seat in original position:▷Hold down the button until the
seat is moved to its original posi‐
tion. Releasing stops the movement.▷Press the button briefly. The seat
moves into its original position.
Pressing the switch again stops the
movement.2.Fold back backrest.Seite 51AdjustingControls51
Online Edition for Part no. 01 40 2 964 013 - VI/15
Page 53 of 228

▷Avoid bulky clothing.▷Regularly pull the seat belt in the upper-
body area taut.
Adjustment for automatic retracting
seat belts
▷Draw the buckle tongue attached to the
seat belt across the body and press it into
the buckle catch until a ‘click’ is heard.▷Adjustment of the belt length is very im‐
portant. To adjust the lap belt and check
whether the buckle has locked correctly,
pull upwards on the shoulder strap until the
lap belt fits tightly.▷The length of the diagonal shoulder strap
adjusts itself automatically to allow free‐
dom of movement.▷To release the seat belt, press the button
on the buckle catch unit.
Fastening the seat belt
The seat belt buckle must be heard to engage.
Automatically tension seat belt
If the belt is fastened, the belt strap is automat‐
ically fastened once when driving off.
Unfastening the seat belt
1.Hold onto the belt.2.Press the red button on the belt buckle.3.Guide the belt back up to the reel mecha‐
nism.Seat belt reminder for driver’s and
front seat passenger seat
A Check Control message is displayed.
Check whether the seat belt has been
fastened correctly.
The seat belt reminder is activated when the
seat belt on the driver's side is not fastened.
On some national versions, the seat belt re‐
minder is also activated above approximately
10 km/h, 6 mph if the front passenger's seat
belt is not fastened and if heavy objects are lo‐
cated on the seat.
Not for Australia/New Zealand: Seat
belt reminder for rear seats
The indicator light in the instrument
cluster is illuminated after the engine
starts.▷Green: seat belt fastened on the corre‐
sponding rear seat.▷Red: seat belt not fastened on the corre‐
sponding rear seat.
The seat belt reminder will also be activated if
a rear seat belt is unfastened during the jour‐
ney.
Damaged seat belts WARNING
The protective effect of the seat belts
can be restricted or nullified in the following
situations:
▷Belts are damaged, contaminated or have
been modified in another way.▷Belt buckle is damaged or heavily contami‐
nated.▷Belt tensioners or belt retractors have
been modified.
Seat belts can be damaged in an accident
without the damage necessarily being appa‐
rent. Danger of injury or life. Do not modify seat
belts, belt buckles, belt tensioners, belt retrac‐
tors and belt anchor points; also, keep them
Seite 53AdjustingControls53
Online Edition for Part no. 01 40 2 964 013 - VI/15
Page 55 of 228

Saving1.Switch on ignition.2.Set desired position.3.Press button briefly. LED in button
is illuminated.4.Press the desired button 1 or 2 while the
LED is lit. LED turns off.
If SET button was pressed inadvertently:
Press the button again.
LED turns off.
Recalling
General
There are two possibilities of calling up the
memory function:
▷Comfort function, see page 55.▷Safety function, see page 55.
Convenience function
1.Open the driver's door.2.Switch ignition off if necessary.3.Briefly press button 1 or 2 as desired.
The relevant seat adjustment is done automat‐
ically.
The process is cancelled if a seat adjustment
switch or one of the buttons is pressed.
Safety function
1.Close the driver’s door or switch the igni‐
tion on.2.Keep button 1 or 2 pressed as desired until
the adjustment procedure has been con‐
cluded.
Calling up has been disabled
After a short time, calling up saved seat posi‐
tions is disabled to prevent the battery from
being discharged.
To reactivate calling up:
▷Open and close a door or the boot lid.▷Press a button on the remote control.▷Press the start/stop button.
Mirrors
Exterior mirrors
General Depending on the equipment, the mirror set‐
ting is saved for the profile currently in use.
When the vehicle is unlocked using the remote
control, this position is called up automatically
if the setting for this has been enabled.
Note WARNING
Objects reflected in the mirrors are
closer than they appear. The distance to road
users behind the vehicle could be incorrectly
estimated, for example when changing lane.
Danger of accidents. Look over your shoulder
to estimate the distance from following traf‐
fic.◀
Overview
1Adjusting 562Left/right, automatic parking function3Folding in and out 56Seite 55AdjustingControls55
Online Edition for Part no. 01 40 2 964 013 - VI/15
Page 56 of 228
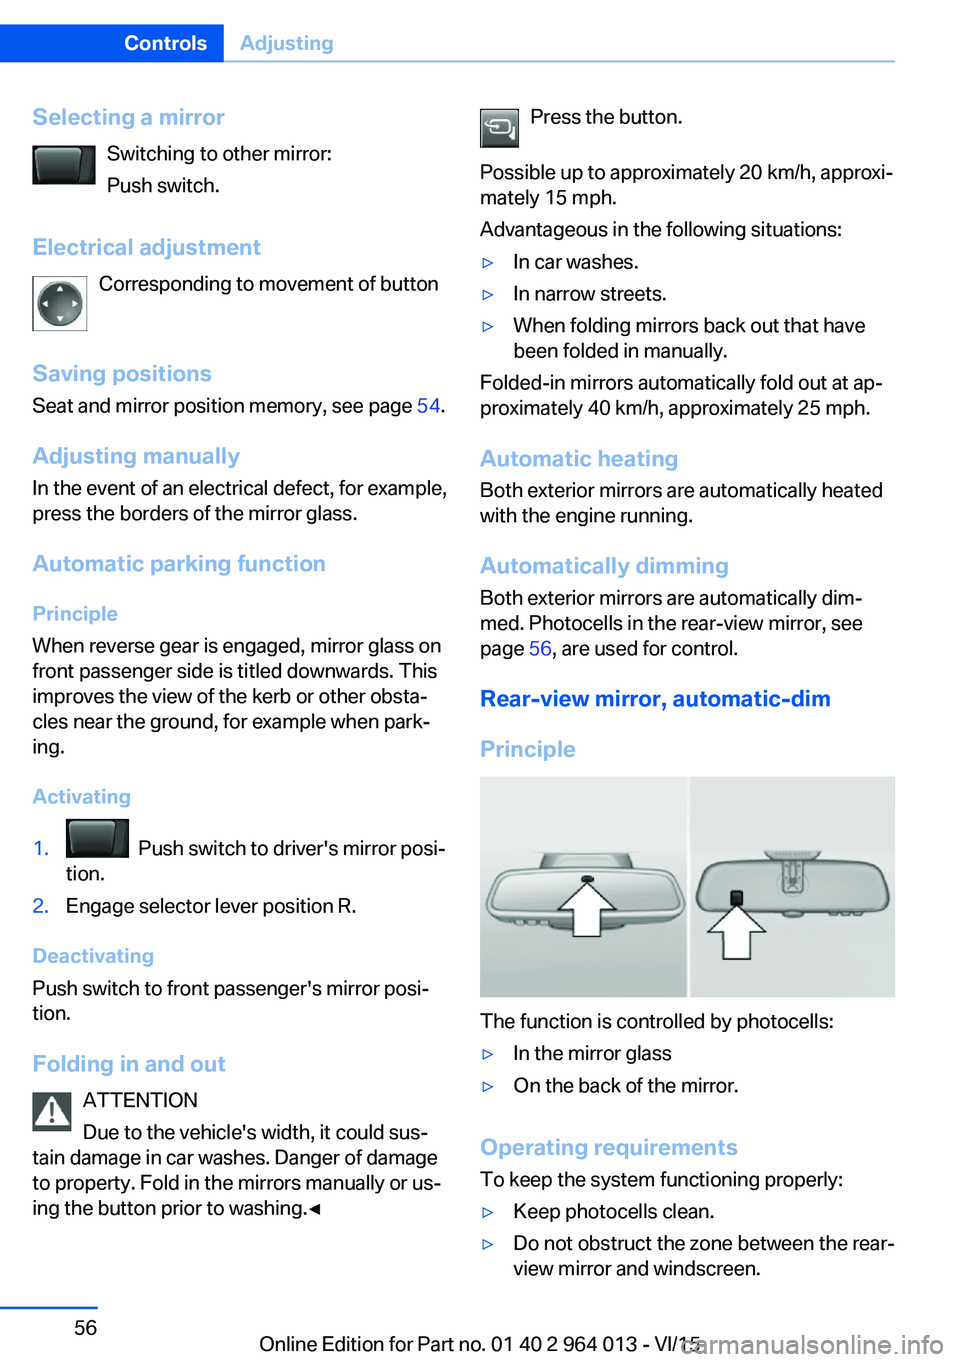
Selecting a mirrorSwitching to other mirror:
Push switch.
Electrical adjustment Corresponding to movement of button
Saving positions
Seat and mirror position memory, see page 54.
Adjusting manually In the event of an electrical defect, for example,
press the borders of the mirror glass.
Automatic parking function
Principle
When reverse gear is engaged, mirror glass on
front passenger side is titled downwards. This
improves the view of the kerb or other obsta‐
cles near the ground, for example when park‐
ing.
Activating1. Push switch to driver's mirror posi‐
tion.2.Engage selector lever position R.
Deactivating
Push switch to front passenger's mirror posi‐
tion.
Folding in and out ATTENTION
Due to the vehicle's width, it could sus‐
tain damage in car washes. Danger of damage
to property. Fold in the mirrors manually or us‐
ing the button prior to washing.◀
Press the button.
Possible up to approximately 20 km/h, approxi‐
mately 15 mph.
Advantageous in the following situations:▷In car washes.▷In narrow streets.▷When folding mirrors back out that have
been folded in manually.
Folded-in mirrors automatically fold out at ap‐
proximately 40 km/h, approximately 25 mph.
Automatic heating Both exterior mirrors are automatically heated
with the engine running.
Automatically dimming
Both exterior mirrors are automatically dim‐
med. Photocells in the rear-view mirror, see
page 56, are used for control.
Rear-view mirror, automatic-dim
Principle
The function is controlled by photocells:
▷In the mirror glass▷On the back of the mirror.
Operating requirements
To keep the system functioning properly:
▷Keep photocells clean.▷Do not obstruct the zone between the rear-
view mirror and windscreen.Seite 56ControlsAdjusting56
Online Edition for Part no. 01 40 2 964 013 - VI/15
Page 57 of 228
Steering wheel
Note WARNING
Steering wheel adjustment during the
journey can lead to unexpected steering wheel
movements. You could lose control of the vehi‐
cle. Danger of accidents. Only adjust the steer‐
ing wheel when the vehicle is at a standstill.◀
Electric steering wheel lock With manual gearbox: The steering wheel
locks automatically when the driver's door is
opened.
Switch on ignition to unlock.
WARNING
If steering wheel lock is activated, the ve‐
hicle cannot be steered. Danger of accidents.
Switch on the ignition prior to moving the vehi‐
cle.◀
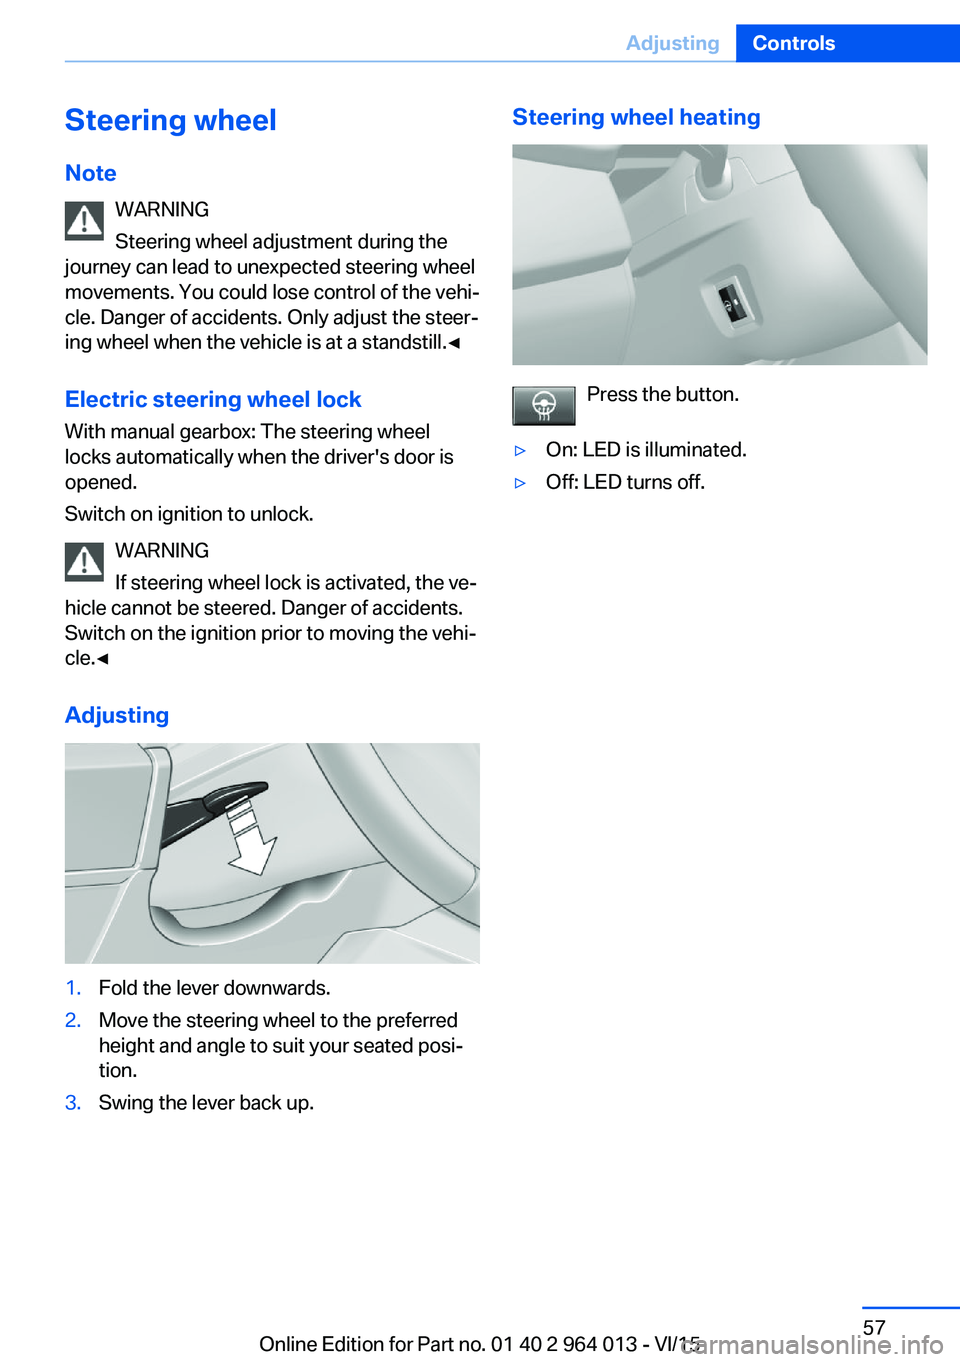
Adjusting1.Fold the lever downwards.2.Move the steering wheel to the preferred
height and angle to suit your seated posi‐
tion.3.Swing the lever back up.Steering wheel heating
Press the button.
▷On: LED is illuminated.▷Off: LED turns off.Seite 57AdjustingControls57
Online Edition for Part no. 01 40 2 964 013 - VI/15