2016 BMW M4 interior lights
[x] Cancel search: interior lightsPage 5 of 228

ContentsFor quick access to a particular topic or item,
please consult the detailed alphabetical index,
see page 218.6Notes
Overview
12Cockpit16iDrive25Voice control system28Integrated Owner’s Handbook in the
vehicle
Controls
32Opening and closing48Adjusting58Carrying children in safety65Driving79Displays98Lights104Security123Driving stability control systems129Driving comfort144Climate149Interior equipment153Storage compartments
Driving hints
160BMW M4 Technology162Driving precautions166Loads168Saving fuelMobility172Refuelling174Fuel175Wheels and tyres182Engine compartment185Engine oil189Coolant191Maintenance193Replacing parts202Help in the event of a breakdown208General care
Reference
214Technical data216Appendix218Everything from A to Z
Online Edition for Part no. 01 40 2 964 013 - VI/15
Page 15 of 228
12M double clutch transmission selector
lever 74Manual gearbox selector lever 73
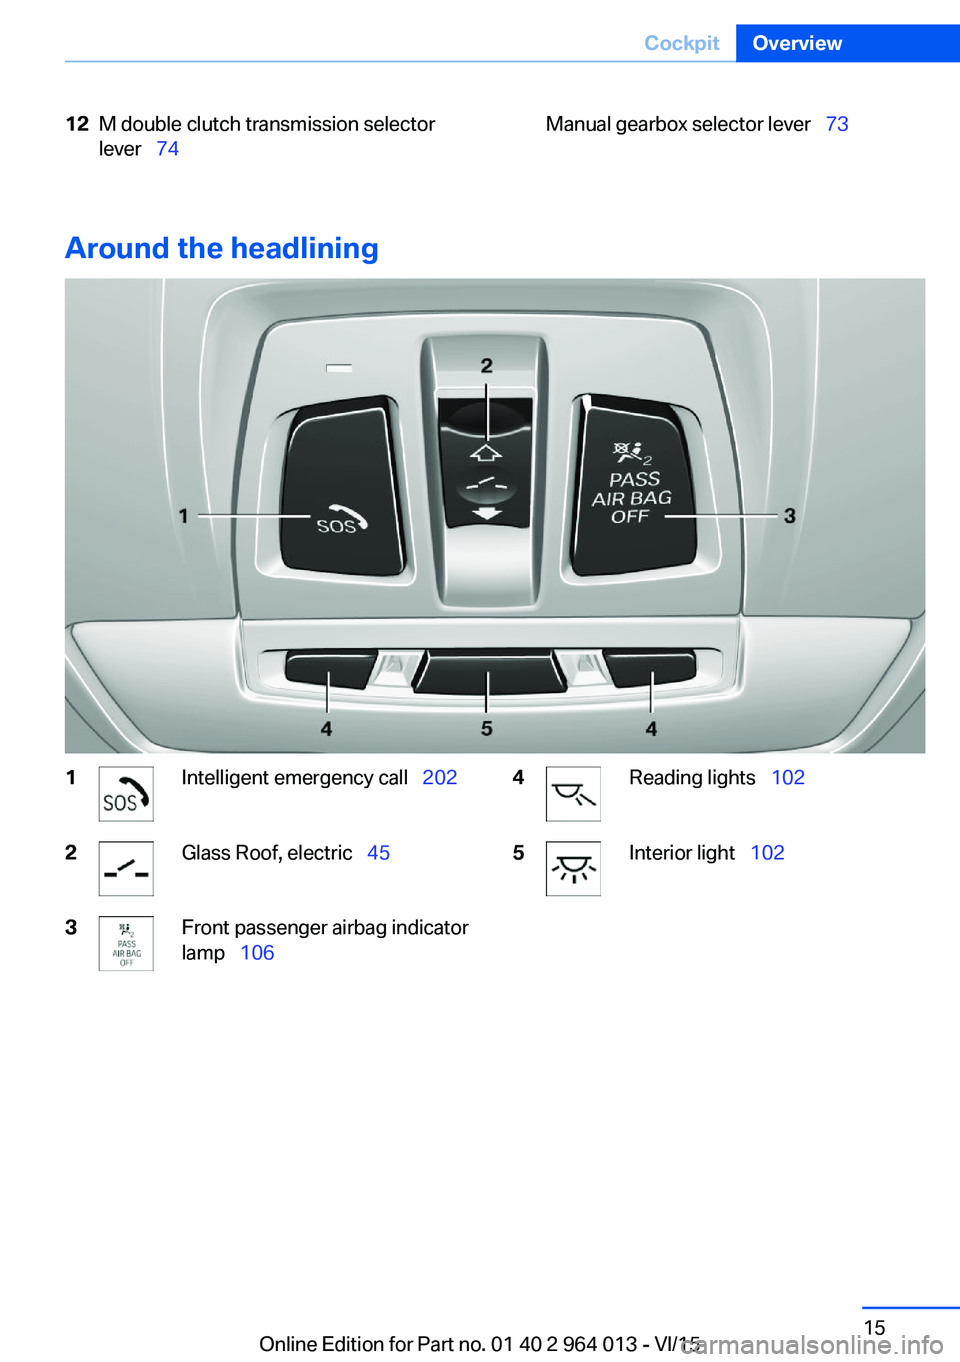
Around the headlining
1Intelligent emergency call 2022Glass Roof, electric 453Front passenger airbag indicator
lamp 1064Reading lights 1025Interior light 102Seite 15CockpitOverview15
Online Edition for Part no. 01 40 2 964 013 - VI/15
Page 38 of 228
From inside
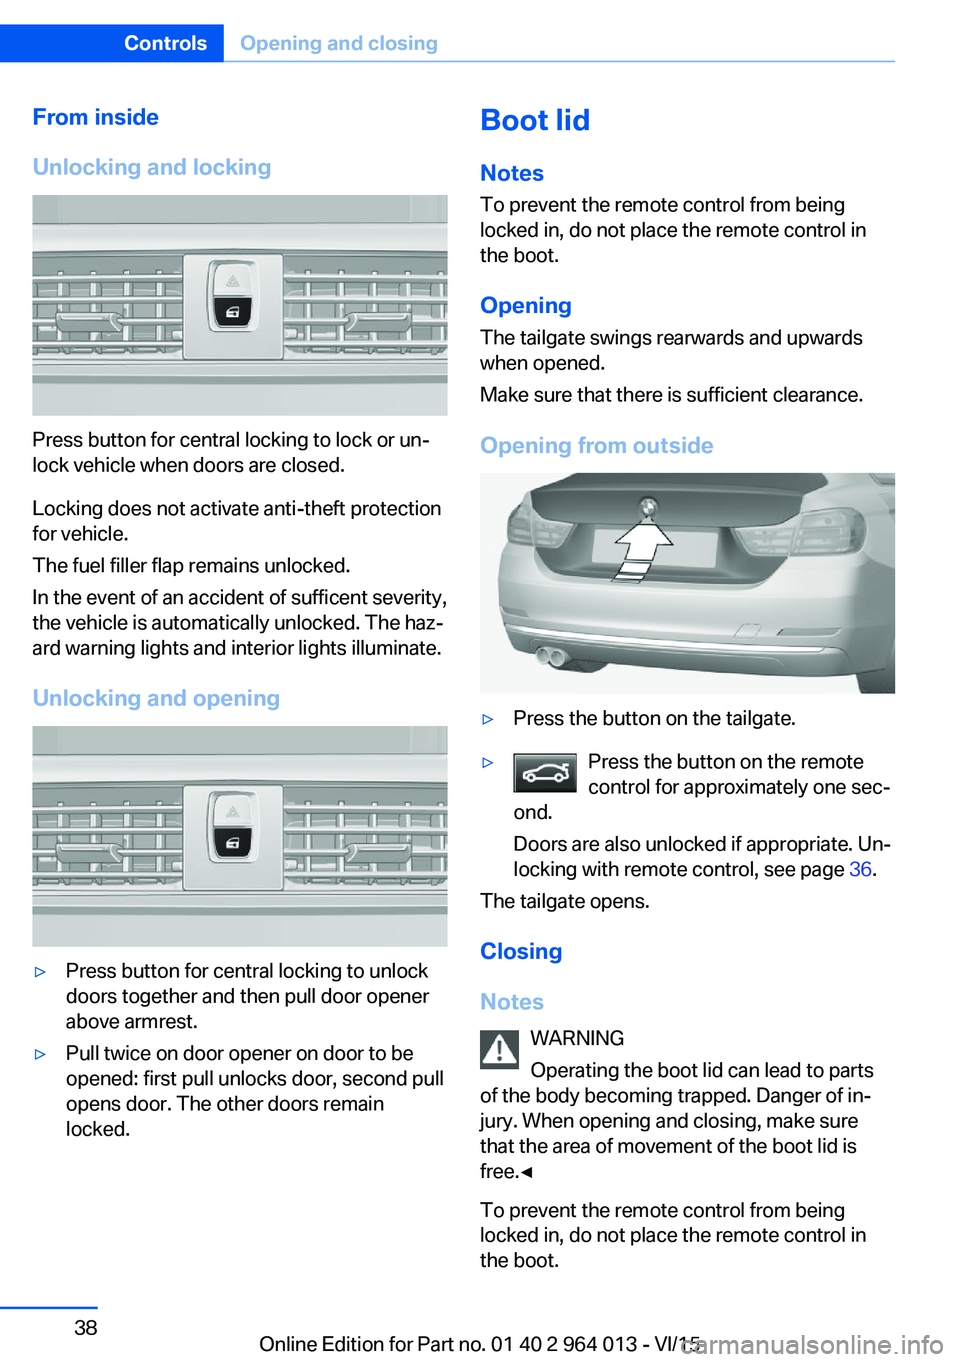
Unlocking and locking
Press button for central locking to lock or un‐
lock vehicle when doors are closed.
Locking does not activate anti-theft protection
for vehicle.
The fuel filler flap remains unlocked.
In the event of an accident of sufficent severity,
the vehicle is automatically unlocked. The haz‐
ard warning lights and interior lights illuminate.
Unlocking and opening
▷Press button for central locking to unlock
doors together and then pull door opener
above armrest.▷Pull twice on door opener on door to be
opened: first pull unlocks door, second pull
opens door. The other doors remain
locked.Boot lid
Notes
To prevent the remote control from being locked in, do not place the remote control in
the boot.
Opening
The tailgate swings rearwards and upwards
when opened.
Make sure that there is sufficient clearance.
Opening from outside▷Press the button on the tailgate.▷Press the button on the remote
control for approximately one sec‐
ond.
Doors are also unlocked if appropriate. Un‐
locking with remote control, see page 36.
The tailgate opens.
Closing
Notes WARNING
Operating the boot lid can lead to parts
of the body becoming trapped. Danger of in‐
jury. When opening and closing, make sure
that the area of movement of the boot lid is
free.◀
To prevent the remote control from being
locked in, do not place the remote control in
the boot.
Seite 38ControlsOpening and closing38
Online Edition for Part no. 01 40 2 964 013 - VI/15
Page 42 of 228
Boot lid is opened and doors are un‐
locked.
Acknowledgement signal of the
vehicle
Settings are saved in active profile, see
page 33.
1."Settings"2."Doors/key"3."Turn signals for lock/unl."
Automatic locking
Settings are saved in active profile, seepage 33.
1."Settings"2."Doors/key"3.Select the desired function:▷"Automatic relock"
The vehicle is locked automatically af‐
ter a short while if no door is opened.▷"Lock after driving away"
On driving off, the vehicle is locked au‐
tomatically.
Calling up seat, mirror setting
The last adjusted driver's seat and exterior mir‐
ror position is saved for the currently used re‐
mote control.
When the vehicle is unlocked, this position is
called up automatically if the function has been
enabled.
WARNING
Danger of trapping when moving the
seats. Danger of injury or damage to property.
Before making the setting, make sure that the
movement area of the seat is clear.◀
Adjustment procedure is interrupted:
▷By operating the switch or the seat adjust‐
ment.▷By touching a button of the seat and mirror
memory.
Enabling setting
1."Settings"2."Doors/key"3."Last seat position autom."
Alarm system
PrincipleThe alarm system is triggered when the vehi‐cle is locked if:
▷A door, the bonnet or the the boot lid is
opened.▷Movements in the interior.▷The vehicle's incline changes, for instance
if an attempt is made to jack it up and steal
the wheels or to raise it prior to towing
away.▷There is an interruption in the power sup‐
ply from the battery.
The alarm system will respond briefly to unau‐
thorised attempts to access the vehicle as fol‐
lows:
▷Acoustic alarm.▷Switching on the hazard warning lights.
Arming and disarming
At the same time as unlocking and locking the
vehicle by remote control or Comfort Access
the alarm system is also disarmed or armed.
Door lock with alarm system armed Alarm system is deactivated if the vehicle is
unlocked using the door lock.
Boot lid with alarm system armed The boot lid can be opened even with the
alarm system armed.
Seite 42ControlsOpening and closing42
Online Edition for Part no. 01 40 2 964 013 - VI/15
Page 68 of 228

▷Driver's seat belt buckled or driver's door
closed.
The air flow rate of the air conditioning system
is reduced when the engine is not running.
Displays in the instrument cluster The display READY in the revo‐
lution counter indicates that the
Auto Start Stop function is
ready for automatic engine
starting.
The display indicates that the preconditions for an automatic
engine stop are not met.
Restrictions of the function The engine is not shut down automatically in
the following situations:
▷Outside temperature too low.▷High outside temperature and operation of
the automatic air conditioning.▷Interior not heated or cooled to the desired
temperature.▷Engine is not yet at operating temperature.▷Sharp steering angle or steering operation.▷After reversing.▷Condensation when the automatic air con‐
ditioning is switched on.▷Vehicle battery is heavily discharged.▷At high altitudes.▷Bonnet is unlocked.▷Parking assistant is activated.▷Stop-and-go traffic.▷Use of fuel with high ethanol content.
Engine start
For driving off, the engine automatically starts
under the following conditions:
▷M double clutch transmission:
By releasing the brake pedal.▷Manual gearbox:
Clutch pedal is depressed.
After starting the engine, accelerate as normal.
Safety function After an automatic shut down, the engine will
not restart automatically if one of the following
conditions is satisfied:
▷Driver's seat belt unbuckled and driver's
door open.▷Bonnet has been unlocked.
Several indicator lights illuminate for various
lengths of time.
The engine can only be started using the start/
stop button.
Restrictions of the function
Even if you do not want to drive off, the engine
restarts automatically in the following situa‐
tions:
▷Very high temperature inside the passen‐
ger compartment, if the cooling function is
on.▷The driver applies lock to the steering
wheel.▷M double clutch transmission: Shift from
selector lever position D to N, R or D/S.▷M double clutch transmission: Depress the
accelerator and the brake at the same time.▷Vehicle starts to roll.▷Condensation when the automatic air con‐
ditioning is switched on.▷Vehicle battery is very low.▷Very low temperature inside the passenger
compartment, if the heating is on.▷Low brake vacuum, for example because
the brake pedal has been depressed a
number of times in succession.Seite 68ControlsDriving68
Online Edition for Part no. 01 40 2 964 013 - VI/15
Page 99 of 228
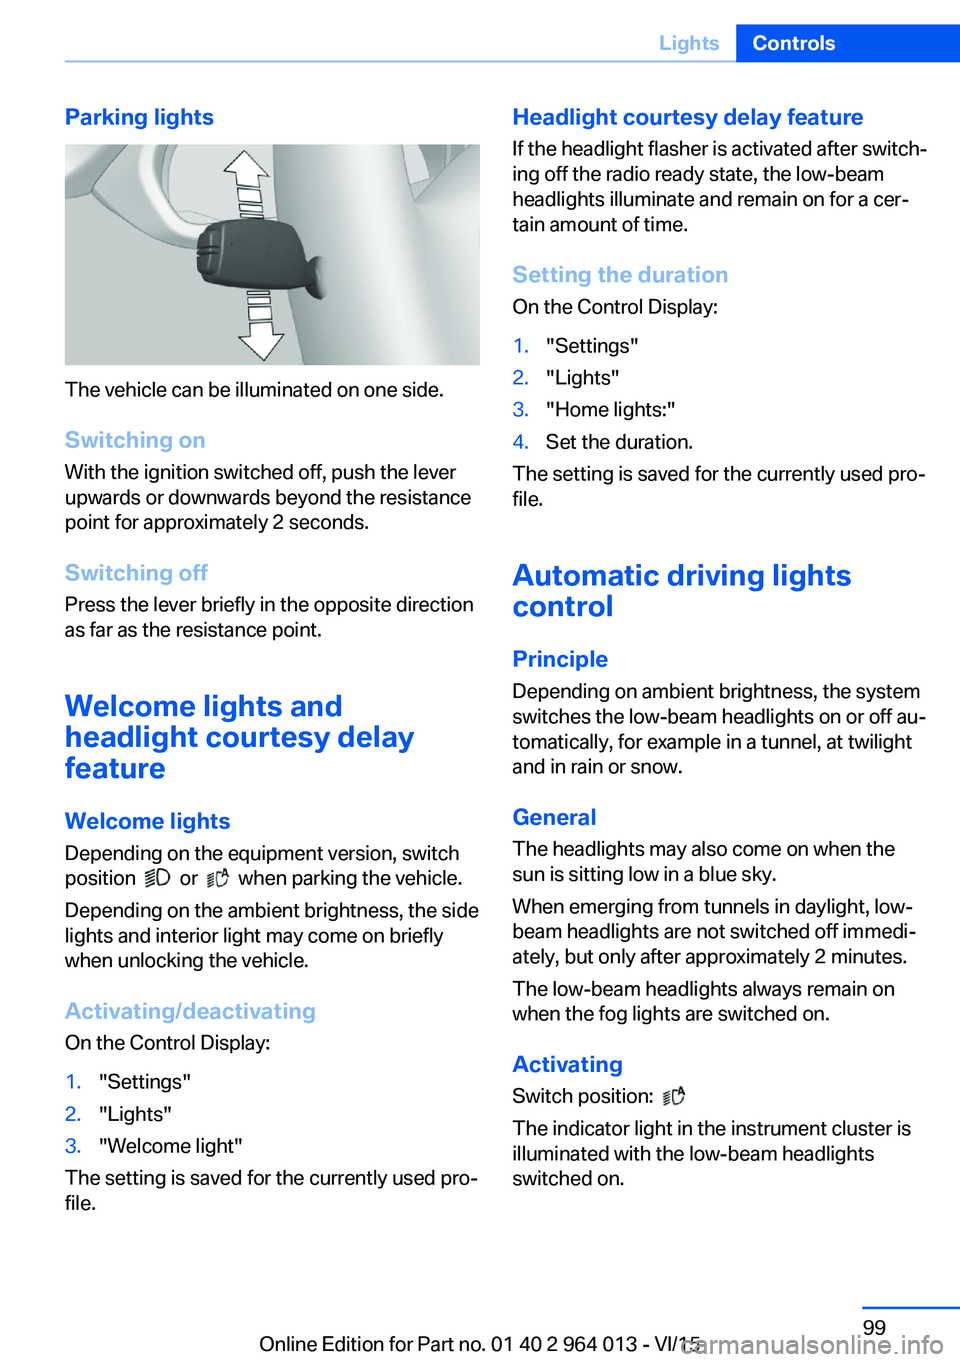
Parking lights
The vehicle can be illuminated on one side.
Switching on With the ignition switched off, push the lever
upwards or downwards beyond the resistance
point for approximately 2 seconds.
Switching off Press the lever briefly in the opposite direction
as far as the resistance point.
Welcome lights and
headlight courtesy delay
feature
Welcome lights Depending on the equipment version, switch
position
or when parking the vehicle.
Depending on the ambient brightness, the side
lights and interior light may come on briefly
when unlocking the vehicle.
Activating/deactivating
On the Control Display:
1."Settings"2."Lights"3."Welcome light"
The setting is saved for the currently used pro‐
file.
Headlight courtesy delay feature
If the headlight flasher is activated after switch‐
ing off the radio ready state, the low-beam
headlights illuminate and remain on for a cer‐
tain amount of time.
Setting the duration
On the Control Display:1."Settings"2."Lights"3."Home lights:"4.Set the duration.
The setting is saved for the currently used pro‐
file.
Automatic driving lightscontrol
Principle Depending on ambient brightness, the system
switches the low-beam headlights on or off au‐
tomatically, for example in a tunnel, at twilight
and in rain or snow.
General The headlights may also come on when the
sun is sitting low in a blue sky.
When emerging from tunnels in daylight, low-
beam headlights are not switched off immedi‐
ately, but only after approximately 2 minutes.
The low-beam headlights always remain on
when the fog lights are switched on.
Activating Switch position:
The indicator light in the instrument cluster is
illuminated with the low-beam headlights
switched on.
Seite 99LightsControls99
Online Edition for Part no. 01 40 2 964 013 - VI/15
Page 102 of 228
▷When the windscreen in front of the rear-
view mirror is covered with condensation,
dirt, stickers, labels, etc.
Fog lights
Rear fog lights
The low-beam headlights must be switched
on.
Press the button. The yellow indicator
light is illuminated.
If automatic driving lights control, see page 99,
has been activated, the low-beam headlights
come on automatically when the rear fog lights
are switched on.
Left-hand/right-hand traffic GeneralWhen driving in countries where the opposite
rule of the road applies, you need to prevent
your headlights from dazzling oncoming vehi‐
cles.
Xenon headlight
Light distribution of the headlights avoids daz‐
zling of the low-beam headlights when driving
in a country in which the traffic drives on the
opposite side.
Adaptive Headlights
When driving in a country where you drive on
the opposite side of the road from the country
the vehicle is licensed, do not drive with the
setting, otherwise this could cause a daz‐
zling effect from the variable light distribution.
LED headlights The Service Partner or a qualified specialist
workshop has light benders available. Proceed
in accordance with the enclosed information
when affixing the light benders to the head‐
lights.
Adaptive Headlights
When driving in a country where you drive on
the opposite side of the road from the country
the vehicle is licensed, do not drive with the
setting, otherwise this could cause a daz‐
zling effect from the variable light distribution.
Instrument lightingAdjusting The brightness can only be ad‐justed when the side lights or
the low-beam headlights are
switched on.
The brightness can be set using
the knurled wheel.
Interior light GeneralThe interior light, the footwell lights, door entry
lighting and the courtesy lighting are controlled
automatically.
The brightness of some equipment is influ‐
enced by the knurled wheel for the instrument
lighting.
Seite 102ControlsLights102
Online Edition for Part no. 01 40 2 964 013 - VI/15
Page 103 of 228
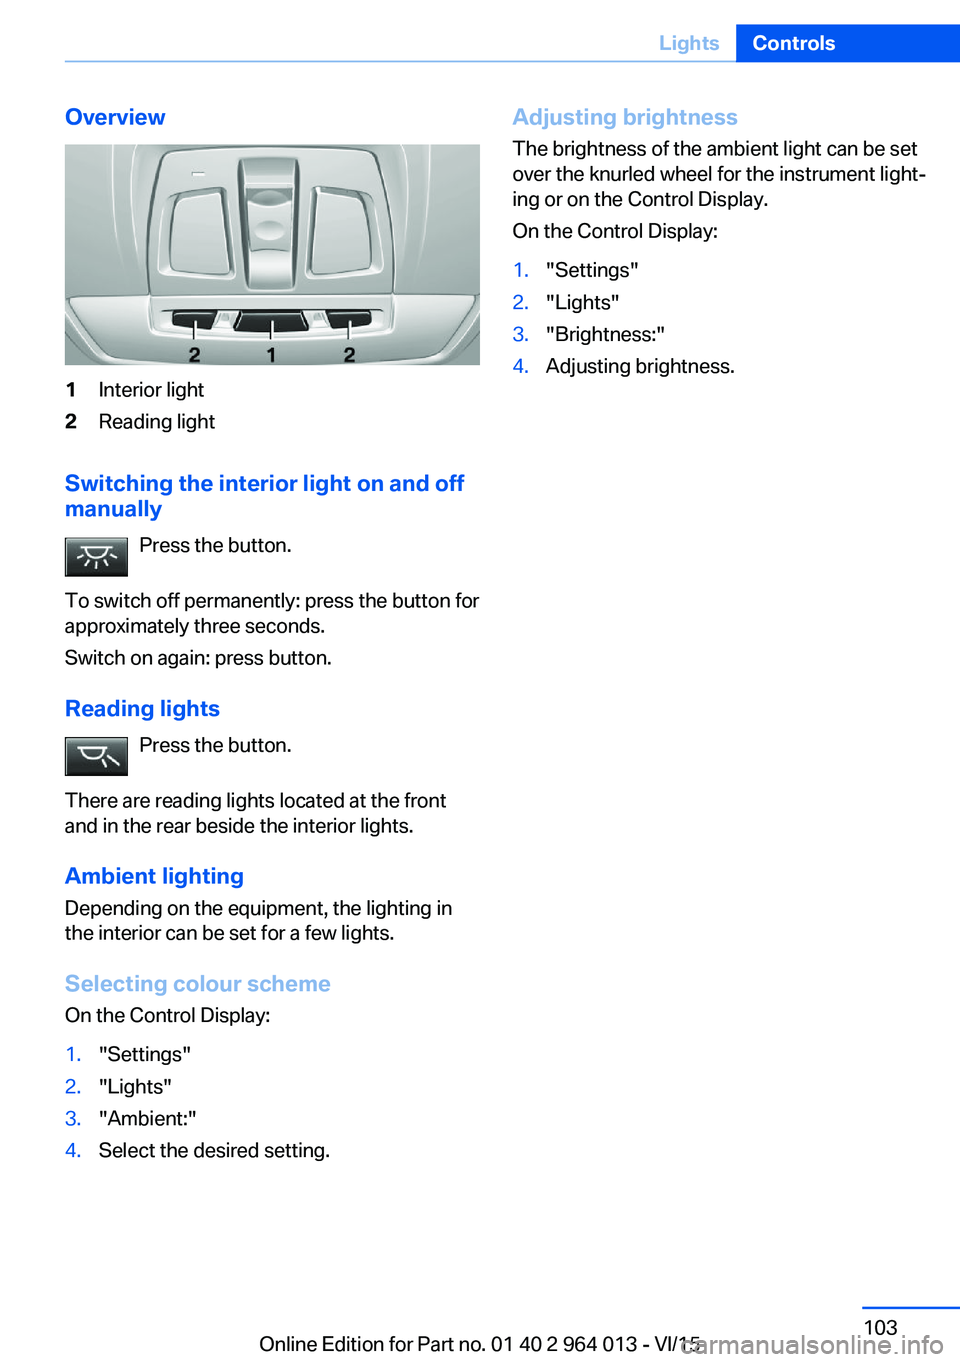
Overview1Interior light2Reading light
Switching the interior light on and off
manually
Press the button.
To switch off permanently: press the button for
approximately three seconds.
Switch on again: press button.
Reading lights Press the button.
There are reading lights located at the front
and in the rear beside the interior lights.
Ambient lighting
Depending on the equipment, the lighting in
the interior can be set for a few lights.
Selecting colour scheme
On the Control Display:
1."Settings"2."Lights"3."Ambient:"4.Select the desired setting.Adjusting brightness
The brightness of the ambient light can be set
over the knurled wheel for the instrument light‐
ing or on the Control Display.
On the Control Display:1."Settings"2."Lights"3."Brightness:"4.Adjusting brightness.Seite 103LightsControls103
Online Edition for Part no. 01 40 2 964 013 - VI/15