2016 BMW 740I SEDAN oil level
[x] Cancel search: oil levelPage 99 of 314
▷By releasing the brake pedal.▷When Automatic Hold is activated: press
the accelerator pedal.
After the engine starts, accelerate as usual.
Safety mode
After the engine switches off automatically, it
will not start again automatically if any one of
the following conditions are met:
▷The driver's safety belt is unbuckled and
the driver's door is open.▷The hood was unlocked.
Some indicator lights light up for a varied
length of time.
The engine can only be started via the Start/
Stop button.
Functional limitations
Even if driving off was not intended, the deacti‐
vated engine starts up automatically in the fol‐
lowing situations:
▷Excessive warming of the car's interior
when the cooling function is switched on.▷Excessive cooling of the car's interior when
the heating is switched on.▷If window condensation is imminent.▷The steering wheel is turned.▷Change from selector lever position D to N
or R.▷Change from selector lever position P to N,
D or R.▷Vehicle battery is heavily discharged.▷Start of an oil level measurement.Activating/deactivating the system
manually
Using the button
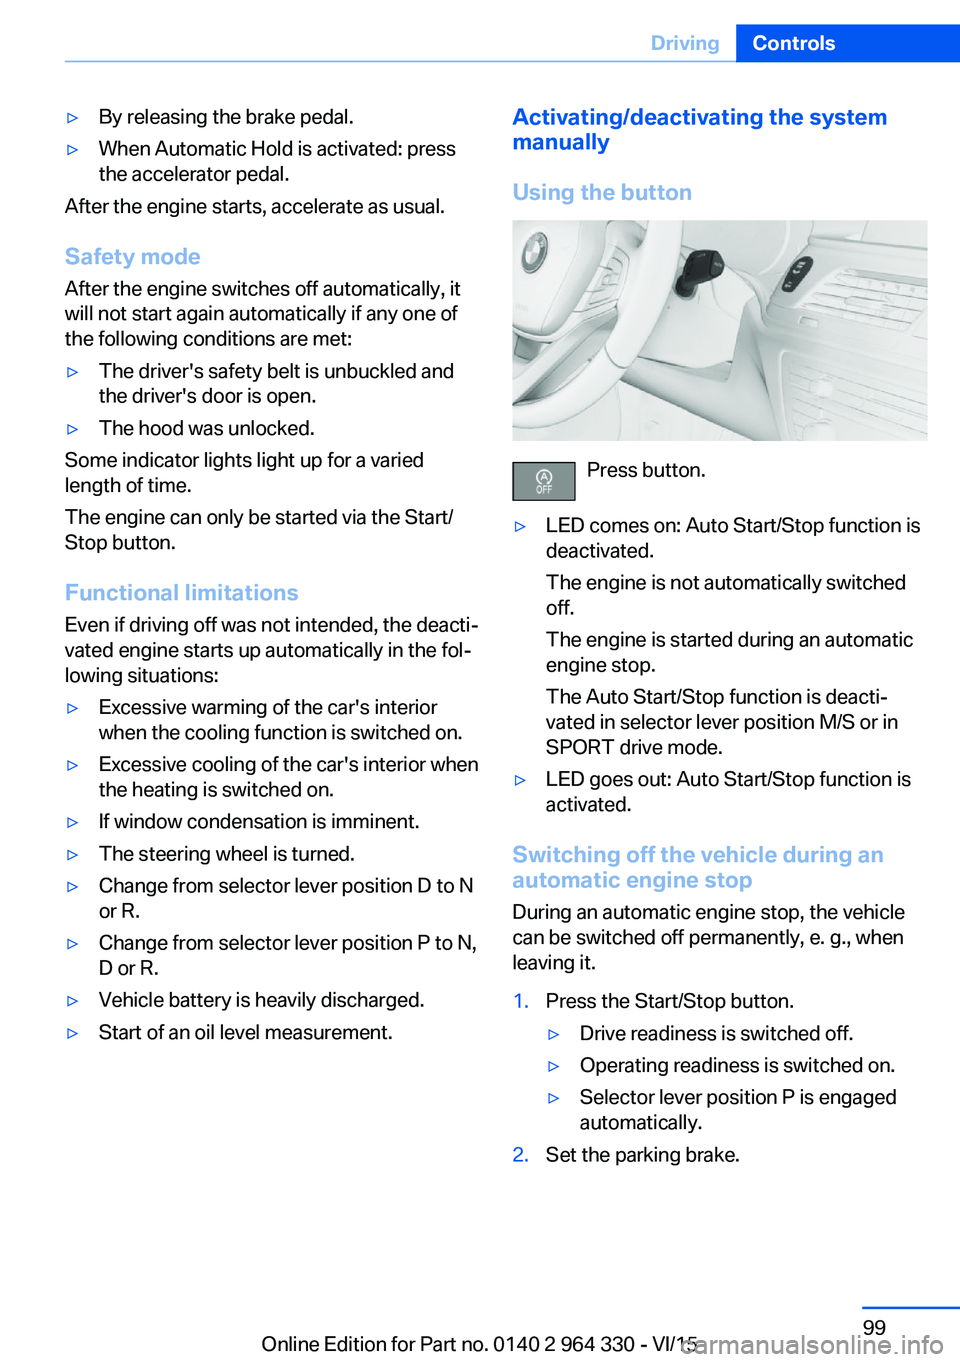
Press button.
▷LED comes on: Auto Start/Stop function is
deactivated.
The engine is not automatically switched
off.
The engine is started during an automatic
engine stop.
The Auto Start/Stop function is deacti‐
vated in selector lever position M/S or in
SPORT drive mode.▷LED goes out: Auto Start/Stop function is
activated.
Switching off the vehicle during an
automatic engine stop
During an automatic engine stop, the vehicle
can be switched off permanently, e. g., when
leaving it.
1.Press the Start/Stop button.▷Drive readiness is switched off.▷Operating readiness is switched on.▷Selector lever position P is engaged
automatically.2.Set the parking brake.Seite 99DrivingControls99
Online Edition for Part no. 0140 2 964 330 - VI/15
Page 126 of 314

Activating/deactivating the speed
warning
About iDrive:1."My Vehicle"2."Vehicle settings"3."Speed warning"4."Speed warning"5.Press the controller.
Setting your current speed as the
speed warning
About iDrive:
1."My Vehicle"2."Vehicle settings"3."Speed warning"4."Select current speed"5.Press the controller.
The current vehicle speed is stored as the
speed warning.
Vehicle status
The concept The status can be displayed and actions per‐
formed for several systems.
Opening the vehicle status
About iDrive:
1."My Vehicle"2."Vehicle status"
Information at a glance
▷ "Flat Tire Monitor": Status of the Flat
Tire Monitor, refer to page 269.▷ "Tire Pressure Monitor": Status of the
Tire Pressure Monitor, refer to page 265.▷Reset the Tire Pressure Monitor, refer to
page 265.▷ "Engine oil level"Electronic engine
oil level check, refer to page 273.▷ "Check Control": Display of stored
Check Control messages, refer to
page 117.▷ "Service required"Display of service
requirements, refer to page 119.▷ "Service Request": Service request.
Head-up Display
Overview
The concept
This system projects important information
into the driver's field of vision, e. g., the speed.
The driver can get information without averting
his or her eyes from the road.
Information Follow the instructions for cleaning the Head-
up Display, refer to page 294.
Display visibility The visibility of the displays in the Head-up
Display is influenced by the following factors:
▷Certain sitting positions.▷Objects on the cover of the Head-up Dis‐
play.▷Sunglasses with certain polarization filters.▷Wet roads.▷Unfavorable light conditions.Seite 126ControlsDisplays126
Online Edition for Part no. 0140 2 964 330 - VI/15
Page 192 of 314
relatively late from the driver's seat. The cam‐
eras in the front and rear capture the sideways
traffic area to improve the view.
Yellow lines in the screen display mark the
front and rear end of the vehicle.
The camera image shows different levels of
distortion in some areas and is thus not suita‐
ble for distance estimations.
Display on the Control Display Press the button when the engine is run‐
ning.
Depending on the driving direction, the image
of the respective camera is displayed:▷"front": front camera image.▷"rear": rear camera image.
The cross traffic warning, refer to page 197,
can additionally warn against oncoming vehi‐
cles using radar sensors.
With navigation system: activation
points
The concept
Positions at which Panorama View is to switch
on automatically can be stored as activation
points as soon as a GPS signal is received.
Up to ten activation points can be stored.
Activation points can be used when driving for‐
ward for the front camera.
Storing activation points
1.Drive to the position at which the system is
to be switched on, and stop.2. Press button.3.Move the controller to the left.4. "Add activation point"
The current position is displayed.5."Add activation point"Activation points are, if possible, stored with
town/city and street address or with the GPS
coordinates.
Using activation points
The use of activation points can be switched
on and off.1. Press button.2.Move the controller to the left.3. "Settings"4."Panorama view, GPS-based"5."Panorama view, GPS-based"
Displaying or deleting activation points
1. Press button.2.Move the controller to the left.3. "Show activation points"
A list of all activation points is displayed.4."Delete this activation point" or "Delete all activation points"
Setting brightness and contrast viaiDrive
With Surround View or Panorama View
switched on:
1.Move the controller to the left.2.▷ "Brightness"▷ "Contrast"3.Set the desired value.
Functional limitations
The system can be used only to a limited ex‐
tent in the following situations:
▷In poor light.▷In case of soiled cameras.▷With a door open.▷With the tailgate open.▷With exterior mirrors folded in.Seite 192ControlsDriver assistance systems192
Online Edition for Part no. 0140 2 964 330 - VI/15
Page 273 of 314
Engine oilVehicle features and options
This chapter describes all standard, country-
specific and optional features offered with the
series. It also describes features that are not
necessarily available in your car, e. g., due to
the selected options or country versions. This
also applies to safety-related functions and
systems. The respectively applicable country
provisions must be observed when using the
respective features and systems.
General information The engine oil consumption is dependent on
the driving style and driving conditions.
The engine oil consumption can increase in
the following situations, for example:▷Sporty driving style.▷Break-in of the engine.▷Idling of the engine.▷With use of engine oil types that are not
approved.
Therefore, regularly check the engine oil level
after refueling.
The vehicle is equipped with electronic oil
measurement.
The electronic oil measurement has two meas‐
uring principles:
▷Status display▷Detailed measurementElectronic oil measurement
Status display
The concept
The engine oil level is monitored electronically
while driving and shown on the Control Dis‐
play.
If the engine oil level reaches the minimum
level, a check control message is displayed.
Requirements
A current measured value is available after ap‐
prox. 30 minutes of driving. During a shorter
trip, the status of the last, sufficiently long trip
is displayed.
With frequent short-distance trips, regularly
perform a detailed measurement.
Displaying the engine oil level
About iDrive:1."My Vehicle"2."Vehicle status"3."Engine oil level"4. "Measure engine oil level"
The engine oil level is displayed.
Engine oil level display messages
Different messages appear on the Control Dis‐
play depending on the engine oil level. Pay at‐
tention to these messages.
If the engine oil level is too low within the next
125 miles/200 km, add engine oil, refer to
page 274.
CAUTION
A too low engine oil level causes engine
damage. There is risk of property damage. Im‐
mediately add engine oil.◀
Seite 273Engine oilMobility273
Online Edition for Part no. 0140 2 964 330 - VI/15
Page 274 of 314
Take care not to add too much engine oil.CAUTION
Too much engine oil can damage the en‐
gine or the catalytic converter. There is risk of
property damage. Do not add too much engine
oil. Have too much engine oil siphoned off by a
dealer’s service center or another qualified
service center or repair shop.◀
Detailed measurement
The concept In the detailed measurement the engine oil
level is checked and displayed via a scale.
Gasoline engine:
If the engine oil level reaches the minimum
level, a check control message is displayed.
Diesel engine:
During the measurement, the idle speed is in‐
creased somewhat.
General information
A detailed measurement is only possible with
certain engines.
Requirements▷Vehicle is on level road.▷Selector lever in selector lever position N
or P and accelerator pedal not depressed.▷Engine is running and is at operating tem‐
perature.
Performing a detailed measurement
About iDrive:
1."My Vehicle"2."Vehicle status"3. "Measure engine oil level"4."Start measurement"
The engine oil level is checked and displayed
via a scale.
Time: approx. 1 minute.
Adding engine oil
Information CAUTION
A too low engine oil level causes engine
damage. There is risk of property damage.
Add engine oil within the next
125 miles/200 km.◀
CAUTION
Too much engine oil can damage the en‐
gine or the catalytic converter. There is risk of
property damage. Do not add too much engine
oil. Have too much engine oil siphoned off by a
dealer’s service center or another qualified
service center or repair shop.◀
WARNING
Operating materials, e.g. oils, greases,
coolants, fuels, can contain harmful ingredi‐
ents. There is risk of injuries or danger to life.
Observe the instructions on the containers.
Avoid the contact of articles of clothing, skin or
eyes with operating materials. Do not refill op‐
erating materials into different bottles. Store
operating materials out of reach of children.◀
General information
Establish idle state and safely park the vehicle
before engine oil is added.
Overview The oil filler neck is located in the engine com‐
partment, refer to page 271.
Opening the oil filler neck Only add engine oil when the message is dis‐
played in the instrument cluster. The quantity
to be added is indicated in the message dis‐
played in the instrument cluster.1.Opening the hood, refer to page 272Seite 274MobilityEngine oil274
Online Edition for Part no. 0140 2 964 330 - VI/15
Page 303 of 314
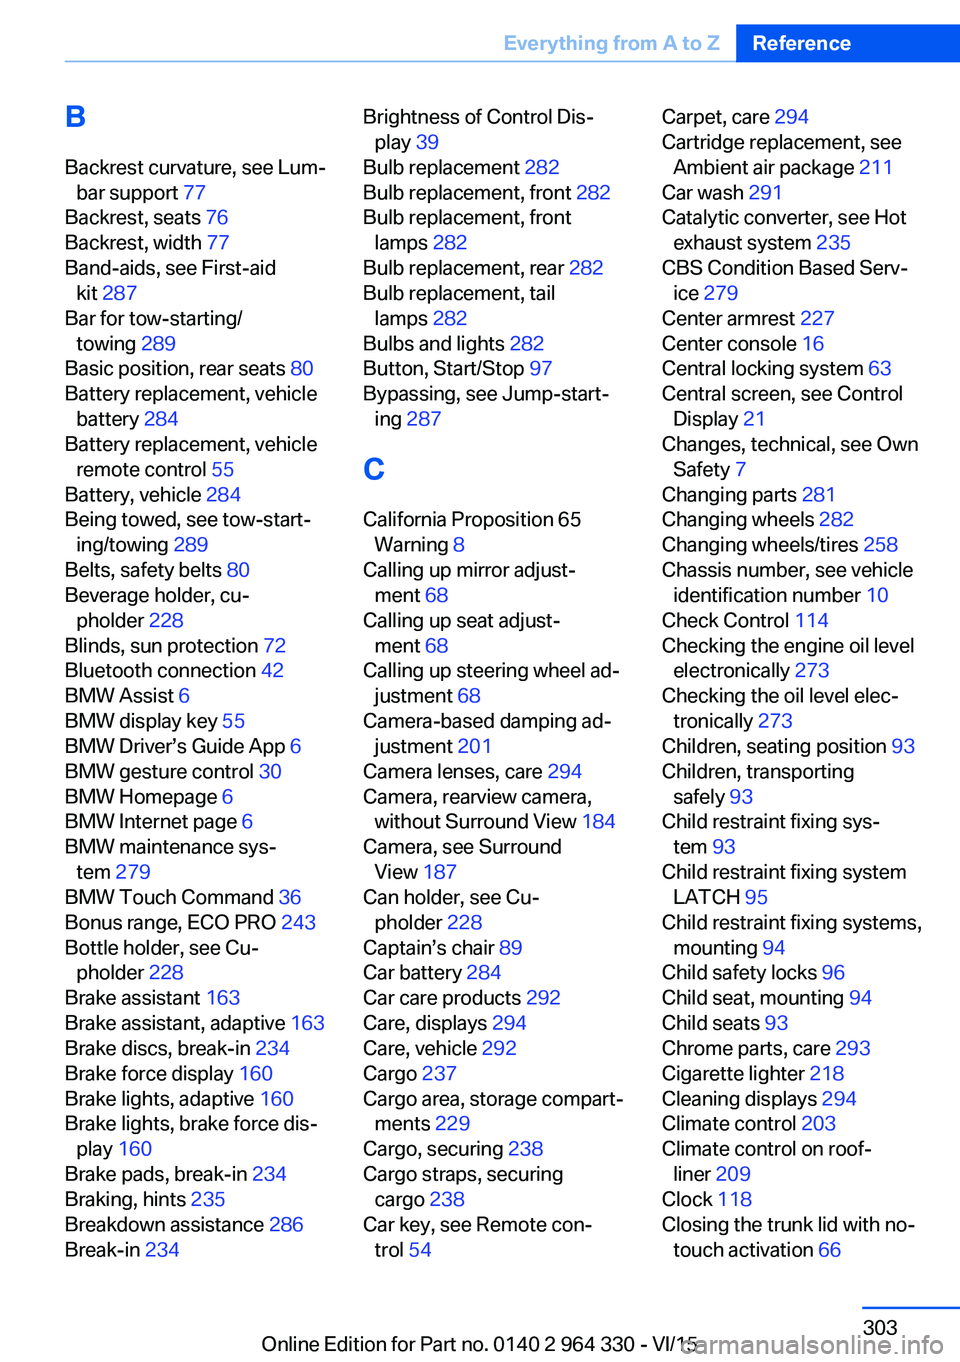
BBackrest curvature, see Lum‐ bar support 77
Backrest, seats 76
Backrest, width 77
Band-aids, see First-aid kit 287
Bar for tow-starting/ towing 289
Basic position, rear seats 80
Battery replacement, vehicle battery 284
Battery replacement, vehicle remote control 55
Battery, vehicle 284
Being towed, see tow-start‐ ing/towing 289
Belts, safety belts 80
Beverage holder, cu‐ pholder 228
Blinds, sun protection 72
Bluetooth connection 42
BMW Assist 6
BMW display key 55
BMW Driver’s Guide App 6
BMW gesture control 30
BMW Homepage 6
BMW Internet page 6
BMW maintenance sys‐ tem 279
BMW Touch Command 36
Bonus range, ECO PRO 243
Bottle holder, see Cu‐ pholder 228
Brake assistant 163
Brake assistant, adaptive 163
Brake discs, break-in 234
Brake force display 160
Brake lights, adaptive 160
Brake lights, brake force dis‐ play 160
Brake pads, break-in 234
Braking, hints 235
Breakdown assistance 286
Break-in 234 Brightness of Control Dis‐
play 39
Bulb replacement 282
Bulb replacement, front 282
Bulb replacement, front lamps 282
Bulb replacement, rear 282
Bulb replacement, tail lamps 282
Bulbs and lights 282
Button, Start/Stop 97
Bypassing, see Jump-start‐ ing 287
C
California Proposition 65 Warning 8
Calling up mirror adjust‐ ment 68
Calling up seat adjust‐ ment 68
Calling up steering wheel ad‐ justment 68
Camera-based damping ad‐ justment 201
Camera lenses, care 294
Camera, rearview camera, without Surround View 184
Camera, see Surround View 187
Can holder, see Cu‐ pholder 228
Captain’s chair 89
Car battery 284
Car care products 292
Care, displays 294
Care, vehicle 292
Cargo 237
Cargo area, storage compart‐ ments 229
Cargo, securing 238
Cargo straps, securing cargo 238
Car key, see Remote con‐ trol 54 Carpet, care 294
Cartridge replacement, see Ambient air package 211
Car wash 291
Catalytic converter, see Hot exhaust system 235
CBS Condition Based Serv‐ ice 279
Center armrest 227
Center console 16
Central locking system 63
Central screen, see Control Display 21
Changes, technical, see Own Safety 7
Changing parts 281
Changing wheels 282
Changing wheels/tires 258
Chassis number, see vehicle identification number 10
Check Control 114
Checking the engine oil level electronically 273
Checking the oil level elec‐ tronically 273
Children, seating position 93
Children, transporting safely 93
Child restraint fixing sys‐ tem 93
Child restraint fixing system LATCH 95
Child restraint fixing systems, mounting 94
Child safety locks 96
Child seat, mounting 94
Child seats 93
Chrome parts, care 293
Cigarette lighter 218
Cleaning displays 294
Climate control 203
Climate control on roof‐ liner 209
Clock 118
Closing the trunk lid with no- touch activation 66 Seite 303Everything from A to ZReference303
Online Edition for Part no. 0140 2 964 330 - VI/15