Page 357 of 590

357
3-5. Other interior features
3
Interior and exterior features
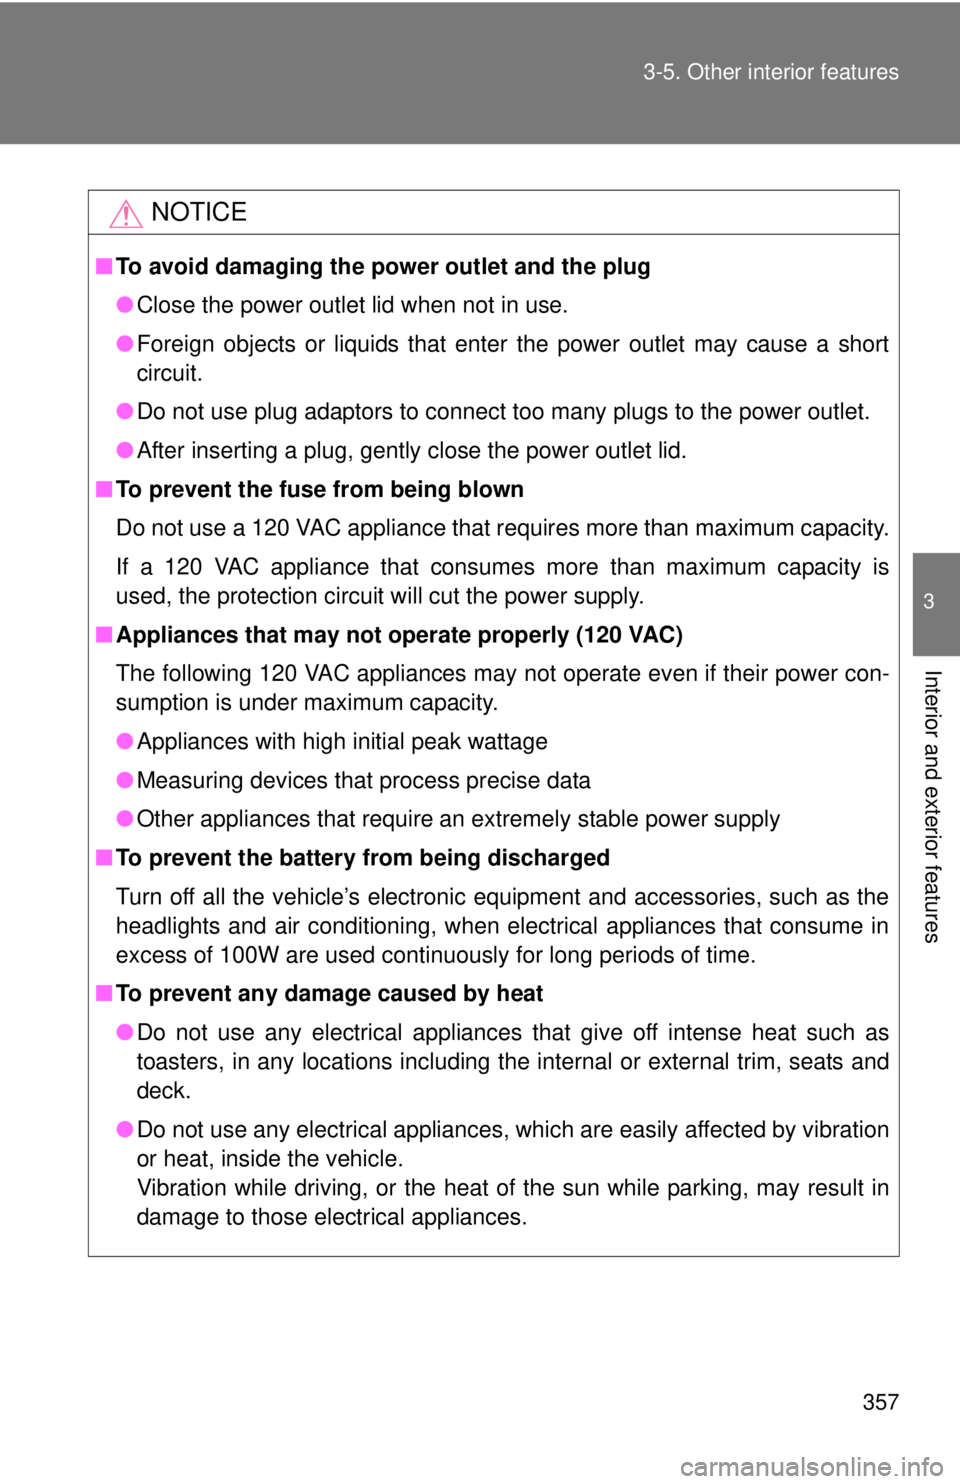
NOTICE
■
To avoid damaging the power outlet and the plug
●Close the power outlet lid when not in use.
● Foreign objects or liquids that enter the power outlet may cause a short
circuit.
● Do not use plug adaptors to connect too many plugs to the power outlet.
● After inserting a plug, gently close the power outlet lid.
■ To prevent the fuse from being blown
Do not use a 120 VAC appliance that requires more than maximum capacity.
If a 120 VAC appliance that consumes more than maximum capacity is
used, the protection circuit will cut the power supply.
■ Appliances that may not operate properly (120 VAC)
The following 120 VAC appliances may not operate even if their power con-
sumption is under maximum capacity.
●Appliances with high initial peak wattage
● Measuring devices that process precise data
● Other appliances that require an extremely stable power supply
■ To prevent the battery from being discharged
Turn off all the vehicle’s electronic equipment and accessories, such as the
headlights and air conditioning, when electrical appliances that consume in
excess of 100W are used continuously for long periods of time.
■ To prevent any damage caused by heat
●Do not use any electrical appliances that give off intense heat such as
toasters, in any locations including the internal or external trim, seats and
deck.
● Do not use any electrical appliances, which are easily affected by vibration
or heat, inside the vehicle.
Vibration while driving, or the heat of the sun while parking, may result in
damage to those electrical appliances.
Page 364 of 590
364
3-5. Other interior features
Luggage compartment features
Behind the rear seat (Double Cab models only)
Cargo net hooks (vehicles with sub woofer)
Grocery bag hooks
Flashlight holder
Storage boxes
Deck
Auxiliary boxes
Tie-down cleats
Deck hooks
Page 370 of 590
370 3-5. Other interior features
Left side
Flashlight holder (Double Cab models only)
Flashlight holder is designed to
hold the flashlight securely.
■Removing the separator
Remove the separator.
It can be installed in various positions as
required.
Page 371 of 590
371
3-5. Other interior features
3
Interior and exterior features
Grocery bag hooks (Double Cab models only)
Grocery bag hook is designed to
hang things like grocery bag.
■
Removing the flashlight holder
Remove the flashlight holder.
It can be installed in various positions as
required.
NOTICE
■Grocery bag hook weight capacity
Do not hang any object heavier than 7 lb. (3 kg) on the grocery bag hooks.
Page 373 of 590
373
3-5. Other interior features
3
Interior and exterior features
Garage door opener
The garage door opener (HomeLink® Universal Transceiver) is manufac-
tured under license from HomeLink®.
Training the HomeLink® (for U.S. owners)
The HomeLink
® compatible transceiver in your vehicle has 3 buttons
which can be trained to operate 3 different devices. Refer to the train-
ing method below appropriate for the device.
Indicator light
Buttons
: If equipped
The garage door opener can be trained to operate garage doors,
gates, entry doors, door locks, home lighting systems, security sys-
tems, and other devices.
Page 377 of 590

377
3-5. Other interior features
3
Interior and exterior features
■
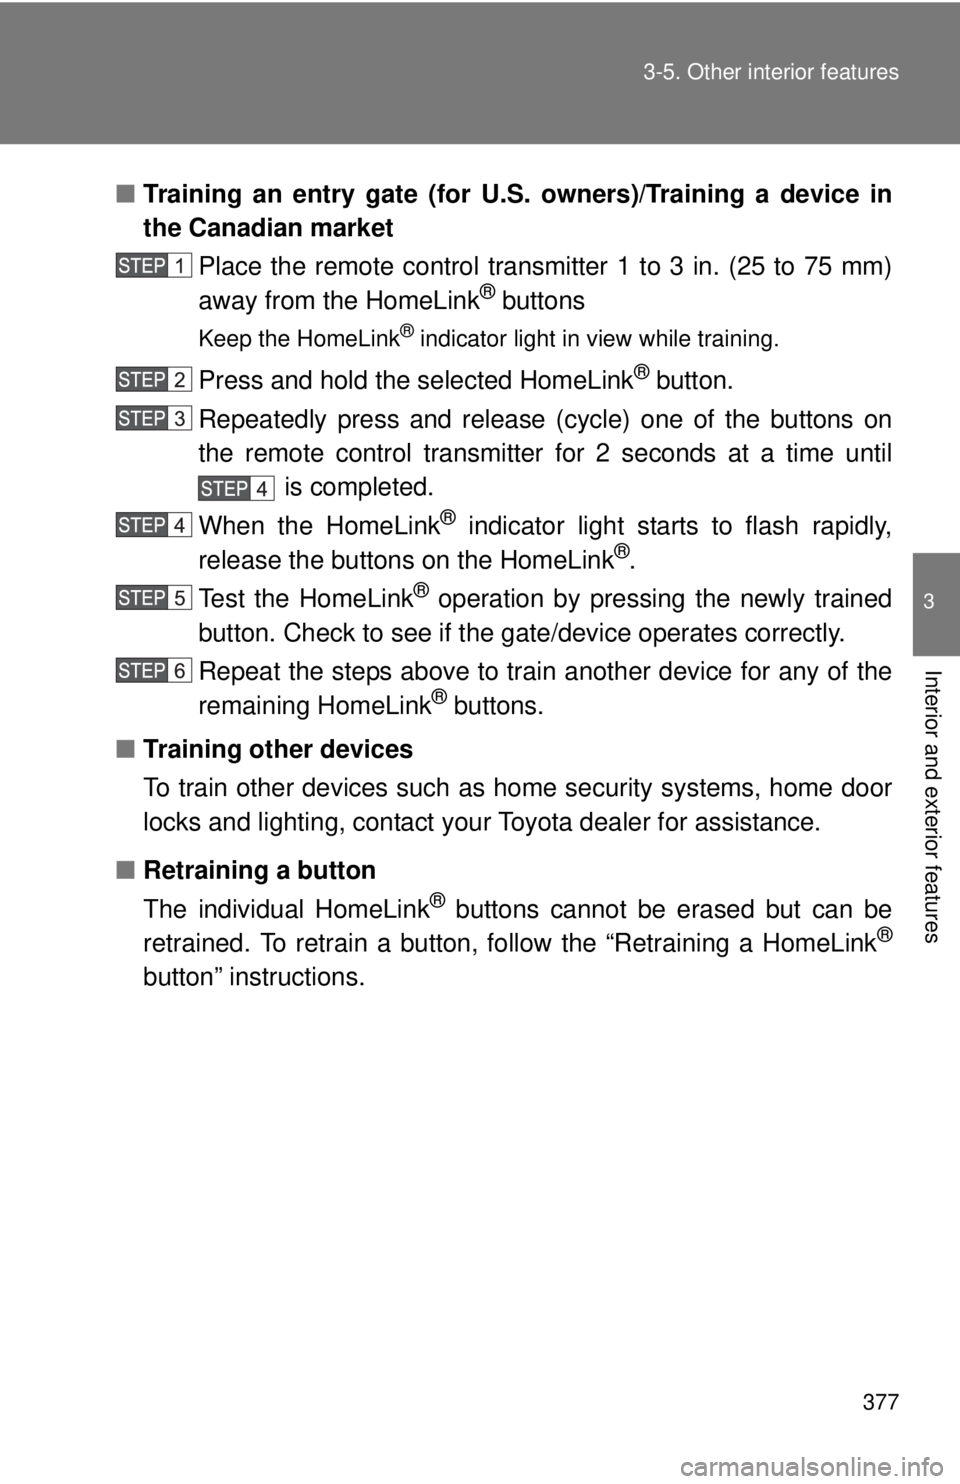
Training an entry gate (for U. S. owners)/Training a device in
the Canadian market
Place the remote control transmitter 1 to 3 in. (25 to 75 mm)
away from the HomeLink
® buttons
Keep the HomeLink® indicator light in view while training.
Press and hold the selected HomeLink® button.
Repeatedly press and release (cycle) one of the buttons on
the remote control transmitter for 2 seconds at a time until is completed.
When the HomeLink
® indicator light starts to flash rapidly,
release the buttons on the HomeLink®.
Test the HomeLink
® operation by pressing the newly trained
button. Check to see if the gate/device operates correctly.
Repeat the steps above to train another device for any of the
remaining HomeLink
® buttons.
■ Training other devices
To train other devices such as home security systems, home door
locks and lighting, contact your Toyota dealer for assistance.
■ Retraining a button
The individual HomeLink
® buttons cannot be erased but can be
retrained. To retrain a button, follow the “Retraining a HomeLink®
button” instructions.
Page 378 of 590
378 3-5. Other interior features
Operating HomeLink®
Press the appropriate HomeLink® button. The HomeLink® indicator
light should come on.
The HomeLink® compatible transceiver in your vehicle continues to send
a signal for up to 20 seconds as long as the button is pressed.
Retraining a HomeLink® button
Press and hold the desired HomeLink
® button. After 20 seconds, the
HomeLink® indicator light will start flashing slowly. Keep pressing the
HomeLink® button and then follow the “Training the HomeLink® (for
U.S. owners)” instructions. ( P. 373)
Erasing the entire HomeLink® memory (all three programs)
Press and hold down the 2 out-
side buttons for 10 seconds until
the indicator flashes.
If you sell your vehicle, be sure to
erase the programs stored in the
HomeLink
® memory.
Page 387 of 590
Maintenance and care4
387
4-1. Maintenance and careCleaning and protecting the vehicle exterior ......... 388
Cleaning and protecting the vehicle interior .......... 391
4-2. Maintenance Maintenance requirements .................. 394
General maintenance....... 396
Emission inspection and maintenance (I/M)
programs
.......................... 399
4-3. Do-it-yourself maintenance Do-it-yourself service precautions .................... 400
Hood ................................ 404
Engine compartment ........ 406
Tires ................................. 422
Tire inflation pressure ...... 431
Wheels ............................. 436
Air conditioning filter......... 439
Wireless remote control battery ............................ 442
Checking and replacing fuses .............................. 444
Light bulbs........................ 454