Page 3 of 292
3
COROLLA_13CY_Navi_U
The Navigation System is one of the most technologically advanced vehicle ac-
cessories ever developed. The system receives satellite signals from the Global
Positioning System (GPS) operated by the U.S. Department of Defense. Using
these signals and other vehicle sensors, the system indicates your present po-
sition and assists in locating a desired destination.
The navigation system is designed to select efficient routes from your present
starting location to your destination. The system is also designed to direct you
to a destination that is unfamiliar to you in an efficient manner. The system uses
AISIN AW maps. The calculated routes may not be the shortest nor the least
traffic congested. Your own personal local knowledge or “short cut” may at
times be faster than the calculated routes.
The navigation system’s database includes Point of Interest categories to allow
you to easily select destinations such as restaurants and hotels. If a destination
is not in the database, you can enter the street address or a major intersection
close to it and the system will guide you there.
The system will provide both a visual map and audio instructions. The audio in-
structions will announce the distance remaining and the direction to turn in when
approaching an intersection. These voice instructions will help you keep your
eyes on the road and are timed to provide enough time to allow you to maneu-
ver, change lanes or slow down.
Please be aware that all current vehicle navigation systems have certain limita-
tions that may affect their ability to perform properly. The accuracy of the vehi-
cle’s position depends on satellite conditions, road configuration, vehicle
condition or other circumstances. For more information on the limitations of the
system, refer to page 254.
NAVIGATION SYSTEM
Page 43 of 292
43
2. Bluetooth® SETTINGS
COROLLA_13CY_Navi_U
BASIC FUNCTION
2
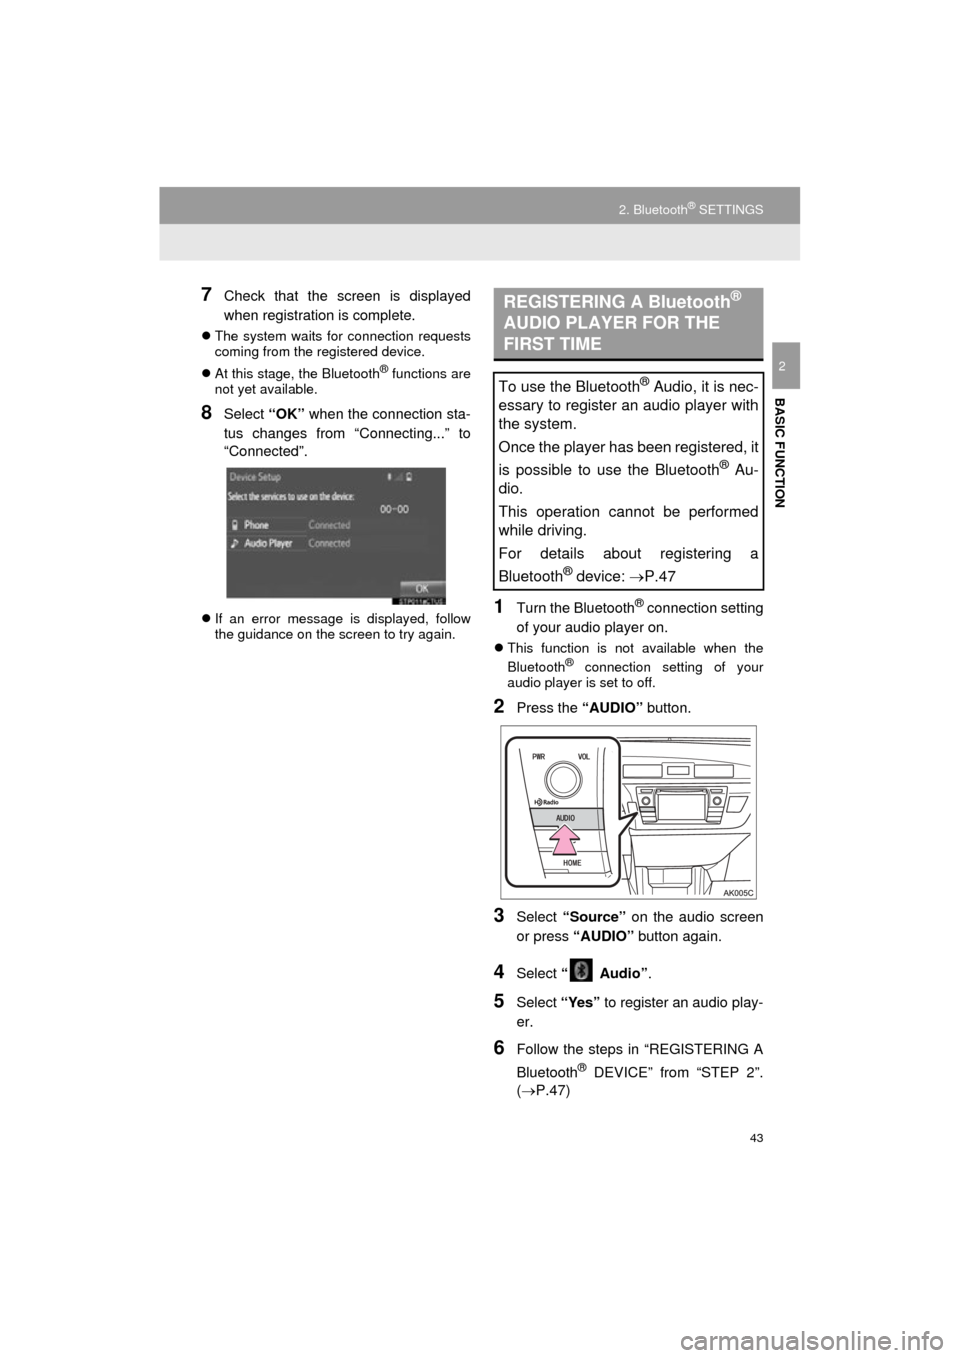
7Check that the screen is displayed
when registration is complete.
The system waits for connection requests
coming from the registered device.
At this stage, the Bluetooth
® functions are
not yet available.
8Select “OK” when the connection sta-
tus changes from “Connecting...” to
“Connected”.
If an error message is displayed, follow
the guidance on the screen to try again.1Turn the Bluetooth® connection setting
of your audio player on.
This function is not available when the
Bluetooth® connection setting of your
audio player is set to off.
2Press the “AUDIO” button.
3Select “Source” on the audio screen
or press “AUDIO” button again.
4Select “ Audio” .
5Select “Yes” to register an audio play-
er.
6Follow the steps in “REGISTERING A
Bluetooth
® DEVICE” from “STEP 2”.
(P.47)
REGISTERING A Bluetooth®
AUDIO PLAYER FOR THE
FIRST TIME
To use the Bluetooth® Audio, it is nec-
essary to register an audio player with
the system.
Once the player has been registered, it
is possible to use the Bluetooth
® Au-
dio.
This operation cannot be performed
while driving.
For details about registering a
Bluetooth
® device: P.47
Page 48 of 292
48
2. Bluetooth® SETTINGS
COROLLA_13CY_Navi_U
For details about operating the Bluetooth®
device, see the manual that comes with it.
To cancel the registration, select “Can-
cel”.
4Register the Bluetooth® device using
your Bluetooth
® device.
A PIN-code is not required for SSP
(Secure Simple Pairing) compatible
Bluetooth
® devices. Depending on the
type of Bluetooth® device being con-
nected, a message confirming registra-
tion may be displayed on the Bluetooth
®
device’s screen. Respond and operate the
Bluetooth® device according to the confir-
mation message.
5Check that the screen is displayed
when registration is complete.
The system waits for connection requests
coming from the registered device.
At this stage, the Bluetooth
® functions are
not yet available.
6Select “OK” when the connection sta-
tus changes from “Connecting...” to
“Connected”.
If an error message is displayed, follow
the guidance on the screen to try again.
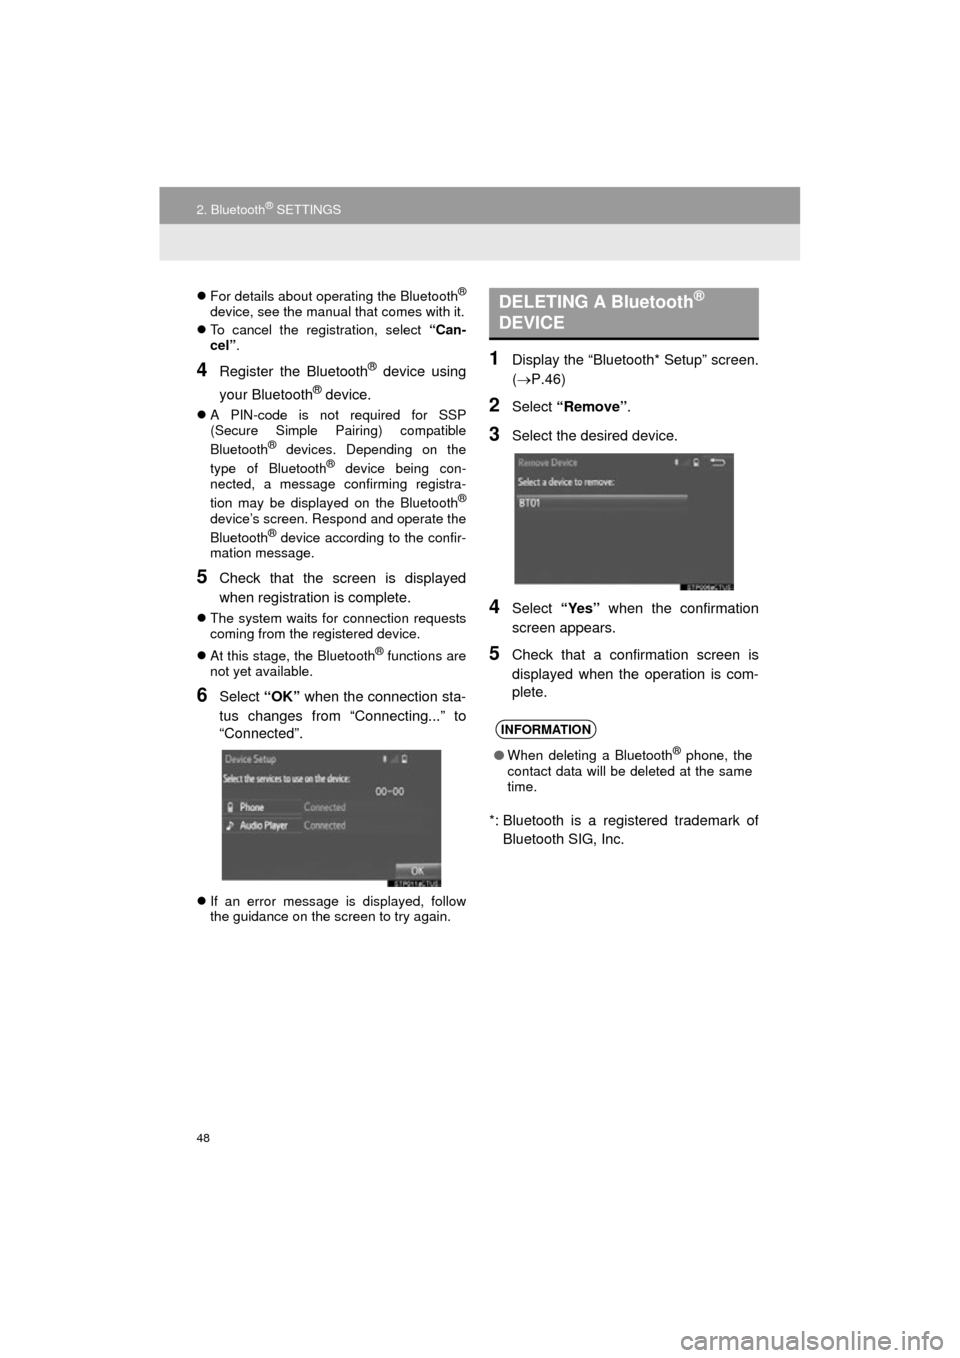
1Display the “Bluetooth* Setup” screen.
( P.46)
2Select “Remove” .
3Select the desired device.
4Select “Yes” when the confirmation
screen appears.
5Check that a confirmation screen is
displayed when the operation is com-
plete.
*: Bluetooth is a registered trademark of Bluetooth SIG, Inc.
DELETING A Bluetooth®
DEVICE
INFORMATION
● When deleting a Bluetooth® phone, the
contact data will be deleted at the same
time.
Page 53 of 292
53
2. Bluetooth® SETTINGS
COROLLA_13CY_Navi_U
BASIC FUNCTION
21Select “Bluetooth* Power” .
When “Bluetooth* Power” is on :
The Bluetooth
® device is automatically
connected when the engine switch is in
ACCESSORY or ON
mode.
When “Bluetooth* Power” is off :
The Bluetooth
® device is disconnected,
and the system will not connect to it next
time.
1Select “Bluetooth* Name” .
2Enter a name and select “OK”.
1Select “Bluetooth* PIN” .
2Enter a PIN-code and select “OK”.
*: Bluetooth is a registered trademark of Bluetooth SIG, Inc.
CHANGING “Bluetooth*
Power”
INFORMATION
● While driving, the auto connection state
can be changed from off to on, but can-
not be changed from on to off.
EDITING THE Bluetooth* NAME
EDITING THE PIN-CODE
Page 55 of 292
55
3. OTHER SETTINGS
COROLLA_13CY_Navi_U
BASIC FUNCTION
2
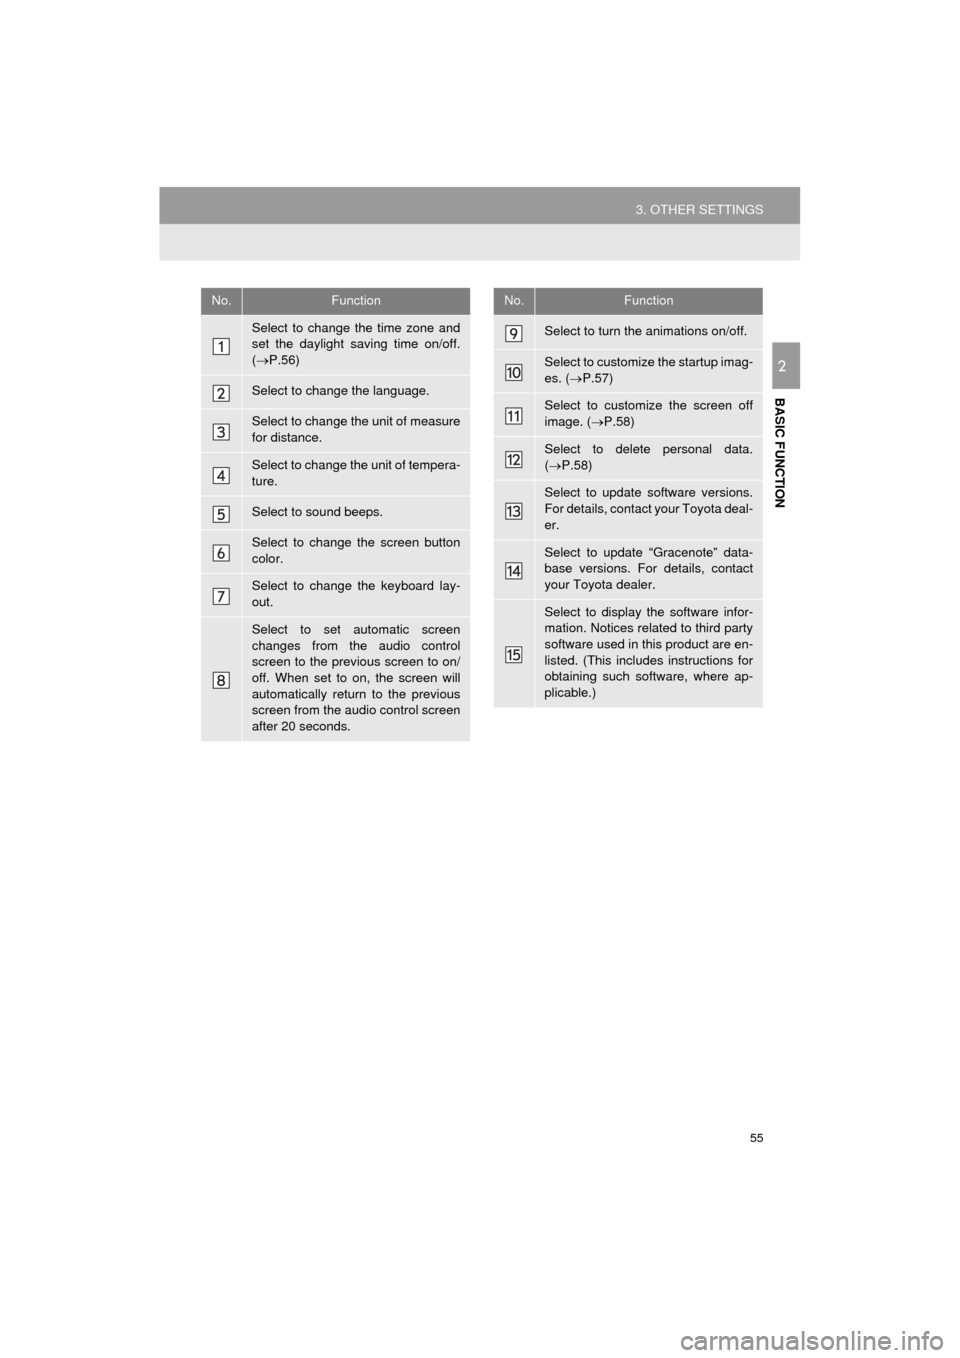
No.Function
Select to change the time zone and
set the daylight saving time on/off.
( P.56)
Select to change the language.
Select to change the unit of measure
for distance.
Select to change the unit of tempera-
ture.
Select to sound beeps.
Select to change the screen button
color.
Select to change the keyboard lay-
out.
Select to set automatic screen
changes from the audio control
screen to the previous screen to on/
off. When set to on, the screen will
automatically return to the previous
screen from the audio control screen
after 20 seconds.
Select to turn the animations on/off.
Select to customize the startup imag-
es. ( P.57)
Select to customize the screen off
image. ( P.58)
Select to delete personal data.
( P.58)
Select to update software versions.
For details, contact your Toyota deal-
er.
Select to update “Gracenote” data-
base versions. For details, contact
your Toyota dealer.
Select to display the software infor-
mation. Notices related to third party
software used in this product are en-
listed. (This includes instructions for
obtaining such software, where ap-
plicable.)
No.Function
Page 56 of 292
56
3. OTHER SETTINGS
COROLLA_13CY_Navi_U
1Display the “General Settings” screen.
(P.54)
2Select “System Time” .
3Select the items to be set.
4Select “OK”.
■SETTING THE TIME ZONE
1Select “Time Zone” .
2Select the desired time zone.
SYSTEM TIME SETTINGS
Used for changing time zones and the
on/off settings of daylight saving time.
No.Function
Select to change the time zone.
( P.56)
Select to set daylight saving time on/
off.
Page 62 of 292
62
3. OTHER SETTINGS
COROLLA_13CY_Navi_U
5. MAINTENANCE
1Press the “APPS” button.
2Select “Apps” .
3Select “Maintenance” .
4Select the desired item.
When this system is turned on, the
“Maintenance Reminder” screen dis-
plays when it is time to replace a part
or certain components. ( P.32)No.Function
Select to set the condition of parts or
components.
Select to add new information items
separately from provided ones.
Select to cancel all conditions which
have been entered.
Select to reset the item which have
expired conditions.
Select to call the registered dealer.
Select to register/edit dealer infor-
mation. (P.63)
When set to on, the indicator will illu-
minate. The system is set to give
maintenance information with the
“Maintenance Reminder” screen.
( P.32)
INFORMATION
● When the vehicle needs to be serviced,
the screen button color will change to
orange.
Page 78 of 292
78
2. RADIO OPERATION
COROLLA_13CY_Navi_U
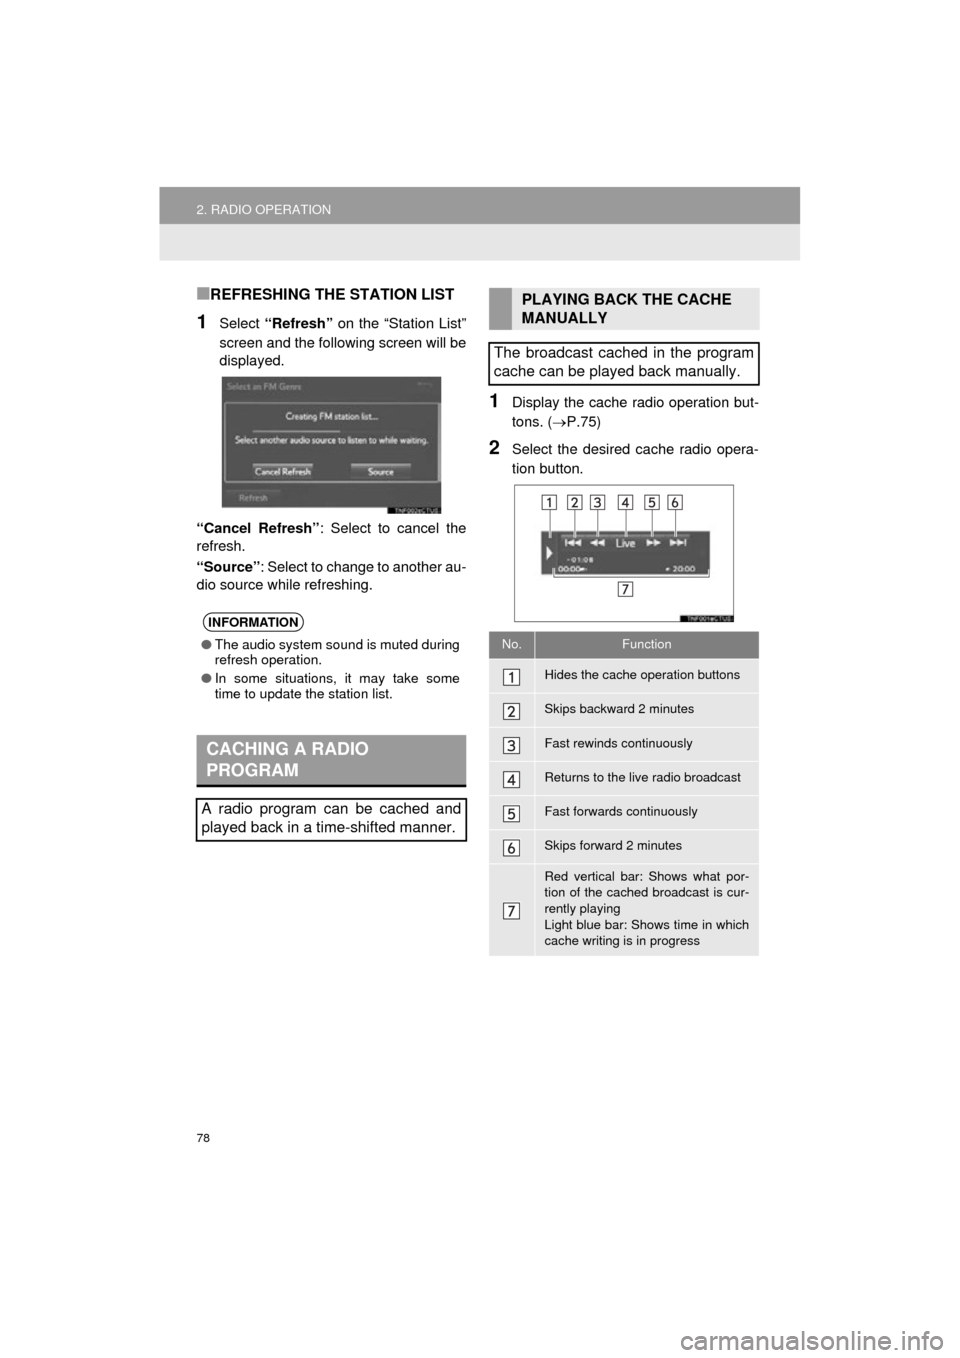
■REFRESHING THE STATION LIST
1Select “Refresh” on the “Station List”
screen and the following screen will be
displayed.
“Cancel Refresh” : Select to cancel the
refresh.
“Source” : Select to change to another au-
dio source while refreshing.
1Display the cache r adio operation but-
tons. ( P.75)
2Select the desired cache radio opera-
tion button.
INFORMATION
●The audio system sound is muted during
refresh operation.
● In some situations, it may take some
time to update the station list.
CACHING A RADIO
PROGRAM
A radio program can be cached and
played back in a time-shifted manner.
PLAYING BACK THE CACHE
MANUALLY
The broadcast cached in the program
cache can be played back manually.
No.Function
Hides the cache operation buttons
Skips backward 2 minutes
Fast rewinds continuously
Returns to the live radio broadcast
Fast forwards continuously
Skips forward 2 minutes
Red vertical bar: Shows what por-
tion of the cached broadcast is cur-
rently playing
Light blue bar: Shows time in which
cache writing is in progress