Page 57 of 292
57
3. OTHER SETTINGS
COROLLA_13CY_Navi_U
BASIC FUNCTION
2
■TRANSFERRING IMAGES
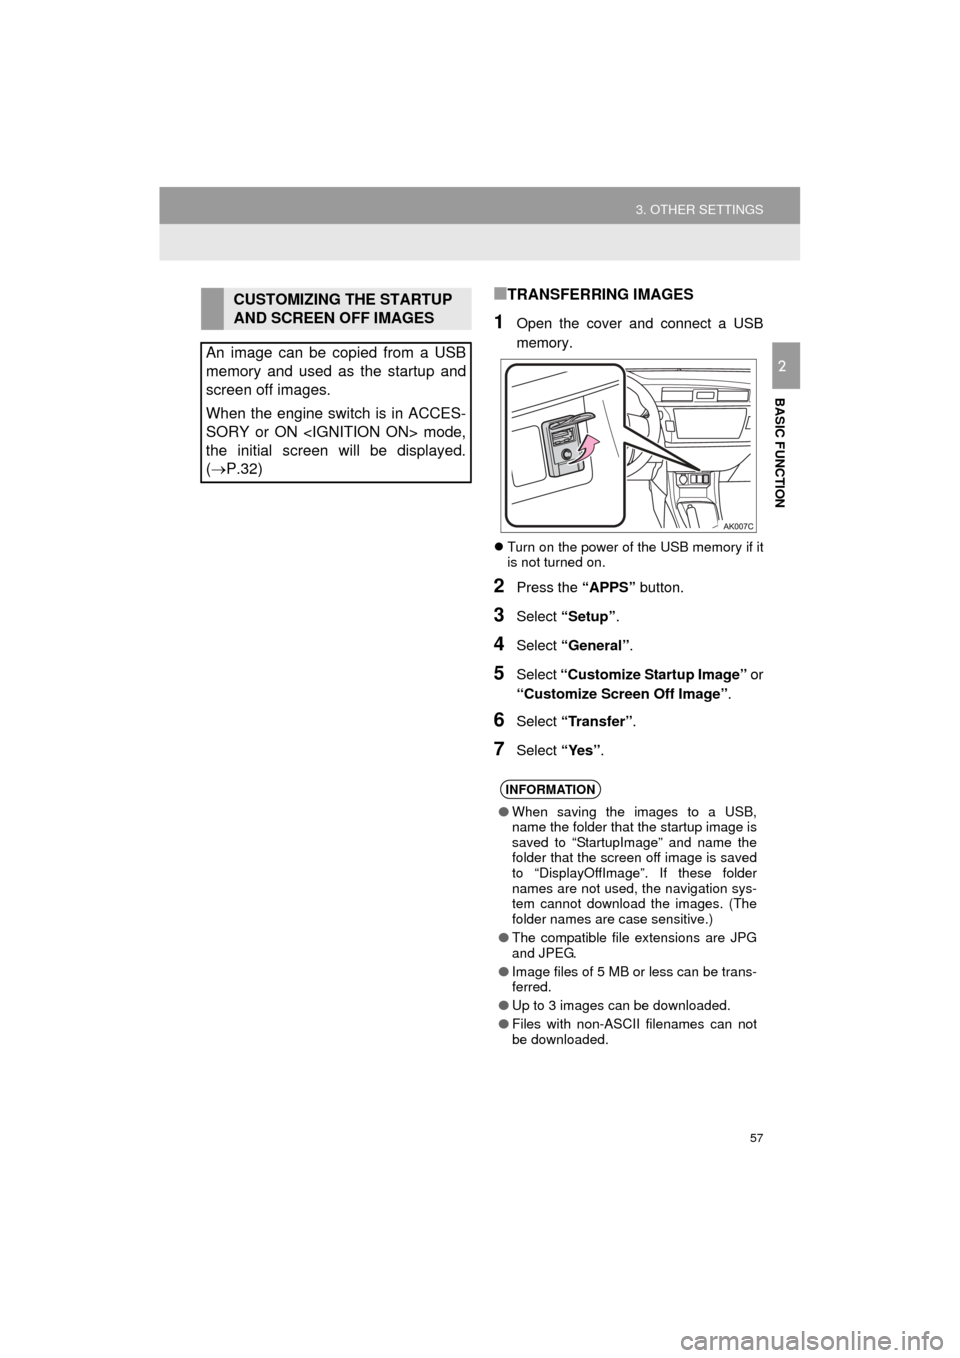
1Open the cover and connect a USB
memory.
Turn on the power of the USB memory if it
is not turned on.
2Press the “APPS” button.
3Select “Setup” .
4Select “General” .
5Select “Customize Startup Image” or
“Customize Screen Off Image” .
6Select “Transfer”.
7Select “Yes”.
CUSTOMIZING THE STARTUP
AND SCREEN OFF IMAGES
An image can be copied from a USB
memory and used as the startup and
screen off images.
When the engine switch is in ACCES-
SORY or ON mode,
the initial screen will be displayed.
( P.32)
INFORMATION
● When saving the images to a USB,
name the folder that the startup image is
saved to “StartupImage” and name the
folder that the screen off image is saved
to “DisplayOffImage”. If these folder
names are not used, the navigation sys-
tem cannot download the images. (The
folder names are case sensitive.)
● The compatible file extensions are JPG
and JPEG.
● Image files of 5 MB or less can be trans-
ferred.
● Up to 3 images can be downloaded.
● Files with non-ASCII filenames can not
be downloaded.
Page 58 of 292
58
3. OTHER SETTINGS
COROLLA_13CY_Navi_U
■SETTING THE STARTUP IMAGES
1Display the “General Settings” screen.
(P.54)
2Select “Customize Startup Image” .
3Select the desired image.
4Select “OK”.
■SETTINGS THE SCREEN OFF IM-
AGES
1Display the “General Settings” screen.
(P.54)
2Select “Customize Screen Off Im-
age” .
3Select the desired image.
4Select “OK”.
1Display the “General Settings” screen.
(P.54)
2Select “Delete Personal Data” .
3Select “Delete” .
4Select “Yes” when the confirmation
screen appears.
Registered or changed personal settings
will be deleted or returned to their default
conditions.
For example:
• General settings
• Navigation settings
• Audio settings
• Phone settings
DELETING PERSONAL DATA
Page 90 of 292
90
2. RADIO OPERATION
COROLLA_13CY_Navi_U
3. INTERNET RADIO
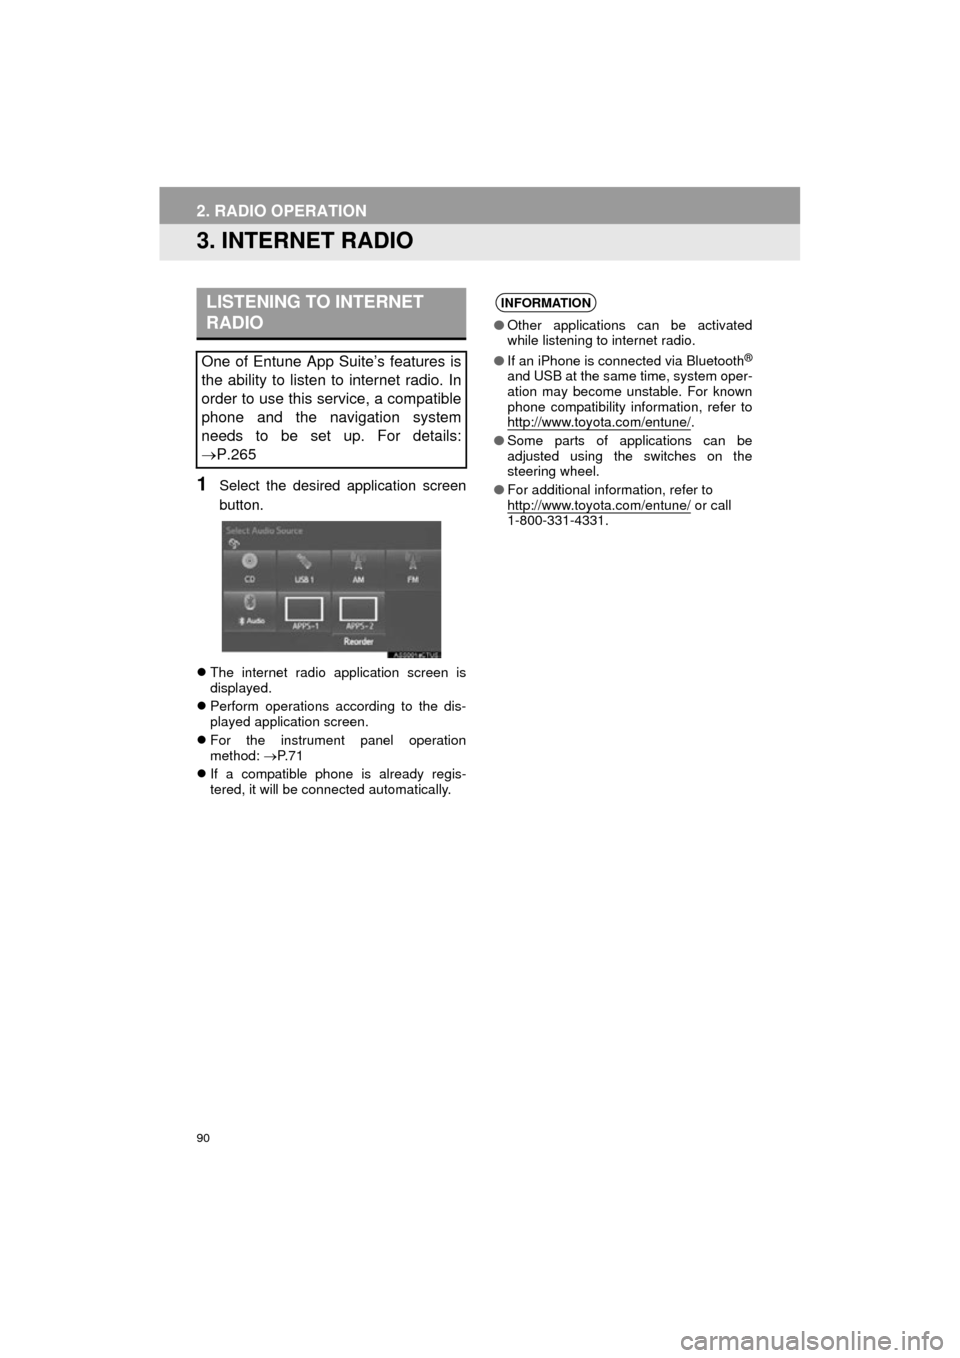
1Select the desired application screen
button.
The internet radio application screen is
displayed.
Perform operations according to the dis-
played application screen.
For the instrument panel operation
method: P. 7 1
If a compatible phone is already regis-
tered, it will be connected automatically.
LISTENING TO INTERNET
RADIO
One of Entune App Suite’s features is
the ability to listen to internet radio. In
order to use this service, a compatible
phone and the navigation system
needs to be set up. For details:
P.265
INFORMATION
●Other applications can be activated
while listening to internet radio.
● If an iPhone is connected via Bluetooth
®
and USB at the same time, system oper-
ation may become unstable. For known
phone compatibility information, refer to
http://www.toyota.com/entune/
.
● Some parts of applications can be
adjusted using the switches on the
steering wheel.
● For additional information, refer to
http://www.toyota.com/entune/
or call
1-800-331-4331.
Page 111 of 292
111
4. AUDIO REMOTE CONTROLS
COROLLA_13CY_Navi_U
AUDIO SYSTEM
3
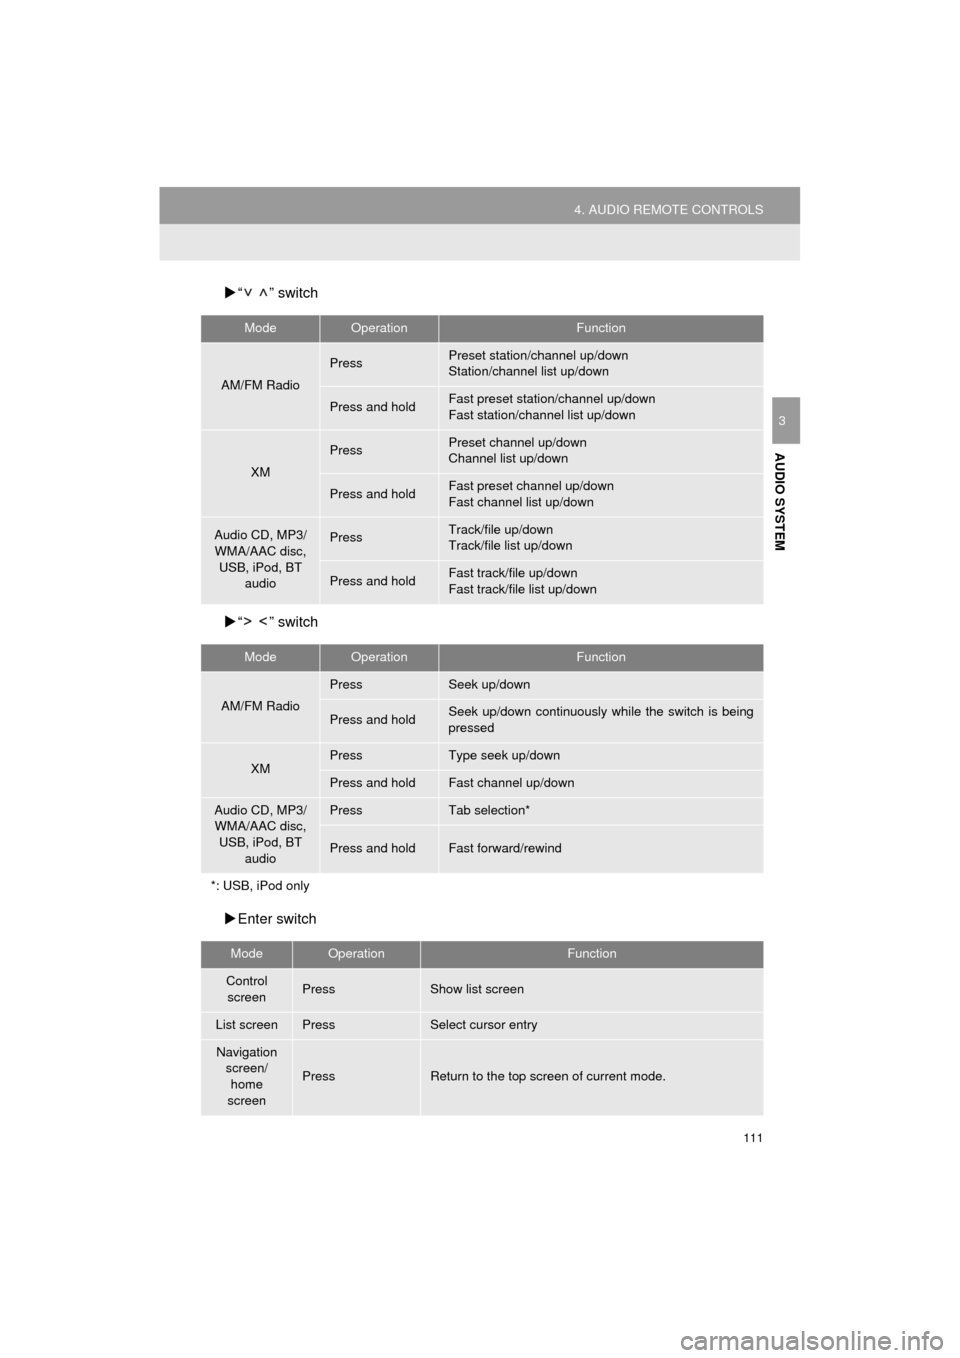
“ ” switch
“ ” switch
Enter switch
ModeOperationFunction
AM/FM Radio
PressPreset station/channel up/down
Station/channel list up/down
Press and holdFast preset station/channel up/down
Fast station/channel list up/down
XM
PressPreset channel up/down
Channel list up/down
Press and holdFast preset channel up/down
Fast channel list up/down
Audio CD, MP3/
WMA/AAC disc, USB, iPod, BT audioPressTrack/file up/down
Track/file list up/down
Press and holdFast track/file up/down
Fast track/file list up/down
ModeOperationFunction
AM/FM Radio
PressSeek up/down
Press and holdSeek up/down continuously wh ile the switch is being
pressed
XMPressType seek up/down
Press and holdFast channel up/down
Audio CD, MP3/ WMA/AAC disc, USB, iPod, BT
audioPressTab selection*
Press and holdFast forward/rewind
*: USB, iPod only
ModeOperationFunction
Control screenPressShow list screen
List screenPressSelect cursor entry
Navigation
screen/home
screen
PressReturn to the top screen of current mode.
Page 126 of 292
126
COROLLA_13CY_Navi_U
1. VOICE COMMAND SYSTEM OPERATION
1. VOICE COMMAND SYSTEM
Talk switch
Press the talk switch to start the voice
command system.
To cancel voice recognition, press and
hold the talk switch.
Vehicles without moon roof
Vehicles with moon roof
It is unnecessary to speak directly into the
microphone when giving a command.
The voice command system enables
the navigation, audio and hands-free
systems to be operated using voice
commands.
Refer to the command list for samples
of voice commands. ( P.133)
USING THE VOICE
COMMAND SYSTEM
STEERING SWITCH
MICROPHONE
Page 128 of 292
128
1. VOICE COMMAND SYSTEM OPERATION
COROLLA_13CY_Navi_U
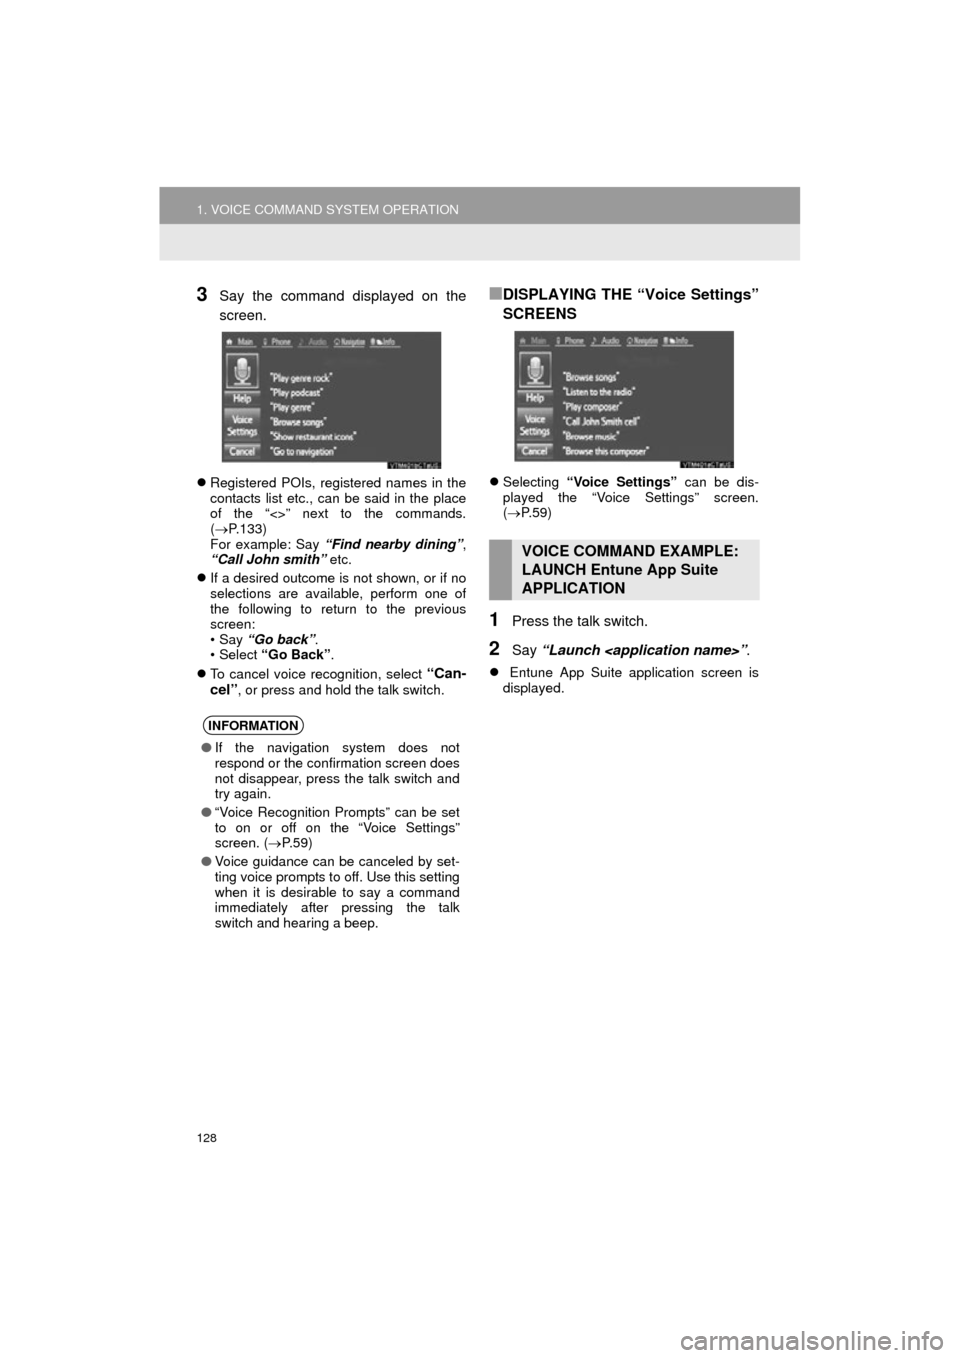
3Say the command displayed on the
screen.
Registered POIs, registered names in the
contacts list etc., can be said in the place
of the “<>” next to the commands.
( P.133)
For example: Say “Find nearby dining” ,
“Call John smith” etc.
If a desired outcome is not shown, or if no
selections are available, perform one of
the following to return to the previous
screen:
•Say “Go back” .
•Select “Go Back” .
To cancel voice recognition, select
“Can-
cel”
, or press and hold the talk switch.
■DISPLAYING THE “Voice Settings”
SCREENS
Selecting “Voice Settings” can be dis-
played the “Voice Settings” screen.
( P. 5 9 )
1Press the talk switch.
2Say “Launch ” .
Entune App Suite application screen is
displayed.
INFORMATION
●If the navigation system does not
respond or the confirmation screen does
not disappear, press the talk switch and
try again.
● “Voice Recognition Prompts” can be set
to on or off on the “Voice Settings”
screen. ( P.59)
● Voice guidance can be canceled by set-
ting voice prompts to off. Use this setting
when it is desirable to say a command
immediately after pressing the talk
switch and hearing a beep.
VOICE COMMAND EXAMPLE:
LAUNCH Entune App Suite
APPLICATION
Page 133 of 292
133
1. VOICE COMMAND SYSTEM OPERATION
COROLLA_13CY_Navi_U
VOICE COMMAND SYSTEM
4
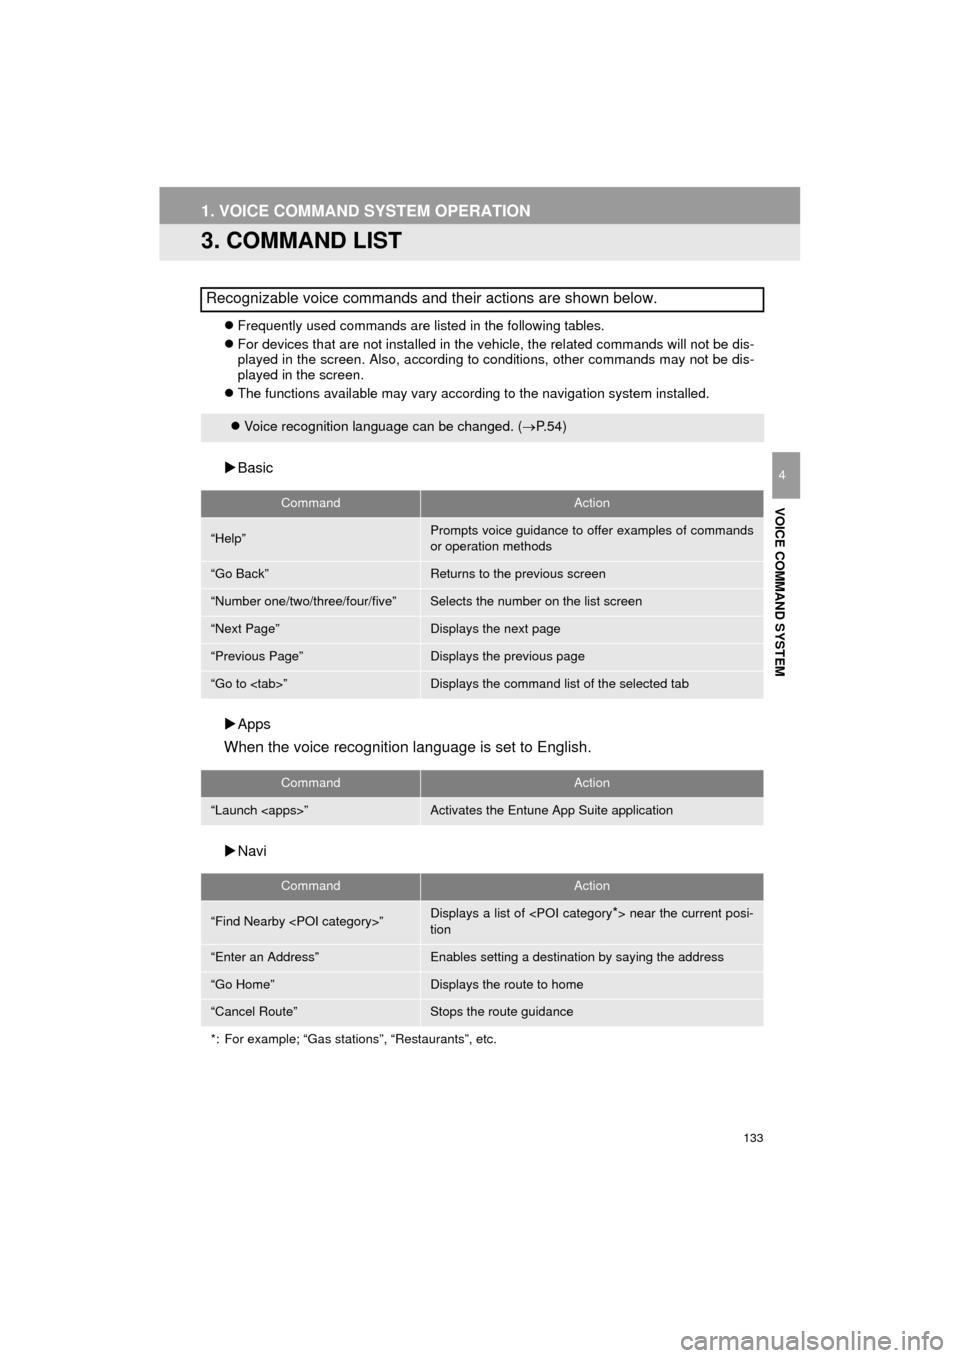
3. COMMAND LIST
Frequently used commands are listed in the following tables.
For devices that are not installed in the vehicle, the related commands will not be dis-
played in the screen. Also, according to conditions, other commands may not be dis-
played in the screen.
The functions available may vary according to the navigation system installed.
Basic
Apps
When the voice recognition language is set to English.
Navi
Recognizable voice commands and their actions are shown below.
Voice recognition language can be changed. ( P.54)
CommandAction
“Help”Prompts voice guidance to offer examples of commands
or operation methods
“Go Back”Returns to the previous screen
“Number one/two/three/four/five”Selects the number on the list screen
“Next Page”Displays the next page
“Previous Page”Displays the previous page
“Go to ”Displays the command list of the selected tab
CommandAction
“Launch ”Activates the Entune App Suite application
CommandAction
“Find Nearby ”Displays a list of near the current posi-
tion
“Enter an Address”Enables setting a destination by saying the address
“Go Home”Displays the route to home
“Cancel Route”Stops the route guidance
*: For example; “Gas stations”, “Restaurants”, etc.
Page 146 of 292
146
1. REAR VIEW MONITOR SYSTEM
COROLLA_13CY_Navi_U
2. REAR VIEW MONITOR SYSTEM PRECAUTIONS
The image adjustment procedure for the
rear view monitor system screen is the
same as the procedure for adjusting the
navigation screen. ( P. 4 1 )
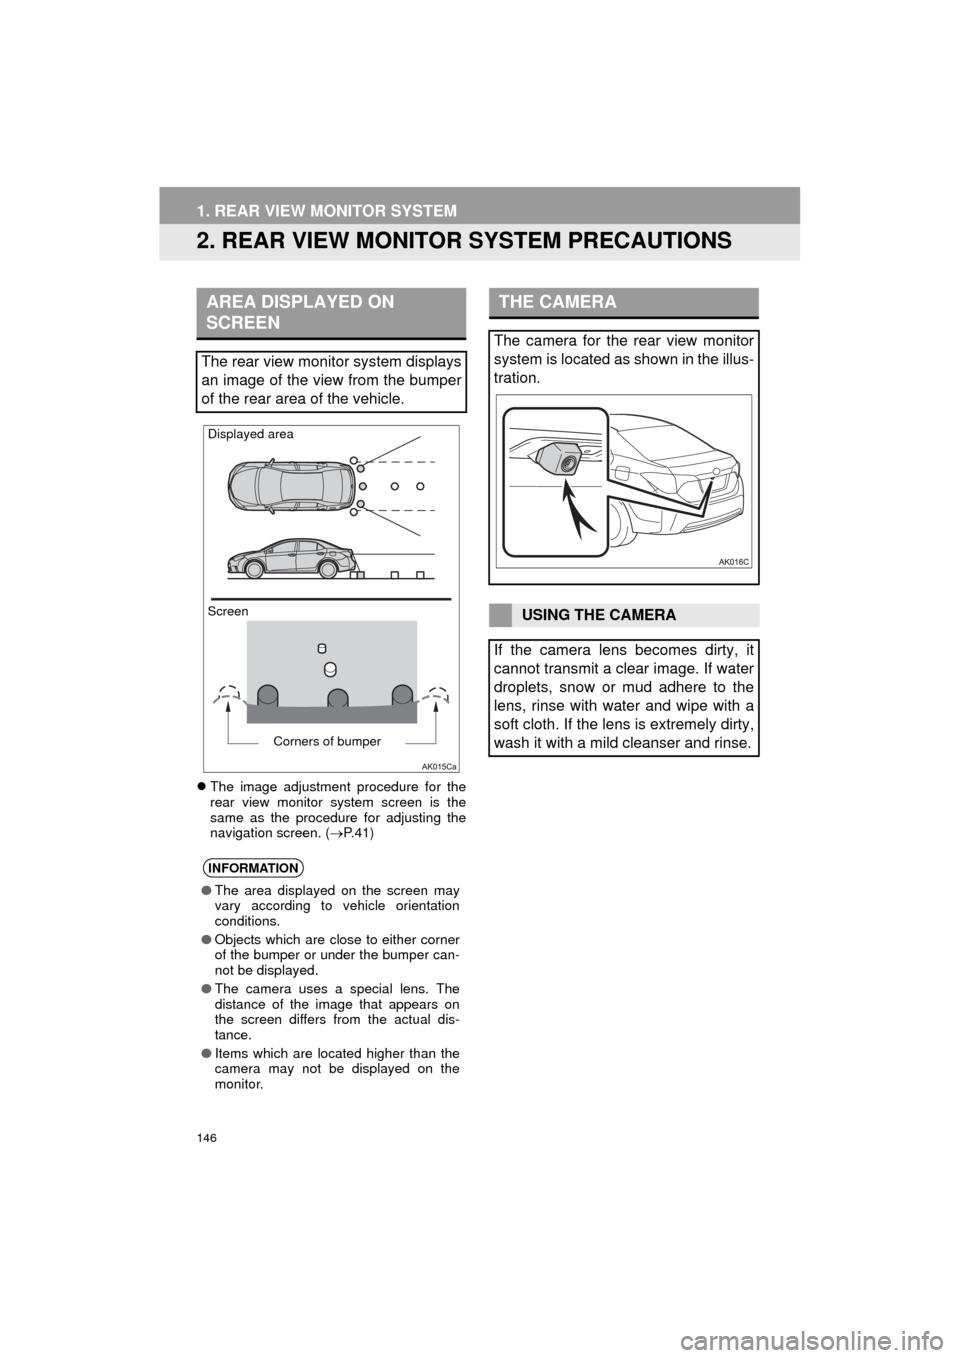
AREA DISPLAYED ON
SCREEN
The rear view monitor system displays
an image of the view from the bumper
of the rear area of the vehicle.
INFORMATION
● The area displayed on the screen may
vary according to vehicle orientation
conditions.
● Objects which are close to either corner
of the bumper or under the bumper can-
not be displayed.
● The camera uses a special lens. The
distance of the image that appears on
the screen differs from the actual dis-
tance.
● Items which are located higher than the
camera may not be displayed on the
monitor.
Screen Displayed area
Corners of bumper
THE CAMERA
The camera for the rear view monitor
system is located as shown in the illus-
tration.
USING THE CAMERA
If the camera lens becomes dirty, it
cannot transmit a clear image. If water
droplets, snow or mud adhere to the
lens, rinse with water and wipe with a
soft cloth. If the lens is extremely dirty,
wash it with a mild cleanser and rinse.