2015 PEUGEOT BOXER maintenance
[x] Cancel search: maintenancePage 4 of 276

2
contents
3. EASE oF uSE and coMFort 44-86
Lighting control stalk 45
Wipers 48
Cruise control 49
Speed limiter 55
Demisting and defrosting
59
Heating / Manual air conditioning
61
Digital air conditioning 63
Additional heating systems
65
Rear Heating / Air Conditioning
65
Programmable additional heating
67
Front seats 71
Front bench seat 73
Rear seats 74
Front fittings 76
Rear fittings 81
Exterior fittings 84
Mirrors 85electric windows 86
Presentation
4exterior 6
Interior 7
Instruments and controls 9technical data - Maintenance 10environment 1
1
eco-driving 12
1. oVErVIEW 4-13 4. tEcHnoLoGY on
BoArd 87-97
Vehicle configuration 87trip computer 92tachograph 93
Rear parking sensors 94
Reversing camera 95
Pneumatic suspension 96
2. rEAdY to SEt oFF 14-43
Remote control 14
Key 16
Alarm 19
Front / rear doors 20
Load space 22
Instrument panel 23
Warning/indicator lamps 24
Fuel gauge 32temperature indicator 32
Tyre under-inflation detection
33
Service indicator 35gearbox and steering
wheel 36gear shift indicator 36
Starting and switching of
f
38
Hill start assist 39
Stop & Start 40
Driving recommendations
43
this symbol informs you
of equipment which is
specific to the Combi
/
Minibus model. Child lock.Rear heating / air
conditioning / Rear
seats / bench seats.
Reading lamps. Sliding
side windows.
Page 12 of 276

10
Changing a wiper blade 155
Bulbs, lighting, changing bulbs
149-154
Very cold conditions protectors 84
Opening the bonnet, stay
127under the bonnet 128
Labels / Precautions 168-171engines 177-178
Identification markings, serial
number
, paint, tyres
182
Levels
129-130
● dipstick,
● brake fluid,
● screenwash / headlamp wash
fluid
●
power steering fluid,
● coolant.
Water bleed, Diesel filter
131
Particle filter 133emission control 33, 139
Checks
131-133
● battery,
● air/passenger compartment filter,● oil filter,
● manual gearbox,
● parking brake,
● brake discs and pads.
tEcHnIcAL dAtA - MAIntEnAncE
Dimensions 172-176
Weights 179-181
engine fuses 145, 148
Location
Page 15 of 276

13
Limit the causes of excess consumption
Spread loads throughout the vehicle; place the heaviest items in
the bottom of the boot, as close as possible to the rear seats.
Limit the loads carried in the vehicle and reduce wind resistance
(roof bars, roof rack, trailer...).
At the end of winter, remove snow tyres and refit your summer
tyres.
observe the recommendations on maintenance
Check the tyre pressures regularly, when cold, referring to the
label in the door aperture, driver's side.
Carry out this check in particular:
-
before a long journey,
- at each change of season,
- after a long period out of use.
Don't forget the spare wheel and the tyres on any trailer or
caravan.
Have your vehicle serviced regularly (engine oil, oil filter
, air
filter, cabin filter...) and observe the schedule of operations in the
manufacturer's service schedule.
With a BlueHDi Diesel engine, if the SCR has a fault your vehicle
becomes polluting; go to a P
eugeOt dealer or a qualified
workshop as soon as possible to bring the levels of nitrous oxide
emissions back into line with the regulations.
When refuelling, do not continue after the 3
rd cut-off of the nozzle
to avoid any overflow.
At the wheel of your new vehicle, it is only after the first
1
800 miles (3 000 kilometres) that you will see the fuel
consumption settle down to a consistent average.
1
OVeRVIeW
Motoring & the environment
Page 32 of 276

30
Screendisplays indicates Solution - action
temperature /
Ice the ice warning,
the temperature
flashing
accompanied by
a message in
the screen. weather conditions which could
result in ice on the road.
Be particularly vigilant and do not brake sharply.
"Safety - Driving safely".
Date /
time a setting: date,
time. a configuration via the "MODe"
menu. "
technology on board - V
ehicle configuration" section.
Headlamp beam
height a headlamp
height setting.a position from 0 to 3
depending on the load carried Adjust using the buttons on the MOD
e control panel.
"
ease of use and comfort - Steering mounted controls"
section.
Service spanner a service
spanner which
remains on.that a service will soon be due.
Refer to the list of checks in the warranty and
maintenance record, then have the service carried out.
Stop & Start on.
engine going into S
tOP mode
after the the vehicle stops. As soon as you want to move off, the warning lamp
goes off and the engine restarts automatically in S
tARt
mode.
flashes for a few
seconds, then
goes off. S
tOP mode temporarily
unavailable or automatic
operation of S
tARt mode. Special cases for S
tOP mode and StARt mode.
"Ready to set off
- Starting and stopping" section.
Instruments and controls
Page 37 of 276

35SErVIcE IndIcAtor
For a few seconds after the ignition is
switched on, the spanner symbolising the
service indicator comes on: the screen
informs you when the next service is due,
in accordance with the servicing schedule
indicated in the warranty and maintenance
record.
this information is determined in
relation to the distance travelled since the
previous service.
After a few seconds, the display returns to
its usual functions. A long press returns you to the main menu.
Refer to the "
technology on board -
V
ehicle configuration" section.
deterioration of the engine oil
Refer to the list of checks in the
warranty and maintenance record
which was given to you on handover of
the vehicle.
reminder of servicing information
At any time, to access the service indicator,
press briefly on the M
odE
button.
use the up/down arrows to see the
scheduling and engine oil wear information.
Pressing the M
odE
button again allows you
to return to the various display menus.
Menu...
choose...Allows you to...
11
Service Service
(miles/
km before
service)
Display the
distance
remaining
before the
next service.
Oil (miles/
km before
oil change) Display
the miles/
kilometres to
the next oil
change.
resetting to zero
the continuous flashing of the indicator is
stopped by a qualified workshop using a
diagnostic tool.
this 2nd warning lamp, coupled
with the 1st, comes on in the
instrument panel when the oil
has not been changed and the
deterioration of the oil has reached another
threshold.
to avoid the risk of damage, have
the oil changed without waiting for this level.
the warning lamp flashing and,
if your vehicle has the function,
a message displayed at every
engine start: the system has
detected deterioration of the engine oil.
Have the oil changed as soon as possible.
For 3.0 litre HDi engines, the engine speed
is restricted to 3 000 rpm, then 1 500 rpm
until the oil change is done. Have the engine
oil changed to avoid any risk of damage.
2
rEAdY to SEt oFF
Instruments and controls
Page 44 of 276

42
deactivation
At any time, press the "A - oFF" switch to
deactivate the system.
Illumination of the switch indicator lamp,
accompanied by a message in the
instrument panel screen, confirms the the
instruction has been registered.
If the system has been deactivated
in S
tOP mode, the engine restarts
immediately.
It is necessary to deactivate the
Stop
& Start system if you want
to allow continuous operation of the air
conditioning.
the switch indicator lamp stays on.
reactivation
Press the "A - oFF" switch again.
the system is active again; the switch
indicator lamp going off and a message
in the instrument panel screen confirm
reactivation.
operating fault
In the event of a fault with the system,
the Stop & Start system is deactivated
and this warning lamp comes on,
accompanied by a message in the
instrument panel screen.
Have it checked by a P
eugeOt dealer or
a
qualified workshop.
In the event of an operating fault with S
tOP
mode, it is possible to restart the engine by
depressing the clutch pedal fully and putting
the gear lever into neutral.
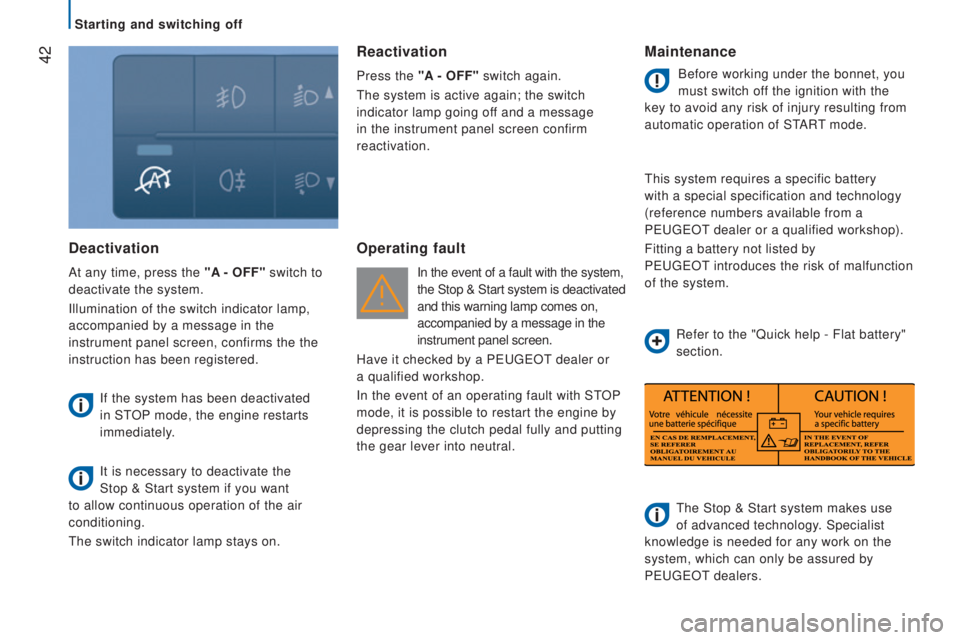
Maintenance
Before working under the bonnet, you
must switch off the ignition with the
key to avoid any risk of injury resulting from
automatic operation of S
tARt mode.
this system requires a specific battery
with a special specification and technology
(reference numbers available from a
P
eugeOt dealer or a qualified workshop).
Fitting a battery not listed by
P
eugeOt
introduces the risk of malfunction
of the system.
the Stop & Start system makes use
of advanced technology. Specialist
knowledge is needed for any work on the
system, which can only be assured by
P
eugeOt dealers.
Refer to the "Quick help - Flat battery"
section.
Starting and switching off
Page 71 of 276

69
Have the additional heating checked at
least once a year at the beginning of
winter. Maintenance and repairs should only
be carried out by a P
eugeOt dealer or a
qualified workshop.
use only genuine replacement parts.
Switching off the heating
In the case of deferred operation, the
heating stops at the end of the programmed
period.
Good practice
to avoid any risk of poisoning or
asphyxiation, the additional heating must
not be used, even for short periods, in
an enclosed space such as a garage or
workshop which is not fitted with an exhaust
gas extraction system.
the additional heating switches of
f when the
battery voltage is low, so as to allow engine
starting.
the additional heating is supplied by the
vehicle's fuel tank.
ensure that the low fuel
warning lamp is not on.
Always switch off the additional heating
when filling with fuel to avoid any risk of fire
or explosion.
the temperature near the heater must not
exceed 120
°C.
A temperature higher than
this (for example in the case of painting in
an oven) could damage the components of
the electronic circuits.
the additional heating is fitted with
a temperature limiter which cuts off
the combustion in the event of engine
overheating due to a lack of coolant. Check
the level and if necessary top-up following
the advice given in the "Checks - Levels"
section.
then press the programme
selection button before switching the heating
on again.
Setting the operating period
the period of operation can be set to
between 10 and 60 minutes.
Press and hold the "set"
button.
At the same time press the "<"
or ">" button.
the time and the time setting
indicator come on.
Press and hold the "set" button again.
At the same time press the "<" or ">" button
again.
the programmed operating period is
displayed and the heating or ventilation
cycle indicator flashes.
Adjust the period by pressing the "<" or
">" button.
the setting is confirmed by the period
disappearing from the screen or by pressing
the "set" button again In the case of immediate
operation, press this button again
to switch off manually.
the heating cycle indicator and
the screen go off.
3
EASE oF uSE and coMFort
Ventilation
Page 110 of 276

108
In order to be effective, a seat belt:
-
must restrain one person only,
-
must not be twisted, check by pulling in
front of you with an even movement,
-
must be tightened as close to the body
as possible.
the upper part of the seat belt should be
positioned in the hollow of the shoulder.
the lap part should be placed as low as
possible on the pelvis.
Do not invert the seat belt buckles as they
will not fulfil their role completely. If the
seats are fitted with armrests, the lap part of
the seat belt should always pass under the
armrest.
Check that the seat belt is fastened correctly
by pulling the strap firmly.recommendations for children
use an appropriate child seat if the
passenger is under 10 years or less than
one and a half metres tall.
Never carry a child on your knees, even with
the seat belt fastened.
For more information on child seats,
refer to the "Safety - Children on board"
section. In accordance with current safety
regulations, your P
eugeOt dealer can
guarantee all work or any checks, from
testing to maintenance, on your seat belt
equipment.
Have the seat belts checked regularly (even
after a minor impact) by a P
eugeOt dealer
or a qualified workshop: they must not show
any signs of wear, cutting or fraying and they
must not be converted or modified.
Clean the seat belt straps with soapy
water or a textile cleaning product, sold
by P
eugeOt dealers.
Seat belts