Page 290 of 348
Engine Compartment Fuses
The engine compartment fuse box is located on the left
side of the engine compartment, next to the battery. To
access the fuses, remove screws and then remove the
cover.
The ID number of the electrical component correspond-
ing to each fuse can be found on the back of the cover.
Engine Compartment Fuse Box
1 — Forward Screw
2 — Fuse Box Cover
3 — Rearward Screw 288 MAINTAINING YOUR VEHICLE
Page 291 of 348
Cavity Maxi Fuse Mini Fuse Description
F01 70 Amp Tan Body Controller
F03 20 Amp Yellow Ignition Switch
F04 40 Amp Orange Anti-Lock Brake Pump
F05 20 Amp Yellow Anti-Lock Brake Valve
F06 40 Amp Orange Radiator Fan - Low Speed
F07 50 Amp Red Radiator Fan - High Speed
F08 20 Amp Yellow Blower Motor
F09 5 Amp Tan Headlight beam switch (If Equipped)
F10 10 Amp Red Horn
F11 20 Amp Yellow Powertrain
F14 15 Amp Blue Alfa Twin Clutch Transmission
F15 15 Amp Blue Alfa Twin Clutch Transmission
F16 5 Amp Tan Alfa Twin Clutch Transmission, ECM
F17 10 Amp Red Powertrain
F18 5 Amp Tan Powertrain
7
MAINTAINING YOUR VEHICLE 289
Page 292 of 348
Cavity Maxi Fuse Mini Fuse Description
F19 7.5 Amp Brown Air Conditioning Compressor
F21 20 Amp Yellow Fuel Pump
F22 20 Amp Yellow Engine Control Unit Power Supply
F24 5 Amp Tan Anti-Lock Brake System (ABS)
F30 10 Amp Red Water Pump, HVAC
F82 30 Amp Green Headlamp Washer (If Equipped)
F83 40 Amp Orange Alfa Twin Clutch Transmission Pump
F84 5 Amp Tan After Run Pump
F86 15 Amp Blue Rear Power Outlet 12V
F88 7.5 Amp Brown Heated Mirrors
Dashboard Fuse Box
The dashboard fuse box is part of the Body Control
Module (BCM) and is located on the passenger side
under the forward passenger floor. Remove the six
screws and the forward floor pan to access the BCM.
290 MAINTAINING YOUR VEHICLE
Page 293 of 348
CavityVehicle Fuse
NumberMini Fuse Description
3 F53 7.5 Amp Brown Instrument Panel Node
4 F38 15 Amp Blue Central Door Locking
5 F36 10 Amp Red Diagnostic Socket, Car Radio, TPMS, Alarm
6 F43 20 Amp Yellow Bi-Directional Washer
7 F48 20 Amp Yellow Passenger Power Window
9 F50 7.5 Amp Brown Airbag
10 F51 7.5 Amp Brown Headlamp Washer Relay, A/C Compressor Relay,
High Beam Relay, Parking ECU, Car Radio, Stop
Lamp Switch
11 F37 7.5 Amp Brown Stop Light Switch, Instrument Panel Node
12 F49 5 Amp Tan Transmission Shifter Module, Cigar Lighter Light,
Drive Style Unit, Heated Mirrors Relay
13 F31 5 Amp Tan Climate Control, Body Controller
14 F47 20 Amp Yellow Driver Power Window
7
MAINTAINING YOUR VEHICLE 291
Page 339 of 348

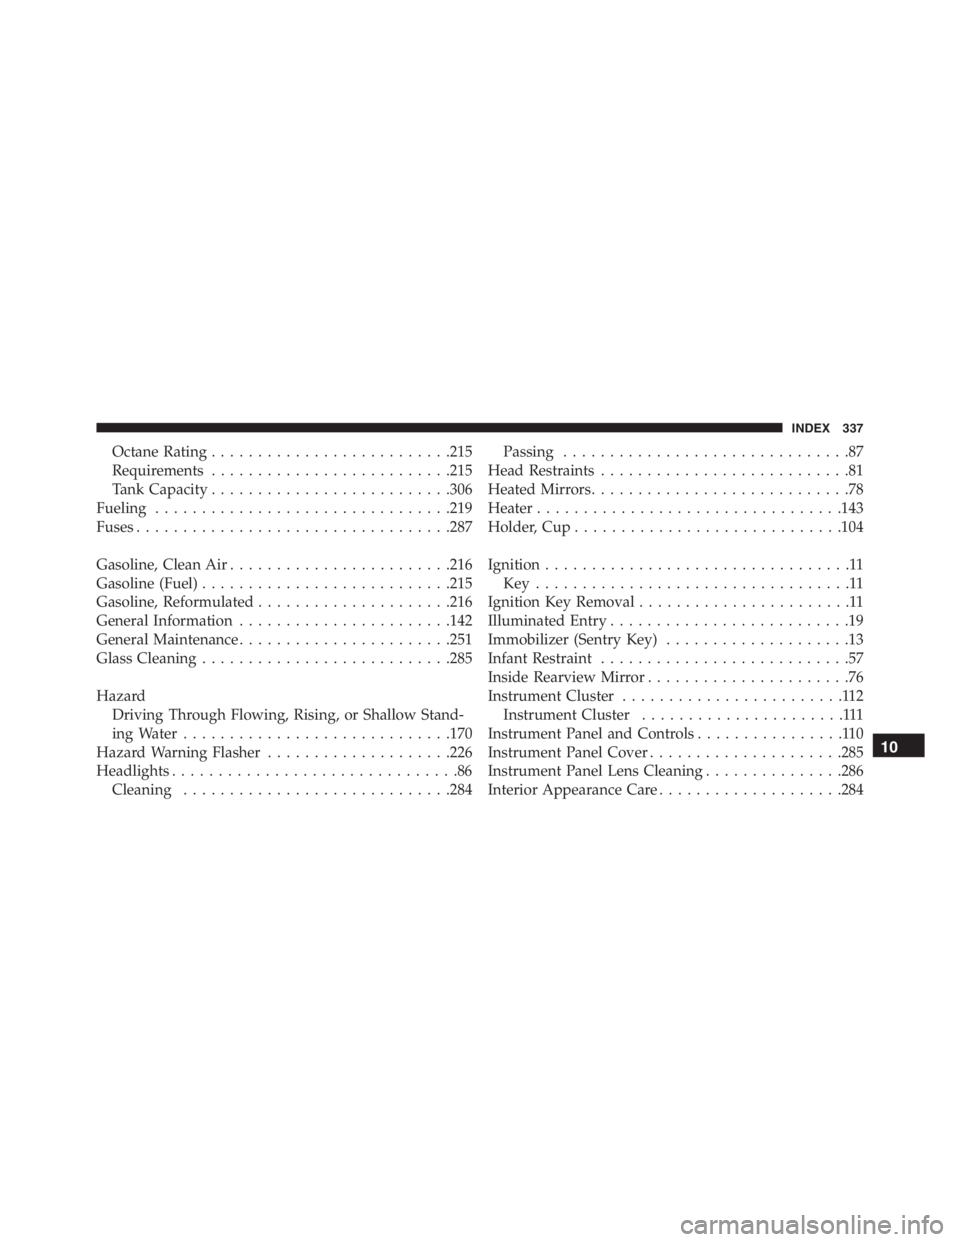
Octane Rating..........................215
Requirements..........................215
Tank Capacity..........................306
Fueling................................219
Fuses..................................287
Gasoline, Clean Air........................216
Gasoline (Fuel)...........................215
Gasoline, Reformulated.....................216
General Information.......................142
General Maintenance.......................251
Glass Cleaning...........................285
Hazard
Driving Through Flowing, Rising, or Shallow Stand-
ing Water.............................170
Hazard Warning Flasher....................226
Headlights...............................86
Cleaning.............................284Passing...............................87
Head Restraints...........................81
Heated Mirrors............................78
Heater.................................143
Holder, Cup.............................104
Ignition.................................11
Key..................................11
Ignition Key Removal.......................11
Illuminated Entry..........................19
Immobilizer (Sentry Key)....................13
Infant Restraint...........................57
Inside Rearview Mirror......................76
Instrument Cluster........................112
Instrument Cluster......................111
Instrument Panel and Controls................110
Instrument Panel Cover.....................285
Instrument Panel Lens Cleaning...............286
Interior Appearance Care....................284
10
INDEX 337
Page 347 of 348

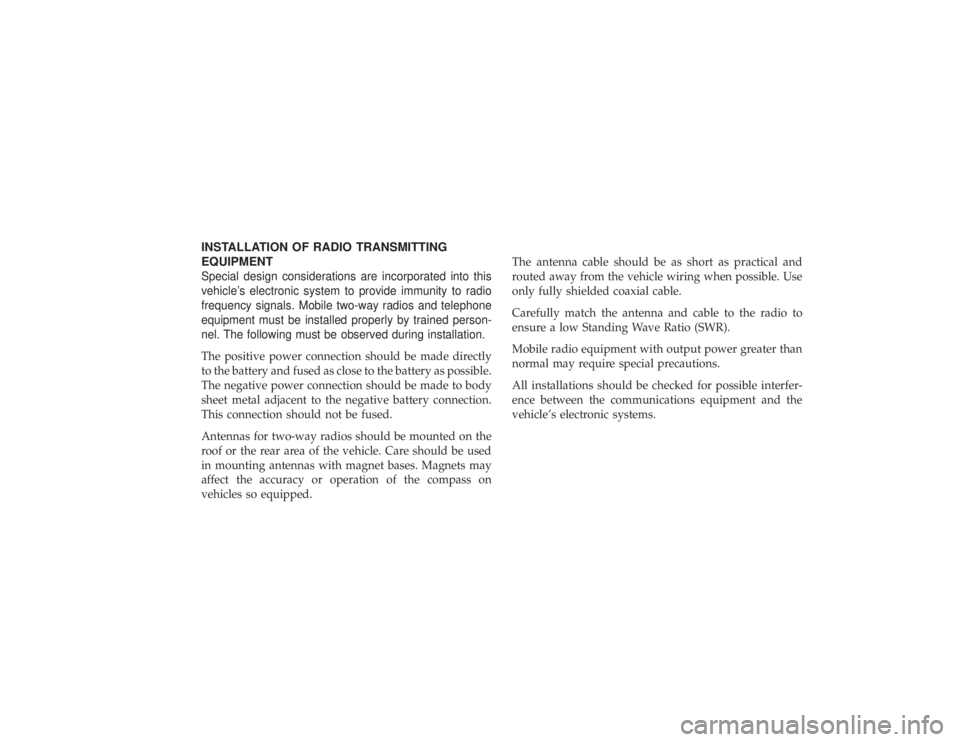
INSTALLATION OF RADIO TRANSMITTING
EQUIPMENTSpecial design considerations are incorporated into this
vehicle’s electronic system to provide immunity to radio
frequency signals. Mobile two-way radios and telephone
equipment must be installed properly by trained person-
nel. The following must be observed during installation.
The positive power connection should be made directly
to the battery and fused as close to the battery as possible.
The negative power connection should be made to body
sheet metal adjacent to the negative battery connection.
This connection should not be fused.
Antennas for two-way radios should be mounted on the
roof or the rear area of the vehicle. Care should be used
in mounting antennas with magnet bases. Magnets may
affect the accuracy or operation of the compass on
vehicles so equipped.The antenna cable should be as short as practical and
routed away from the vehicle wiring when possible. Use
only fully shielded coaxial cable.
Carefully match the antenna and cable to the radio to
ensure a low Standing Wave Ratio (SWR).
Mobile radio equipment with output power greater than
normal may require special precautions.
All installations should be checked for possible interfer-
ence between the communications equipment and the
vehicle’s electronic systems.