Page 209 of 416

207
308_en_Chap06_securite_ed01-2015
Airbags
System designed to contribute towards
improving the safety of the occupants (with
the exception of the rear centre passenger)
in the event of violent collisions. t
h
e airbags
supplement the action of the force-limiting
seat belts (with the exception of the centre rear
passenger).
If a collision occurs, the electronic detectors
record and analyse the front and side impacts
sustained in the impact detection zones:
-
i
n the case of a serious impact, the airbags
are deployed instantly and contribute
towards better protection of the occupants
of the vehicle (with the exception of the
rear centre passenger); immediately after
the impact, the airbags deflate rapidly so
that they do not hinder visibility or the exit
of the occupants,
-
i
n the case of a minor or rear impact or in
certain roll-over conditions, the airbags
may not be deployed; the seat belt
alone contributes towards ensuring your
protection in these situations. The airbags do not operate when the
ignition is switched off.
th
is equipment will only deploy once.
If a second impact occurs (during the
same or a subsequent accident), the
airbag will not be deployed again. Deployment of one or more of the
airbags is accompanied by a slight
emission of smoke and a noise, due
to the activation of the pyrotechnic
cartridge incorporated in the system.
th
is smoke is not harmful, but sensitive
individuals may experience slight
irritation.
th
e noise of detonation related to the
deployment of one or more airbags may
result in a slight loss of hearing for a
short time.
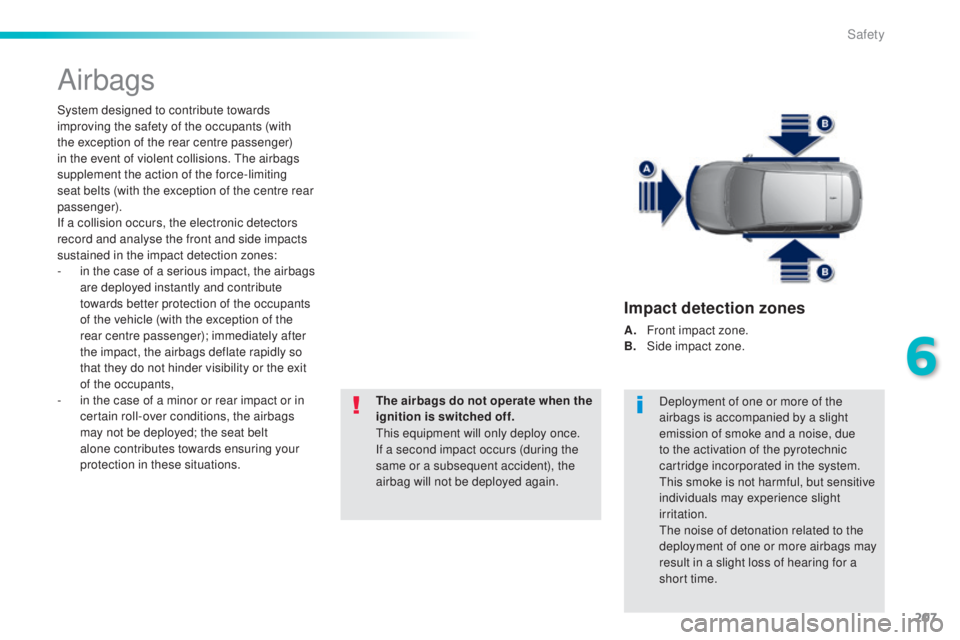
Impact detection zones
A. Front impact zone.
B. S ide impact zone.
6
Safety
Page 245 of 416
243
308_en_Chap07_info-pratiques_ed01-2015
Changing a bulb
Front lamps
Model with "full LED" technology
headlamps
1. Daytime running lamps / sidelamps (light emitting diodes - LEDs).
2.
D
ipped beam headlamps (light emitting
diodes - full LEDs).
3.
M
ain beam headlamps (light emitting
diodes - full LEDs).
4.
D
irection indicators (PY21-21W).
Model with halogen headlamps
1. Dipped beam headlamps (H7-55W).
2. M ain beam headlamps (HB3).
3.
D
irection indicators (PY21-21W).
4.
D
aytime running lamps / sidelamps
(light emitting diodes - LEDs).
For H7 type bulbs with lugs... take care to
observe their correct installation so as to
ensure the best lighting performance.
Front fog lamps (H11)
Direction indicators
(GT version)
For the replacement of this type of LeD l amp,
contact a Pe ugeOt dealer or a qualified
workshop.
A replacement kit for the L
eD
s is available from
P
e
uge
Ot d
ealers.
7
Practical information
Page 246 of 416

244
308_en_Chap07_info-pratiques_ed01-2015
In some weather conditions (e.g. low
temperature or humidity), the presence
of misting on the internal sur face of the
glass of the headlamps and rear lamps
is normal; it disappears after the lamps
have been on for a few minutes.th
e headlamps are fitted with
polycarbonate glass with a protective
coating:
F
d
o not clean them using a dr y
or abrasive cloth, nor with a
detergent or solvent product,
F
u
se a sponge and soapy water or a
pH neutral product,
F
w
hen using a high pressure washer
on persistent marks, do not keep
the lance directed towards the
lamps or their edges for too long,
so as not to damage their protective
coating and seals.
Changing a bulb should only be done
after the headlamp has been switched
off for several minutes (risk of serious
burns).
F
D
o not touch the bulb directly with
your fingers, use a lint-free cloth.
It is imperative to use only anti-
ultraviolet (
uV
) type bulbs to avoid
damaging the headlamp.
Always replace a failed bulb with a
new bulb with the same type and
specification.
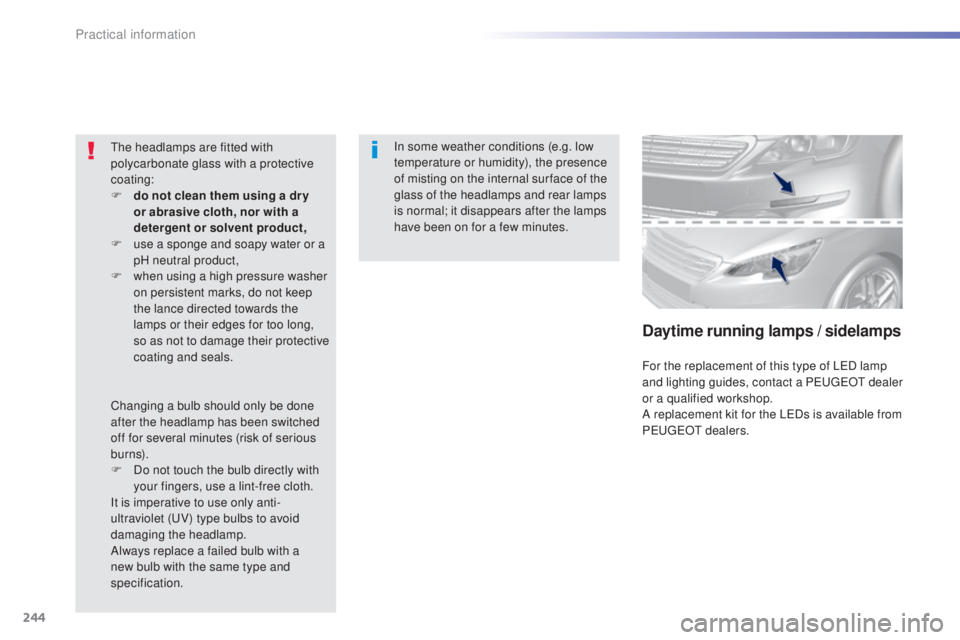
Daytime running lamps / sidelamps
For the replacement of this type of LeD l amp
and lighting guides, contact a Pe ugeOt dealer
or a qualified workshop.
A replacement kit for the L
eD
s is available from
P
e
uge
Ot d
ealers.
Practical information
Page 248 of 416
246
308_en_Chap07_info-pratiques_ed01-2015
For reassembly, carry out these operations in
reverse order.
Direction indicators
(halogen model)
Faster flashing of a direction indicator
warning lamp (left or right) indicates a
failed bulb on that side.
Daytime running lamps /
sidelamps
("full LED" technology model)
For the replacement of this type of "full LeD"
light emitting diode lamps, contact a Pe ugeOt
dealer or a qualified workshop.
Direction indicators
("full LED" technology model)
the direction indicator bulb is located below
the front lamp.
F
u
n
clip the finisher by pulling at the top
(cut-out).
F
u
n
screw the bulb holder (1/4 turn).
F
C
hange the failed bulb.
For reassembly, carry out these operations in
reverse order. Faster flashing of a direction indicator
warning lamp (left or right) indicates a
failed bulb on that side.
F
u
n
screw the bulb holder (1/4 turn).
F
R
emove the bulb holder.
F
C
hange the failed bulb.
Practical information
Page 249 of 416
247
308_en_Chap07_info-pratiques_ed01-2015
Integrated direction indicator
side repeaters
You should contact a PeugeOt dealer or a
qualified workshop for the replacement of these
bulbs. You should contact a P
e
uge
Ot
dealer or a
qualified workshop for the replacement of the
light emitting diode - L
eD
.
Front foglamps
F unclip the finisher by pulling at the top
(cut-out).
F
R
emove the two screws to remove the unit
from its housing. F
D isconnect the connector.
F un screw the bulb holder (1/4 turn).
F
R
emove the bulb holder.
F
C
hange the failed bulb.
For reassembly, carry out these operations in
reverse order, pressing on the finisher to refit it.
Door mirror spotlamps
7
Practical information
Page 250 of 416
248
308_en_Chap07_info-pratiques_ed01-2015
1. Sidelamps (light emitting diodes - LEDs).
2.
R
eversing lamps (W16W).
3.
D
irection indicators (PY21W amber).
4.
B
rake lamps (light emitting diodes -
LEDs).
5.
F
oglamps (P21W).
Rear lamps (hatchback)
Light emitting diodes-LEDs
For replacement, contact a Pe ugeOt
dealer or qualified workshop.
Reversing lamps, direction
indicators (on the wings)
F Disconnect the lamp connector.
F R emove the lamp fixing nut.
F
C
arefully remove the lamp unit from
outside.
F
u
n
screw the bulb holder (a quarter of a
turn) and change the bulb.
For reassembly, carry out these operations in
reverse order.
F
O
pen the tailgate then remove the access
c ove r.
Practical information
Page 252 of 416
250
308_en_Chap07_info-pratiques_ed01-2015
Rear lamps (SW)
Light emitting diodes-LEDs
For replacement, contact a PeugeOt
dealer or qualified workshop.
Direction indicators
(on the wings)
F Open the tailgate then remove the access c ove r.
F
R
emove the two lamp fixing nut (pipe
spanner or socket recommended).
F
D
isengage the retaining clip, carefully
removing the lamp unit from outside. F
D
isconnect the lamp connector.
F
R
emove the sealing foam.
F u
n
clip the bulb holder by pressing on the
two tongues.
F
R
eplace the bulb.
For reassembly, carry out these operations in
reverse order.
1.
S
idelamps (light emitting diodes -
LEDs).
2.
D
irection indicators (PY21W amber).
3.
B
rake lamps (light emitting diodes -
LEDs).
4.
R
eversing lamps (W16W).
5.
F
oglamps (P21W).
Practical information
Page 254 of 416
252
308_en_Chap07_info-pratiques_ed01-2015
For the replacement of this type of lamp,
contact a PeugeOt dealer or a qualified
workshop.
Third brake lamp (light emitting
diodes-LED) Number plate lamps
(W5W)
to refit, press on the lens to clip it in place. F
I
nsert a thin screwdriver into one of the
cutouts in the the lens.
F
P
ush it outwards to unclip it.
F
R
emove the lens.
F
C
hange the faulty bulb.
Practical information