Page 4 of 341
2
208_en_Chap00a_sommaire_ed01-2015
Unlocking - Key 11
D o o r s 11
3 - door 12
Starting 13
Switching off 15
Locking - Key 16
Parking brake 19
Stop & Start 20
Hill start assist 23
Ports and sockets - Connectivity 24
Details of the roof console 25
Sunroof blind 26
Mood lighting 27
Boot 28
Alarm 29
Advice 31
Access and starting Over view
Instrument panels
34
Date and time 36
Library of indicator and warning lamps 37
Library of symbols 49
Engine coolant temperature 51
Instrument panel dimmer 52
Gear shift indicator 59
Energy load 60
Indicators
PEUGEOT i- Cockpit 61
Front seats 62
One-piece rear seats 66
Ventilation 69
Demist - defrost 72
Heating 74
Air conditioning 76
Window controls 81
Wipers 83
Carrying children 87
Deactivating the passenger's front airbag 89
ISOFIX child seats 96
Child lock 101
Seat belts 102
Airbags 105
Comfort
Driving recommendations 109
M i r r o r s 11 0
Manual 5 gearbox 112
Manual 6 gearbox 112
Electronic 5 gearbox 113
Electronic 6 gearbox 113
Automatic 4 gearbox 116
Automatic 6 gearbox 116
Parking sensors 119
Reversing camera 121
Park Assist 122
Speed limiter 126
Cruise control 128
Active City Brake 133
Road holding 136
Trip computer 139
Eco-driving 142
Driving
Exterior view 4
Interior view 5
Instruments and controls 6
Middle console 8
Upper console 9
Lower console 9
Underbonnet view 10
Contents
Page 22 of 341
20
208_en_Chap02_ Acces-Demarrage_ed01-2015
Stop & Start
Principle
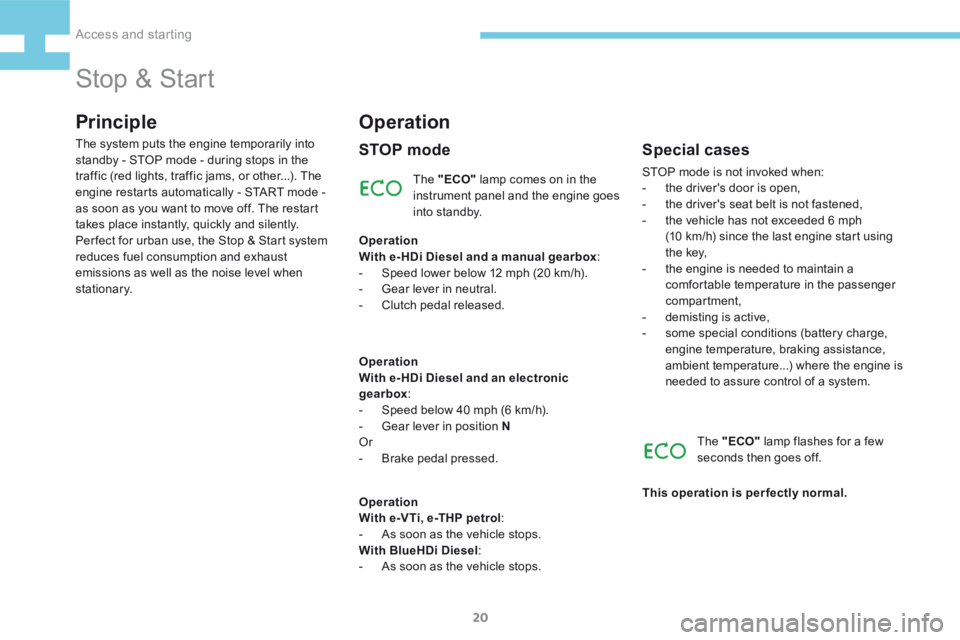
The "ECO" lamp comes on in the
instrument panel and the engine goes
into standby.
The system puts the engine temporarily into
standby - STOP mode - during stops in the
traffic (red lights, traffic jams, or other...). The
engine restarts automatically - START mode -
as soon as you want to move off. The restart
takes place instantly, quickly and silently.
Per fect for urban use, the Stop & Start system
reduces fuel consumption and exhaust
emissions as well as the noise level when
stationary.
Operation
STOP mode
Operation
With e- HDi Diesel and a manual gearbox
:
- Speed lower below 12 mph (20 km/h).
- Gear lever in neutral.
- Clutch pedal released.
Operation
With e- HDi Diesel and an electronic
gearbox :
- Speed below 40 mph (6 km/h).
- Gear lever in position N
Or
- Brake pedal pressed.
Operation
With e-VTi, e-THP petrol :
- As soon as the vehicle stops.
With BlueHDi Diesel :
- As soon as the vehicle stops.
Special cases
STOP mode is not invoked when:
- the driver's door is open,
- the driver's seat belt is not fastened,
- the vehicle has not exceeded 6 mph
(10 km/h) since the last engine start using
t h e key,
- the engine is needed to maintain a
comfortable temperature in the passenger
compartment,
- demisting is active,
- some special conditions (battery charge,
engine temperature, braking assistance,
ambient temperature...) where the engine is
needed to assure control of a system.
The "ECO" lamp flashes for a few
seconds then goes off.
This operation is perfectly normal.
Access and starting
Page 25 of 341
23
208_en_Chap02_ Acces-Demarrage_ed01-2015
Hill start assist
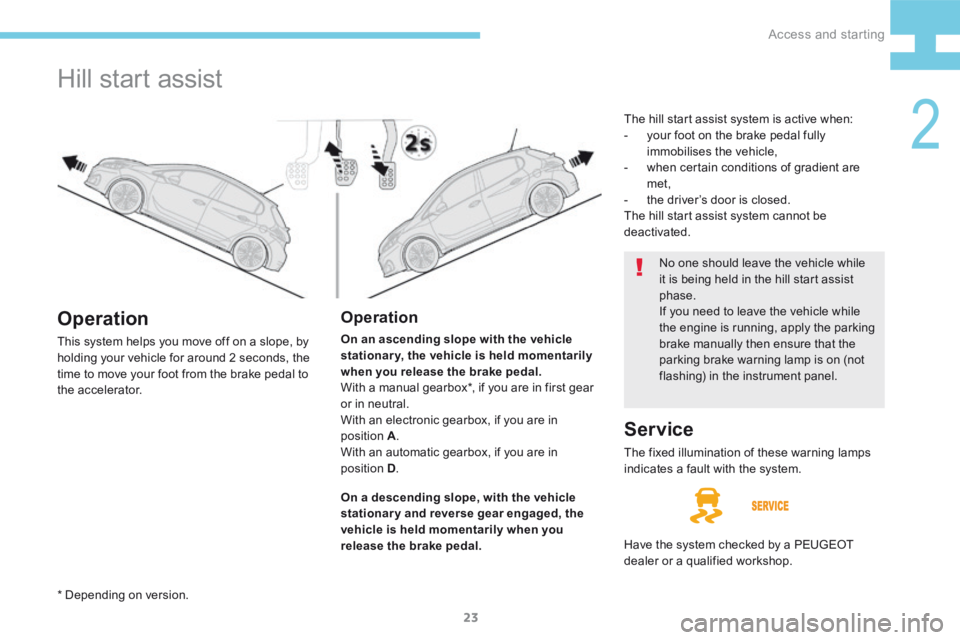
Operation
On an ascending slope with the vehicle
stationary, the vehicle is held momentarily
when you release the brake pedal.
With a manual gearbox*, if you are in first gear
or in neutral.
With an electronic gearbox, if you are in
position A .
With an automatic gearbox, if you are in
position D .
Operation
This system helps you move off on a slope, by
holding your vehicle for around 2 seconds, the
time to move your foot from the brake pedal to
the accelerator.
On a descending slope, with the vehicle
stationary and reverse gear engaged, the
vehicle is held momentarily when you
release the brake pedal. No one should leave the vehicle while
it is being held in the hill start assist
phase.
If you need to leave the vehicle while
the engine is running, apply the parking
brake manually then ensure that the
parking brake warning lamp is on (not
flashing) in the instrument panel.
Service
The fixed illumination of these warning lamps
indicates a fault with the system.
Have the system checked by a PEUGEOT
dealer or a qualified workshop. The hill start assist system is active when:
-
your foot on the brake pedal fully
immobilises the vehicle,
- when certain conditions of gradient are
met,
- the driver’s door is closed.
The hill start assist system cannot be
deactivated.
* Depending on version.
2
Access and starting
Page 26 of 341
24
208_en_Chap02_ Acces-Demarrage_ed01-2015
Ports and sockets - Connectivity
12 V socket
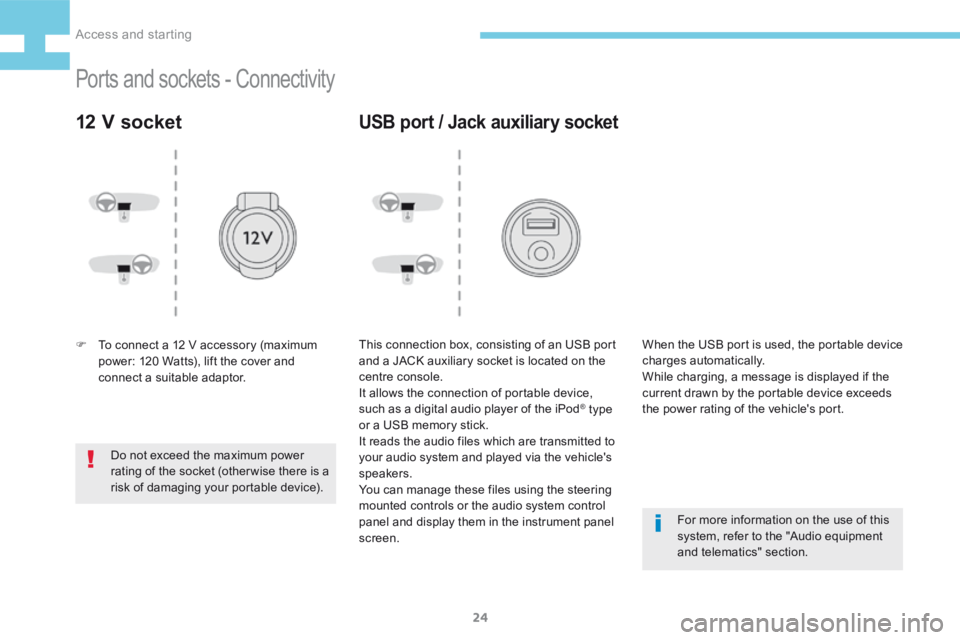
F To connect a 12 V accessory (maximum
power: 120 Watts), lift the cover and
connect a suitable adaptor.
Do not exceed the maximum power
rating of the socket (otherwise there is a
risk of damaging your portable device).
USB port / Jack auxiliary socket
This connection box, consisting of an USB port
and a JACK auxiliary socket is located on the
centre console.
It allows the connection of portable device,
such as a digital audio player of the iPod
® type
or a USB memory stick.
It reads the audio files which are transmitted to
your audio system and played via the vehicle's
speakers.
You can manage these files using the steering
mounted controls or the audio system control
panel and display them in the instrument panel
screen. For more information on the use of this
system, refer to the "Audio equipment
and telematics" section.
When the USB port is used, the portable device
charges automatically.
While charging, a message is displayed if the
current drawn by the portable device exceeds
the power rating of the vehicle's port.
Access and starting
Page 29 of 341
27
208_en_Chap02_ Acces-Demarrage_ed01-2015
Mood lighting
Switching on
At night, interior mood light emitting diodes -
LEDs (courtesy lamp, instrument panel,
footwells, panoramic sunroof...) come on
automatically when the sidelamps are switched
on.
Switching off
The interior mood lighting switches off
automatically when the sidelamps are switched off.
Settings
Settings for the centre console and panoramic
sunroof lighting can be adjusted via the vehicle
settings menu in the touch screen
2
Access and starting
Page 34 of 341
32
208_en_Chap02_ Acces-Demarrage_ed01-2015
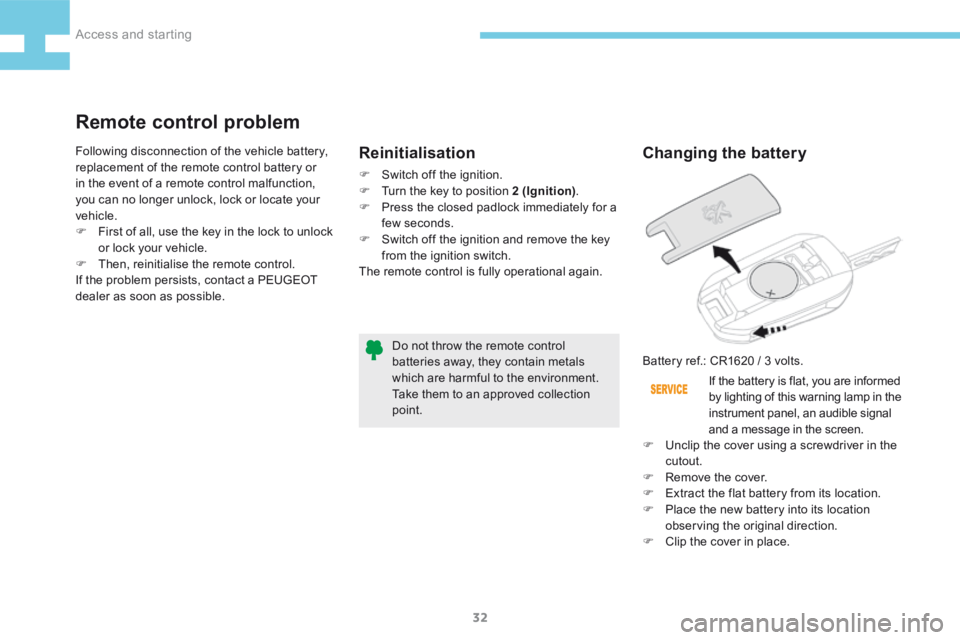
Changing the battery
Battery ref.: CR1620 / 3 volts.If the battery is flat, you are informed
by lighting of this warning lamp in the
instrument panel, an audible signal
and a message in the screen.
F Unclip the cover using a screwdriver in the
cutout.
F Remove the cover.
F Extract the flat battery from its location.
F Place the new battery into its location
observing the original direction.
F Clip the cover in place.
Do not throw the remote control
batteries away, they contain metals
which are harmful to the environment.
Take them to an approved collection
point.
Remote control problem
Reinitialisation
F
Switch off the ignition.
F Turn the key to position 2 (Ignition) .
F Press the closed padlock immediately for a
few seconds.
F Switch off the ignition and remove the key
from the ignition switch.
The remote control is fully operational again.
Following disconnection of the vehicle battery,
replacement of the remote control battery or
in the event of a remote control malfunction,
you can no longer unlock, lock or locate your
vehicle.
F
First of all, use the key in the lock to unlock
or lock your vehicle.
F Then, reinitialise the remote control.
If the problem persists, contact a PEUGEOT
dealer as soon as possible.
Access and starting
Page 36 of 341
34
208_en_Chap03_Indicateurs_ed01-2015
Instrument panels
Instrument panel lighting Control button
Main lighting dimmer.Recall the servicing
information.
Adjust the time.
Reset the function selected (service indicator
or trip recorder).
Depending on version:
- Adjust the time.
- Digital speedometer.
Instrument panel ambience
lighting.
Rev counter (x 1000 rpm),
graduation depends on the
engine (petrol or Diesel).
Rev counter
Indicator
Engine coolant temperature
i n d i c a t o r.
Speedometer
Analogue speedometer
(km/h or mph).
Fuel gauge
Fuel level in the tank.
Indicators
Page 39 of 341
37
208_en_Chap03_Indicateurs_ed01-2015
Library of indicator and
warning lamps
When the ignition is switched on
Certain warning lamps come on for a few
seconds in the instrument panel and/or
instrument panel screen when the vehicle's
ignition is switched on.
When the engine is started, these same
warning lamps should go off.
If they remain on, before moving off, refer to the
information in the table on the warning lamp
concerned.
Associated warnings
The illumination of certain warning lamps
may be accompanied by an audible signal
and a message in the instrument panel or
multifunction screen.
The warning lamps may come on continuously
(fixed) or flash.
Certain warning lamps may come on in one of
two modes. Only by relating the type of lighting
to the operating status of the vehicle can it be
ascertained whether the situation is normal or
whether a fault has occurred.
Indicator and warning lamps
● indicator lamp informing that a system is switched on,
● warning lamp for preventive purposes or for
a fault.
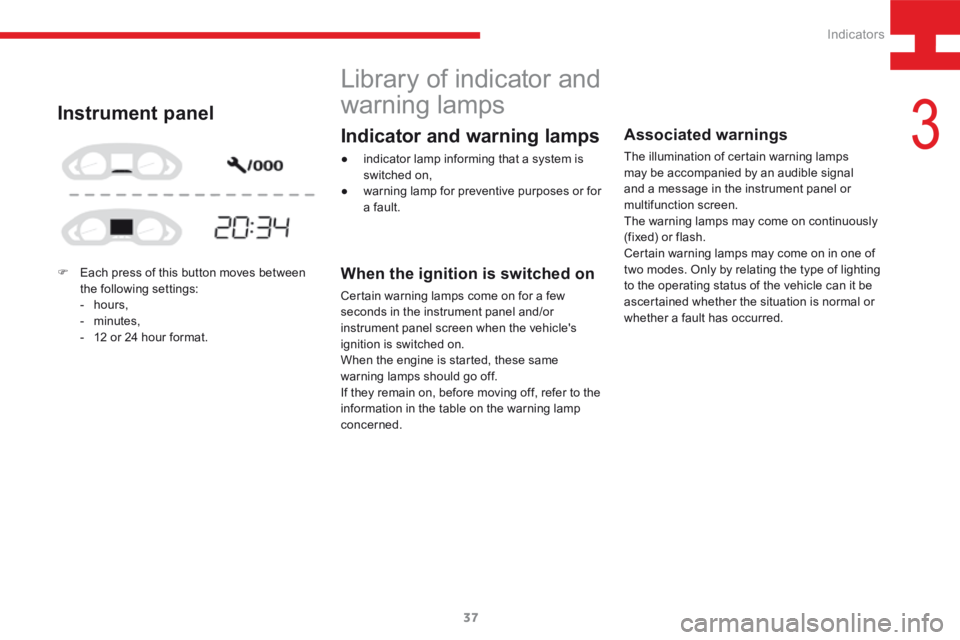
Instrument panel
F Each press of this button moves between
the following settings:
- hours,
- minutes,
- 12 or 24 hour format.
3
Indicators