Page 13 of 24

11
12
8
4
3
56
7
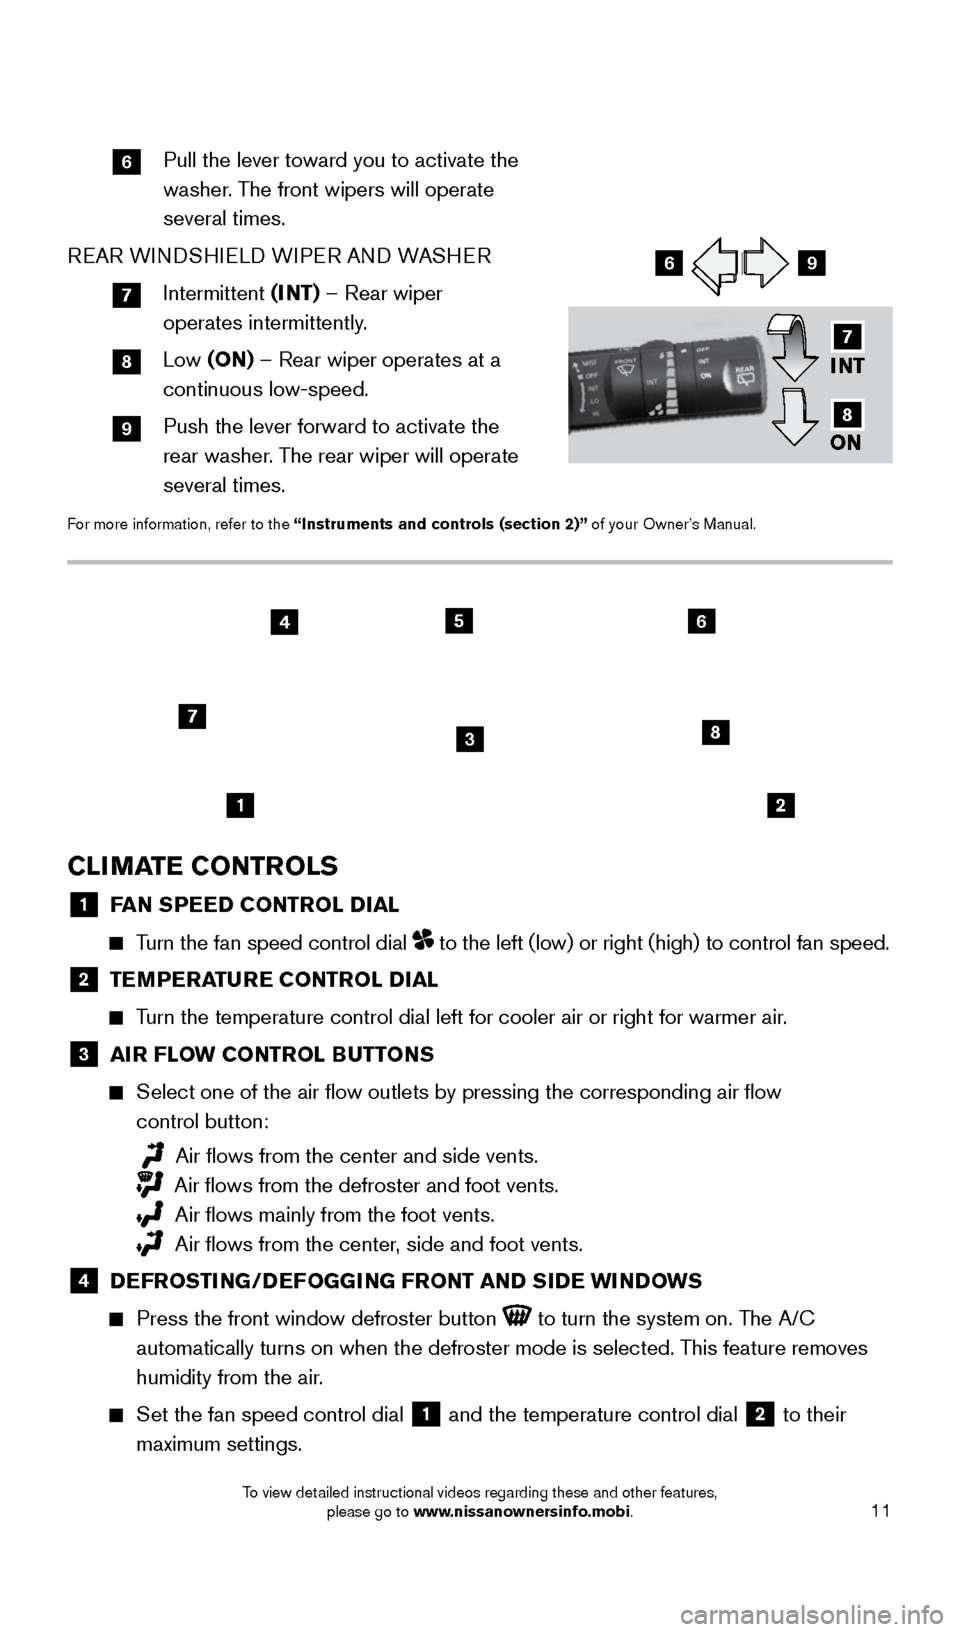
CLIMATE CONTROLS
1 FAN SPEED CONTROL DIAL
Turn the fan speed control dial to the left (low) or right (high) to control fan speed.
2 TE MPERATURE CONTROL DIAL
Turn the temperature control dial left for cooler air or right for warmer\
air.
3 AIR FLOW CONTROL BUTTONS
Select one of the air flow outlets by pressing the corresponding air fl\
ow
control button:
Air flows from the center and side vents.
Air flows from the defroster and foot vents.
Air flows mainly from the foot vents.
Air flows from the center , side and foot vents.
4 DEFROSTING/DEFOGGING FRONT AND SIDE WINDOWS
Press the front window defroster button to turn the system on. The A/C
automatically turns on when the defroster mode is selected. This feature removes
humidity from the air.
Set the fan speed control dial 1 and the temperature control dial 2 to their
maximum settings.
6 Pull the lever toward you to activate the
washer . The front wipers will operate
several times.
REAR WINDSHIELD WIPER AND WASHER
7 Intermittent (I NT) – Rear wiper
operates intermittently.
8 Low (ON) – Rear wiper operates at a
continuous low-speed.
9 Push the lever forward to activate the
rear washer. The rear wiper will operate
several times.
For more information, refer to the “Instruments and controls (section 2)” of your Owner’s Manual.
INT
ON
7
8
69
1805593_15b_Xterra_QRG_090314.indd 119/3/14 4:36 PM
To view detailed instructional videos regarding these and other features, please go to www.nissanownersinfo.mobi.
Page 15 of 24

13
USB (Universal Serial Bus) CONNECTION PORT/ AUX JACK
AND iPOD® INTERFACE (if so equipped)
T he USB port/Aux jack 1 is located inside the
center console storage box.
When a compatible USB memory device, iPod® or auxiliary device is plugged into the
USB port/Aux jack, compatible audio files stored
on the device can be played through the vehicle’s
audio system.
For more information, refer to the “Monitor, climate, audio,
phone and voice recognition systems (section 4)” of your
Owner’s Manual.
1
3 SEEK BUTTONS
To tune and stop at the previous or next broadcast station, press the seek
buttons
or .
For satellite radio, to switch to the first channel of the previous or next category, press the seek buttons
or .
To change tracks on a CD, press the seek buttons or .
To rewind or fast forward a track on a CD, press and hold the seek buttons
or .
4 ST ATION MEMORY KEYS
T
welve stations can be set for the FM band, 6 for the AM band and 18 for
satellite radio.
To store a station in a preset, you must first select a radio band by pressing the \
FM•AM button
5 or SXM button 6 then tune to the desired FM, AM or
satellite radio station.
Then select and hold the desired station memory key (1 -6 ) until the preset number is
updated on the display and a beep is heard. Programing is now complete.
To retrieve a previously set station, select the radio band where the preset was stored
then press the corresponding station memory key (1 -6 ).
For more information, refer to the “Monitor, climate, audio, phone and voice recognition systems (section 4)” of
your Owner’s Manual.
1805593_15b_Xterra_QRG_090314.indd 139/3/14 4:36 PM
To view detailed instructional videos regarding these and other features, please go to www.nissanownersinfo.mobi.
Page 18 of 24

16
To use the system faster, you may speak the second level commands with the main menu
command on the main menu. For example,
press the
button and after the tone, say
“Call Redial”.
The “Help” command can be used to hear a list of available commands at any time.
Reduce bac kground noise as much as possible by closing windows and pointing
HVAC vents away from the ceiling.
Speak naturally without long pauses and without raising your voice.
When speaking Phonebook names, please be aware some phones require the la\
st name to be spoken before the first name. For example, “Michael Smith” may be
spoken as “Smith Michael”.
To cancel a voice recognition session, simply wait 5 seconds, say “Cancel” or “Quit’’, or press and hold the
button for 5 seconds.
To increase or decrease the volume of the voice prompts, push the volume \
control switches + or – on the steering wheel or turn the control dial on the audio system
while the audio system is responding.
If the Voice Recognition system does not recognize your voice commands, train th\
e system using the Voice Adaptation Mode. See your Owner’s Manual for
detailed information.
For more detailed information and instructions, refer to your cellular phone’s Owner’s Manual and visit www.nissanusa.com/bluetooth.
BLUETOOTH® SYSTEM WITHOUT NAVIGATION* ( if so equipped)
CONNECTING PROCEDURE
The vehicle must be stationary when connecting the phone.
1.
Press the
button on the steering wheel. The system announces the
available commands.
2.
S
ay: “Connect phone”. The system
acknowledges the command and announces
the next set of available commands.
3.
S
ay: “Add phone”. The system acknowledges
the command and asks you to initiate connecting
from the phone handset.
4.
Initiate connecting from the phone:
The connecting procedure varies according to each cellular phone model. For
detailed connecting instructions and compatible phones, please visit
www.nissanusa.com/bluetooth.
When prompted for a PIN code, enter “1234” from the handset. (The PIN code is assigned by NISSAN and cannot be changed.)
5.
S
ay a name for the phone when the system asks you to provide one. You can give the
phone a name of your choice.
*Some jurisdictions prohibit the use of cellular telephones while drivin\
g.
SYSTEM GUIDE
1805593_15b_Xterra_QRG_090314.indd 169/3/14 4:36 PM
To view detailed instructional videos regarding these and other features, please go to www.nissanownersinfo.mobi.