2015 NISSAN XTERRA steering
[x] Cancel search: steeringPage 2 of 24

*See your Owner’s Manual for information.
1
3
4
5
12
13
14
16
15
17
18
20
19
19
8
9
11
10
2
7
6
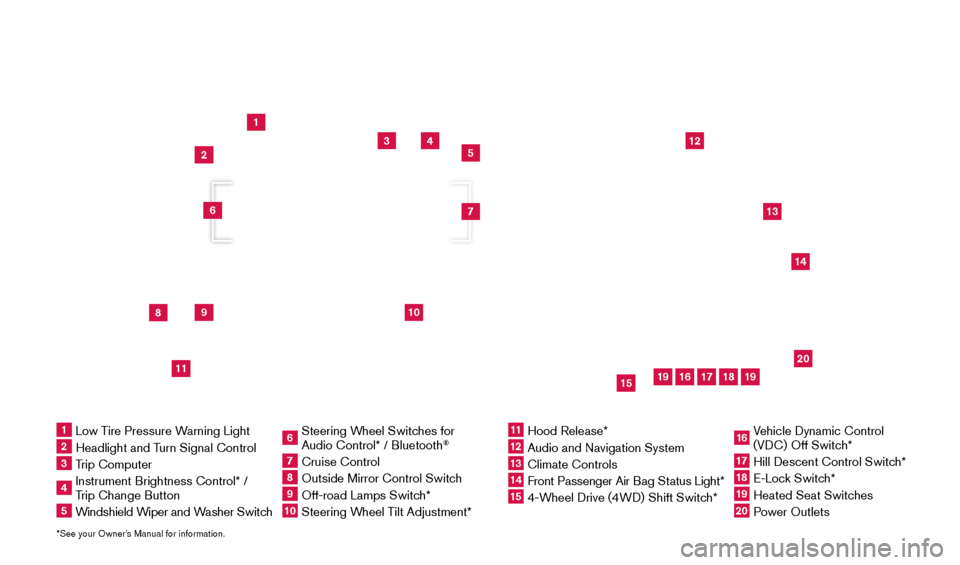
1 Low Tire Pressure Warning Light2 Headlight and Turn Signal Control3 Trip Computer4 Instrument Brightness Control* /
Trip Change Button5 Windshield Wiper and Washer Switch
6 Steering W heel Switches for
Audio Control* / Bluetooth
®
7 Cruise Control8 Outside Mirror Control Switc h9 Off-road Lamps Switch* 10 Steering Wheel Tilt Adjustment*
11 Hood Release*
12 Audio and Navigation System
13 Climate Controls
14 Front Passenger Air B ag Status Light*15 4-Wheel Drive (4WD) Shift Switch*
16 Vehicle Dynamic Control
(VDC) Off Switch*17 Hill Descent Control Switc h*18 E-Lock Switch*19 Heated Seat Switches20 Power Outlets
Underneath
instrument panel
1805593_15b_Xterra_QRG_090314.indd 39/3/14 4:36 PM
Page 5 of 24

3
REARVIEW MONITOR (if so equipped)
When the shift lever is shifted into the R (REVERSE) position, the monitor display
shows a rearward view from the vehicle.
The colored guide lines on the display screen indicate vehicle width and approximate distances
to objects with reference to the vehicle body line.
•
Red 1.5 ft (0.5 m); Y
ellow 3 ft (1 m); Green 7 ft (2 m) and 10 ft (3 m).
For more information, refer to the “Monitor, climate, audio, phone and voice recognition systems (section 4)” of
your Owner’s Manual.
HILL START ASSIST (HSA) SYSTEM (if so equipped)
The HSA system allows time for the driver to release the brake pedal and apply the
accelerator when the vehicle is parked on a hill. The brakes are applied automatically for
2 seconds after the driver releases the brake pedal.
The Hill Start Assist will operate automatically under these conditions:
•
T
he shift lever is shifted into a forward or a reverse gear.
•
T
he vehicle is stopped completely on a hill by applying the brake.
The Hill Start Assist will not operate when the shift lever is in the N (Neutral ) or
P (Park ) position or on a flat and level road.
For more information, refer to the “Starting and driving (section 5)” of your Owner’s Manual.
HILL DESCENT CONTROL (HDC) SYSTEM (if so equipped)
The Hill Descent Control system is designed to reduce driver
workload when going down steep hills. The Hill Descent Control
system helps to control vehicle speed so the driver can concentrate on
steering the vehicle. To activate the system:
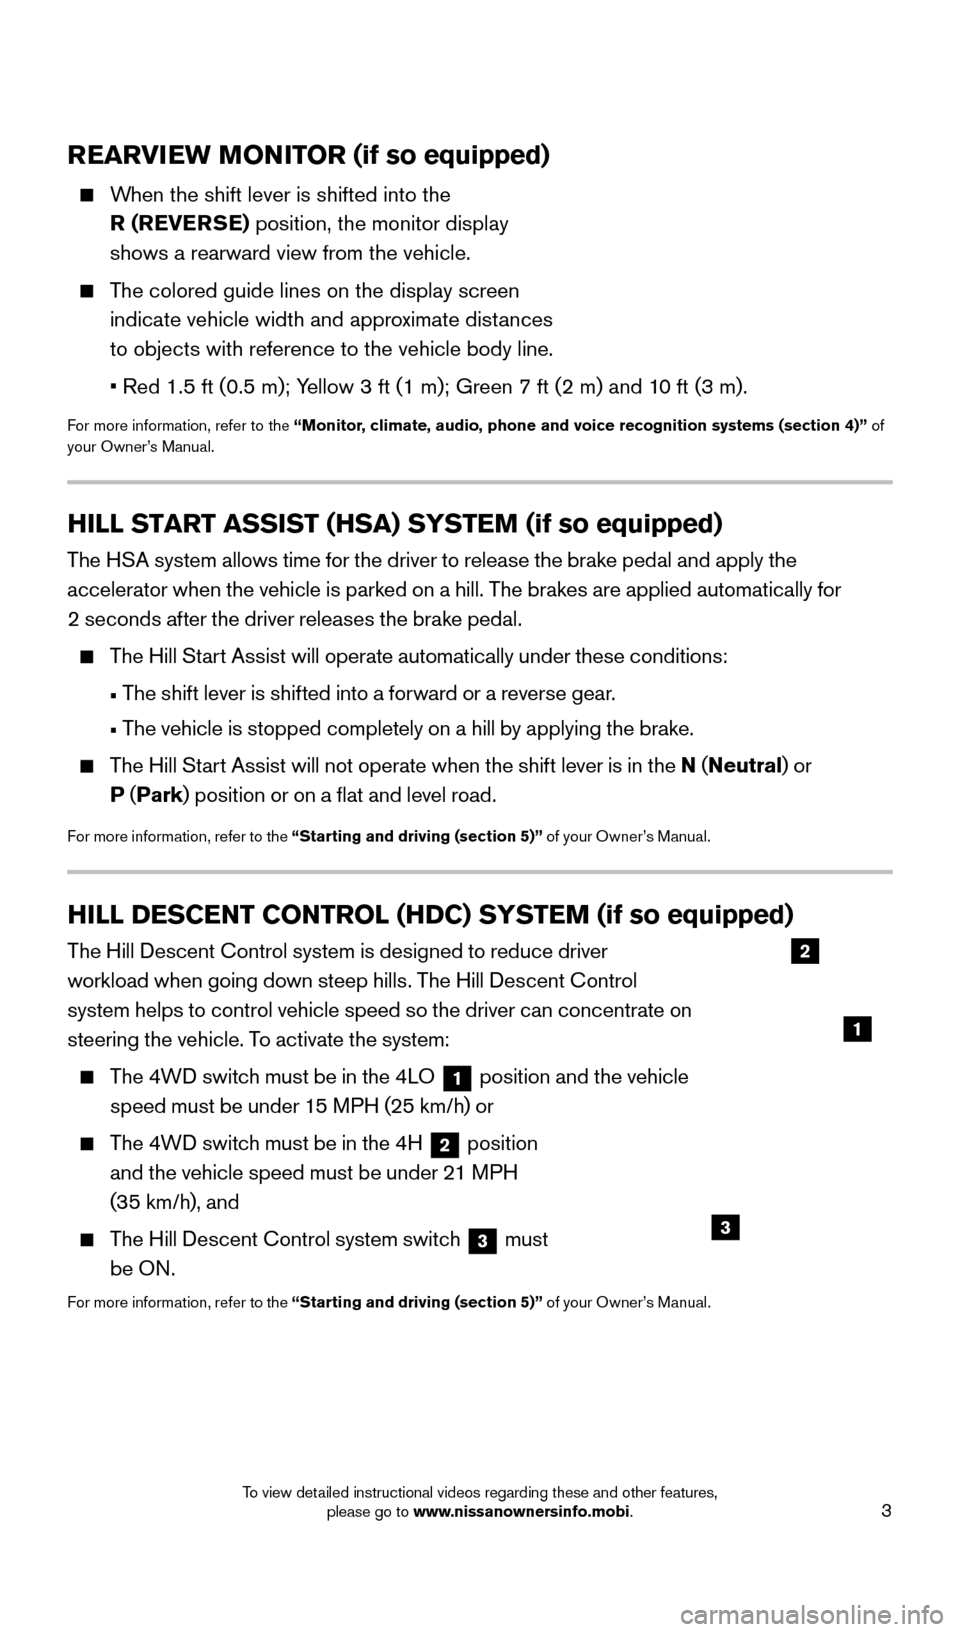
The 4WD switch must be in the 4LO
1 position and the vehicle
speed must be under 15 MPH (25 km/h) or
The 4WD switch must be in the 4H 2 position
and the vehicle speed must be under 21 MPH
(35 km/h), and
The Hill Descent Control system switch 3 must
be ON.
For more information, refer to the “Starting and driving (section 5)” of your Owner’s Manual.
2
1
3
1805593_15b_Xterra_QRG_090314.indd 39/3/14 4:36 PM
To view detailed instructional videos regarding these and other features, please go to www.nissanownersinfo.mobi.
Page 18 of 24

16
To use the system faster, you may speak the second level commands with the main menu
command on the main menu. For example,
press the
button and after the tone, say
“Call Redial”.
The “Help” command can be used to hear a list of available commands at any time.
Reduce bac kground noise as much as possible by closing windows and pointing
HVAC vents away from the ceiling.
Speak naturally without long pauses and without raising your voice.
When speaking Phonebook names, please be aware some phones require the la\
st name to be spoken before the first name. For example, “Michael Smith” may be
spoken as “Smith Michael”.
To cancel a voice recognition session, simply wait 5 seconds, say “Cancel” or “Quit’’, or press and hold the
button for 5 seconds.
To increase or decrease the volume of the voice prompts, push the volume \
control switches + or – on the steering wheel or turn the control dial on the audio system
while the audio system is responding.
If the Voice Recognition system does not recognize your voice commands, train th\
e system using the Voice Adaptation Mode. See your Owner’s Manual for
detailed information.
For more detailed information and instructions, refer to your cellular phone’s Owner’s Manual and visit www.nissanusa.com/bluetooth.
BLUETOOTH® SYSTEM WITHOUT NAVIGATION* ( if so equipped)
CONNECTING PROCEDURE
The vehicle must be stationary when connecting the phone.
1.
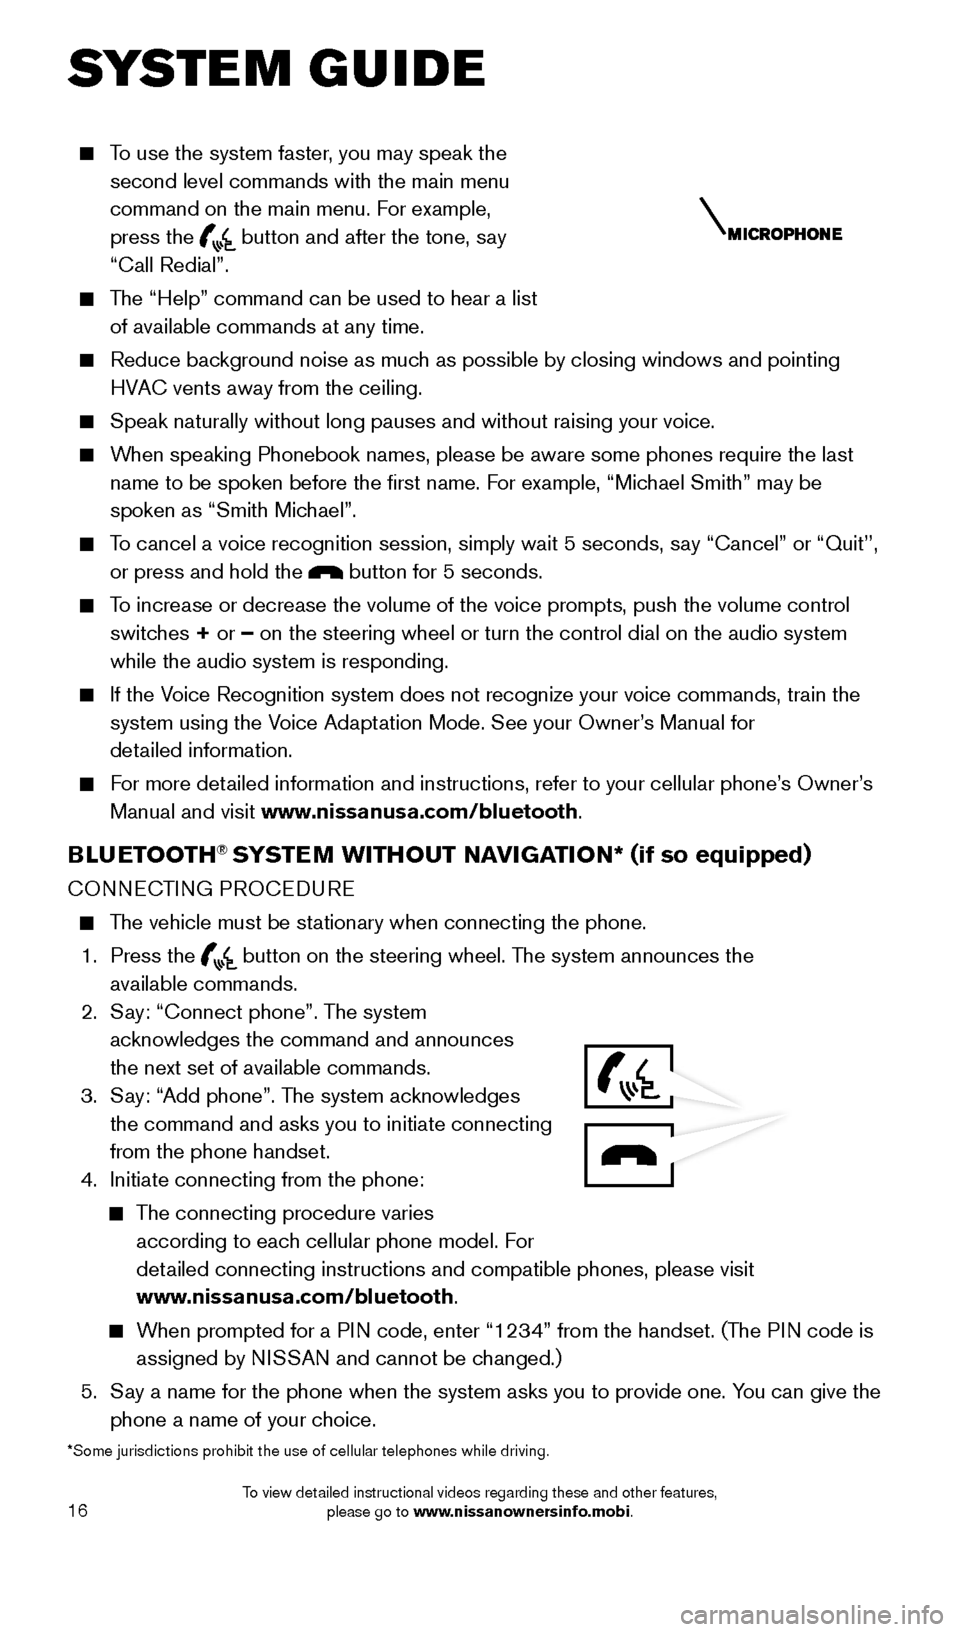
Press the
button on the steering wheel. The system announces the
available commands.
2.
S
ay: “Connect phone”. The system
acknowledges the command and announces
the next set of available commands.
3.
S
ay: “Add phone”. The system acknowledges
the command and asks you to initiate connecting
from the phone handset.
4.
Initiate connecting from the phone:
The connecting procedure varies according to each cellular phone model. For
detailed connecting instructions and compatible phones, please visit
www.nissanusa.com/bluetooth.
When prompted for a PIN code, enter “1234” from the handset. (The PIN code is assigned by NISSAN and cannot be changed.)
5.
S
ay a name for the phone when the system asks you to provide one. You can give the
phone a name of your choice.
*Some jurisdictions prohibit the use of cellular telephones while drivin\
g.
SYSTEM GUIDE
1805593_15b_Xterra_QRG_090314.indd 169/3/14 4:36 PM
To view detailed instructional videos regarding these and other features, please go to www.nissanownersinfo.mobi.
Page 19 of 24

17
PHONEBOOK SETUP
The phonebook stores up to 1,000 entries for each phone paired with the system.
Depending on your cellular phone, the system may automatically download \
your
cellular phone’s entire phonebook to the vehicle’s Bluetooth® system.
If the phonebook does not download automatically , entries can be
individually downloaded.
To manually download entries:
1.
Push the button on the steering wheel.
2.
After the tone, s ay “Phonebook”.
3.
After the next tone, s
ay “Transfer Entry”. The system acknowledges the command
and asks you to initiate the transfer from the phone handset. The new contact
phone number will be transferred from the cellular phone to the vehicle.\
•
T
he transfer procedure varies according to each cellular phone.
See your cellular phone’s Owner’s Manual for details. You can also visit
www.nissanusa.com/bluetooth for instructions on transferring phone
numbers from NISSAN-recommended cellular phones.
4.
T
he system repeats the number and prompts you for the next command. When you
have finished entering numbers or transferring an entry, choose “Store”.
5.
T
he system confirms the name, location and number.
MAKING A CALL FROM THE PHONEBOOK
1.
Press the button. 2.
After waiting for the tone, s ay “Call”.
3.
After the next tone, speak the name of a phonebook entry
.
For example, “Michael Smith”.
4.
Confirm the correct name is recognized by s
aying “Dial” after the tone.
In some cases, names stored using all U PPERCASE letters may not be recognized by
the Voice Recognition system.
MAKING A CALL BY PHONE NUMBER
1.
Press the button. A tone will sound. 2.
S
ay: “Call”. The system acknowledges the command and announces the next set of
available commands.
3.
S
ay: “Phone Number”. The system acknowledges the command and announces the
next set of available commands.
4.
S
ay the number you wish to call starting with the area code in single digit format.
5.
W
hen you have finished speaking the phone number, the system repeats it back and
announces the available commands.
6.
S
ay: “Dial”. The system acknowledges the command and makes the call.
RECEIVING/ENDING A CALL
When you receive a phone call, a ring tone sounds through the audio syste\
m.
To accept the call, press the button.
To reject the call, press the button.
To hang-up the phone at the end of a call or to disconnect during call pl\
acement,
press the
button.
For more information, refer to the “Monitor, climate, audio, phone and voice recognition systems (section 4)” of
your Owner’s Manual or please visit www.nissanusa.com/bluetooth.
1805593_15b_Xterra_QRG_090314.indd 179/3/14 4:36 PM
To view detailed instructional videos regarding these and other features, please go to www.nissanownersinfo.mobi.
Page 21 of 24

19
RECEIVING/ENDING A CALL
To accept the incoming call, either:
•
Press the button on the steering wheel, or
• Select the icon on the screen.
To reject the incoming call, either:
•
Press the button on the steering wheel, or
• Select the icon on the screen.
To hang-up the phone at the end of a call or to disconnect during call pl\
acement, press the
button.
For more information, refer to the “Monitor, climate, audio, phone and voice recognition systems (section 4)” of
your Owner’s Manual.
1805593_15b_Xterra_QRG_090314.indd 199/3/14 4:37 PM
To view detailed instructional videos regarding these and other features, please go to www.nissanownersinfo.mobi.