2015 NISSAN MURANO PLATINUM maintenance
[x] Cancel search: maintenancePage 6 of 424
Welcome to the growing family of new NISSAN
owners. This vehicle is delivered to you with
confidence. It was produced using the latest
techniques and strict quality control.
This manual was prepared to help you under-
stand the operation and maintenance of your
vehicle so that you may enjoy many miles (kilome-
ters) of driving pleasure. Please read through this
manual before operating your vehicle.
A separate Warranty Information Booklet
explains details about the warranties cov-
ering your vehicle. The “NISSAN Service
and Maintenance Guide” explains details
about maintaining and servicing your ve-
hicle. Additionally, a separate Customer
Care/Lemon Law Booklet (U.S. only) will
explain how to resolve any concerns you
may have with your vehicle, and clarify your
rights under your state’s lemon law.
A NISSAN dealership knows your vehicle best.
When you require any service or have any ques-
tions, they will be glad to assist you with the
extensive resources available to them.
In addition to factory-installed options, your ve-
hicle may also be equipped with additional ac-
cessories installed by NISSAN or by a NISSAN
dealer prior to delivery. It is important that you
familiarize yourself with all disclosures, warnings,
cautions and instructions concerning proper useof such accessories prior to operating the vehicle
and/or accessory. See a NISSAN dealer for de-
tails concerning the particular accessories with
which your vehicle is equipped.
Before driving your vehicle, please read this
Owner’s Manual carefully. This will ensure famil-
iarity with controls and maintenance require-
ments, assisting you in the safe operation of your
vehicle.
Page 90 of 424
Repair and replacement procedure
The front air bags, side air bags, curtain air bags,
knee air bag and pretensioners are designed to
inflate on a one-time-only basis. As a reminder,
unless it is damaged, the supplemental air bag
warning light remains illuminated after inflation
has occurred. Repair and replacement of these
supplemental air bag systems should be done
only by a NISSAN dealer.
When maintenance work is required on the ve-
hicle, the front air bags, side air bags, curtain air
bags, knee air bag, pretensioners and related
parts should be pointed out to the person per-
forming the maintenance. The ignition switch
should always be in the LOCK position when
working under the hood or inside the vehicle.
Page 109 of 424
select ”Locking” then “Selective Unlock”. Use the
OK button to toggle between on and off. When
“ON” is highlighted, “Selective Unlock” is turned
on. When “ON” is greyed-out, this item is turned
off.
Wipers
The speed dependent feature can be set to be
ON or OFF. From the Wipers menu, select
“Speed Dependent”. Use the OK button to turn
this feature ON or OFF.
Driving Position (if so equipped)
The driving position has two features that can be
set to be ON or OFF. From the Driving position
menu, select “Exit Seat Slide” or “Exit Steering
Up”. Use the OK button to turn this feature ON or
OFF.
Remote engine start (if so equipped)
The remote engine start feature can be set to be
ON or OFF. From the Remote engine start menu,
use the OK button to turn this feature ON or OFF.Maintenance
The maintenance mode allows you to set alerts
for the reminding of maintenance intervals. To
change an item:1. Push the
Page 208 of 424
●The MOD system performance will be
limited according to environmental con-
ditions and surrounding objects such
as:
– When there is low contrast between background and the moving objects.
– When there is a blinking source of light.
– When strong light such as another vehicle’s headlight or sunlight is
present.
– When camera orientation is not in its usual position, such as when mirror
is folded.
– When there is dirt, water drops or snow on the camera lens.
– When the position of the moving ob- jects in the display is not changed.
● The MOD system might detect flowing
water droplets on the camera lens,
white smoke from the muffler, moving
shadows, etc.
● The MOD system may not function
properly depending on the speed, direc-
tion, distance or shape of the moving
objects. ●
If your vehicle sustains damage to the
parts where the camera is installed,
leaving it misaligned or bent, the sens-
ing zone may be altered and the MOD
system may not detect objects properly.
● When the temperature is extremely
high or low, the screen may not display
objects clearly. This is not a
malfunction.
Camera maintenance
If dirt, rain or snow accumulates on the camera,
the MOD system may not operate properly. Clean
the camera.
AROUND VIEW® MONITOR
SETTINGS
MOD (Moving Object Detection)
To turn the MOD system on or off, press and hold
the CAMERA button for more than 3 seconds.
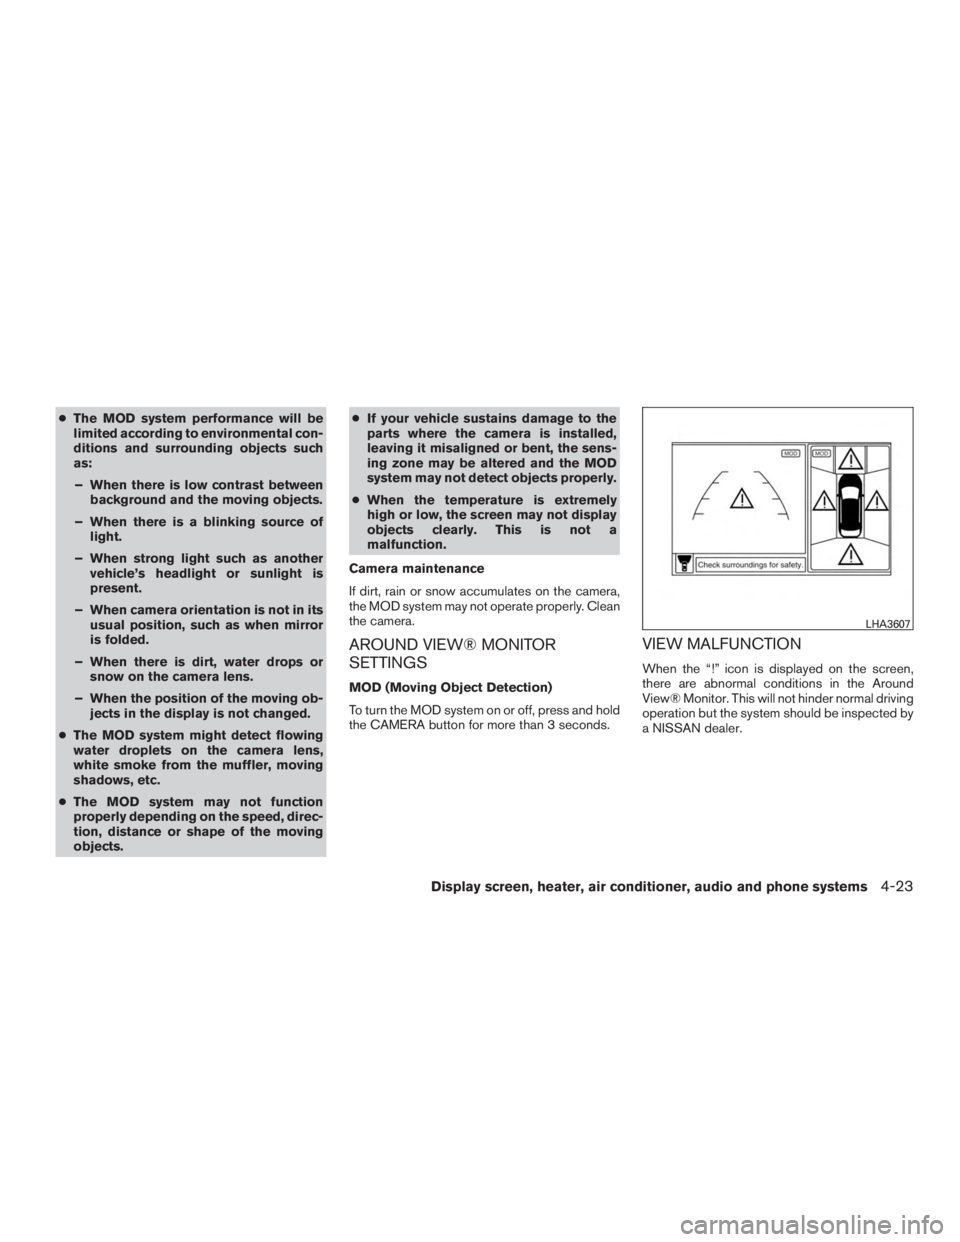
VIEW MALFUNCTION
When the “!” icon is displayed on the screen,
there are abnormal conditions in the Around
View® Monitor. This will not hinder normal driving
operation but the system should be inspected by
a NISSAN dealer.
Page 256 of 424
particularly if the loss of control causes the
vehicle to slide sideways.
Be attentive at all times, and avoid driving when
tired. Never drive when under the influence of
alcohol or drugs (including prescription or over-
the-counter drugs which may cause drowsi-
ness) . Always wear your seat belt as outlined in
the “Safety – Seats, seat belts and supplemental
restraint system” section of this manual, and also
instruct your passengers to do so.
Seat belts help reduce the risk of injury in colli-
sions and rollovers.In a rollover crash, an
unbelted or improperly belted person is
significantly more likely to be injured or
killed than a person properly wearing a
seat belt.
OFF-ROAD RECOVERY
While driving, the right side or left side wheels
may unintentionally leave the road surface. If this
occurs, maintain control of the vehicle by follow-
ing the procedure below. Please note that this
procedure is only a general guide. The vehicle
must be driven as appropriate based on the con-
ditions of the vehicle, road and traffic.
1. Remain calm and do not overreact.
2. Do not apply the brakes. 3. Maintain a firm grip on the steering wheel
with both hands and try to hold a straight
course.
4. When appropriate, slowly release the accel- erator pedal to gradually slow the vehicle.
5. If there is nothing in the way, steer the ve- hicle to follow the road while vehicle speed
is reduced. Do not attempt to drive the ve-
hicle back onto the road surface until vehicle
speed is reduced.
6. When it is safe to do so, gradually turn the steering wheel until both tires return to the
road surface. When all tires are on the road
surface, steer the vehicle to stay in the ap-
propriate driving lane.
● If you decide that it is not safe to return the
vehicle to the road surface based on vehicle,
road or traffic conditions, gradually slow the
vehicle to a stop in a safe place off the road.
RAPID AIR PRESSURE LOSS
Rapid air pressure loss or a “blow-out” can occur
if the tire is punctured or is damaged due to
hitting a curb or pothole. Rapid air pressure loss
can also be caused by driving on under-inflated
tires. Rapid air pressure loss can affect the handling
and stability of the vehicle, especially at highway
speeds.
Help prevent rapid air pressure loss by maintain-
ing the correct air pressure and visually inspect
the tires for wear and damage. For additional
information, refer to “Wheels and tires” in the
“Maintenance and do-it-yourself” section of this
manual. If a tire rapidly loses air pressure or
“blows-out” while driving, maintain control of the
vehicle by following the procedure below. Please
note that this procedure is only a general guide.
The vehicle must be driven as appropriate based
on the conditions of the vehicle, road and traffic.
Page 259 of 424
●Do not attempt to test an AWD
equipped vehicle on a 2-wheel dyna-
mometer (such as the dynamometers
used by some states for emissions test-
ing) , or similar equipment even if the
other two wheels are raised off the
ground. Make sure you inform test facil-
ity personnel that your vehicle is
equipped with AWD before it is placed
on a dynamometer. Using the wrong
test equipment may result in drivetrain
damage or unexpected vehicle move-
ment which could result in serious ve-
hicle damage or personal injury.
● When a wheel is off the ground due to
an unlevel surface, do not spin the
wheel excessively.
● Accelerating quickly, sharp steering
maneuvers or sudden braking may
cause loss of control.
● If at all possible, avoid sharp turning
maneuvers, particularly at high speeds.
Your NISSAN vehicle has a higher cen-
ter of gravity than a passenger car. The
vehicle is not designed for cornering at
the same speeds as passenger cars. ●
Failure to operate this vehicle correctly
could result in loss of control and/or a
rollover accident.
● Always use tires of the same type, size,
brand, construction (bias, bias-belted,
or radial) , and tread pattern on all four
wheels. Install tire chains on the front
wheels when driving on slippery roads
and drive carefully.
● Be sure to check the brakes immedi-
ately after driving in mud or water. For
additional information, refer to “Brake
system” in this section for “Wet
brakes”.
● Avoid parking your vehicle on steep
hills. If you get out of the vehicle and it
rolls forward, backward or sideways,
you could be injured.
● Whenever you drive off-road through
sand, mud or water as deep as the
wheel hub, more frequent maintenance
may be required. For additional infor-
mation, refer to “Periodic maintenance”
in the “NISSAN Service and Mainte-
nance Guide.”
Page 322 of 424
FREEING A FROZEN DOOR LOCK
To prevent a door lock from freezing, apply de-
icer through the key hole. If the lock becomes
frozen, heat the key before inserting it into the key
hole, or use the NISSAN Intelligent Key®.
ANTIFREEZE
In the winter when it is anticipated that the tem-
perature will drop below 32°F (0°C) , check the
antifreeze to assure proper winter protection. For
additional information, refer to “Engine cooling
system” in the “Maintenance and do-it-yourself”
section of this manual.
BATTERY
If the battery is not fully charged during extremely
cold weather conditions, the battery fluid may
freeze and damage the battery. To maintain maxi-
mum efficiency, the battery should be checked
regularly. For additional information, refer to “Bat-
tery” in the “Maintenance and do-it-yourself” sec-
tion of this manual.
DRAINING OF COOLANT WATER
If the vehicle is to be left outside without anti-
freeze, drain the cooling system, including the
engine block. Refill before operating the vehicle.
For additional information, refer to “Changingengine coolant” in the “Maintenance and do-it-
yourself” section of this manual.
TIRE EQUIPMENT
1. SUMMER tires have a tread designed to
provide superior performance on dry pave-
ment. However, the performance of these
tires will be substantially reduced in snowy
and icy conditions. If you operate your ve-
hicle on snowy or icy roads, NISSAN recom-
mends the use of MUD & SNOW or ALL
SEASON TIRES on all four wheels. Please
consult a NISSAN dealer for the tire type,
size, speed rating and availability informa-
tion.
2. For additional traction on icy roads, studded tires may be used. However, some U.S.
states and Canadian provinces prohibit their
use. Check local, state and provincial laws
before installing studded tires.
Skid and traction capabilities of studded
snow tires on wet or dry surfaces may be
poorer than that of non-studded snow tires. 3. Tire chains may be used. For additional in- formation, refer to “Tire chains” in the “Main-
tenance and do-it-yourself” section of this
manual.
SPECIAL WINTER EQUIPMENT
It is recommended that the following items be
carried in the vehicle during winter:
● A scraper and stiff-bristled brush to remove
ice and snow from the windows and wiper
blades.
● A sturdy, flat board to be placed under the
jack to give it firm support.
● A shovel to dig the vehicle out of snowdrifts.
● Extra washer fluid to refill the windshield-
washer fluid reservoir.
DRIVING ON SNOW OR ICE
Page 344 of 424
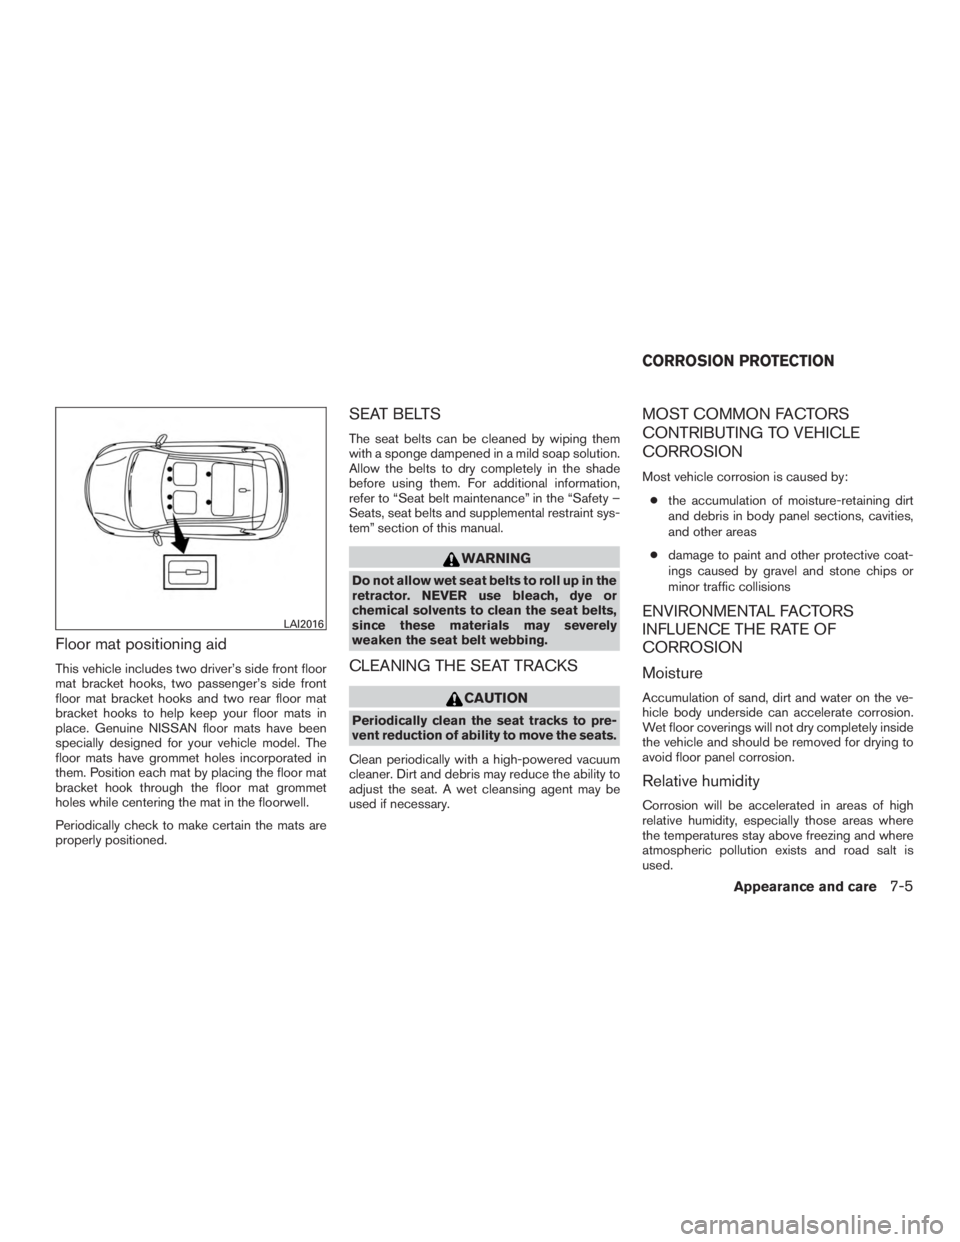
Floor mat positioning aid
This vehicle includes two driver’s side front floor
mat bracket hooks, two passenger’s side front
floor mat bracket hooks and two rear floor mat
bracket hooks to help keep your floor mats in
place. Genuine NISSAN floor mats have been
specially designed for your vehicle model. The
floor mats have grommet holes incorporated in
them. Position each mat by placing the floor mat
bracket hook through the floor mat grommet
holes while centering the mat in the floorwell.
Periodically check to make certain the mats are
properly positioned.
SEAT BELTS
The seat belts can be cleaned by wiping them
with a sponge dampened in a mild soap solution.
Allow the belts to dry completely in the shade
before using them. For additional information,
refer to “Seat belt maintenance” in the “Safety –
Seats, seat belts and supplemental restraint sys-
tem” section of this manual.