2015 NISSAN ALTIMA AUTOMATIC START
[x] Cancel search: AUTOMATIC STARTPage 23 of 241
![NISSAN ALTIMA 2015 L33 / 5.G 08IT Navigation Manual INFO:
. Push <BACK> on the control panel to
return to the previous screen, but only after
deleting all the characters entered.
. When [BACK] is touched on the screen, the
screen returns to the previou NISSAN ALTIMA 2015 L33 / 5.G 08IT Navigation Manual INFO:
. Push <BACK> on the control panel to
return to the previous screen, but only after
deleting all the characters entered.
. When [BACK] is touched on the screen, the
screen returns to the previou](/manual-img/5/407/w960_407-22.png)
INFO:
. Push
return to the previous screen, but only after
deleting all the characters entered.
. When [BACK] is touched on the screen, the
screen returns to the previous screen even
when characters have been entered.
. When text has been entered and the number
of matching list items has been narrowed
down enough so that they fit on the screen,
the list screen appears automatically.
Symbol input screen
INFO:
Symbol keys are displayed by highlighting
[Symbols] and pushing
keys are displayed by highlighting [A-Z] and
pushing
NUMBER INPUT SCREEN
A phone number or a street number can also be
entered as a search method to look for a
destination.
INFO:
Only the locations included in the map data
database can be searched for by a phone
number.
1. Use the multi-function controller to highlight a number on the displayed keyboard.
2. Push
entered.
3. Push
push
entered.
Push and hold
numbers entered.
4. After finishing the entry, highlight [List] and
push
Getting started2-15
Page 28 of 241
2-20Getting started
INFO:
Even after setting a destination, the location
of the destination can be adjusted, the route
can be stored, etc. if necessary.
“Procedures after setting destination”
(page 5-2)
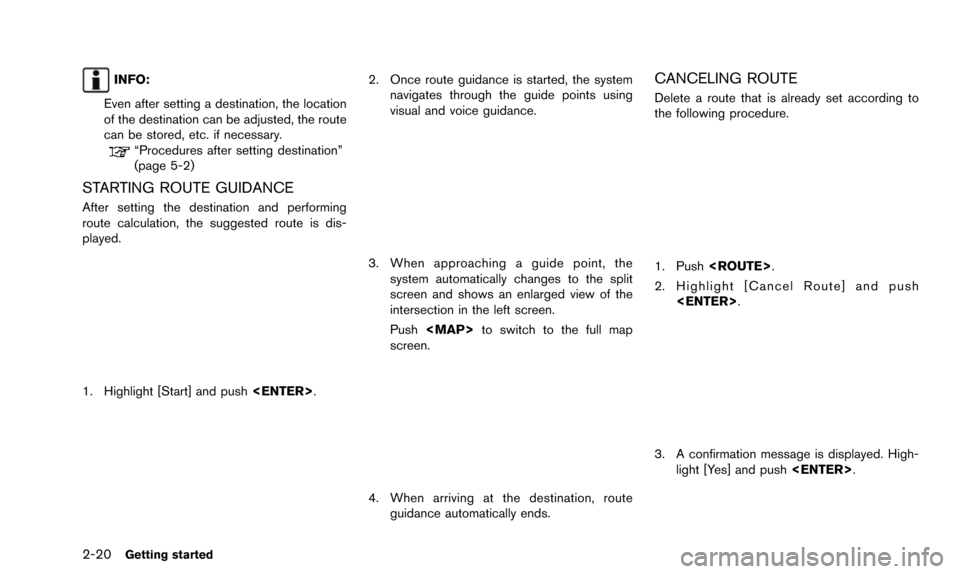
STARTING ROUTE GUIDANCE
After setting the destination and performing
route calculation, the suggested route is dis-
played.
1. Highlight [Start] and push
2. Once route guidance is started, the system
navigates through the guide points using
visual and voice guidance.
3. When approaching a guide point, thesystem automatically changes to the split
screen and shows an enlarged view of the
intersection in the left screen.
Push
Page 32 of 241
2-24Getting started
NISSAN Voice Recognition allows hands-free
operation of the navigation system and other
systems equipped on this vehicle, such as the
phone, vehicle information and audio. NISSAN
Voice Recognition can be used in one of two
selectable modes, Standard Mode or Alternate
Command Mode.
In Standard Mode, the commands that are
available are always shown on the display and
announced by the system. To perform opera-
tions, simply follow the prompts given by the
system.
For advanced operation, change to Alternate
Command Mode. When this mode is active, an
expanded list of commands can be spoken after
pushing
switch and the voice command menu prompts
are turned off. Note that in this mode the
recognition success rate may be affected
because the number of available commands
and ways of speaking each command are
increased. Otherwise, it is recommended that
Alternate Command Mode be turned to OFF
and Standard Mode be used for the best
recognition performance.
For U.S. customers, Standard Mode is selected
by default. For Canadian customers, Alternate
Command Mode is the default mode.
Otherwise, it is recommended that Alternate Command Mode be turned to OFF and Stan-
dard Mode be used for the best recognition
performance.
INFO:
. For voice recognition system operation
related to the phone, audio or vehicle
information systems, refer to the Owner’s
Manual of your vehicle.
. When the system language is set to
“Franc¸ ais” (French) or “Espan ˜
ol” (Spanish) ,
the available commands and functions may
differ from those that are available when
using the system in English.
USING THE SYSTEM
Initialization
When the ignition switch is pushed to the ON
position, NISSAN Voice Recognition is initia-
lized, which may take up to one minute. When
completed, the system is ready to accept voice
commands. If
initialization completes, the display will show the
message: “System not ready.”
BEFORE STARTING
To get the best recognition performance from
NISSAN Voice Recognition, observe the follow-
ing points:
. The interior of the vehicle should be as quiet
as possible. Close the windows to eliminate
the surrounding noises (traffic noise and
vibration sounds, etc.) , which may prevent
the system from correctly recognizing the
voice commands.
. The voice recognition system cannot be
operated when the soft top is not closed (for
Roadster models) .
. Wait until the tone sounds before speaking a
command.
. Speak in a natural conversational voice
without pausing between words.
. If the air conditioner is set to “Auto”, the fan
speed is automatically lowered so that voice
commands can be recognized more easily.
GIVING VOICE COMMANDS
The method of giving a voice command in
Standard Mode is described in this section.
NISSAN VOICE RECOGNITION
Page 37 of 241
ing is recommended for improved recogni-
tion.
“How to speak numbers” (page 9-20)
. The NISSAN voice recognition system is not
limited to recognizing phone numbers of
only 7 or 10 digits. To dial a number in a
format other than the 3-3-4 digit grouping,
use the “International Call” command.
. If “Change Number” is spoken during phone
number entry, the system will automatically
request that the number be repeated using
the 3-3-4 format. In this case please say the
area code first and then follow the prompts.
. Do not add a “1” in front of the area code
when speaking phone numbers.
. If the system does not recognize a voice
command, please try repeating the com-
mand using a natural voice. Speaking too
slowly or too loudly may further decrease
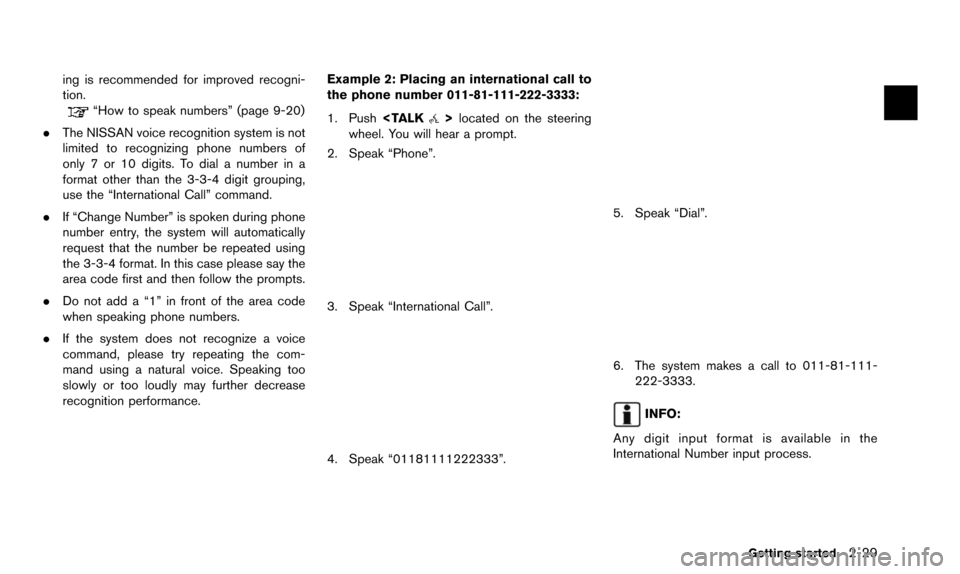
recognition performance. Example 2: Placing an international call to
the phone number 011-81-111-222-3333:
1. Push
wheel. You will hear a prompt.
2. Speak “Phone”.
3. Speak “International Call”.
4. Speak “01181111222333”.
5. Speak “Dial”.
6. The system makes a call to 011-81-111- 222-3333.
INFO:
Any digit input format is available in the
International Number input process.
Getting started2-29
Page 73 of 241
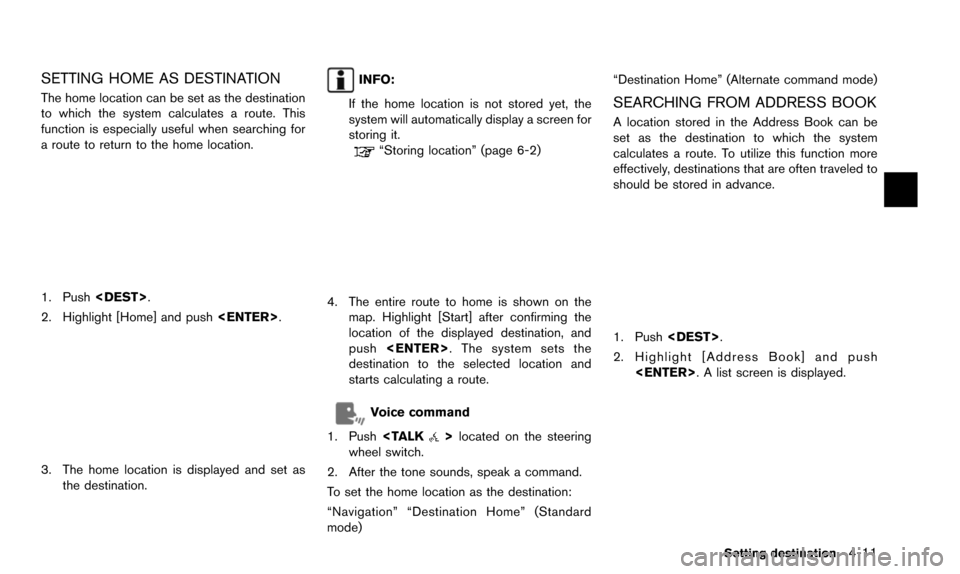
SETTING HOME AS DESTINATION
The home location can be set as the destination
to which the system calculates a route. This
function is especially useful when searching for
a route to return to the home location.
1. Push
2. Highlight [Home] and push
3. The home location is displayed and set as
the destination.
INFO:
If the home location is not stored yet, the
system will automatically display a screen for
storing it.
“Storing location” (page 6-2)
4. The entire route to home is shown on the map. Highlight [Start] after confirming the
location of the displayed destination, and
push
destination to the selected location and
starts calculating a route.
Voice command
1. Push
wheel switch.
2. After the tone sounds, speak a command.
To set the home location as the destination:
“Navigation” “Destination Home” (Standard
mode) “Destination Home” (Alternate command mode)
SEARCHING FROM ADDRESS BOOK
A location stored in the Address Book can be
set as the destination to which the system
calculates a route. To utilize this function more
effectively, destinations that are often traveled to
should be stored in advance.
1. Push
2. Highlight [Address Book] and push
Setting destination4-11
Page 74 of 241
![NISSAN ALTIMA 2015 L33 / 5.G 08IT Navigation Manual 4-12Setting destination
3. Highlight the preferred location from the listand push <ENTER>.
INFO:
Selecting [Sort] displays a list of various sort
functions. To use the sort functions, stored
locations NISSAN ALTIMA 2015 L33 / 5.G 08IT Navigation Manual 4-12Setting destination
3. Highlight the preferred location from the listand push <ENTER>.
INFO:
Selecting [Sort] displays a list of various sort
functions. To use the sort functions, stored
locations](/manual-img/5/407/w960_407-73.png)
4-12Setting destination
3. Highlight the preferred location from the listand push
INFO:
Selecting [Sort] displays a list of various sort
functions. To use the sort functions, stored
locations must be set in advance.
“Storing location” (page 6-2)
INFO:
*1Sort by Number:
The Address Book entries are displayed
in ascending numerical order.
*2Sort by Name:
The Address Book entries are displayed
in alphabetic order.
*3Sort by Icon:
By selecting a particular icon, a list that
contains only the Address Book entries associated with that icon is displayed.
*4Sort by Group:
By selecting a particular group (family,
friends, leisure, etc.) , the selected group
is displayed at the top of the list.
4. The entire route is shown on the map.
Highlight [Start] after confirming the location
of the displayed destination, and push
to the selected location and starts calculat-
ing a route.
INFO:
Even after setting a destination, the location of
the destination can be adjusted, the route can
be stored, etc.
“Procedures after setting destination”
(page 5-2)
Voice command
1. Push
wheel switch.
2. After the tone sounds, speak a command.
To set the destination from the Address Book:
“Navigation” “Address Book” (Standard mode)
“Address book” (Alternate command mode)
SETTING PREVIOUS DESTINATION
A previously set destination can be set again as
the destination to which the system calculates a
route. Up to 300 previous destinations will be
automatically stored.
If the number of previous destinations exceeds
300, the oldest one will be replaced by the new
one.
1. Push
2. Highlight [Previous Destinations] and push
Page 92 of 241
5-8Route guidance
When route guidance starts, the Small Turn
Arrow on Map is displayed in the upper left
corner of the map screen. This arrow indicates
the turning direction at the next guide point
(corner or intersection) . The distance is also
displayed. At the top of the screen, the distance
to the next guide point and the name of the next
street to turn on to are displayed. Also, there
may be cases that next street names are
announced. The Small Turn Arrow on Map can
be enabled or disabled by the user.
“Displaying small turn arrow on map”
(page 5-28)
Enlarged intersection view
When approaching a guide point, the system
automatically changes to the split screen and
shows an enlarged view of the intersection in the
left screen. After passing through the intersec-
tion, the system automatically returns to the full
screen mode. To switch to the full screen mode
while the enlarged intersection view is dis-
played, push
Page 105 of 241
information event on the route.
Voice command
1. Push
wheel switch.
2. After the tone sounds, speak a command. To turn on or off the Voice Guidance:
“Voice Guidance On/Off” (Alternate com-
mand mode)
RECALCULATING ROUTE
The route can be searched for again manually
after changing the search condition. When the
vehicle deviates from the suggested route, the
route from the current location to the destination
is automatically searched again.
Re-searching route manually
1. Push
3. A message is displayed, and the route isrecalculated.
4. Set the route conditions. After finishing thesetting, highlight [Start] and push
“Procedures after setting destination”
(page 5-2)
INFO:
When a waypoint has been set on the route, the
system will search for only one route even if
route recalculation is performed.
Setting Auto Reroute
1. Push
2. Highlight [Route Settings] and push
3. Highlight [Other Routing Choices] and push
Route guidance5-21