2015 MERCEDES-BENZ S-COUPE fuel cap release
[x] Cancel search: fuel cap releasePage 11 of 286

Break-in period .............................. 114
DISTRONIC PLUS ........................... 135
Downhill gradient ........................... 128
Drinking and driving ....................... 127
Driving abroad ............................... 102
Driving in winter ............................. 128
Driving on flooded roads ................ 128
Driving on wet roads ...................... 128
Exhaust check ............................... 127
Fuel ................................................ 127
General .......................................... 127
Hydroplaning ................................. 128
Icy road surfaces ........................... 128
Limited braking efficiency on sal-
ted roads ....................................... 128
Snow chains .................................. 242
Symmetrical low beam.................. 102
The first 1000 miles (1500 km) ..... 114
Wet road surface ........................... 128
DVD video
Operating (on-board computer) ..... 164
see also Digital Operator's Man-
ual .................................................. 188
E
EASY-ENTRY featureFunction/note s................................ 99
EASY-EXIT feature
Function/note s................................ 99
EBD (electronic brake force distri-
bution)
Display message ............................ 169
Function/note s................................ 73
ECO display
Function/note s............................. 128
ECO start/stop function
General information ....................... 119
Electronic Stability Program
see ESP ®
(Electronic Stability Program)
Emergency
Automatic measures after an acci-
dent ................................................. 60
Emergency release
Driver's door .................................... 83
Trunk ............................................... 89
Vehicle ............................................. 83 Emergency Tensioning Devices
Activation ......................................... 57
Emissions control
Service and warranty information .... 24
Engine
Check Engine warning lamp ........... 176
Display message ............................ 174
ECO start/stop function ................ 119
Engine number ............................... 275
Irregular running ............................ 119
Jump-starting ................................. 229
Starting problems .......................... 119
Starting the engine with the
SmartKey ....................................... 118
Starting with the Start/Stop but-
ton ................................................. 118
Switching off .................................. 126
Switching off with the Start/Stop
button ............................................ 126
Switching off with the vehicle key .. 126
Tow-starting (vehicle) ..................... 234
Engine electronics
Problem (malfunction) ................... 119
Engine emergency stop .................... 237
Engine oil
Adding ........................................... 213
Additives ........................................ 278
Checking the oil level ..................... 211
Checking the oil level using the
dipstick .......................................... 211
Checking the oil level using the
on-board computer ........................ 213
Display message ............................ 165
Filling capacity ............................... 278
Notes about oil grade s................... 277
Notes on oil level/consumption .... 211
Viscosity ........................................ 278
Entering an address
see also Digital Operator's Man-
ual .................................................. 188
ESP ®
(Electronic Stability Pro-
gram)
Characteristics ................................. 71
Deactivating/activating ................... 72
Display message ............................ 166
ETS/4ETS ........................................ 71
Function/note s................................ 71
General notes .................................. 71
Index9
Page 86 of 286

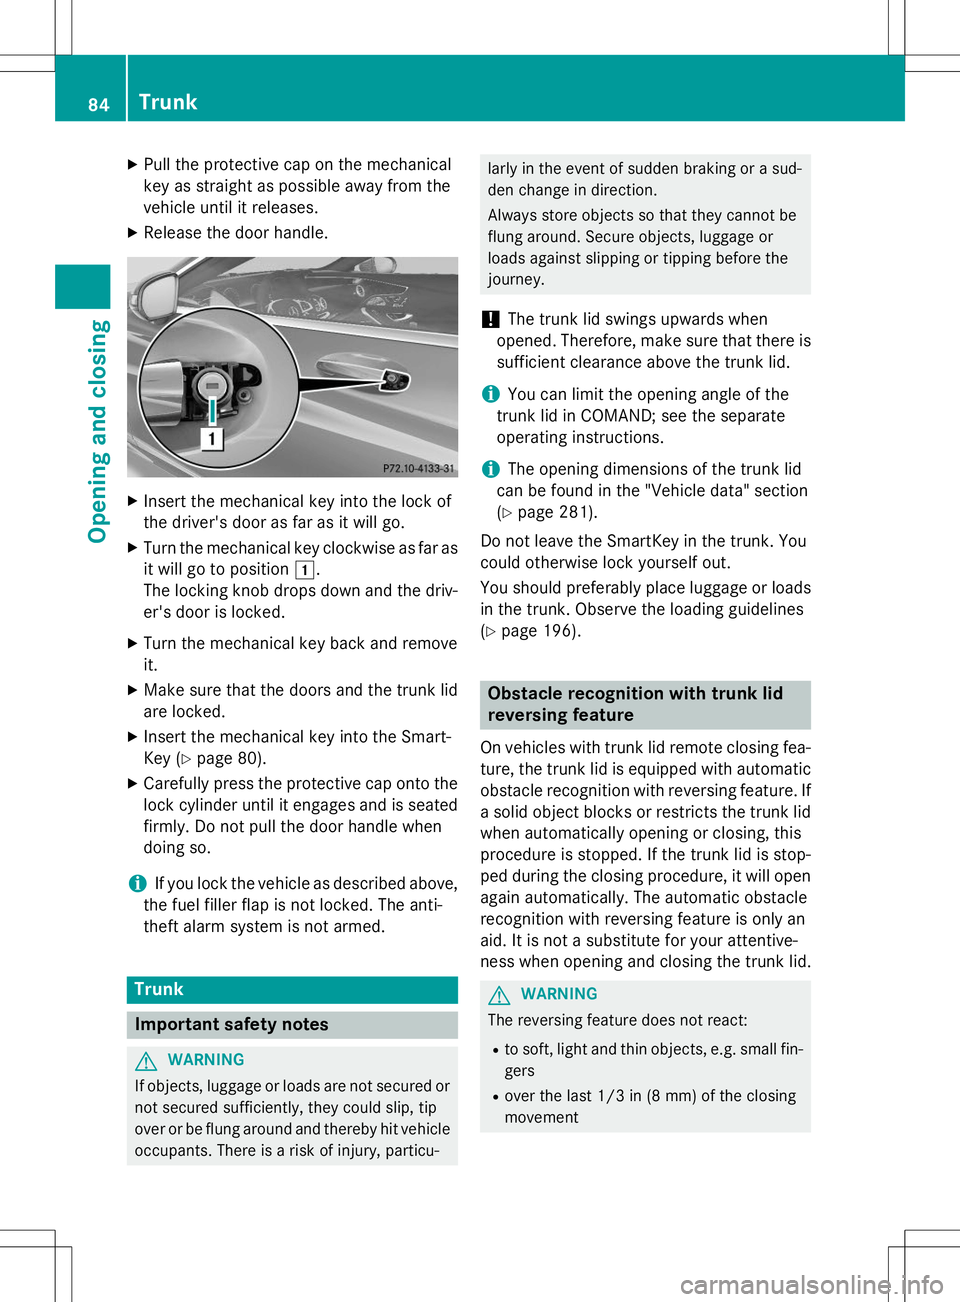
XPull the protective cap on the mechanical
key as straight as possible away from the
vehicle until it releases.
X Release the door handle.
XInsert the mechanical key into the lock of
the driver's door as far as it will go.
X Turn the mechanical key clockwise as far as
it will go to position 1.
The locking knob drops down and the driv- er's door is locked.
X Turn the mechanical key back and removeit.
X Make sure that the doors and the trunk lid
are locked.
X Insert the mechanical key into the Smart-
Key ( Ypage 80).
X Carefully press the protective cap onto the
lock cylinder until it engages and is seated
firmly. Do not pull the door handle when
doing so.
iIf you lock the vehicle as described above,
the fuel filler flap is not locked. The anti-
theft alarm system is not armed.
Trunk
Important safety notes
GWARNING
If objects, luggage or loads are not secured or not secured sufficiently, they could slip, tip
over or be flung around and thereby hit vehicle
occupants. There is a risk of injury, particu-
larly in the event of sudden braking or a sud-
den change in direction.
Always store objects so that they cannot be
flung around. Secure objects, luggage or
loads against slipping or tipping before the
journey.
!The trunk lid swings upwards when
opened. Therefore, make sure that there is
sufficient clearance above the trunk lid.
iYou can limit the opening angle of the
trunk lid in COMAND; see the separate
operating instructions.
iThe opening dimensions of the trunk lid
can be found in the "Vehicle data" section ( Y page 281).
Do not leave the SmartKey in the trunk. You
could otherwise lock yourself out.
You should preferably place luggage or loads
in the trunk. Observe the loading guidelines ( Y page 196).
Obstacle recognition with trunk lid
reversing feature
On vehicles with trunk lid remote closing fea-
ture, the trunk lid is equipped with automatic obstacle recognition with reversing feature. If a solid object blocks or restricts the trunk lid
when automatically opening or closing, this
procedure is stopped. If the trunk lid is stop-
ped during the closing procedure, it will open
again automatically. The automatic obstacle
recognition with reversing feature is only an
aid. It is not a substitute for your attentive-
ness when opening and closing the trunk lid.
GWARNING
The reversing feature does not react:
R to soft, light and thin objects, e.g. small fin-
gers
R over the last 1/3 in (8 mm) of the closing
movement
84Trunk
Opening and closing
Page 248 of 286

iThe actual values for tires are vehicle-
specific and may deviate from the values in
the illustration.
Checking the tire pressures
Important safety notes
Observe the notes on tire pressure ( Y page 243).
Information on air pressure for the tires on
your vehicle can be found:
R on the vehicle's Tire and Loading Informa-
tion placard on the B-pillar
R on the tire pressure label on the fuel fillerflap
R in the "Tire pressure" section
Checking tire pressures manually
To determine and set the correct tire pres-
sure, proceed as follows:
X Remove the valve cap of the tire that is to
be checked.
X Press the tire pressure gauge securely onto
the valve.
X Read the tire pressure and compare it with
the recommended value on the Tire and
Loading Information placard ( Ypage 243).
X If the tire pressure is too low, increase it to
the recommended value.
X If the tire pressure is too high, release air by
pressing down the metal pin in the valve.
Use the tip of a pen, for example. Then,
check the tire pressure again using the tire
pressure gauge.
X Screw the valve cap onto the valve.
X Repeat these steps for the other tires.
Tire pressure monitor
General notes
If a tire pressure monitor is installed, the vehi-
cle's wheels have sensors that monitor the tire pressures in all four tires. The tire pres-
sure monitor warns you if the pressure drops
in one or more of the tires. The tire pressure
monitor only functions if the corresponding
sensors are installed in all wheels.
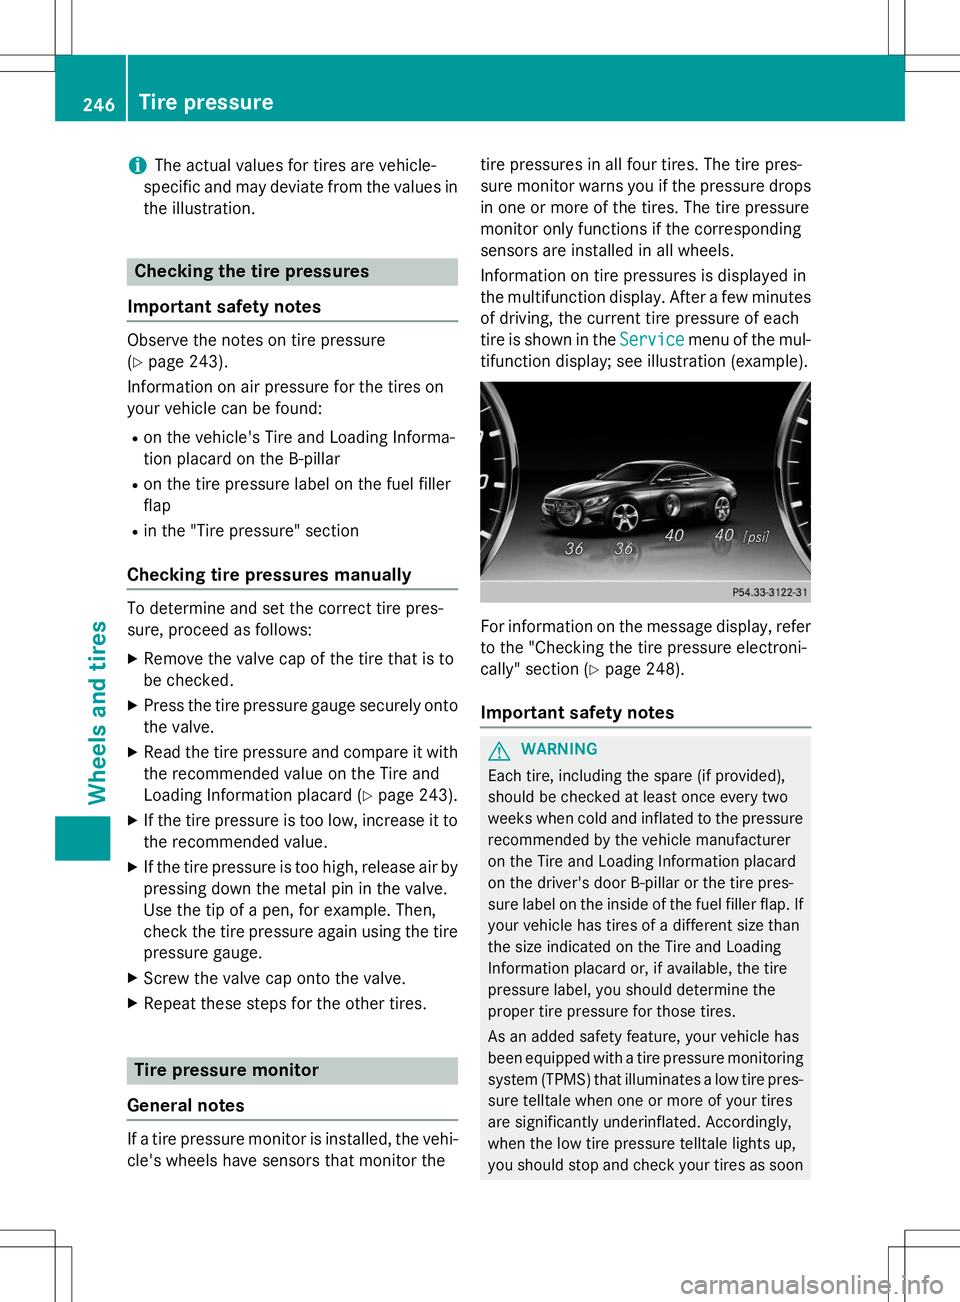
Information on tire pressures is displayed in
the multifunction display. After a few minutes of driving, the current tire pressure of each
tire is shown in the
Servicemenu of the mul-
tifunction display; see illustration (example).
For information on the message display, refer to the "Checking the tire pressure electroni-
cally" section ( Ypage 248).
Important safety notes
GWARNING
Each tire, including the spare (if provided),
should be checked at least once every two
weeks when cold and inflated to the pressure
recommended by the vehicle manufacturer
on the Tire and Loading Information placard
on the driver's door B-pillar or the tire pres-
sure label on the inside of the fuel filler flap. If
your vehicle has tires of a different size than
the size indicated on the Tire and Loading
Information placard or, if available, the tire
pressure label, you should determine the
proper tire pressure for those tires.
As an added safety feature, your vehicle has
been equipped with a tire pressure monitoring system (TPMS) that illuminates a low tire pres-
sure telltale when one or more of your tires
are significantly underinflated. Accordingly,
when the low tire pressure telltale lights up,
you should stop and check your tires as soon
246Tire pressure
Wheels and tires