2015 MERCEDES-BENZ S-Class glove box
[x] Cancel search: glove boxPage 6 of 502

1, 2, 3 ...
4ETS see ETS/4ETS (Electronic Trac-
tion System)
4MATIC (permanent four-wheel
drive) .................................................. 248
12 V socket
see Sockets
115 V socket ...................................... 385
360° camera
Cleaning .........................................4 16
Function/notes ............................ .260 A
ABS (Anti-lock Braking System) Display message ............................ 317
Function/notes ................................ 76
Important safety notes .................... 77
Warning lamp ................................. 358
Accident
Automatic measures after an acci-
dent ................................................. 68
Activating/deactivating cooling
with air dehumidification ................. 170
Activating/deactivating Night
View Assist Plus
With spotlight function ................... 268
Active Blind Spot Assist
Activating/deactivating (on-
board computer) ............................ 309
Display message ............................ 344
Function/informatio n.................... 270
Active Body Control (ABC)
Display message ............................ 342
Function/note s............................. 244
Active Lane Keeping Assist
Activating/deactivating (on-
board computer) ............................ 310
Display message ............................ 343
Function/information .................... 273
Active multicontour seat .................. 134
Active Parking Assist
Detecting parking spaces .............. 252
Display message ............................ 344
Exiting a parking space .................. 254
Function/note s............................. 251 Important safety notes .................. 251
Parking .......................................... 253
ADAPTIVE BRAKE ................................. 84
Adaptive Brake Assist
Function/note s................................ 81
Adaptive Damping System (ADS) ..... 247
Adaptive Highbeam Assist Plus
Display message ............................ 336
Function/note s............................. 153
Switching on/of f........................... 154
Additional speedometer ................... 313
Additives (engine oil) ........................ 492
Air bags
Belt bags .......................................... 53
Cushion air bags .............................. 59
Deployment ..................................... 65
Display message ............................ 332
Front air bag (driver, front
passenger) ....................................... 57
Important safety notes .................... 56
Introduction ..................................... 56
Knee bag .......................................... 58
PASSENGER AIR BAG indicator
lamps ............................................... 50
Side impact air ba g.......................... 58
Window curtain air ba g.................... 59
Air vents
Glove box ....................................... 185
Important safety notes .................. 184
Rear ............................................... 185
Setting ........................................... 184
Setting the center air vents ........... 184
Setting the side air vents ............... 184
Air-conditioning system
see Climate control
AIRMATIC
Display message ............................ 341
Function/note s............................. 246
Alarm
ATA (Anti-Theft Alarm system )......... 86
Switching off (ATA) .......................... 86
Switching the function on/off
(ATA) ................................................ 86
Alarm system
see ATA (Anti-Theft Alarm system)
Anti-lock braking system
see ABS (Anti-lock Braking System) 4
Index
Page 13 of 502

MOExtended tires .......................... 423
Preparing the vehicle ..................... 423
TIREFIT kit ...................................... 424
Floormats ...........................................4 01
Folding table ...................................... 376
Front-passenger seat
Adjusting from the driver's seat ..... 124
Adjusting from the rear compart-
ment .............................................. 124
Fuel
Additives ........................................ 491
Consumption statistics .................. 300
Displaying the current consump-
tion ................................................ 299
Displaying the range ..................... .299
Driving tips ................................... .224
Fuel gauge ....................................... 35
Grade (gasoline) ............................ 490
Important safety notes .................. 490
Problem (malfunction) ................... 209
Refueling ........................................ 205
Tank content/reserve fuel ............. 490
Fuel filler flap
Opening ......................................... 207
Opening (PLUG-IN HYBRID vehi-
cles) ............................................... 207
Fuel level
Calling up the range (on-board
computer) ...................................... 299
Fuel tank
Capacity ........................................ 490
Problem (malfunction) ................... 209
Fuses
Allocation chart ............................ .440
Before changing ............................ .438
Dashboard fuse box ....................... 439
Engine emergency stop ................. 440
Fuse box in the engine compart-
ment .............................................. 439
Fuse box in the front-passenger
footwell .......................................... 439
Fuse box in the trunk ..................... 440
Important safety notes .................. 438 G
Garage door opener Clearing the memory ..................... 401 General notes ................................ 397
Important safety notes .................. 398
Opening/closing the garage door .. 400
Programming (button in the rear-
view mirror) ................................... 398
Synchronizing the rolling code ....... 399
Gasoline ............................................. 490
Gear indicator (on-board com-
puter) ................................................. .314
Genuine parts ...................................... 24
Glove box .......................................... .373 H
Handbrake see Parking brake
HANDS-FREE ACCESS ....................... 102
Hazard warning lamps ......................152
Head bags
Display message ............................ 330
Head restraints
Adjusting ....................................... 131
Adjusting (manually) ..................... .131
Adjusting (rear) .............................. 133
EASY ADJUST luxury head
restraint ......................................... 132
Luxury ............................................ 132
Supplementary cushion ................. 133
Head-up display
Adjusting the brightness ................ 312
Function/notes ............................ .297
Important safety notes .................. 297
Setting the position ....................... 311
Switching on or off ......................... 297
Switching the display on/off ......... 311
Headlamps
Fogging up ..................................... 155
see Automatic headlamp mode
Heating
see Climate control
High beam flasher .............................152
High-beam headlamps
Adaptive Highbeam Assist PLUS .... 153
Display message ............................ 334
Switching on/off ........................... 152
High-voltage battery
Battery care ................................... 211
Charging (charging station) ............ 216 Index
11
Page 21 of 502

Problem (malfunction) ..................... 95
Starting the engine ........................ 192
Snow chains ...................................... 445
Sockets
Center console .............................. 384
General notes ................................ 384
Rear compartment .........................3 85
Trunk ............................................. 385
Special seat belt retractor .................. 69
Specialist workshop ............................ 29
Speed, controlling
see Cruise control
Speedometer
Activating/deactivating the addi-
tional speedometer ........................ 313
Digital ............................................ 301
In the Instrument cluster ................. 35
Selecting the unit of measure-
ment .............................................. 312
see Instrument cluster
Standing lamps
Display message ............................ 335
Switching on/off ........................... 151
Start/Stop button
Removing ....................................... 191
Starting the engine ........................ 192
Start/stop function
see ECO start/stop function
Starting (engine) ................................ 191
STEER CONTROL .................................. 86
Steering
Warning lamps ............................... 369
Steering (display message) .............. 353
Steering Assist and Stop&Go Pilot
(DISTRONIC PLUS)
Display message ............................ 347
Steering assistant STEER CON-
TROL
see STEER CONTROL
Steering wheel
Adjusting (electrically) ................... 137
Button overview ............................... 37
Buttons (on-board computer) ......... 295
Cleaning ......................................... 418
EASY ENTRY/EXIT feature ............. 139
Important safety notes .................. 137
Paddle shifters ............................... 201 Steering wheel heating .................. 138
Storing settings (memory func-
tion) ............................................... 144
Steering wheel heating
Problem (malfunction) ................... 139
Switching on/off ........................... 138
Steering wheel paddle shifters ........201
Stowage areas ................................... 372
Stowage compartments
Armrest (under) ............................ .374
Center console .............................. 373
Center console in rear compart-
ment .............................................. 375
Cup holders ................................... 378
Door ............................................... 374
Eyeglasses compartment .............. .373
Glove box ....................................... 373
Important safety information ......... 372
Rear ............................................... 374
Rear seat backrest ......................... 375
Stowage net ................................... 376
Under driver's seat/front-
passenger sea t.............................. 374
Stowage net ....................................... 376
Stowage space
Folding table .................................. 376
Parcel net retainers ....................... 376
Securing a load .............................. 376
Stowage well beneath the trunk
floor .................................................... 377
Summer tires
In winter ........................................ 444
Sun visor ............................................ 380
Suspension tuning
Active Body Control ABC ............... 244
AIRMATIC ...................................... 247
SETUP (on-board computer) .......... 314
Switching air-recirculation mode
on/off ................................................. 177 T
Tachometer ........................................ 294
Tail lamps
Display message ............................ 334
see Lights
Tank content
Fuel gauge ....................................... 35 Index
19
Page 59 of 502

wise be in the deployment area of the air
bags.
R Always keep your feet in the footwell in
front of the seat. Do not put your feet on the
dashboard, for example. Your feet may oth-
erwise be in the deployment area of the air bag.
R For this reason, always secure persons less
than 5 ft (1.50 m) tall in suitable restraint
systems. Up to this height, the seat belt
cannot be worn correctly.
If a child is traveling in your vehicle, also
observe the following notes:
R Always secure children under 12 years of
age and less than 5 ft (1.50m)in height in
suitable child restraint systems.
R Child restraint systems should be installed
on the rear seats.
R Only secure a child in a rearward-facing
child restraint system on the front-
passenger seat when the front-passenger
front air bag is deactivated. If the
PASSENGER AIR BAG OFF indicator lamp is permanently lit, the front-passenger front
air bag is deactivated (Y page 50).
R Always observe the instructions and safety
notes on the "Occupant Classification Sys-
tem (OCS)" (Y page 59) and on "Children
in the vehicle" (Y page 69) in addition to
the child restraint system manufacturer's
installation instructions.
Objects in the vehicle interior may pre-
vent an air bag from functioning correctly.
Before starting your journey and to avoid risks
resulting from the speed of the air bag as it
deploys, make sure that:
R there are no people, animals or objects
between the vehicle occupants and an air
bag.
R there are no objects between the seat, door
and B-pillar.
R no hard objects, e.g. coat hangers, hang on
the grab handles or coat hooks.
R no accessories, such as cup holders, are
attached to the vehicle within the deploy- ment area of an air bag, e.g. to doors, side
windows, rear side trim or side walls.
R no heavy, sharp-edged or fragile objects
are in the pockets of your clothing. Store
such objects in a suitable place. G
WARNING
If you modify the air bag cover or affix objects
such as stickers to it, the air bag can no longer function correctly. There is an increased risk
of injury.
Never modify an air bag cover or affix objectsto it. G
WARNING
Sensors to control the air bags are located in the doors. Modifications or work not per-
formed correctly to the doors or door panel-
ing, as well as damaged doors, can lead to the
function of the sensors being impaired. The air bags might therefore not function properly
any more. Consequently, the air bags cannot
protect vehicle occupants as they are
designed to do. There is an increased risk of
injury.
Never modify the doors or parts of the doors.
Always have work on the doors or door pan-
eling carried out at a qualified specialist work- shop.
Front air bags Driver's air bag
:deploys in front of the
steering wheel. Front-passenger front air
bag ;deploys in front of and above the glove
box. Occupant safety
57Safety Z
Page 107 of 502

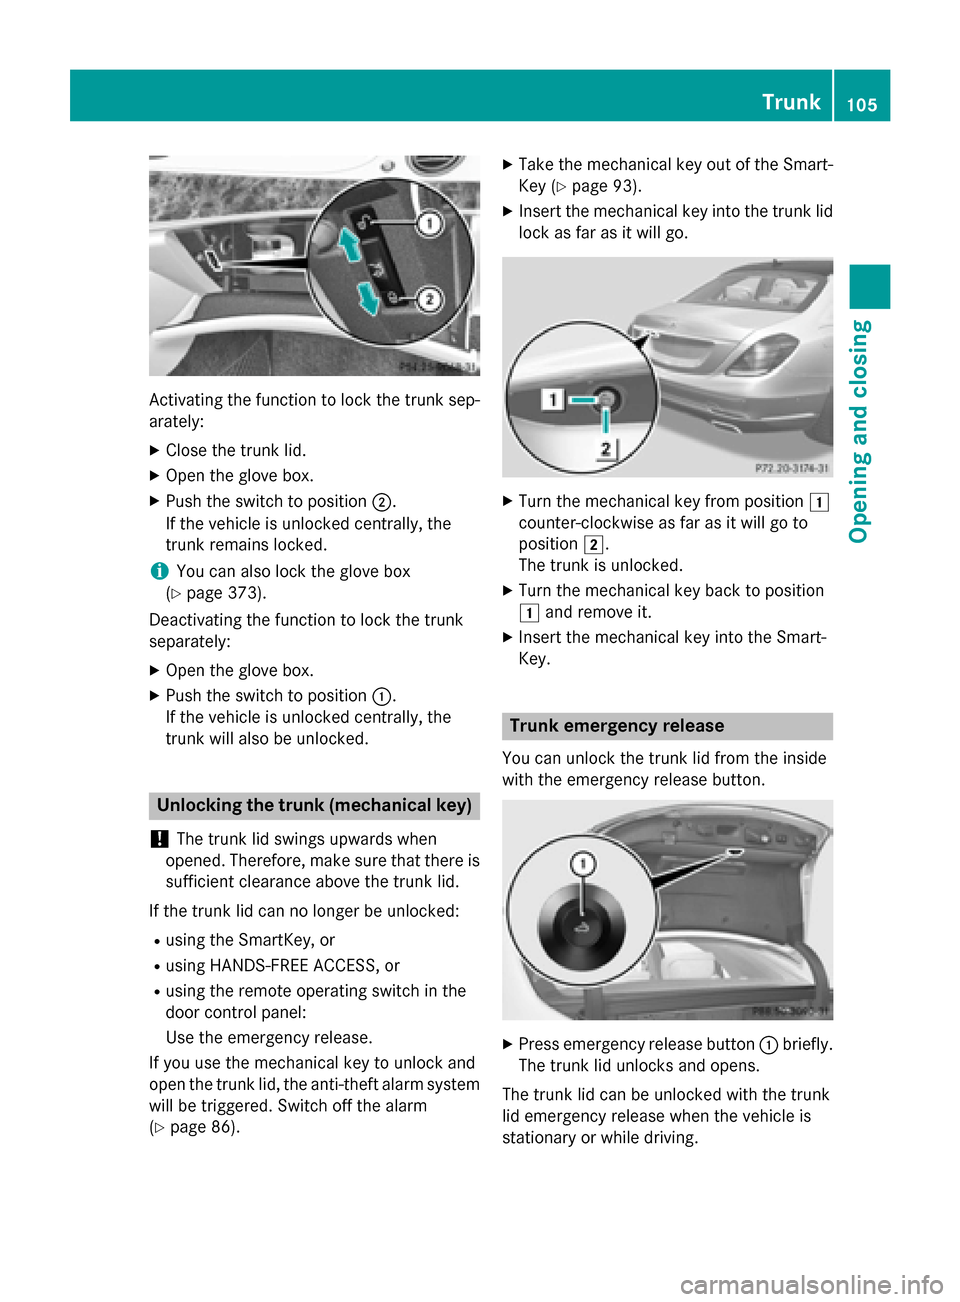
Activating the function to lock the trunk sep-
arately:
X Close the trunk lid.
X Open the glove box.
X Push the switch to position ;.
If the vehicle is unlocked centrally, the
trunk remains locked.
i You can also lock the glove box
(Y page 373).
Deactivating the function to lock the trunk
separately:
X Open the glove box.
X Push the switch to position :.
If the vehicle is unlocked centrally, the
trunk will also be unlocked. Unlocking the trunk (mechanical key)
! The trunk lid swings upwards when
opened. Therefore, make sure that there is sufficient clearance above the trunk lid.
If the trunk lid can no longer be unlocked: R using the SmartKey, or
R using HANDS-FREE ACCESS, or
R using the remote operating switch in the
door control panel:
Use the emergency release.
If you use the mechanical key to unlock and
open the trunk lid, the anti-theft alarm system
will be triggered. Switch off the alarm
(Y page 86). X
Take the mechanical key out of the Smart-
Key (Y page 93).
X Insert the mechanical key into the trunk lid
lock as far as it will go. X
Turn the mechanical key from position 1
counter-clockwise as far as it will go to
position 2.
The trunk is unlocked.
X Turn the mechanical key back to position
1 and remove it.
X Insert the mechanical key into the Smart-
Key. Trunk emergency release
You can unlock the trunk lid from the inside
with the emergency release button. X
Press emergency release button :briefly.
The trunk lid unlocks and opens.
The trunk lid can be unlocked with the trunk
lid emergency release when the vehicle is
stationary or while driving. Trunk
105Opening and closing Z
Page 181 of 502

Using COMAND, you can:
R switch the perfume atomizer on and off
R regulate the perfume intensity
See the separate operating instructions.
The following conditions can affect your per-
ception of the perfume intensity:
R operating mode of the automatic climate
control
R interior temperature
R time of year/day
R air humidity
R physiological condition of occupants, e.g.
fatigue or hunger
The perfume atomizer can only be operated
when the automatic climate control is
switched on and is only active when the glove box is closed.
The perfume atomizer is provided with a pre-filled perfume vial. You can also choose froma variety of filled perfume vials and an empty
vial which you can fill yourself.
If you refill an empty perfume vial, observe the separate information sheet attached to the
vial.
! If you do not use genuine Mercedes-Benz
interior perfumes, observe the manufactur-
ers' safety notices on the perfume packag- ing.
Do not refill the pre-filled perfume vial when it
is empty. Dispose of the used vial after use.
X To insert the perfume vial: open the glove
box (Y page 373).
X Slide the perfume vial into the holder as far
as it will go.
X To remove the perfume vial: pull out the
perfume vial.
X To refill the perfume vial: unscrew the lid
of the empty perfume vial to refill it your-
self.
X Refill the vial with a maximum of 15 ml of
the desired liquid perfume.
X Screw the lid back on to the vial. !
Only refill the vial when you are outside
the vehicle. Otherwise, liquid perfume
could drip into the interior and contaminate
it.
Always refill the empty refillable vial with the
same perfume. Otherwise, you might not ach-
ieve optimum results from the perfume atom- izer. Operating the climate control systems
179Climate control Z
Page 187 of 502

X
To open/close: press control=.
The control pops out.
X Turn control =counter-clockwise or
clockwise.
X To adjust the air direction: hold side air
vent ;by the middle fin and move it up or
down or to the left or right. Setting the glove box air vent
! Close the air vent when heating the vehi-
cle.
At high outside temperatures, open the air
vent and activate the "cooling with air dehu- midification" function. Otherwise, temper-
ature-sensitive items stored in the glove
box could be damaged.
When the climate control system is activated, the glove box can be ventilated, for instance
to cool its contents. The level of airflow
depends on the airflow and air distribution
settings. :
Air vent thumbwheel
; Air vent
X To open/close: turn thumbwheel :to the
left or right. Setting the rear-compartment air
vents
Setting the center vents in the rear com-
partment :
Rear-compartment air vent, left
; Rear-compartment air vent, right
= Rear-compartment air vent control, right
? Rear control panel
A Rear-compartment air vent control, left
Vehicles with rear-compartment climate con-
trol
X To open/close: press control=orA.
The control pops out.
X Turn control =orA counter-clockwise or
clockwise.
X To adjust the air direction: hold the rear
air vent :or; by the middle fin and move
up or down or to the left or right. Setting the air vents
185Climate control Z
Page 375 of 502

R
Close lockable stowage compartments
while driving.
R Stow and secure objects that are heavy,
hard, pointy, sharp-edged, fragile or too
large in the trunk.
Observe the loading guidelines (Y page 372).
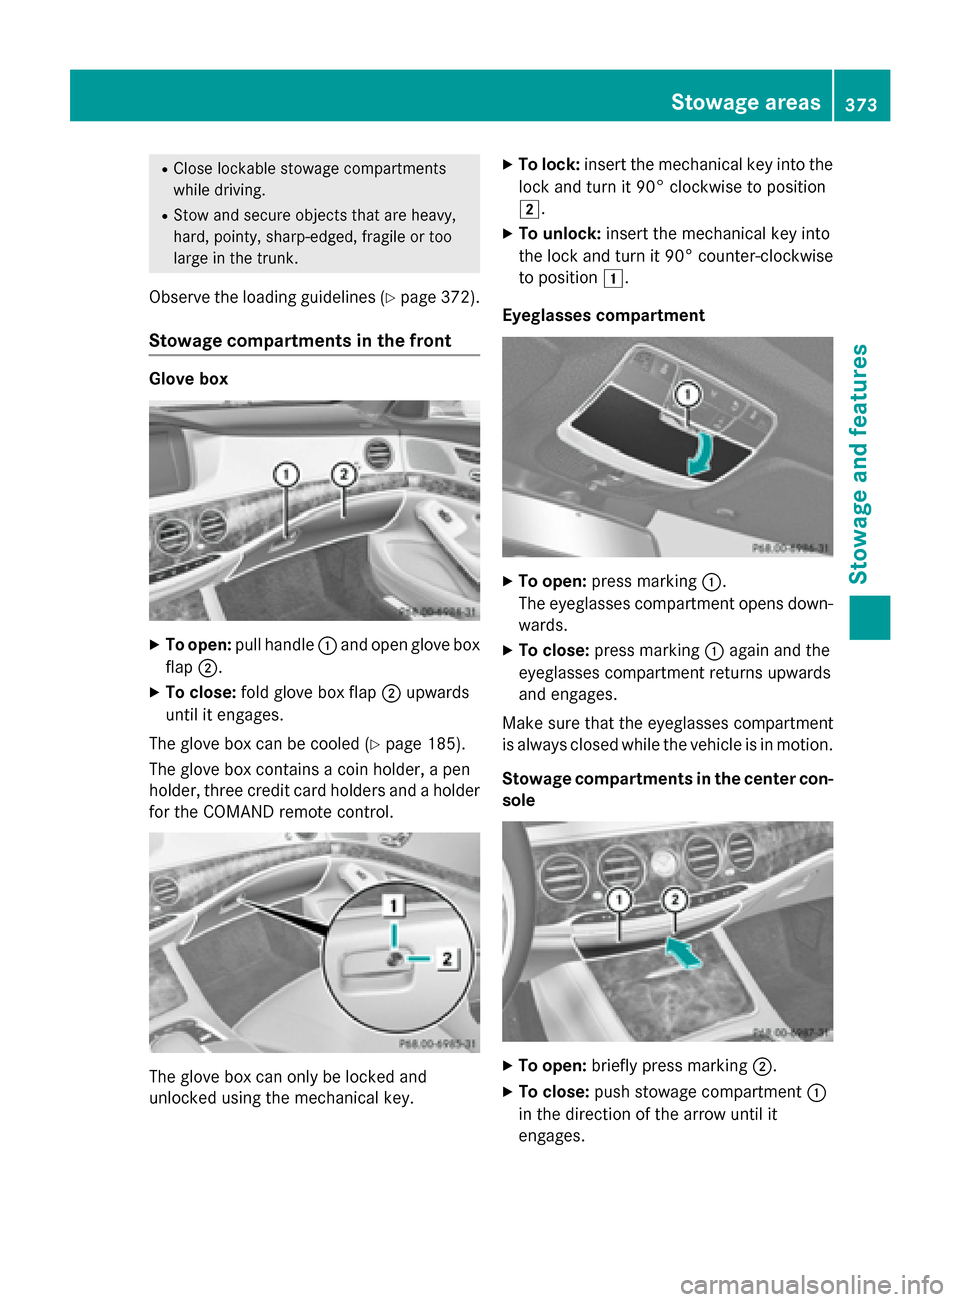
Stowage compartments in the front Glove box
X
To open: pull handle :and open glove box
flap ;.
X To close: fold glove box flap ;upwards
until it engages.
The glove box can be cooled (Y page 185).
The glove box contains a coin holder, a pen
holder, three credit card holders and a holder
for the COMAND remote control. The glove box can only be locked and
unlocked using the mechanical key. X
To lock: insert the mechanical key into the
lock and turn it 90° clockwise to position
2.
X To unlock: insert the mechanical key into
the lock and turn it 90° counter-clockwise
to position 1.
Eyeglasses compartment X
To open: press marking :.
The eyeglasses compartment opens down- wards.
X To close: press marking :again and the
eyeglasses compartment returns upwards
and engages.
Make sure that the eyeglasses compartment
is always closed while the vehicle is in motion.
Stowage compartments in the center con-
sole X
To open: briefly press marking ;.
X To close: push stowage compartment :
in the direction of the arrow until it
engages. Stowage areas
373Stowage and features Z