2015 MERCEDES-BENZ S-CLASS COUPE climate settings
[x] Cancel search: climate settingsPage 15 of 417

General notes ................................ 330
Important safety notes .................. 330
Opening/closing the garage door .. 332
Programming (button in the rear-
view mirror
) ................................... 330
Synchronising the ro lling code .......331
Gear indicator (on-board com-
puter, Mercedes-AMG vehicles) ....... 265
Gearshift program
SETUP (on-board computer) .......... 265
Genuine Mercedes-Benz parts ........... 23
Glove compartment .......................... 317H
HANDS-FREE ACCESS .......................... 96
Hazard warning lamps ......................128
Head restraints
Adjusting ....................................... 111
Adjusting (manually) ..................... .111
Adjusting (rear) .............................. 112
Head-up display
Adjusting the brightness ................ 262
Displays and operating .................. 247
Function/notes ............................ .247
Important safety notes .................. 247
Selecting displays .......................... 261
Setting the position ....................... 262
Storing settings (memory func-
tion) ............................................... 123
Headbag
Display message ............................ 277
Headlamp flasher .............................. 128
Headlamps
Misting up ...................................... 132
see Automatic headlamp mode
Heater booster function ................... 153
Heating
see Climate control
High-pressure cleaners .................... 347
Hill start assist .................................. 164
HOLD function
Activating ....................................... 206
Activation conditions ..................... 206
Deactivating ................................... 206
Display message ............................ 291
Function/notes ............................ .205
General notes ................................ 205 Horn
...................................................... 30
HUD
see Head-up display I
Ignition lock see Key positions
Immobiliser .......................................... 80
Indicator and warning lamp
Restraint system ............................ 309
Indicator and warning lamps
COLLISION PREVENTION ASSIST
PLUS .............................................. 312
Coolant .......................................... 310
Engine diagnostics ......................... 310
Indicator lamps
Display message ............................ 280
see Warning and indicator lamps
Indicators
see Turn signals
Insect protection on the radiator .... 340
Instrument cluster
Overview .......................................... 32
Warning and indicator lamps ........... 33
Instrument cluster lighting .............. 244
Intelligent Light System
Activating/deactivating ................. 262
Display message ............................ 282
Overview ........................................ 129
Setting the dipped-beam head-
lamps for driving on the right/left .. 263
Interior lighting
Control .......................................... .132
Emergency lighting ........................ 133
Overview ........................................ 132
Reading lamp ................................. 132
Interior motion sensor
Deactivating ..................................... 82
Function .......................................... .81
Priming ............................................ 81
Switching off .................................... 82
ISOFIX child seat securing system ....62 J
Jack Storage location ............................3 5712
Index
Page 22 of 417

Start/stop function
see ECO start/stop function
Starting (engine) ................................ 163
STEER CONTROL ..................................80
Steering
Display message ............................3 00
Warning lamps ............................... 314
Steering Assist
see DISTRONIC PLUS
Steering Assist and Stop&Go Pilot
(DISTRONIC PLUS)
Display message ............................ 293
Steering assistant STEER CON-
TROL
see STEER CONTROL
Steering wheel
Adjusting (electrically) ................... 116
Button overview ............................... 34
Buttons (on-board computer) ......... 245
Cleaning ......................................... 352
EASY ENTRY/EXIT feature ............. 118
Gearshift paddle s........................... 174
Important safety notes .................. 116
Steering wheel heating .................. 117
Storing settings (memory func-
tion) ............................................... 123
Steering wheel gearshift paddles .... 174
Steering wheel heating
Problem (malfunction) ................... 118
Switching on/of f........................... 117
Stop&Go Pilot
see DISTRONIC PLUS
Stowage areas ................................... 316
Stowage compartments
Armrest (under) ............................. 318
Centre console .............................. 317
Centre console in rear compart-
ment .............................................. 319
Cup holde r..................................... 322
Door ............................................... 318
Glove compartment ....................... 317
Important safety information ......... 316
Rear ............................................... 318
Spectacles compartment ............... 317
see Stowage areas
Stowage net ....................................... 319 Stowage space
Luggage net retainers .................... 321
Rear seat backrest ......................... 319
Securing a load .............................. 321
Stowage net ................................... 319
Stowage well beneath the boot
floor .................................................... 321
Summer tyres
In winter ........................................ 378
Sun visor ............................................ 323
Suspension tuning
Active Body Control ABC ............... 208
AIRMATIC ...................................... 211
SETUP (on-board computer) .......... 265
Switching the auxiliary heating/
ventilation
On/off ........................................... 150 T
Tail lamps Display message ............................ 281
see Lights
Technical data
Capacities ...................................... 404
Information .................................... 402
Tyres/wheels ................................. 391
Vehicle data ................................... 410
Telephone
Accepting a call (multifunction
steering wheel) .............................. 256
Display message ............................ 300
Introduction ................................... 256
Menu (on-board computer) ............ 256
Number from the phone book ........ 257
Redialling ....................................... 257
Rejecting/ending a call ................. 257
Telephone compartment ................ 318
Temperature
Coolant .......................................... 245
Engine oil (on-board computer,
Mercedes-AMG vehicles) ............... 265
Outside temperature ...................... 245
Setting (climate control )................ 143
Transmission oil (on-board com-
puter, Mercedes-AMG vehicles) ..... 265
TEMPOMAT
Function/note s............................. 189 Index
19
Page 141 of 417

Useful information
i This Owner's Manual describes all mod-
els, series and optional equipment for your
vehicle that were available at the time of
going to press. National variations are pos- sible. Note that your vehicle may not be
equipped with all of the functions descri-
bed. This is also the case for systems and
functions relevant to safety.
i Read the information on qualified special-
ist workshops: (Y page 26). Overview of climate control systems
General notes
Observe the settings recommended on the
following pages. The windows could other-
wise mist up.
To prevent the windows from misting up:
R switch off climate control only briefly
R activate air-recirculation mode only briefly
R activate the "Cooling with air dehumidifica-
tion" function
R activate the windscreen demisting function
briefly, if required
Climate control regulates the temperature
and air humidity in the vehicle interior. The air
filter cleans the air, thus improving the inte-
rior climate.
The "Cooling with air dehumidification" func-
tion is only available when the engine is run-
ning. Optimum climate control is only ach-
ieved with the side windows and roof closed.
The residual heat function can only be acti-
vated or deactivated with the ignition
switched off (Y page 147).
i Ventilate the vehicle for a brief period
during warm weather, e.g. using the con-
venience opening feature (Y page 100).
This will speed up the cooling process and
the desired interior temperature will be
reached more quickly. i
The integrated filter filters out most par-
ticles of dust and soot and completely fil-
ters out pollen. It also reduces gaseous pol-
lutants and odours. A clogged filter reduces the amount of air supplied to the vehicle
interior. For this reason, you should alwaysobserve the interval for replacing the filter,
which is specified in the Service Booklet. As this depends on environmental conditions,
e.g. heavy air pollution, the interval may be shorter than stated in the Service Booklet.
i It is possible that the blower may be acti-
vated automatically 60 minutes after the
key has been removed depending on vari-
ous factors, e.g. the outside temperature.
The vehicle is then ventilated for
30 minutes to dry the automatic climate
control. 138
Overview of climate control systemsClimate control
Page 146 of 417

or
X Set the air distribution using COMAND
Online (see the separate operating instruc-
tions).
The indicator lamp in rocker switch Ã
goes out.
In automatic mode, if you adjust the airflow or
air distribution manually, the indicator lamp
on the Ãrocker switch goes out. The func-
tion which has not been changed manually,
however, continues to be controlled automat- ically. When the manually set function
switches back to automatic mode, the indi-
cator lamp on the Ãrocker switch lights
up again. Setting the climate mode
In automatic mode you can select the follow-
ing airflow settings for the driver's and front- passenger areas:
FOCUS high airflow, slightly cooler setting
MEDIUM medium airflow, standard setting
DIFFUSE low airflow, slightly warmer and draught-free setting
X To set: set the climate mode using
COMAND Online (see the separate operat- ing instructions). Setting the temperature
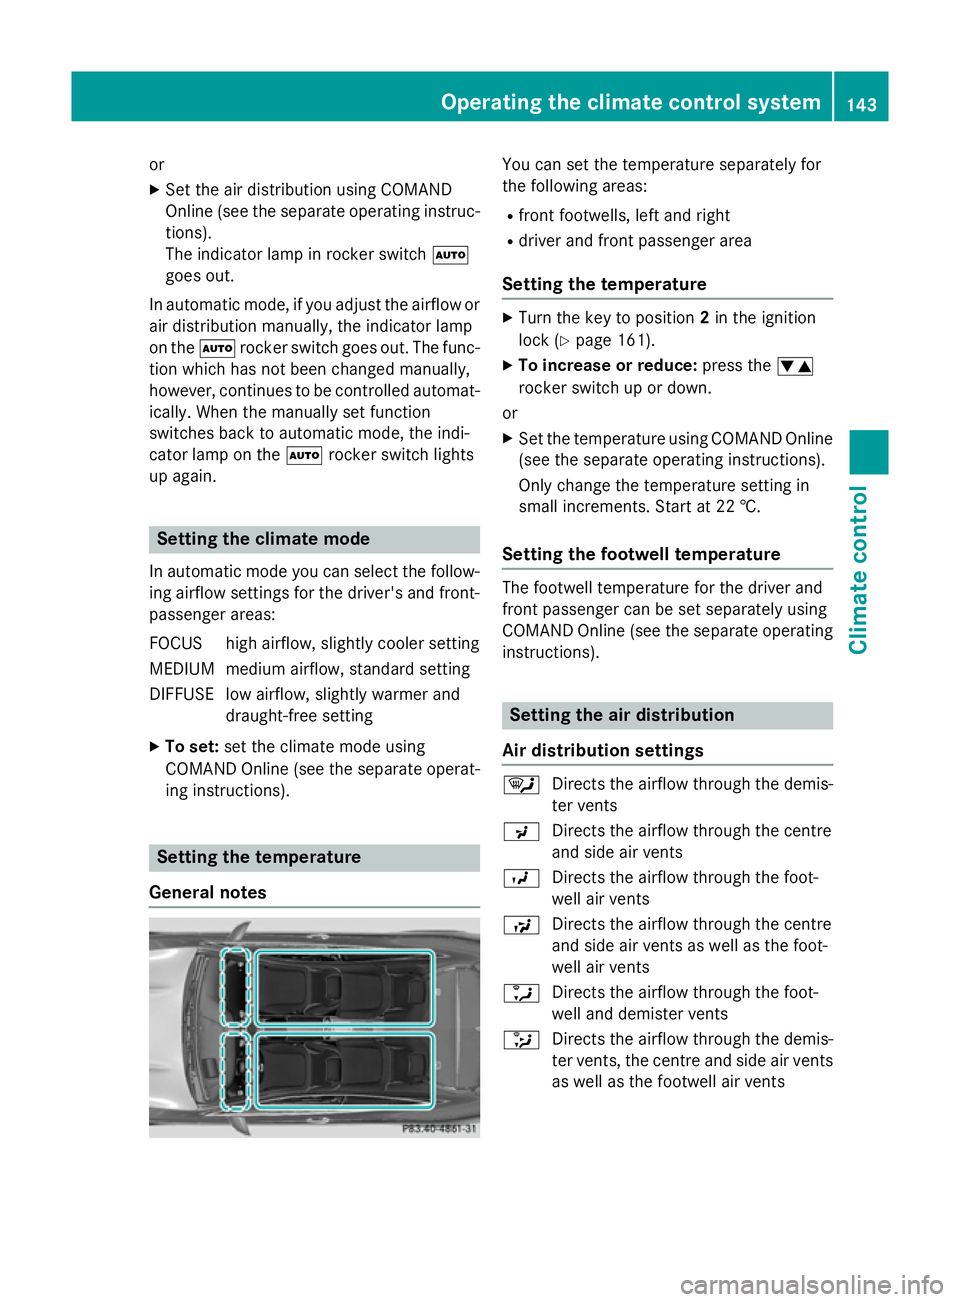
General notes You can set the temperature separately for
the following areas:
R front footwells, left and right
R driver and front passenger area
Setting the temperature X
Turn the key to position 2in the ignition
lock (Y page 161).
X To increase or reduce: press thew
rocker switch up or down.
or X Set the temperature using COMAND Online
(see the separate operating instructions).
Only change the temperature setting in
small increments. Start at 22 †.
Setting the footwell temperature The footwell temperature for the driver and
front passenger can be set separately using
COMAND Online (see the separate operating
instructions). Setting the air distribution
Air distribution settings ¯
Directs the airflow through the demis-
ter vents
P Directs the airflow through the centre
and side air vents
O Directs the airflow through the foot-
well air vents
S Directs the airflow through the centre
and side air vents as well as the foot-
well air vents
a Directs the airflow through the foot-
well and demister vents
_ Directs the airflow through the demis-
ter vents, the centre and side air vents
as well as the footwell air vents Operating the climate control system
143Climate control
Page 147 of 417

b
Directs the airflow through the centre
and side air vents as well as the demis-
ter vents
W Sets the air distribution to automatic
Setting the air distribution using
COMAND Online The air distribution for the left and right sides
of the driver and front passenger area can be adjusted using COMAND Online (see the sep-
arate operating instructions). Setting the airflow
General notes You can select different airflow settings for
the driver's and front-passenger sides.
Setting the airflow X
Turn the key to position 2in the ignition
lock (Y page 161).
X To increase or reduce: press theK
rocker switch up or down.
or X Set the airflow using COMAND Online (see
the separate operating instructions). Activating/deactivating the synchro-
nisation function
Climate control can be set centrally using the synchronisation function. The settings for
temperature, air distribution and airflow on
the driver's side are adopted for the front-
passenger side.
X To activate/deactivate: activate or deac-
tivate the synchronisation function using
COMAND Online (see the separate operat- ing instructions).
The synchronisation function switches off, if
the settings for the front-passenger side are
changed. Demisting the windscreen
You can use this function to defrost the wind-
screen or to demist the inside of the wind-
screen and the front side windows.
Switch off the windscreen demisting function
as soon as the windscreen is clear again.
X Turn the key to position 2in the ignition
lock (Y page 161).
X To switch on: press the¬rocker
switch on the front control unit up or down.
The indicator lamp in the ¬rocker
switch lights up.
The climate control system switches to the
following functions:
R high airflow
R high temperature
R air distribution to the windscreen and
front side windows
R air-recirculation mode off
R windscreen heating on
X To deactivate: press the¬rocker
switch up or down.
The indicator lamp in the ¬rocker
switch goes out. The previous settings are
reactivated. Air-recirculation mode
remains deactivated.
or X Press the Ãrocker switch up or down.
or
X Use the tor! rocker switch to call
up the COMAND Online climate control
menu. Demisting the windows
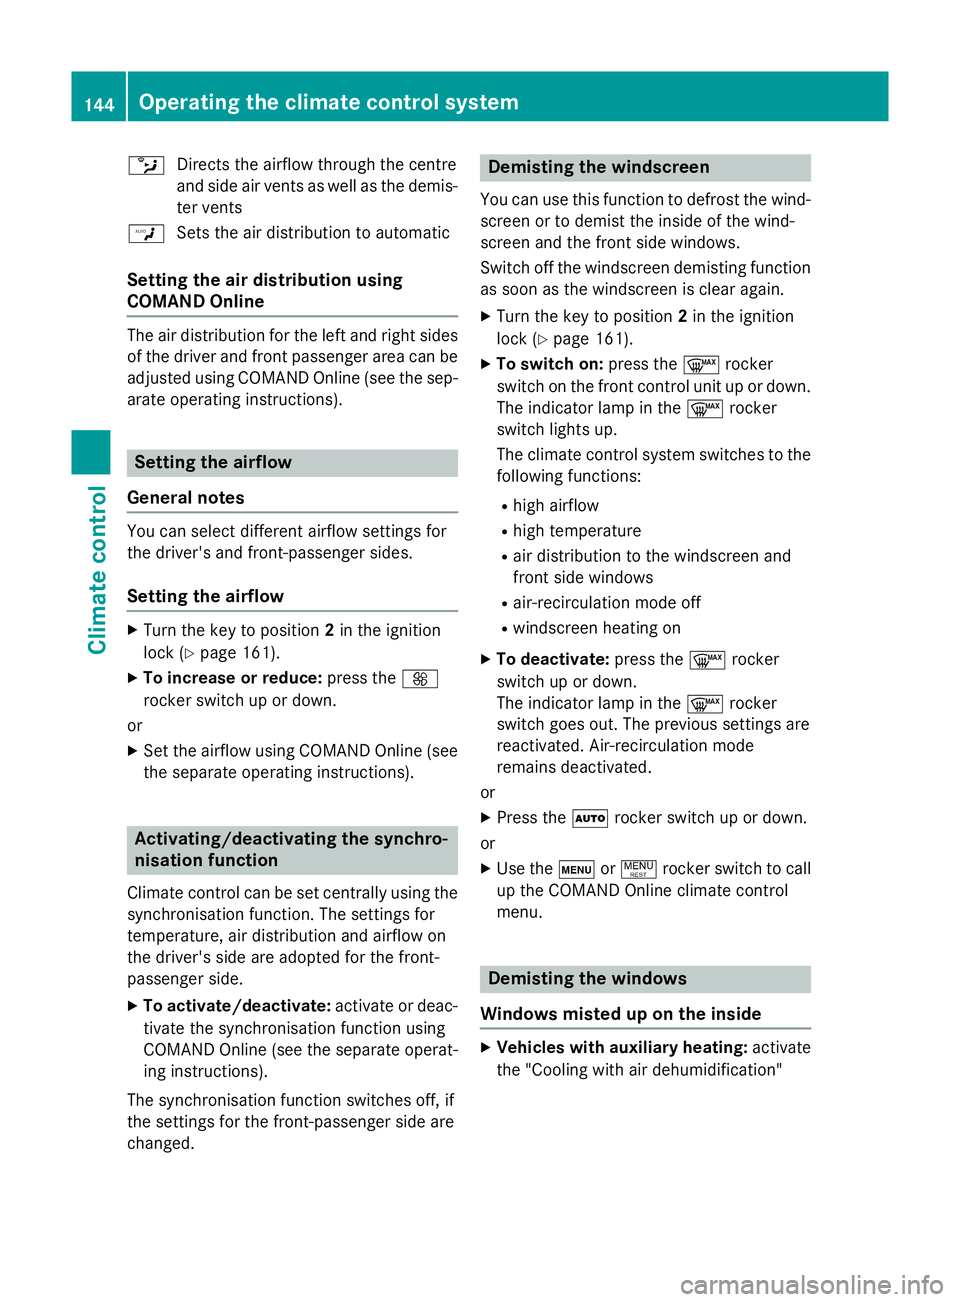
Windows misted up on the inside X
Vehicles with auxiliary heating: activate
the "Cooling with air dehumidification" 144
Operating the climate control systemClimate control
Page 159 of 417

Adjusting the centre air vents
:
Fixed centre air vent
; Centre air vents, right
= Centre vent control, right
? Centre vent control, left
A Centre air vents, left
X To open/close: press control=or?.
The control pops out.
X Turn control =or? to anti-clockwise or
clockwise.
X To adjust the air direction: hold rear air
vent ;orA by the middle fin and move up
or down or to the left or right. Adjusting the side air vents
:
Side window demister vent
; Side air vent
= Control for left side air vent X
To open/close: press control=.
The control pops out.
X Turn control =to anti-clockwise or clock-
wise.
X To adjust the air direction: hold side air
vent ;by the middle fin and move it up or
down or to the left or right. Adjusting the glove compartment air
vent
! Close the air vent when heating the vehi-
cle.
At high outside temperatures, open the air
vent and activate the "cooling with air dehu- midification" function. Otherwise, temper-
ature-sensitive items stored in the glove
compartment could be damaged.
When automatic climate control is activated,
the glove compartment can be ventilated, for
instance to cool its contents. The level of air- flow depends on the airflow and air distribu-
tion settings. :
Air vent thumbwheel
; Air vent
X To open or close: turn control:to the
right or left. 156
Adjusting the air ventsClimate cont
rol