2015 MERCEDES-BENZ GLK-CLASS SUV fog light
[x] Cancel search: fog lightPage 139 of 386

Optimum use of dual-zone climate
control
Climate control system
The following contains instructions and rec-
ommendations to enable you to get the most
out of your 3-zone automatic climate control.
R Activate climate control using the à and
¿ buttons. The indicator lamps in the
à and ¿ buttons light up.
R In automatic mode, you can also use theñ button to set the climate mode
(FOCUS/MEDIUM/DIFFUSE). The
MEDIUM level is recommended.
R Set the temperature to 72 ‡ (22 †).
R Only use the "Windshield defrosting" func-
tion briefly until the windshield is clear
again.
R Only use air-recirculation mode briefly, e.g.
if there are unpleasant outside odors or
when in a tunnel. The windows could oth-
erwise fog up, since no fresh air is drawn
into the vehicle in air-recirculation mode.
R Use the ZONE function to adopt the tem-
perature settings on the driver's side for
the front-passenger side and the rear com-
partment as well. The indicator lamp in the
á button goes out.
R Use the residual heat function if you want to
heat or ventilate the vehicle interior when
the ignition is switched off. The residual
heat function can only be activated or deac- tivated with the ignition switched off.
ECO start/stop function
During automatic engine switch-off, the cli-
mate control system only operates at a
reduced capacity. If you require the full cli-
mate control output, you can switch off the
ECO start/stop function by pressing the ECObutton ( Y page 154).
Operating the climate control sys-
tems
Switching climate control on/off
General notes
When the climate control is switched off, the air supply and air circulation are also
switched off. The windows could fog up.
Therefore, switch off climate control only
briefly
iSwitch on climate control primarily using
the à button ( Y page 139).
Switching on/off
X
Turn the SmartKey to position 2 in the igni-
tion lock ( Y page 149).
X To activate: press the à button.
The indicator lamp in the à button lights
up. Airflow and air distribution are set to
automatic mode.
or
X Press the ^ button.
The indicator lamp in the ^ button goes
out. The previously selected settings are
restored.
X To deactivate: press the ^ button.
The indicator lamp in the ^ button lights
up.
Activating/deactivating cooling with
air dehumidification
General notes
If you deactivate the "Cooling with air-dehu-
midification" function, the air inside the vehi- cle will not be cooled. The air inside the vehi-
cle will also not be dehumidified. The win-
dows can fog up more quickly. Therefore,
deactivate the cooling with air-dehumidifica-
tion function only briefly.
The "Cooling with air dehumidification" func-
tion is only available when the engine is run-
ning. The air inside the vehicle is cooled and
Operating the climate control systems137
Climate control
Page 141 of 386
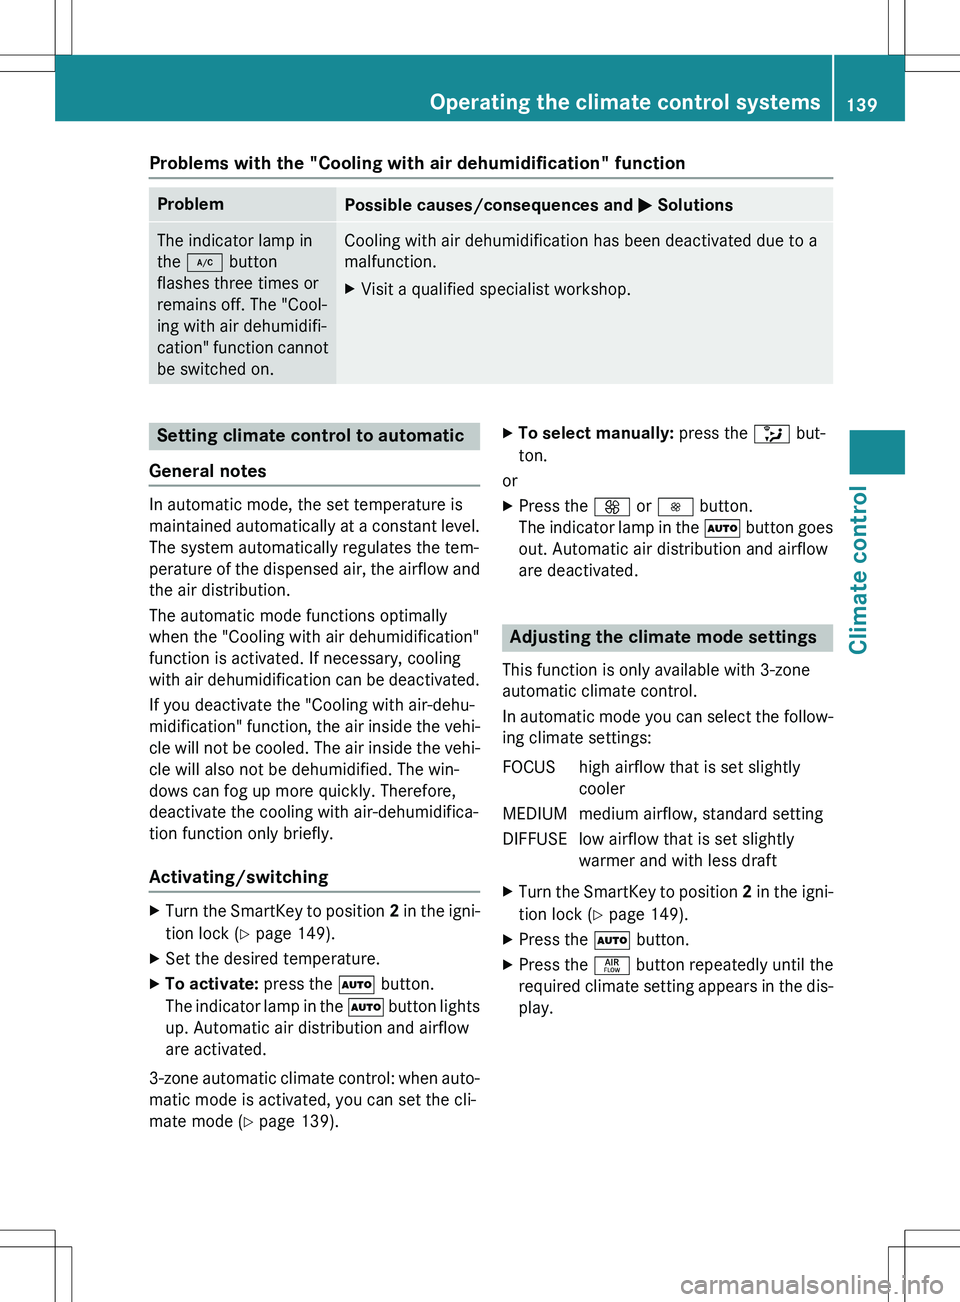
Problems with the "Cooling with air dehumidification" function
ProblemPossible causes/consequences and M Solutions
The indicator lamp in
the ¿ button
flashes three times or
remains off. The "Cool-
ing with air dehumidifi-
cation" function cannot
be switched on.Cooling with air dehumidification has been deactivated due to a
malfunction.
X Visit a qualified specialist workshop.
Setting climate control to automatic
General notes
In automatic mode, the set temperature is
maintained automatically at a constant level. The system automatically regulates the tem-
perature of the dispensed air, the airflow and
the air distribution.
The automatic mode functions optimally
when the "Cooling with air dehumidification"
function is activated. If necessary, cooling
with air dehumidification can be deactivated.
If you deactivate the "Cooling with air-dehu-
midification" function, the air inside the vehi-
cle will not be cooled. The air inside the vehi- cle will also not be dehumidified. The win-
dows can fog up more quickly. Therefore,
deactivate the cooling with air-dehumidifica-
tion function only briefly.
Activating/switching
X Turn the SmartKey to position 2 in the igni-
tion lock ( Y page 149).
X Set the desired temperature.
X To activate: press the à button.
The indicator lamp in the à button lights
up. Automatic air distribution and airflow
are activated.
3-zone automatic climate control: when auto- matic mode is activated, you can set the cli-
mate mode ( Y page 139). X
To select manually: press the _ but-
ton.
or
X Press the K or I button.
The indicator lamp in the à button goes
out. Automatic air distribution and airflow
are deactivated.
Adjusting the climate mode settings
This function is only available with 3-zone
automatic climate control.
In automatic mode you can select the follow-
ing climate settings:
FOCUS high airflow that is set slightly cooler
MEDIUM medium airflow, standard setting
DIFFUSE low airflow that is set slightly warmer and with less draft
X Turn the SmartKey to position 2 in the igni-
tion lock ( Y page 149).
X Press the à button.
X Press the ñ button repeatedly until the
required climate setting appears in the dis-
play.
Operating the climate control systems139
Climate control
Page 144 of 386
XPress the à button.
The indicator lamp in the ¬ button goes
out. Airflow and air distribution are set to
automatic mode.
or X Turn temperature control : or B counter-
clockwise or clockwise ( Y page 133),
( Y page 136).
or
X Press the K or I button.
MAX COOL maximum cooling
The MAX COOL function is only available in
vehicles for the USA.
MAX COOL is only operational when the
engine is running.
When you activate MAX COOL, climate con-
trol switches to the following functions:
R maximum cooling
R maximum airflow
R air-recirculation mode on
X To activate: press the Ù button.
The indicator lamp in the Ù button lights
up.
X To deactivate: press the Ù button.
The indicator lamp in the Ù button goes
out. The previously selected settings are
restored.
Defrosting the windows
Windows fogged up on the inside
X Activate the ¿ cooling with air dehu-
midification function.
X Activate automatic mode Ã.
X Adjust the side air vents so that the warmed
air is directed to the side windows.
X If the windows continue to fog up, activate
the ¬ "Windshield defrosting" function.
iYou should only select this setting until
the windshield is clear again.
Windows fogged up on the outside
X Activate the windshield wipers.
X Press the _ button repeatedly until the
O or P symbol appears in the dis-
play.
X Adjust the side air vents so that no air is
directed to the side windows.
Rear window defroster
General notes
The rear window defroster has a high current draw. You should therefore switch it off as
soon as the rear window is clear. Otherwise,
the rear window defroster switches off auto-
matically after several minutes.
If the battery voltage is too low, the rear win-
dow defroster may switch off.
Switching on/off
X Turn the SmartKey to position 2 in the igni-
tion lock ( Y page 149).
X Press the ¤ button.
The indicator lamp in the ¤ button lights
up or goes out.
142Operating the climate control systems
Climate control
Page 145 of 386
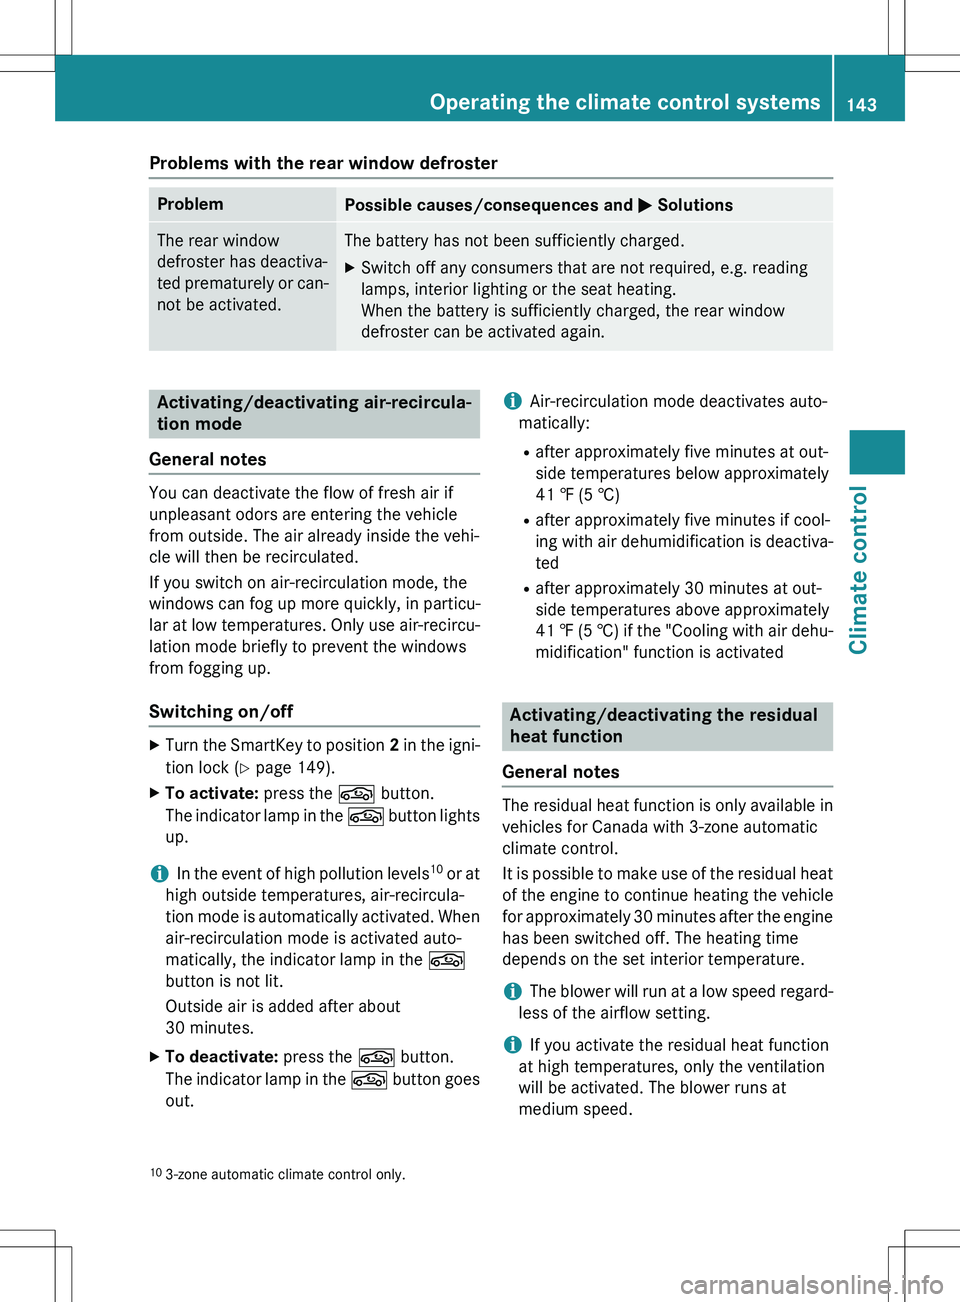
Problems with the rear window defroster
ProblemPossible causes/consequences and M Solutions
The rear window
defroster has deactiva-
ted prematurely or can-
not be activated.The battery has not been sufficiently charged.
X Switch off any consumers that are not required, e.g. reading
lamps, interior lighting or the seat heating.
When the battery is sufficiently charged, the rear window
defroster can be activated again.
Activating/deactivating air-recircula-
tion mode
General notes
You can deactivate the flow of fresh air if
unpleasant odors are entering the vehicle
from outside. The air already inside the vehi-
cle will then be recirculated.
If you switch on air-recirculation mode, the
windows can fog up more quickly, in particu-
lar at low temperatures. Only use air-recircu-
lation mode briefly to prevent the windows
from fogging up.
Switching on/off
X Turn the SmartKey to position 2 in the igni-
tion lock ( Y page 149).
X To activate: press the g button.
The indicator lamp in the g button lights
up.
iIn the event of high pollution levels 10
or at
high outside temperatures, air-recircula-
tion mode is automatically activated. When
air-recirculation mode is activated auto-
matically, the indicator lamp in the g
button is not lit.
Outside air is added after about
30 minutes.
X To deactivate: press the g button.
The indicator lamp in the g button goes
out.
iAir-recirculation mode deactivates auto-
matically:
R after approximately five minutes at out-
side temperatures below approximately
41 ‡ (5 †)
R after approximately five minutes if cool-
ing with air dehumidification is deactiva-
ted
R after approximately 30 minutes at out-
side temperatures above approximately
41 ‡ (5 †) if the "Cooling with air dehu-
midification" function is activated
Activating/deactivating the residual
heat function
General notes
The residual heat function is only available in vehicles for Canada with 3-zone automatic
climate control.
It is possible to make use of the residual heat
of the engine to continue heating the vehicle
for approximately 30 minutes after the engine
has been switched off. The heating time
depends on the set interior temperature.
iThe blower will run at a low speed regard-
less of the airflow setting.
iIf you activate the residual heat function
at high temperatures, only the ventilation
will be activated. The blower runs at
medium speed.
10 3-zone automatic climate control only.
Operating the climate control systems143
Climate control
Page 146 of 386
Switching on/off
XTurn the key to position 0 in the ignition
lock ( Y page 149) or remove it.
X To activate: press the Ì button.
The indicator lamp in the Ì button lights
up.
iIf the residual heat function is activated,
the windows may fog up on the inside.
X To deactivate: press the Ì button.
The indicator lamp in the Ì button goes
out.
iResidual heat is deactivated automati-
cally:
R after approximately 30 minutes
R when the ignition is switched on
R if the battery voltage drops
Setting the air vents
Important safety notes
GWARNING
Very hot or very cold air can flow from the air
vents. This could result in burns or frostbite in the immediate vicinity of the air vents. There
is a risk of injury.
Make sure that all vehicle occupants always
maintain a sufficient distance to the air out-
lets. If necessary, redirect the airflow to
another area of the vehicle interior.
In order to ensure the direct flow of fresh air
through the air vents into the vehicle interior,
please observe the following notes:
R keep the air inlet between the windshield
and the hood free of blockages, such as ice,
snow or leaves.
R never cover the air vents or air intake grilles
in the vehicle interior.
iFor virtually draft-free ventilation, adjust
the sliders of the air vents to the center
position.
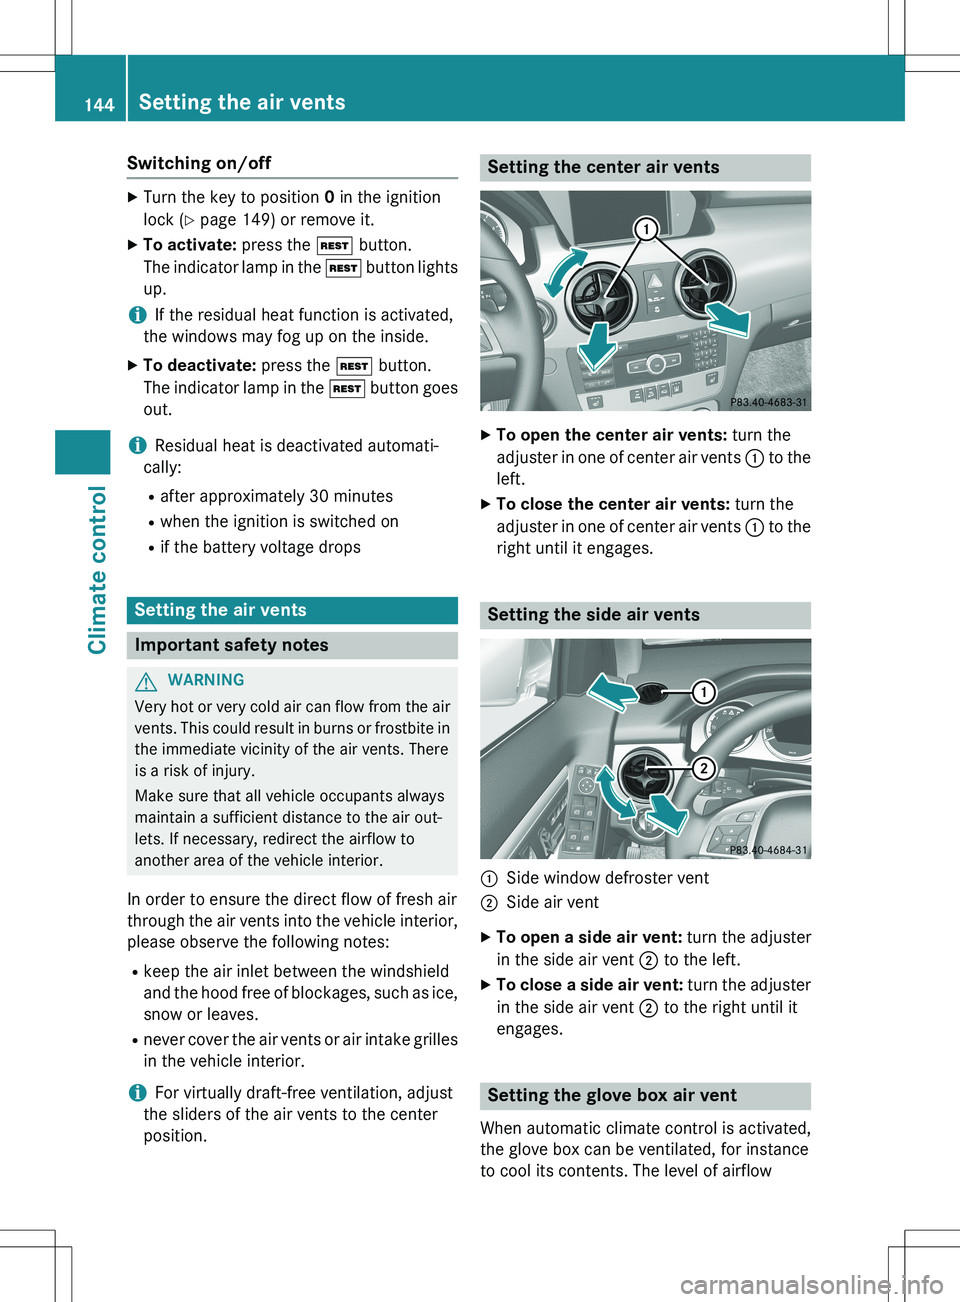
Setting the center air vents
X To open the center air vents: turn the
adjuster in one of center air vents : to the
left.
X To close the center air vents: turn the
adjuster in one of center air vents : to the
right until it engages.
Setting the side air vents
:Side window defroster vent
;Side air vent
X To open a side air vent: turn the adjuster
in the side air vent ; to the left.
X To close a side air vent: turn the adjuster
in the side air vent ; to the right until it
engages.
Setting the glove box air vent
When automatic climate control is activated,
the glove box can be ventilated, for instance
to cool its contents. The level of airflow
144Setting the air vents
Climate control
Page 177 of 386
Driving systems
Cruise control
Important safety notes
Cruise control maintains a constant road
speed for you. It brakes automatically in order
to avoid exceeding the set speed. You must
select a low gear in good time on long and
steep downhill gradients, especially if the
vehicle is laden or towing a trailer. By doing
so, you will make use of the braking effect of the engine. This relieves the load on the brake
system and prevents the brakes from over-
heating and wearing too quickly.
Use cruise control only if road and traffic con-
ditions make it appropriate to maintain a
steady speed for a prolonged period. You can store any road speed above 20 mph
(30 km/h).
If you fail to adapt your driving style, cruise
control can neither reduce the risk of an acci-
dent nor override the laws of physics. Cruise
control cannot take into account the road,
traffic and weather conditions. Cruise control is only an aid. You are responsible for the dis-
tance to the vehicle in front, for vehicle speed,for braking in good time and for staying in
your lane.
Do not use cruise control: R in road and traffic conditions which do not
allow you to maintain a constant speed e.g.
in heavy traffic or on winding roads
R on slippery road surfaces. Braking or accel-
erating could cause the drive wheels to lose traction and the vehicle could then skid
R when there is poor visibility, e.g. due to fog,
heavy rain or snow
If there is a change of drivers, advise the new driver of the speed stored.
iCruise control should not be activated
when driving off-road.
iThe speed indicated in the speedometer
may differ slightly from the speed stored.
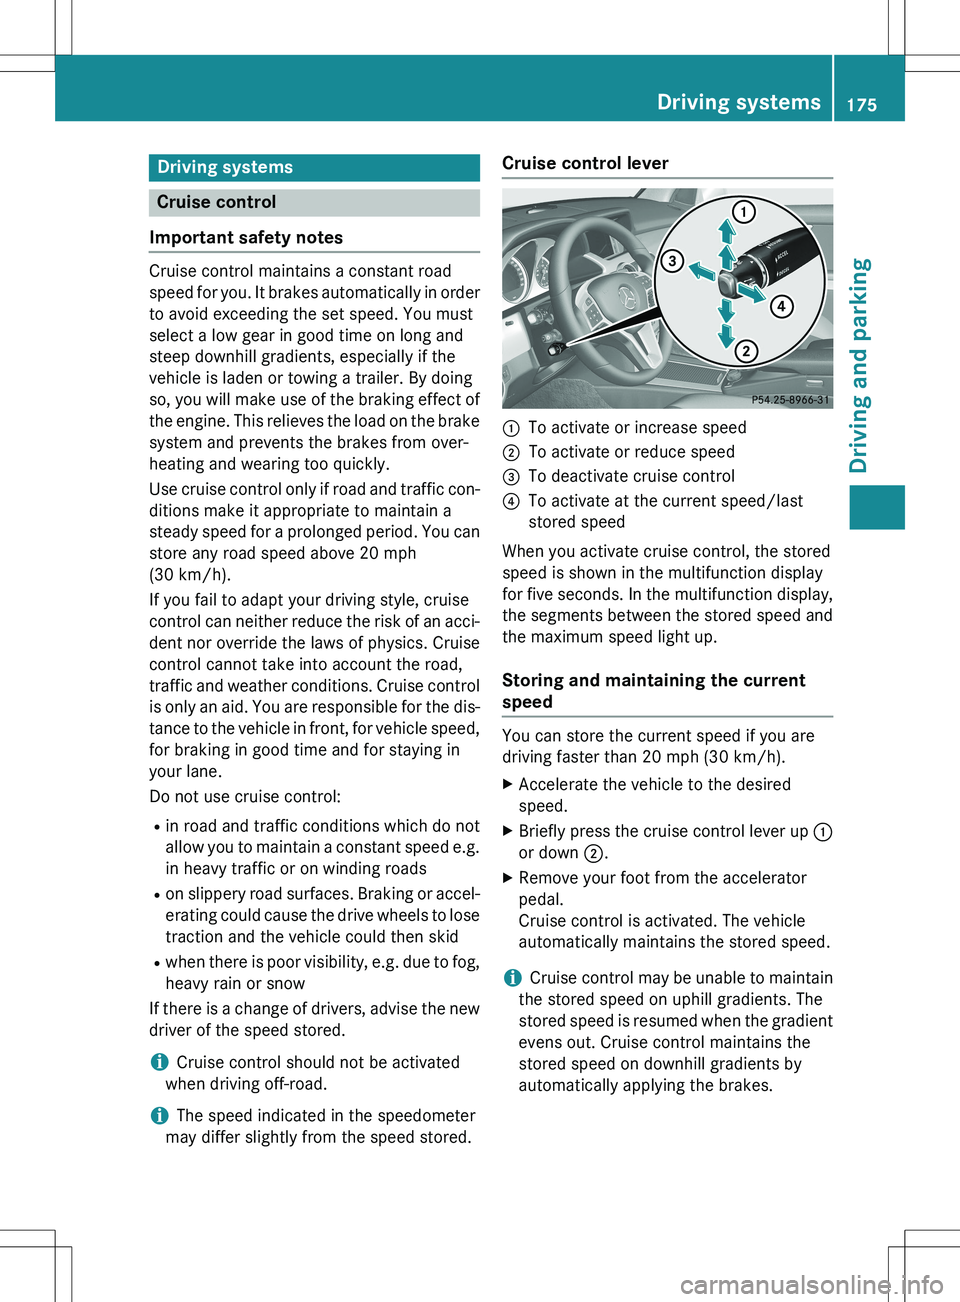
Cruise control lever
:To activate or increase speed
;To activate or reduce speed
=To deactivate cruise control
?To activate at the current speed/last
stored speed
When you activate cruise control, the stored
speed is shown in the multifunction display
for five seconds. In the multifunction display,
the segments between the stored speed and
the maximum speed light up.
Storing and maintaining the current
speed
You can store the current speed if you are
driving faster than 20 mph (30 km/h). X Accelerate the vehicle to the desired
speed.
X Briefly press the cruise control lever up :
or down ;.
X Remove your foot from the accelerator
pedal.
Cruise control is activated. The vehicle
automatically maintains the stored speed.
iCruise control may be unable to maintain
the stored speed on uphill gradients. The
stored speed is resumed when the gradient evens out. Cruise control maintains the
stored speed on downhill gradients by
automatically applying the brakes.
Driving systems175
Driving and parking
Z
Page 195 of 386

then have to steer and merge into traffic on
your own. PARKTRONIC is still available.
Canceling Active Parking Assist
You can cancel Active Parking Assist at any
time.
X Stop the movement of the multifunction
steering wheel or steer yourself.
Active Parking Assist will be canceled at
once. The
Park Assist Canceled mes-
sage appears in the multifunction display.
or
X Press the PARKTRONIC button on the cen-
ter console ( Y page 188).
PARKTRONIC is switched off and Active
Parking Assist is immediately canceled.
The
Park Assist Canceled message
appears in the multifunction display.
Active Parking Assist is canceled automati-
cally if: R transmission position P is selected
R parking using Active Parking Assist is no
longer possible
R you are driving faster than 6 mph (10 km/h)
R a wheel spins, ESP ®
intervenes or fails. The
÷ warning lamp lights up in the instru-
ment cluster.
A warning tone sounds. The parking symbol
goes out and the
Park Assist Canceled
message appears in the multifunction dis-
play.
If Active Parking Assist is canceled, you must
steer again yourself.
Towing a trailer
For vehicles with a trailer tow hitch, the min-
imum length for parking spaces is slightly
increased.
If you have attached a trailer to your vehicle,
you should not use Active Parking Assist.
Once the electrical connection is established between your vehicle and the trailer, Active
Parking Assist is no longer available.
PARKTRONIC is deactivated for the rear area.
Rear view camera
General notes
:Rear view camera
Rear view camera : is located in the handle
strip of the tailgate.
Rear view camera : is an optical parking and
maneuvering aid. It uses guide lines to show
the area behind your vehicle in the Audio/
COMAND display.
The area behind the vehicle is displayed as a
mirror image, as in the rear view mirror.
iThe text of messages shown in the
COMAND display depends on the language
setting. The following are examples of rear view camera messages in the COMAND
display.
Important safety notes
The rear view camera is only an aid. It is not a
replacement for your attention to your imme- diate surroundings. You are always responsi-
ble for safe maneuvering and parking. When
maneuvering or parking, make sure that there are no persons, animals or objects in the area
in which you are maneuvering.
Under the following circumstances, the rear
view camera will not function, or will function
in a limited manner:
R if the tailgate is open
R in heavy rain, snow or fog
R at night or in very dark places
R if the camera is exposed to very bright light
Driving systems193
Driving and parking
Z
Page 201 of 386
Rthe tailgate is open
R in heavy rain, snow or fog
R at night or in very dark places
R if the cameras are exposed to very bright
light
R if the area is lit by fluorescent light or LED
lighting (the display may flicker)
R if you exit a heated garage in winter, result-
ing in a rapid change in temperature
R if the camera lenses are dirty or covered
R if the vehicle components in which the
cameras are installed are damaged. In this
event, have the camera position and setting checked at a qualified specialist workshop.
Do not use the 360° camera in this case. You can otherwise injure others or cause damage to objects or the vehicle.
Activation conditions
The 360° camera image can be displayed if:
R your vehicle is equipped with a 360° cam-
era
R COMAND is switched on, see the separate
COMAND operating instructions
R the
360° Camera function is activated
Activating the 360° camera using the
SYS button
XPress and hold the W button for longer
than 2 seconds, see the separate COMAND operating instructions.
Depending on whether position D or R is
engaged, the following is shown:
R full screen display with the image from
the front camera
R full screen display with the image from
the rear camera
Activating the 360° camera with
COMAND
XPress the W button, see the separate
COMAND operating instructions.
X Select
System by turning cVd the
COMAND controller and press W to con-
firm.
X Select
360° Camera and press W to con-
firm.
Depending on whether position D or R is
engaged, the following is shown:
R a split screen with top view and the
image from the front camera or
R a split screen with top view and the
image from the rear view camera
For further information about the COMAND
controller, see the separate COMAND oper-
ating instructions.
Activating the 360° camera using
reverse gear
The 360° camera images can be automati-
cally displayed by engaging reverse gear.
X Make sure that the SmartKey is in position
2 in the ignition lock.
X Make sure that the
Activation by R
gear setting is active in COMAND, see the
separate COMAND operating instructions.
X To show the 360° camera image: engage
reverse gear.
The COMAND display shows the area
behind the vehicle in split screen:
R vehicle with guide lines
R top view of the vehicle
Selecting the split-screen and full
screen displays
XTo switch between split screen views:
switch to the line with the vehicle icons by
sliding ZV the COMAND controller.
X Turn cVd the COMAND controller and
select one of the vehicle symbols.
Driving systems199
Driving and parking
Z