2015 MERCEDES-BENZ GLC SUV seat memory
[x] Cancel search: seat memoryPage 134 of 497
Position of the steering wheel for driv-
ing The steering wheel is moved to the previously
set position if:
R the driver's door is closed and you insert
the key into the ignition lock
R you close the driver's door when the igni-
tion is switched on
R you press the Start/Stop button once on
vehicles with KEYLESS-GO
i The steering wheel only returns to the last
set position if the driving position is stored
after the seat or steering column has been adjusted (Y page 135).
The most recent driving position of the steer-
ing wheel is stored if:
R the ignition is switched off
R the setting is stored using the memory
function (Y page 135)
Crash-responsive EASY-EXIT feature If the crash-responsive EASY-EXIT feature is
triggered in an accident, the steering column will move upwards when the driver's door is
opened or the key is removed from the igni-
tion lock. This makes it easier to exit the vehi-
cle and rescue the occupants.
The crash-responsive EASY-EXIT feature is
only operational if the EASY-EXIT/ENTRY fea- ture is activated in Audio 20/COMAND
Online; see the separate Audio 20/COMAND Online operating instructions. Mirrors
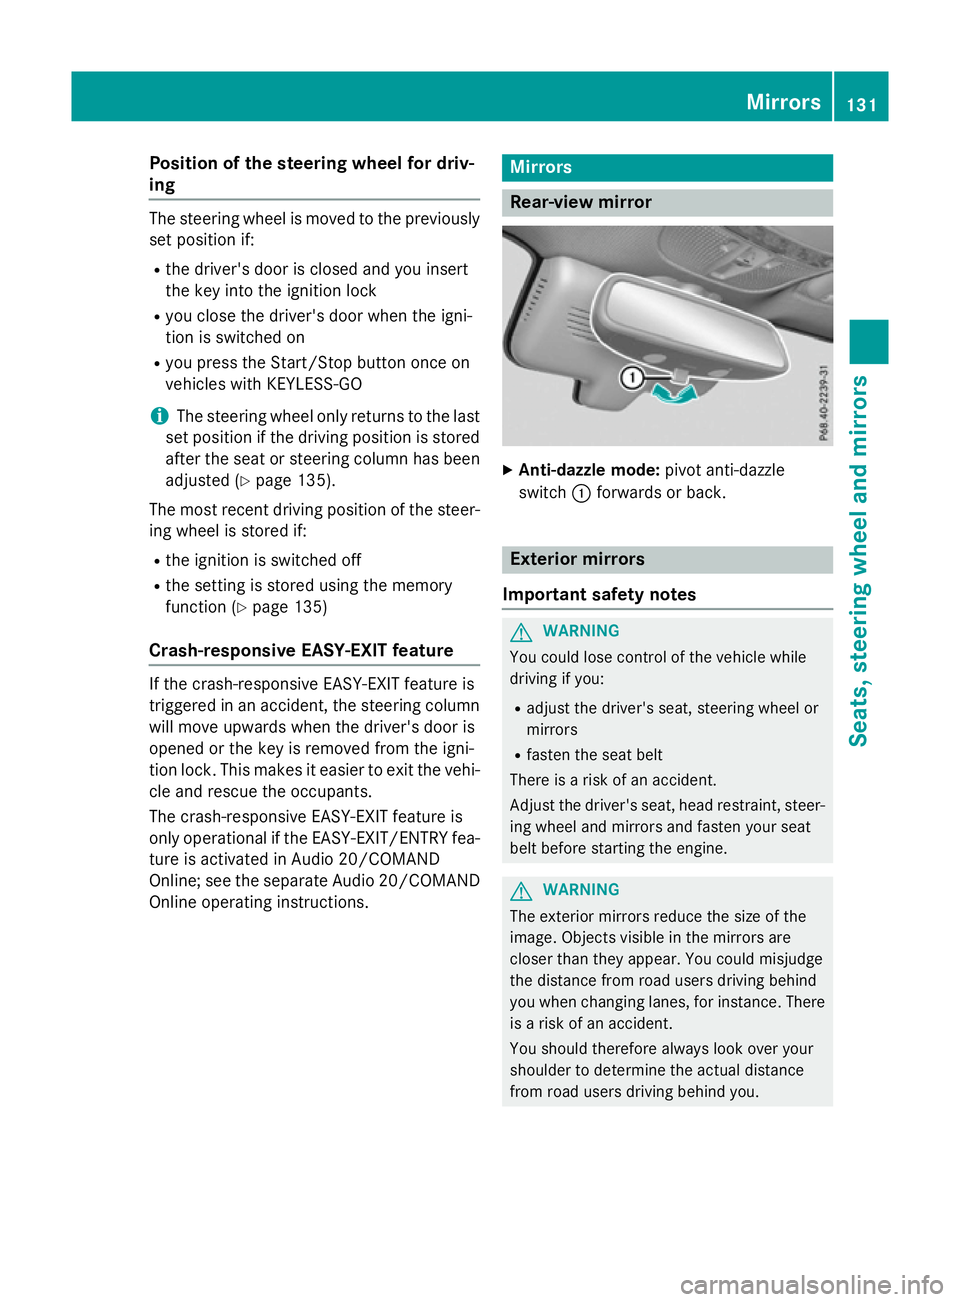
Rear-view mirror
X
Anti-dazzle mode: pivot anti-dazzle
switch :forwards or back. Exterior mirrors
Important safety notes G
WARNING
You could lose control of the vehicle while
driving if you:
R adjust the driver's seat, steering wheel or
mirrors
R fasten the seat belt
There is a risk of an accident.
Adjust the driver's seat, head restraint, steer-
ing wheel and mirrors and fasten your seat
belt before starting the engine. G
WARNING
The exterior mirrors reduce the size of the
image. Objects visible in the mirrors are
closer than they appear. You could misjudge
the distance from road users driving behind
you when changing lanes, for instance. There is a risk of an accident.
You should therefore always look over your
shoulder to determine the actual distance
from road users driving behind you. Mirrors
131Seats, steering wheel and mirrors Z
Page 136 of 497
R
the exterior mirrors fold in automatically as
soon as you lock the vehicle from the out-
side
R the exterior mirrors fold out automatically
again as soon as you unlock the vehicle
i If the exterior mirrors have been folded in
manually, they do not fold out.
Exterior mirror pushed out of position If an exterior mirror has been pushed out of
position (forwards or backwards), proceed as
follows:
X Vehicles without electrically folding
exterior mirrors: manually move the exte-
rior mirror into the correct position.
X Vehicles with electrically folding exte-
rior mirrors: press and hold button :
until you hear a click and then the mirror
engaging in position (Y page 132).
The mirror housing is engaged again and
you can adjust the exterior mirrors as usual
(Y page 132). Automatic anti-dazzle mirrors
G
WARNING
Electrolyte may escape if the glass of an auto- matic anti-dazzle mirror breaks. Electrolyte is
harmful and causes irritation. It must not
come into contact with your skin, eyes, res-
piratory organs or clothing or be swallowed.
There is a risk of injury.
If you come into contact with electrolyte,
observe the following:
R immediately rinse off electrolyte from your
skin with water.
R immediately and thoroughly rinse electro-
lyte out of eyes using clean water.
R if electrolyte is swallowed, immediately
rinse out your mouth thoroughly. Do not
induce vomiting. R
if electrolyte comes into contact with skin
or eyes or is swallowed, seek medical atten-
tion immediately.
R immediately change out of clothing that has
been in contact with electrolyte.
R if an allergic reaction occurs, seek medical
attention immediately.
The rear-view mirror and the exterior mirror
on the driver's side automatically go into anti- dazzle mode if the following conditions are
met simultaneously:
R the ignition is switched on
R incident light from headlamps strikes the
sensor in the rear-view mirror
The mirrors do not dip if reverse gear is
engaged or if the interior lighting is switched
on. Parking position of the exterior mirror
on the front-passenger side
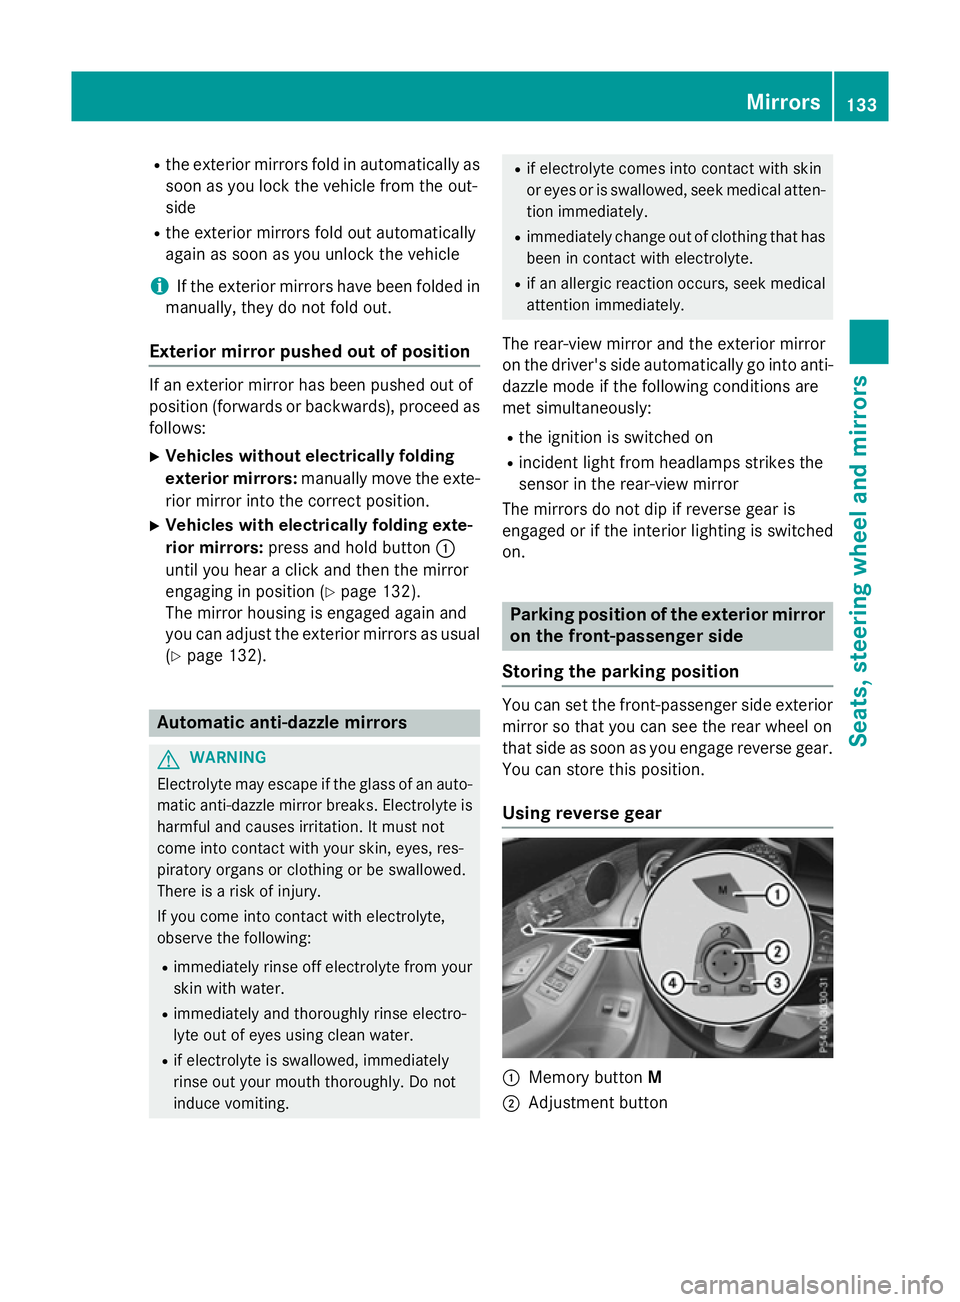
Storing the parking position You can set the front-passenger side exterior
mirror so that you can see the rear wheel on
that side as soon as you engage reverse gear. You can store this position.
Using reverse gear :
Memory button M
; Adjustment button Mirrors
133Seats, steering wheel and mirrors Z
Page 137 of 497
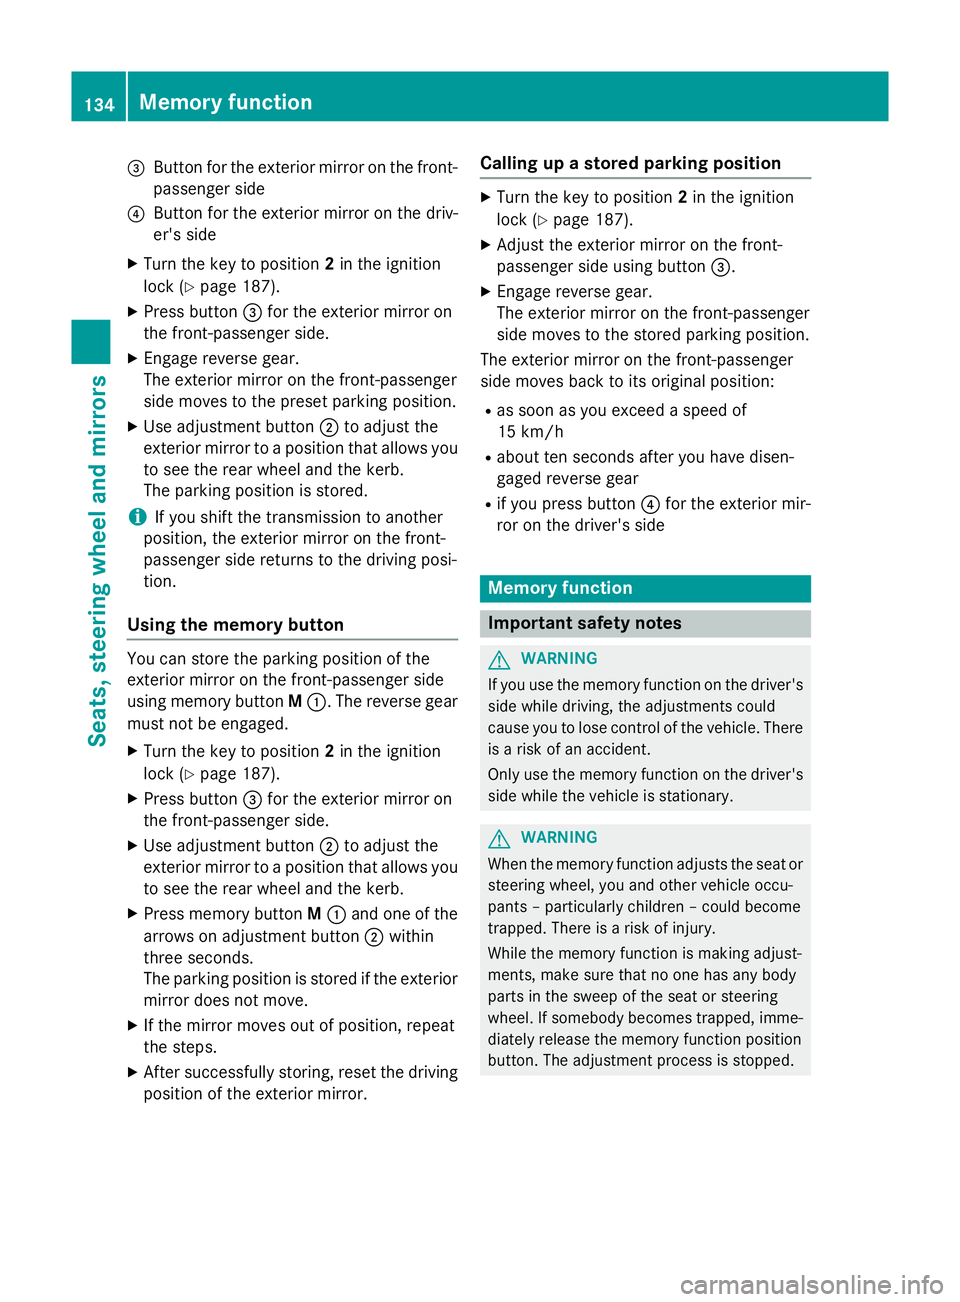
=
Button for the exterior mirror on the front-
passenger side
? Button for the exterior mirror on the driv-
er's side
X Turn the key to position 2in the ignition
lock (Y page 187).
X Press button =for the exterior mirror on
the front-passenger side.
X Engage reverse gear.
The exterior mirror on the front-passenger
side moves to the preset parking position.
X Use adjustment button ;to adjust the
exterior mirror to a position that allows you
to see the rear wheel and the kerb.
The parking position is stored.
i If you shift the transmission to another
position, the exterior mirror on the front-
passenger side returns to the driving posi-
tion.
Using the memory button You can store the parking position of the
exterior mirror on the front-passenger side
using memory button
M:. The reverse gear
must not be engaged.
X Turn the key to position 2in the ignition
lock (Y page 187).
X Press button =for the exterior mirror on
the front-passenger side.
X Use adjustment button ;to adjust the
exterior mirror to a position that allows you
to see the rear wheel and the kerb.
X Press memory button M: and one of the
arrows on adjustment button ;within
three seconds.
The parking position is stored if the exterior
mirror does not move.
X If the mirror moves out of position, repeat
the steps.
X After successfully storing, reset the driving
position of the exterior mirror. Calling up a stored parking position X
Turn the key to position 2in the ignition
lock (Y page 187).
X Adjust the exterior mirror on the front-
passenger side using button =.
X Engage reverse gear.
The exterior mirror on the front-passenger
side moves to the stored parking position.
The exterior mirror on the front-passenger
side moves back to its original position:
R as soon as you exceed a speed of
15 km/h
R about ten seconds after you have disen-
gaged reverse gear
R if you press button ?for the exterior mir-
ror on the driver's side Memory function
Important safety notes
G
WARNING
If you use the memory function on the driver's side while driving, the adjustments could
cause you to lose control of the vehicle. There
is a risk of an accident.
Only use the memory function on the driver's
side while the vehicle is stationary. G
WARNING
When the memory function adjusts the seat or steering wheel, you and other vehicle occu-
pants – particularly children – could become
trapped. There is a risk of injury.
While the memory function is making adjust-
ments, make sure that no one has any body
parts in the sweep of the seat or steering
wheel. If somebody becomes trapped, imme-
diately release the memory function position
button. The adjustment process is stopped. 134
Memory functionSeats, steering wheel and mirrors
Page 138 of 497
G
WARNING
If children activate the memory function, they
could become trapped, especially if they are
unattended. There is a risk of injury.
When leaving the vehicle, always take the key with you and lock the vehicle. Never leave
children unattended in the vehicle.
The memory function can be used at any time,
e.g. even when the key is not in the ignition
lock. Storing settings
With the memory function, you can store up
to three different settings, e.g. for three dif-
ferent people.
The following settings are stored as a single
memory preset:
R position of the seat, backrest and head
restraint
R driver's side: position of the exterior mir-
rors on the driver's and front-passenger
sides
R position of the head-up display X
Adjust the seat accordingly (Y page 123).
X On the driver's side, adjust the steering
wheel (Y page 129) and the exterior mirrors
(Y page 132).
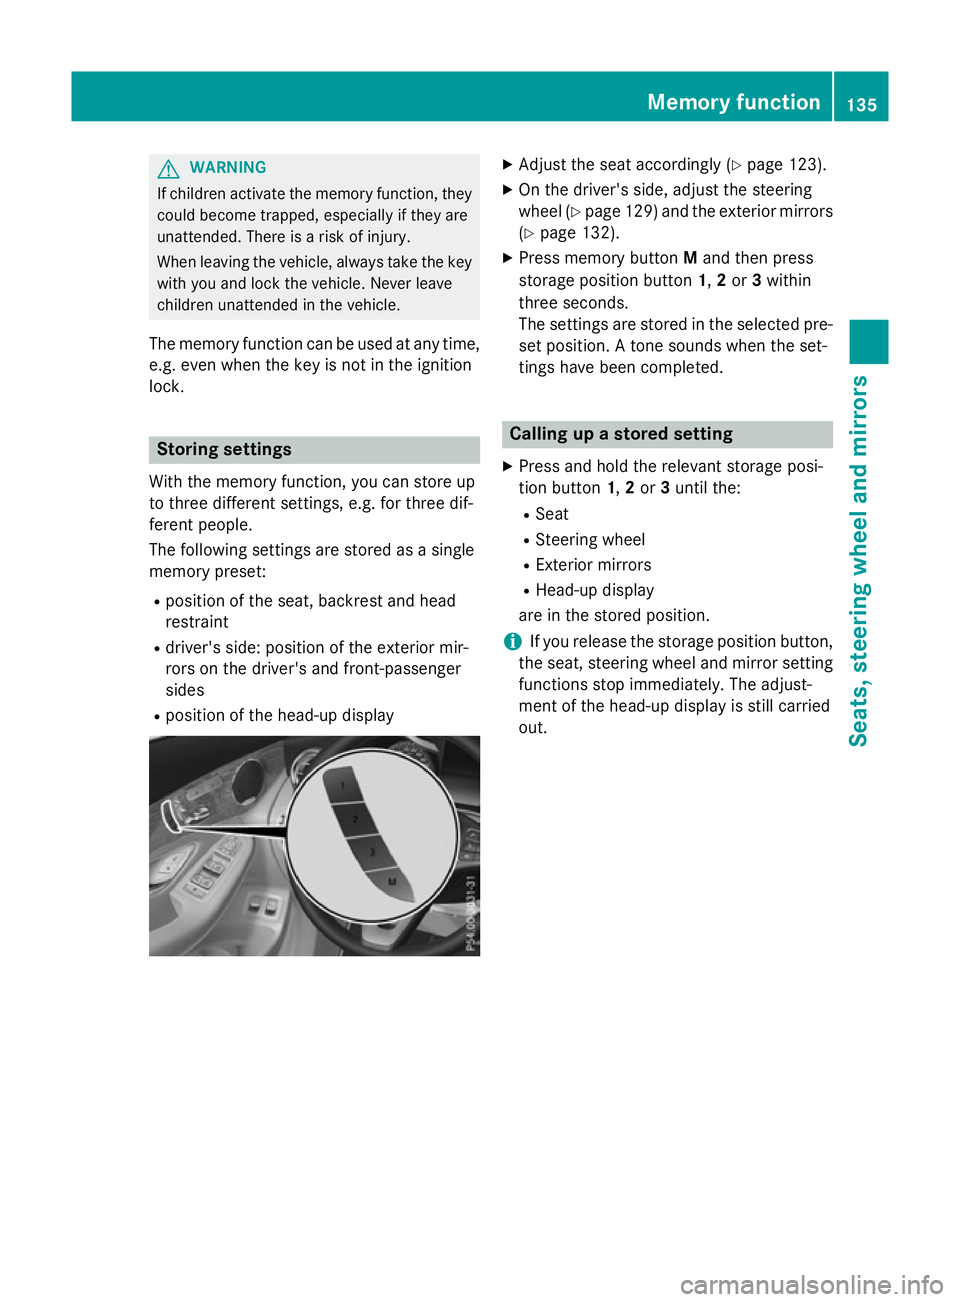
X Press memory button Mand then press
storage position button 1,2or 3within
three seconds.
The settings are stored in the selected pre- set position. A tone sounds when the set-
tings have been completed. Calling up a stored setting
X Press and hold the relevant storage posi-
tion button 1,2or 3until the:
R Seat
R Steering wheel
R Exterior mirrors
R Head-up display
are in the stored position.
i If you release the storage position button,
the seat, steering wheel and mirror setting
functions stop immediately. The adjust-
ment of the head-up display is still carried
out. Memory function
135Seats, steering wheel and mirrors Z
Page 334 of 497
X
Confirm by pressing aon the steering
wheel.
X Press :or9 to select the Head-up
Head-up
display
display submenu.
X Press ato confirm.
X Select Display content
Display content with: or
9.
X Press ato confirm.
A graphic selection list appears.
X Press :or9 to select the desired
display.
X Press the abutton to confirm the selec-
tion.
Further information on navigation can be
found in the separate Audio 20 or COMAND
Online operating instructions.
Further information about Traffic Sign Assist
(Y page 274).
Setting the position
You can adjust the position of the head-up
display on the windscreen. You can compen-
sate for height differences if the seat posi-
tions are changed, for example.
X Switch on the head-up display
(Y page 316).
X Press òon the steering wheel to open
the menu list.
X Press :or9 on the steering wheel
to select the Settings
Settings menu.
X Confirm by pressing aon the steering
wheel.
X Use : or9 to select the Head-up
Head-up
display
display submenu.
X Press ato confirm.
X Using :or9, select the Position Position
function.
X Press ato save the setting.
X Press :or9 to adjust the position
to a level from Level +5
Level +5toLevel -5
Level -5.
X Press aor% to save the setting.
Using the Memory function, you can save and call up the set position of the head-up display
as a single memory preset (Y page 134).Adjusting the brightness
The brightness of the head-up display is auto-
matically adjusted to the surrounding light
conditions. You can also individually adjust
the brightness of the head-up display.
X Switch on the head-up display
(Y page 316).
X Press òon the steering wheel to open
the menu list.
X Press :or9 on the steering wheel
to select the Settings
Settings menu.
X Confirm by pressing aon the steering
wheel.
X Use : or9 to select the Head-up
Head-up
display display submenu.
X Press ato confirm.
X Using :or9, select the Bright‐
Bright‐
ness
ness function.
X Press the abutton to save the setting.
X Press :or9 to adjust the bright-
ness to a level from Level +5
Level +5(bright) to
Level -5
Level -5 (dark).
X Press the aor% button to save the
setting.
Light submenu Switching the Intelligent Light System
on/off
X Press òon the steering wheel to open
the menu list.
X Press :or9 on the steering wheel
to select the Settings Settingsmenu.
X Confirm by pressing aon the steering
wheel.
X Press :or9 to select the Lights Lights
submenu.
X Press ato confirm.
X Using :or9, select the Intelli‐ Intelli‐
gent Light System
gent Light System function.
If the Intelligent Light System Intelligent Light System func-
tion has been switched on, the cone of light Menus and submenus
331On-board computer and displays Z
Page 397 of 497
Observe the loading guidelines (Y
page 390).
The outside and the centre rear seat backr-
ests can be folded down separately to
increase the luggage compartment capacity.
The division ratio is 40% to 20% to 40%.
Both outside seat backrests in the rear com-
partment are electrically unlocked with the
release handles either in the luggage com-
partment or beside the seat backrests in the
rear compartment (vehicles with EASY-PACK
tailgate only). The corresponding rear seat
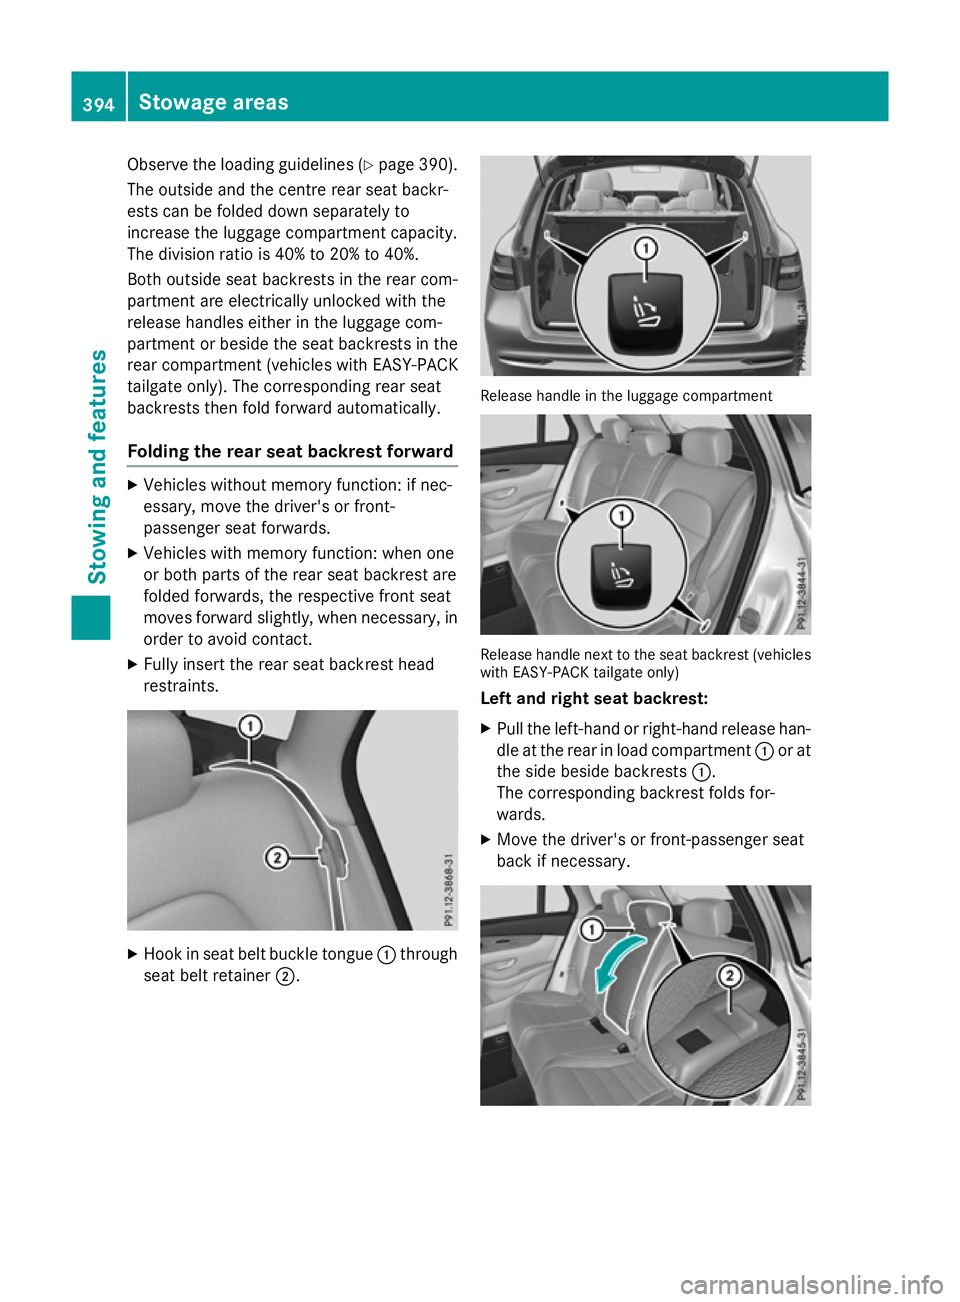
backrests then fold forward automatically.
Folding the rear seat backrest forward X
Vehicles without memory function: if nec-
essary, move the driver's or front-
passenger seat forwards.
X Vehicles with memory function: when one
or both parts of the rear seat backrest are
folded forwards, the respective front seat
moves forward slightly, when necessary, in order to avoid contact.
X Fully insert the rear seat backrest head
restraints. X
Hook in seat belt buckle tongue :through
seat belt retainer ;. Release handle in the luggage compartment
Release handle next to the seat backrest (vehicles
with EASY-PACK tailgate only)
Left and right seat backrest:
X Pull the left-hand or right-hand release han-
dle at the rear in load compartment :or at
the side beside backrests :.
The corresponding backrest folds for-
wards.
X Move the driver's or front-passenger seat
back if necessary. 394
Stowage areasStowing and features