2015 MERCEDES-BENZ E-CLASS CABRIOLET radio
[x] Cancel search: radioPage 13 of 349

Emergency unlocking
Vehicle ............................................ .82
Engine
Display message ............................ 238
ECO start/stop function ................ 142
Engine number .............................. .337
Jump-starting ................................. 313
Running irregularl y......................... 145
Starting problems .......................... 145
Starting the engine with the key .... 141
Starting with KEYLESS GO ............. 141
Stopping ........................................ 158
Tow-starting (vehicle) ..................... 318
Warning lamp (engine diagnos-
tics) ............................................... 259
Engine electronics
Notes ............................................. 335
Problem (fault) ............................... 145
Engine jump starting
see Jump starting (engine)
Engine oil
Additives ........................................ 341
Checking the oil level ..................... 291
Checking the oil level using the
dipstick .......................................... 291
Display message ............................ 239
Filling capacity ............................... 341
Notes about oil grade s................... 340
Notes on oil level/consumption .... 291
Topping up ..................................... 292
Entering an address
See also Digital Owner's Manua l... 263
Environmental protection
Returning an end-of-life vehicle ....... 24
ESP ®
(Electronic Stability Pro-
gram)
Characteristics ................................. 67
Deactivating/activating ................. 221
Deactivating/activating (notes) ....... 68
Display message ............................ 230
Function/note s................................ 67
General notes .................................. 67
Important safety guidelines ............. 67
Trailer stabilisation .......................... 68
Warning lamp ................................. 256
ETS/4ETS (Electronic Traction Sys-
tem) ...................................................... 67 Exhaust pipe (cleaning instruc-
tions)
.................................................. 301
Exterior lighting
Settings options ............................. 114
see Lights
Exterior mirrors
Adjusting ....................................... 110
Anti-dazzle mode (automatic) ........ 111
Folding in when locking (on-boardcomputer) ...................................... 227
Folding in/out (automatically )....... 111
Folding in/out (electrically) ........... 111
Out of position (troubleshooting) ... 111
Parking position ............................. 112
Resetting ....................................... 111
Storing settings (memory func-
tion) ............................................... 112 F
Fault message see Display messages
Favourites
Overview ........................................ 264
Filler cap
see Fuel filler flap
Fire extinguisher ............................... 304
First-aid kit ......................................... 304
Fitting a wheel
Fitting a wheel ............................... 332
Lowering the vehicle ...................... 332
Preparing the vehicle ..................... 329
Raising the vehicl e......................... 330
Removing a whee l.......................... 331
Securing the vehicle against roll-
ing away ........................................ 330
Flat tyre
MOExtended tyre s......................... 306
Preparing the vehicle ..................... 306
TIREFIT kit ...................................... 307
see Emergency spare wheel
Floormat ............................................. 287
Foglamps
Extended rang e.............................. 117
Frequencies
Garage door opener ....................... 285
Mobile phone ................................. 335
Two-way radio ................................ 335 10
Index
Page 19 of 349

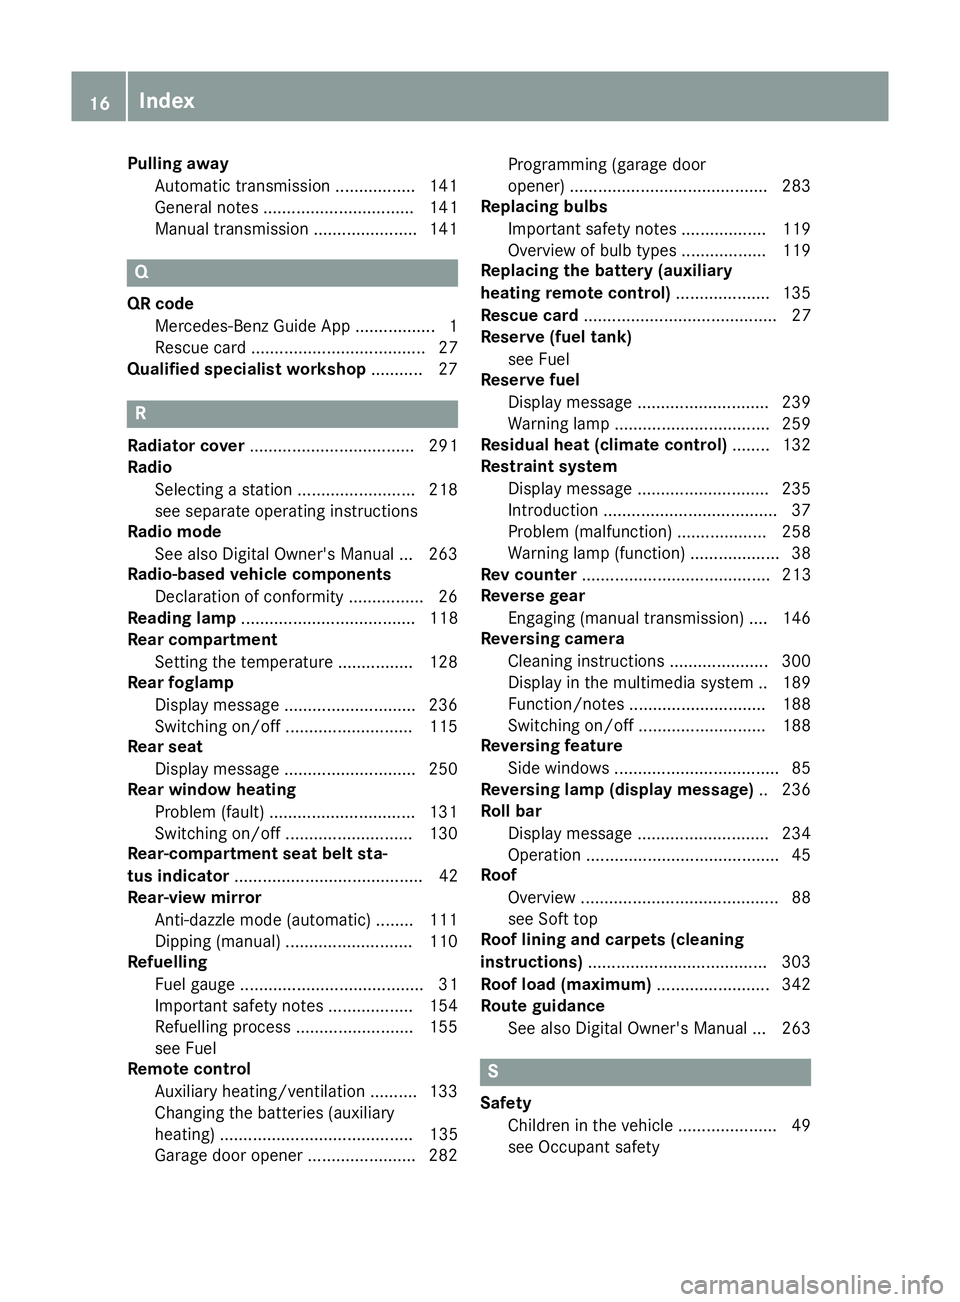
Pulling away
Automatic transmission ................. 141
General notes ................................ 141
Manual transmission ......................1 41Q
QR code Mercedes-Benz Guide App ................. 1
Rescue card ..................................... 27
Qualified specialist workshop ........... 27R
Radiator cover ................................... 291
Radio
Selecting a station ......................... 218
see separate operating instructions
Radio mode
See also Digital Owner's Manual ... 263
Radio-based vehicle components
Declaration of conformity ................ 26
Reading lamp ..................................... 118
Rear compartment
Setting the temperature ................ 128
Rear foglamp
Display message ............................ 236
Switching on/off ........................... 115
Rear seat
Display message ............................ 250
Rear window heating
Problem (fault) ............................... 131
Switching on/off ........................... 130
Rear-compartment seat belt sta-
tus indicator ........................................ 42
Rear-view mirror
Anti-dazzle mode (automatic) ....... .111
Dipping (manual) ........................... 110
Refuelling
Fuel gauge ....................................... 31
Important safety notes .................. 154
Refuelling process ......................... 155
see Fuel
Remote control
Auxiliary heating/ventilation .......... 133
Changing the batteries (auxiliary
heating) ......................................... 135
Garage door opener ....................... 282 Programming (garage door
opener) .......................................... 283
Replacing bulbs
Important safety notes .................. 119
Overview of bulb types .................. 119
Replacing the battery (auxiliary
heating remote control) .................... 135
Rescue card ......................................... 27
Reserve (fuel tank)
see Fuel
Reserve fuel
Display message ............................ 239
Warning lamp ................................. 259
Residual heat (climate control) ........132
Restraint system
Display message ............................ 235
Introduction ..................................... 37
Problem (malfunction) ................... 258
Warning lamp (function) ................... 38
Rev counter ........................................ 213
Reverse gear
Engaging (manual transmission) .... 146
Reversing camera
Cleaning instructions ..................... 300
Display in the multimedia system .. 189
Function/notes ............................ .188
Switching on/off ........................... 188
Reversing feature
Side windows ................................... 85
Reversing lamp (display message) .. 236
Roll bar
Display message ............................ 234
Operation ......................................... 45
Roof
Overview .......................................... 88
see Soft top
Roof lining and carpets (cleaning
instructions) ...................................... 303
Roof load (maximum) ........................ 342
Route guidance
See also Digital Owner's Manual ... 263 S
Safety Children in the vehicle ..................... 49
see Occupant safety 16
Index
Page 23 of 349

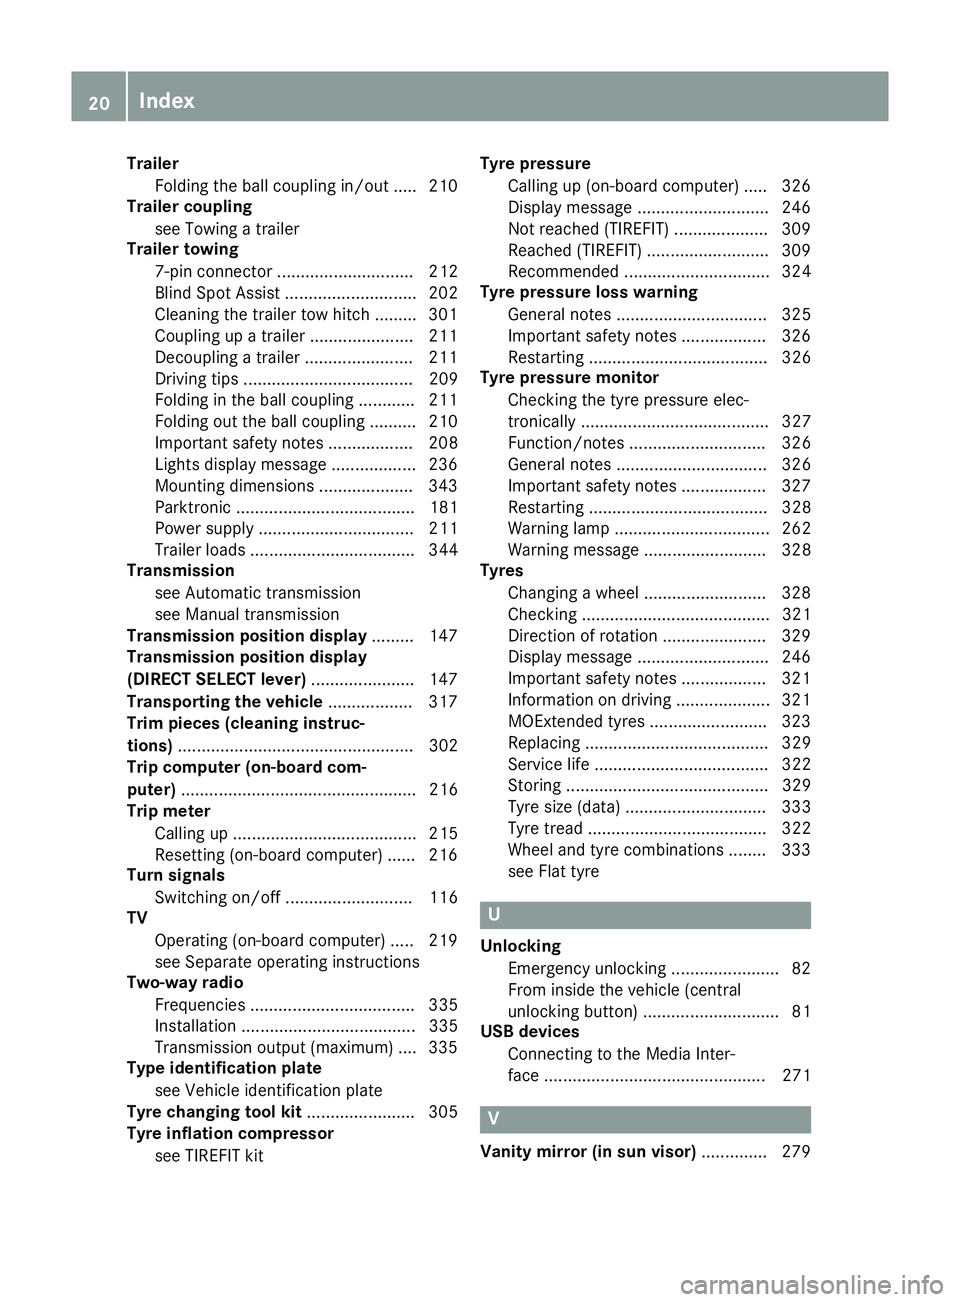
Trailer
Folding the ball coupling in/out ..... 210
Trailer coupling
see Towing a trailer
Trailer towing
7-pin connector ............................. 212
Blind Spot Assist ............................ 202
Cleaning the trailer tow hitch ......... 301
Coupling up a traile r...................... 211
Decoupling a trailer ....................... 211
Driving tips .................................... 209
Folding in the ball coupling ............ 211
Folding out the ball coupling .......... 210
Important safety notes .................. 208
Lights display message .................. 236
Mounting dimensions .................... 343
Parktronic ...................................... 181
Power supply ................................. 211
Trailer load s................................... 344
Transmission
see Automatic transmission
see Manual transmission
Transmission position display ......... 147
Transmission position display
(DIRECT SELECT lever) ...................... 147
Transporting the vehicle .................. 317
Trim pieces (cleaning instruc-
tions) .................................................. 302
Trip computer (on-board com-
puter) .................................................. 216
Trip meter
Calling up ....................................... 215
Resetting (on-board computer) ...... 216
Turn signals
Switching on/of f........................... 116
TV
Operating (on-board computer) ..... 219
see Separate operating instructions
Two-way radio
Frequencies ................................... 335
Installation ..................................... 335
Transmission output (maximum) .... 335
Type identification plate
see Vehicle identification plate
Tyre changing tool kit ....................... 305
Tyre inflation compressor
see TIREFIT kit Tyre pressure
Calling up (on-board computer) ..... 326
Display message ............................ 246
Not reached (TIREFIT) .................... 309
Reached (TIREFIT) .......................... 309
Recommended ............................... 324
Tyre pressure loss warning
General notes ................................ 325
Important safety notes .................. 326
Restarting ...................................... 326
Tyre pressure monitor
Checking the tyre pressure elec-
tronically ........................................ 327
Function/note s............................. 326
General notes ................................ 326
Important safety notes .................. 327
Restarting ...................................... 328
Warning lamp ................................. 262
Warning message .......................... 328
Tyres
Changing a whee l.......................... 328
Checking ........................................ 321
Direction of rotation ...................... 329
Display message ............................ 246
Important safety notes .................. 321
Information on driving .................... 321
MOExtended tyre s......................... 323
Replacing ....................................... 329
Service life ..................................... 322
Storing ........................................... 329
Tyre size (data ).............................. 333
Tyre tread ...................................... 322
Wheel and tyre combinations ........ 333
see Flat tyre U
Unlocking Emergency unlocking ....................... 82
From inside the vehicle (central
unlocking button) ............................. 81
USB devices
Connecting to the Media Inter-
face ............................................... 271 V
Vanity mirror (in sun visor) .............. 27920
Index
Page 29 of 349

Always have work on electrical and electronic
components carried out at a qualified special-ist workshop.
If you make any changes to the vehicle elec-
tronics, the general operating permit is ren-
dered invalid.
! There is a risk of damage to the vehicle if:
R the vehicle becomes stuck, e.g. on a high
kerb or an unpaved road
R you drive too fast over an obstacle, e.g. a
kerb or a pothole in the road
R a heavy object strikes the underbody or
parts of the chassis
In situations like this, the body, the under-
body, chassis parts, wheels or tyres could be
damaged without the damage being visible.
Components damaged in this way can unex-
pectedly fail or, in the case of an accident, no
longer withstand the strain they are designed for.
If the underbody panelling is damaged, com-
bustible materials such as leaves, grass or
twigs can gather between the underbody and
the underbody panelling. If these materials
come in contact with hot parts of the exhaust
system, they can catch fire.
In such situations, have the vehicle checked
and repaired immediately at a qualified spe-
cialist workshop. If, upon continuing your
journey, you notice that driving safety is
impaired, pull over and stop the vehicle imme- diately, paying attention to road and traffic
conditions. In such cases, consult a qualified
specialist workshop. Declarations of conformity
Wireless vehicle components The following information applies to all compo-
nents of the vehicle and the information sys-
tems and communication devices integrated
into the vehicle which receive and/or transmit
radio waves:
The components of this vehicle that receive
and/or transmit radio waves are compliant with
the basic requirements and all other relevant
conditions of Directive 1999/5/EC. You can
obtain further information from any Mercedes-
Benz Service Centre. Electromagnetic compatibility The electromagnetic compatibility of the vehicle
components has been checked and certified
according to the currently valid version of Reg-
ulation ECE-R 10. Diagnostics connection
The diagnostics connection is only intended for the connection of diagnostic equipment at a
qualified specialist workshop. G
WARNING
If you connect equipment to a diagnostics
connection in the vehicle, it can affect the
operation of the vehicle systems. This may
affect the operating safety of the vehicle.
There is a risk of an accident.
Do not connect any equipment to a diagnos-
tics connection in the vehicle. G
WARNING
Objects in the driver's footwell may restrict
the clearance around the pedals or block a
depressed pedal. This jeopardises the oper-
ating and road safety of the vehicle. There is a risk of an accident.
Stow all objects securely in the vehicle so that
they do not get into the driver's footwell.
Always fit the floormats securely and as pre-
scribed in order to ensure that there is always sufficient room for the pedals. Do not use
loose floormats and do not place several floor-mats on top of one another.
! If the engine is switched off and equipment
on the diagnostics connection is used, the
starter battery may discharge.
Connecting equipment to the diagnostics con-
nection can lead to emissions monitoring infor-
mation being reset, for example. This may lead
to the vehicle failing to meet the requirements of
the next emissions test during the main inspec- tion. 26
Operating safetyIntroduction
Page 78 of 349

X
To lock centrally: press the&button.
The key centrally locks/unlocks: R the doors
R the boot lid
R the fuel filler flap
When unlocking, the turn signals flash once.
When locking, they flash three times.
You can also set an audible signal to confirm
that the vehicle has been locked. The audible
signal can be activated or deactivated using the on-board computer (Y page 226).
When it is dark, the surround lighting also comes
on if it is activated in the on-board computer
(Y page 225). KEYLESS-GO
General notes Bear in mind that the engine can be started by
any of the vehicle occupants if there is a KEY-
LESS-GO key in the vehicle (Y page 141).
Locking and unlocking centrally You can start, lock or unlock the vehicle using
KEYLESS-GO. To do this, you need to carry the
key with you. You can combine the KEYLESS-GO
functions with the functions of a conventional
key. Unlock the vehicle by using KEYLESS-GO,
for instance, and lock it using the &button
on the key.
When locking or unlocking with KEYLESS-GO,
the distance between the key and the corre-
sponding door handle must not be greater than 1 m.
A check which periodically establishes a radio
connection between the vehicle and the key
determines whether a valid key is in the vehicle. This occurs, for example:
R when the external door handles are touched
R when starting the engine
R whilst driving X
To unlock the vehicle: touch the inner sur-
face of the door handle.
X To lock the vehicle: touch sensor sur-
face :.
X Convenience closing feature: touch
recessed sensor surface ;for an extended
period. X
To unlock the boot lid: pull the boot lid han-
dle.
The vehicle only unlocks the boot lid.
Deactivating and activating If you do not intend to use a key for an extended
period of time, you can deactivate the KEYLESS-
GO function of the key. The key will then use very
little power, thereby conserving battery power.
For the purposes of activation or deactivation,
the vehicle does not have to be nearby. Key
75Opening and closing Z
Page 82 of 349

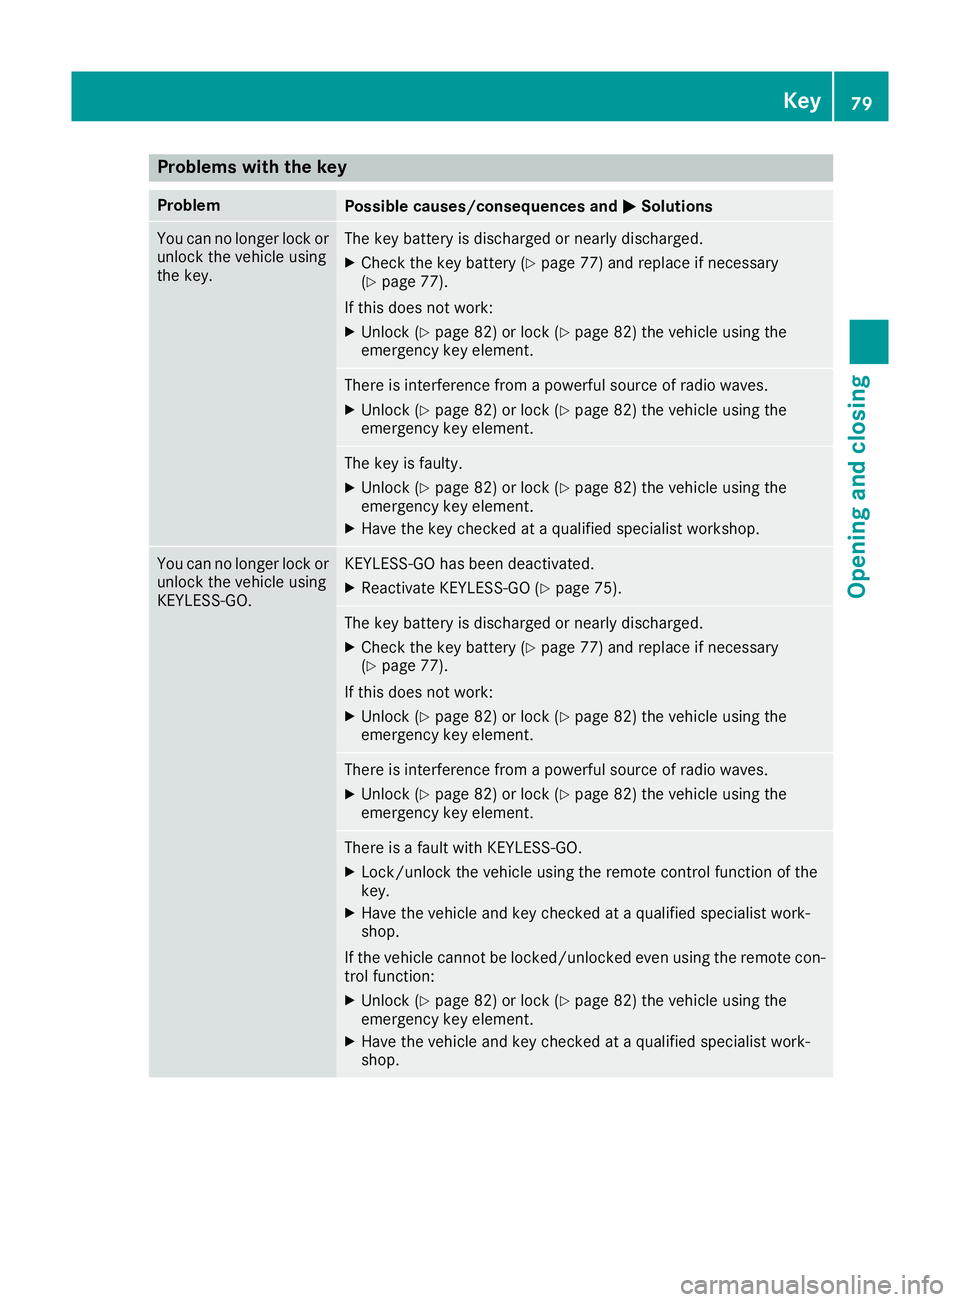
Problems with the key
Problem
Possible causes/consequences and
M
MSolutions You can no longer lock or
unlock the vehicle using
the key. The key battery is discharged or nearly discharged.
X Check the key battery (Y page 77) and replace if necessary
(Y page 77).
If this does not work: X Unlock (Y page 82) or lock (Y page 82) the vehicle using the
emergency key element. There is interference from a powerful source of radio waves.
X Unlock (Y page 82) or lock (Y page 82) the vehicle using the
emergency key element. The key is faulty.
X Unlock (Y page 82) or lock (Y page 82) the vehicle using the
emergency key element.
X Have the key checked at a qualified specialist workshop. You can no longer lock or
unlock the vehicle using
KEYLESS-GO. KEYLESS-GO has been deactivated.
X Reactivate KEYLESS-GO (Y page 75). The key battery is discharged or nearly discharged.
X Check the key battery (Y page 77) and replace if necessary
(Y page 77).
If this does not work: X Unlock (Y page 82) or lock (Y page 82) the vehicle using the
emergency key element. There is interference from a powerful source of radio waves.
X Unlock (Y page 82) or lock (Y page 82) the vehicle using the
emergency key element. There is a fault with KEYLESS-GO.
X Lock/unlock the vehicle using the remote control function of the
key.
X Have the vehicle and key checked at a qualified specialist work-
shop.
If the vehicle cannot be locked/unlocked even using the remote con-
trol function:
X Unlock (Y page 82) or lock (Y page 82) the vehicle using the
emergency key element.
X Have the vehicle and key checked at a qualified specialist work-
shop. Key
79Opening and closing Z
Page 83 of 349

Problem
Possible causes/consequences and
M
MSolutions The engine cannot be
started using the key. The on-board voltage is too low.
X Switch off non-essential consumers, e.g. seat heating or interior
lighting, and try to start the engine again.
If this does not work:
X Check the starter battery and charge it if necessary (Y page 312).
or X Jump-start the vehicle (Y page 313).
or X Consult a qualified specialist workshop. Only for vehicles with
manual transmission:
The engine cannot be
started using the key. The steering lock is mechanically blocked.
X Remove the key and reinsert it into the ignition lock. While doing
this, turn the steering wheel in both directions. The engine cannot be
started using KEYLESS-
GO. The key is in the
vehicle. The vehicle is locked.
X Unlock the vehicle and try to start the vehicle again. There is interference from a powerful source of radio waves.
X Start your vehicle with the key in the ignition lock. You have lost a key. X
Have the key deactivated at a qualified specialist workshop.
X Report the loss immediately to the vehicle insurers.
X If necessary, have the locks changed as well. You have lost the emer-
gency key element. X
Report the loss immediately to the vehicle insurers.
X If necessary, have the locks changed as well. Doors
Important safety notes
United Kingdom only: G
WARNING
When the double locks are activated, the
doors can no longer be opened from the
inside. People in the vehicle can no longer get out, e.g. in hazardous situations. There is a
risk of injury.
Therefore, do not leave any people unsuper-
vised in the vehicle, particularly children, eld-
erly people or people in need of special assis-
tance. Do not activate the double lock when
people are in the vehicle. If the vehicle has been locked from the outside,
the double lock function is activated as stand-
ard. It is then not possible to open the doors
from inside the vehicle. You can deactivate the
double lock function by deactivating the interior
motion sensor (Y page 73). The doors can then
be opened from the inside after the vehicle has
been locked from the outside. The anti-theft
alarm system is triggered if the door is opened
from the inside. Switch off the alarm
(Y page 71).
All countries: 80
DoorsOpening and closing
Page 136 of 349

i
Switch the auxiliary heating on regularly
once a month for about ten minutes.
The auxiliary heating heats the air in the vehicle
interior to the set temperature. This occurs with- out using the heat of the running engine. The
auxiliary heating is operated directly using the
vehicle's fuel. For this reason, the tank content
must be at least at reserve fuel level to ensure
that the auxiliary heating functions.
The auxiliary heating/ventilation automatically
adjusts to changes in temperature and weather conditions. For this reason, the auxiliary heating
could switch from ventilation mode to heating
mode or from heating mode to ventilation mode.
The auxiliary heating switches off automatically after 50 minutes. This time limit can be altered.
To do this, visit a qualified specialist workshop.
You cannot use the auxiliary ventilation to cool
the vehicle interior to a temperature lower than
the outside temperature.
Before switching on X
Turn the key to position 2in the ignition lock
(Y page 139).
X Set the desired temperature.
Auxiliary heating or auxiliary ventilation can also
be switched on if the manually set climate con-
trol is activated. Optimum comfort is attained by setting the system to automatic mode. Set the
temperature to 22 †.
The auxiliary heating or auxiliary ventilation can
be switched on/off using the button on the
centre console or the remote control.
The on-board computer can be used to specify
up to three departure times, one of which may
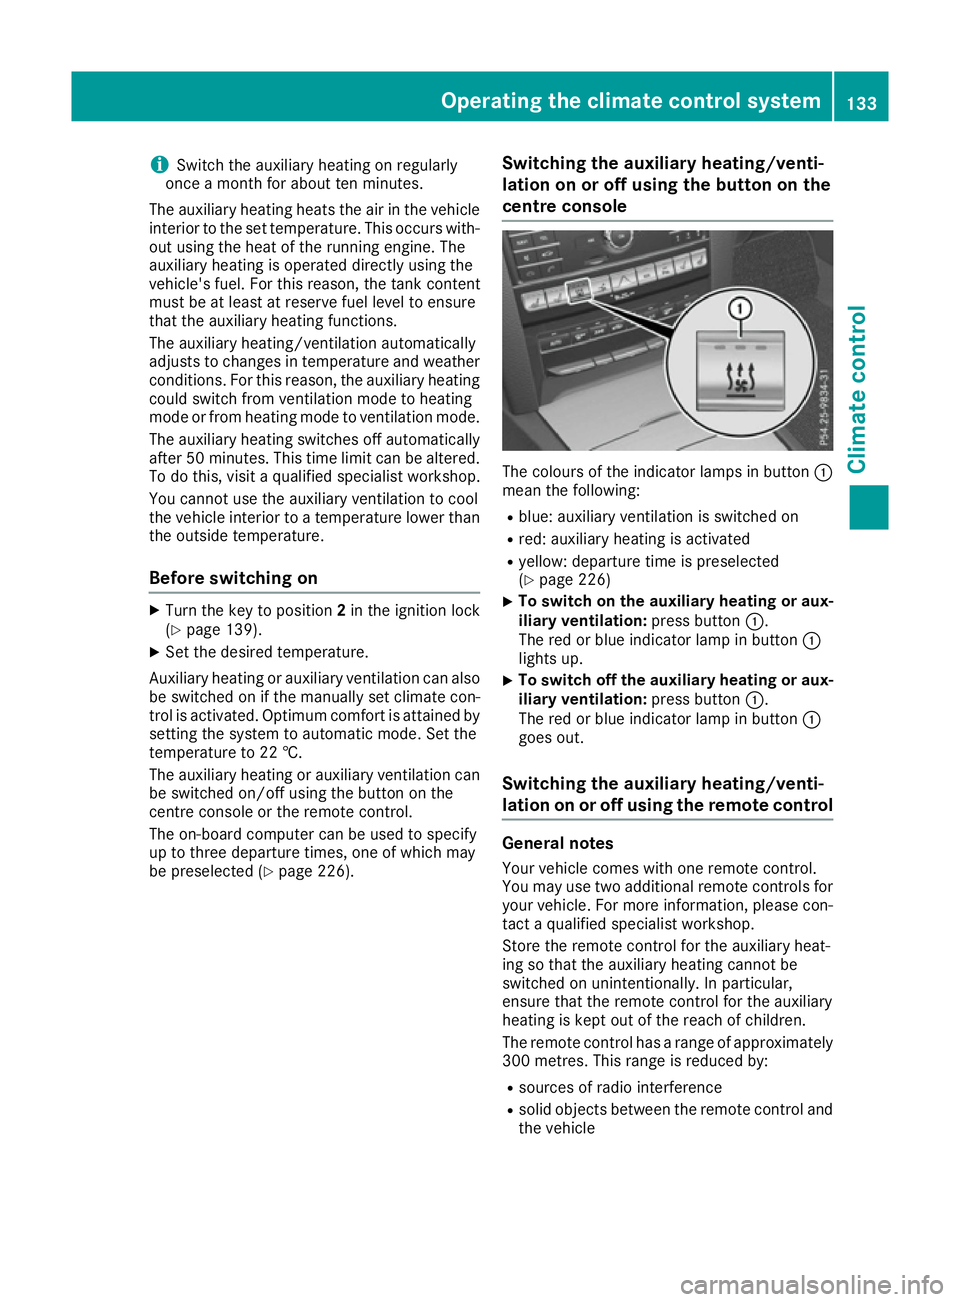
be preselected (Y page 226). Switching the auxiliary heating/venti-
lation on or off using the button on the
centre console The colours of the indicator lamps in button
:
mean the following:
R blue: auxiliary ventilation is switched on
R red: auxiliary heating is activated
R yellow: departure time is preselected
(Y page 226)
X To switch on the auxiliary heating or aux-
iliary ventilation:
press button:.
The red or blue indicator lamp in button :
lights up.
X To switch off the auxiliary heating or aux-
iliary ventilation: press button:.
The red or blue indicator lamp in button :
goes out.
Switching the auxiliary heating/venti-
lation on or off using the remote control General notes
Your vehicle comes with one remote control.
You may use two additional remote controls for your vehicle. For more information, please con-
tact a qualified specialist workshop.
Store the remote control for the auxiliary heat-
ing so that the auxiliary heating cannot be
switched on unintentionally. In particular,
ensure that the remote control for the auxiliary
heating is kept out of the reach of children.
The remote control has a range of approximately
300 metre s. Thisrange is reduced by:
R sources of radio interference
R solid objects between the remote control and
the vehicle Operating the climate control system
133Climate control Z